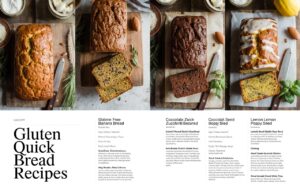
Welcome, aspiring bakers! Are you craving the comforting aroma of freshly baked bread but need a gluten-free option? Or perhaps you’re just starting your baking journey and searching for truly easy baking recipes that promise delicious results? You’ve landed in the perfect spot! This post is dedicated to making Gluten Free Quick Bread Recipes accessible and enjoyable for everyone, especially those looking for baking tips for beginners. Forget complicated yeast and long proofing times; quick breads are your best friend for instant gratification. We’re going to bake a wonderfully moist and flavorful Gluten-Free Banana Bread that will impress without any stress. Let’s gather our ingredients and get ready to create some kitchen magic!
Delicious & Easy Gluten-Free Banana Quick Bread (Beginner-Friendly!)
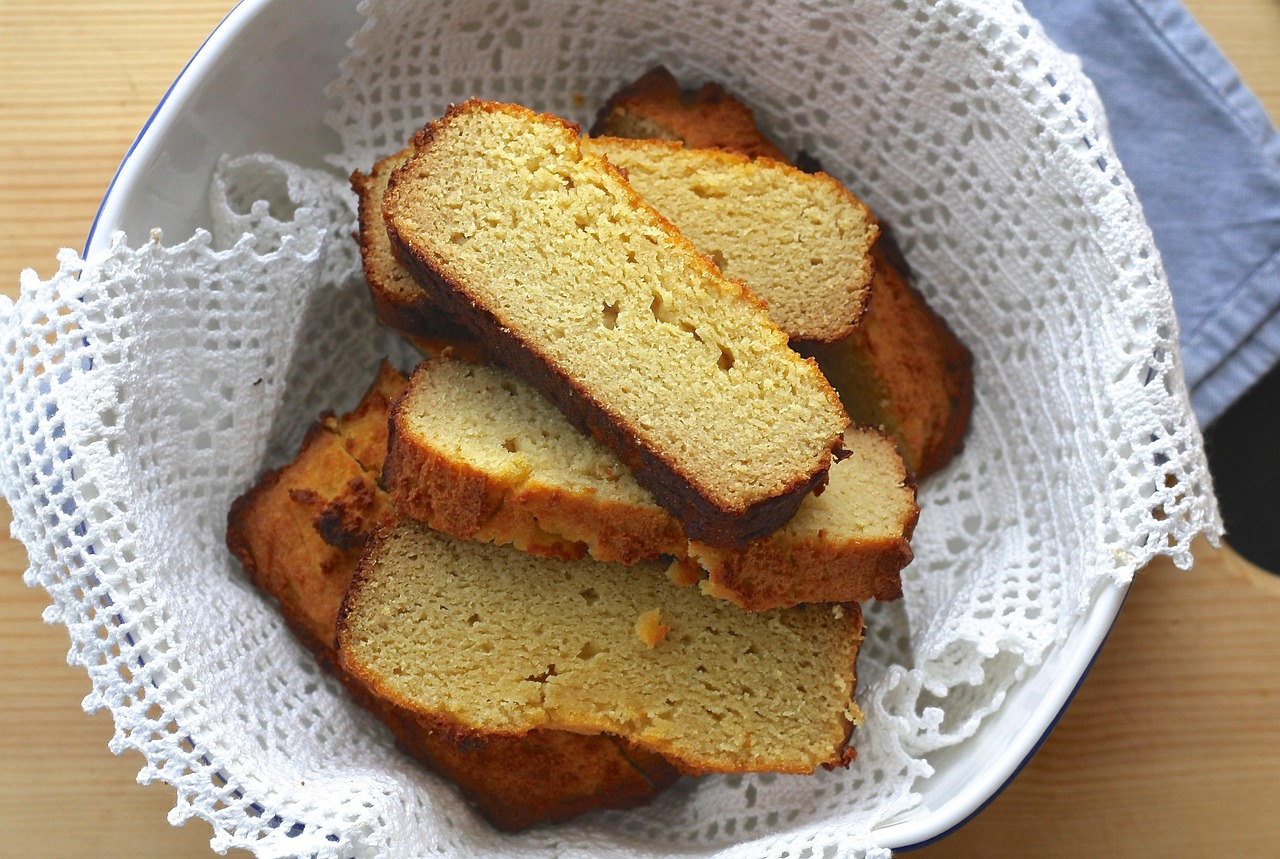
This recipe is designed with beginners in mind, providing clear instructions and helpful tips every step of the way. You’ll be amazed at how simple it is to whip up a delicious, perfectly moist gluten-free banana bread that tastes just like the classic.
Ingredients List
Accuracy in measuring is key, especially in gluten-free baking. Use proper measuring cups and spoons, and level off your dry ingredients!
| Ingredient | Quantity | Unit |
|---|---|---|
| Ripe Bananas (mashed) | 3-4 medium | |
| Gluten-Free All-Purpose Flour Blend* | 1 ¾ | cups |
| Granulated Sugar | ½ | cup |
| Light Brown Sugar (packed) | ¼ | cup |
| Baking Soda | 1 | teaspoon |
| Salt | ½ | teaspoon |
| Ground Cinnamon (optional) | ½ | teaspoon |
| Large Egg | 1 | |
| Unsalted Butter (melted & cooled) or Coconut Oil | ¼ | cup |
| Milk (dairy or non-dairy) | ¼ | cup |
| Vanilla Extract | 1 | teaspoon |
| Optional Mix-ins (chocolate chips, chopped nuts) | ½ | cup |
*A note on Gluten-Free Flour Blends: Look for a blend that contains xanthan gum. If your blend doesn’t, add ½ teaspoon of xanthan gum to your dry ingredients. This helps with structure and prevents crumbling!
Step-by-Step Instructions
Follow these steps carefully, and you’ll have a beautiful loaf of quick bread in no time. Don’t rush, and enjoy the process!
- Preheat Oven & Prepare Pan: Before you even start mixing, preheat your oven to 350°F (175°C). This ensures the oven is at the correct temperature when your batter is ready, which is crucial for even baking. Lightly grease and flour (with GF flour!) a 9×5 inch loaf pan, or line it with parchment paper for easy removal. This prevents sticking, a common beginner frustration!
- Mash Bananas: In a medium-sized bowl, use a fork or potato masher to thoroughly mash your ripe bananas. You want them to be mostly smooth with a few small lumps for texture. The riper the bananas (brown spots are good!), the sweeter and more flavorful your bread will be.
- Combine Wet Ingredients: To the bowl with the mashed bananas, add your melted and cooled butter (or coconut oil), the large egg, milk (dairy or non-dairy works!), and vanilla extract. Whisk these ingredients together until they are well combined and smooth. It’s important that your butter is *cooled* to avoid scrambling the egg.
- Whisk Dry Ingredients: In a separate, larger bowl, combine your gluten-free all-purpose flour blend, granulated sugar, light brown sugar, baking soda, salt, and optional ground cinnamon. Use a whisk to thoroughly combine these ingredients. This step ensures that the leavening agents (like baking soda) are evenly distributed, so your bread rises properly.
- Combine Wet & Dry: Pour the wet ingredient mixture from step 3 into the dry ingredient mixture from step 4. Now, this is a critical step for quick breads: mix just until no dry streaks of flour remain. You can use a spatula or a wooden spoon. Overmixing gluten-free flour can lead to a tough or crumbly texture, so stop as soon as it’s combined! A few small lumps are perfectly fine.
- Fold in Mix-ins (Optional): If you’re adding chocolate chips, chopped nuts, or other mix-ins, gently fold them into the batter now. Don’t overmix! Just enough to distribute them evenly.
- Transfer to Pan: Pour the batter into your prepared loaf pan. Use your spatula to spread it evenly. You can gently tap the pan on your counter a few times to release any large air bubbles.
- Bake: Place the loaf pan in your preheated oven. Bake for approximately 50-65 minutes. Baking times can vary slightly depending on your oven and the exact moisture content of your bananas.
- Check for Doneness: To check if your quick bread is done, insert a wooden skewer, toothpick, or thin knife into the center of the loaf. If it comes out clean or with only a few moist crumbs attached (not wet batter), your bread is ready! If it comes out with wet batter, continue baking for another 5-10 minutes and check again. Avoid opening the oven door too frequently during baking, especially in the first 30-40 minutes, as this can cause the bread to sink.
- Cooling: Once baked, remove the loaf pan from the oven and let it cool in the pan on a wire rack for about 10-15 minutes. This allows the bread to set and prevents it from crumbling when you remove it. After 10-15 minutes, carefully invert the loaf onto the wire rack to cool completely. Slicing it while warm can make it crumbly, so patience is a virtue here!
Tips & Tricks for Gluten-Free Baking Success
Baking, especially gluten-free, can feel daunting, but these tips will set you up for success and help you avoid common beginner pitfalls.
- Measure Accurately: This is arguably the most important tip! Use proper measuring cups and spoons. For dry ingredients, spoon the flour into the measuring cup and level it off with the back of a knife. Don’t scoop directly from the bag, as this can compact the flour and lead to too much being added, resulting in a dry bread.
- Don’t Overmix: We’ve said it before, but it bears repeating! Overmixing develops gluten (even in gluten-free flours, if they contain certain starches or gums) and can make your bread tough or dense. Mix just until combined.
- Room Temperature Ingredients: Eggs and milk at room temperature emulsify better with other ingredients, creating a smoother, more uniform batter and a better texture in your final product. Take them out of the fridge about 30 minutes before you start.
- Ripe Bananas are Key: The browner and spottier your bananas, the sweeter and more flavorful your banana bread will be. They also mash more easily.
- Patience with Cooling: Resist the urge to slice into your quick bread as soon as it comes out of the oven. Letting it cool completely (or at least mostly) on a wire rack allows the internal structure to set, preventing a gummy texture and making it much easier to slice neatly.
- Customize It: Feel free to experiment with add-ins! Chocolate chips, chopped walnuts or pecans, dried cranberries, or a sprinkle of coarse sugar on top before baking can add wonderful flavor and texture.
Essential Baking Tools for Beginners
You don’t need a fancy kitchen to bake delicious quick bread, but having these basic tools will make the process much smoother.
- Mixing Bowls (at least two, one large and one medium)
- Whisk (for combining dry ingredients and wet ingredients)
- Loaf Pan (9×5 inches is standard for this recipe)
- Measuring Cups (for dry and liquid ingredients)
- Measuring Spoons (for smaller quantities)
- Rubber Spatula (for scraping bowls and folding ingredients)
- Wire Rack (for cooling)
- Toothpicks or wooden skewers (for checking doneness)
Estimated Nutrition Info (Per Slice, based on 12 slices)
Please note: These values are approximate and can vary based on specific ingredient brands and quantities used.
| Nutrient | Amount |
|---|---|
| Calories | 200-250 kcal |
| Carbohydrates | 35-45 g |
| Protein | 2-4 g |
| Fat | 8-12 g |
| Fiber | 1-2 g |
| Sugar | 20-30 g |
Frequently Asked Questions (FAQs) for Beginner Bakers
Q1: What kind of gluten-free flour blend should I use?
A: For quick breads, an all-purpose gluten-free flour blend that contains xanthan gum is usually best. Brands like Bob’s Red Mill 1-to-1 Baking Flour, King Arthur Gluten-Free Measure for Measure Flour, or Cup4Cup often work wonderfully. If your blend doesn’t contain xanthan gum, add ½ teaspoon per cup of flour to help with binding and structure.
Q2: Can I make this dairy-free or egg-free?
A: Yes! For dairy-free, simply use a non-dairy milk (almond, soy, oat) and swap the butter for an equal amount of melted coconut oil or a dairy-free butter substitute. For egg-free, you can try a “flax egg” (1 tablespoon ground flaxseed meal mixed with 3 tablespoons water, let sit for 5 minutes) or a commercial egg replacer, though results may vary slightly in texture.
Q3: How do I know when my quick bread is truly done?
A: The best way is the “toothpick test.” Insert a wooden skewer or toothpick into the very center of the loaf. If it comes out clean or with only a few moist crumbs attached (no wet batter!), it’s done. If it comes out wet, bake for another 5-10 minutes and test again. The top should also be golden brown and the edges pulling away slightly from the pan.
Q4: Why did my quick bread sink in the middle?
A: This can happen for a few reasons: the oven wasn’t preheated enough, you opened the oven door too early during baking (especially in the first 30-40 minutes), too much leavening agent (baking soda), or it might not have been fully cooked in the center. Ensure your oven temperature is accurate and resist peeking!
Q5: How should I store leftover quick bread?
A: Once completely cooled, wrap your quick bread tightly in plastic wrap or aluminum foil. It will stay fresh at room temperature for 2-3 days. For longer storage, slice the bread, wrap individual slices, and freeze them for up to 2-3 months. Thaw individual slices at room temperature or gently warm them in a toaster or microwave.
Conclusion
And there you have it – a delicious, moist, and wonderfully fragrant Gluten-Free Banana Quick Bread, made entirely by you! Baking doesn’t have to be intimidating, especially with Gluten Free Quick Bread Recipes. This recipe is a fantastic starting point for any beginner, proving that easy baking recipes can deliver incredible results. We hope our baking tips for beginners have empowered you to confidently create in your kitchen. Don’t be afraid to experiment with flavors or add-ins in your next batch. So go ahead, pour yourself a cup of coffee, slice into your homemade masterpiece, and savor the sweet taste of success. Happy baking, and we can’t wait to hear how your bread turns out!