Welcome, aspiring bakers! Are you ready to create a dessert that tastes incredibly sophisticated but is surprisingly simple to master? You’ve come to the right place. This Grand Marnier Cake Recipe is your ticket to baking success, even if you’ve never baked anything more complex than toast! We’ve designed this guide with easy baking recipes in mind, breaking down every step so you can feel confident and capable in the kitchen. Forget intimidating techniques; we’re focusing on clear, actionable baking tips for beginners that will lead you to a show-stopping cake. Get ready to impress your friends and family (and yourself!) with a moist, citrus-infused masterpiece.
Ingredients List
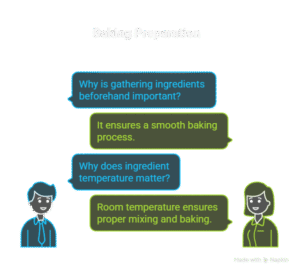
Gathering all your ingredients before you start is a crucial step for a smooth baking experience. Make sure everything is at room temperature unless otherwise specified it makes a huge difference!
For the Cake:
| Quantity | Unit | Ingredient |
|---|---|---|
| 2 ½ | cups | All-Purpose Flour |
| 1 ½ | teaspoons | Baking Powder |
| ½ | teaspoon | Salt |
| 1 | cup (2 sticks) | Unsalted Butter, softened |
| 1 ¾ | cups | Granulated Sugar |
| 4 | large | Eggs, room temperature |
| 1 | teaspoon | Vanilla Extract |
| 1 | tablespoon | Orange Zest (from 1-2 oranges) |
| ½ | cup | Grand Marnier (or other orange liqueur) |
| ½ | cup | Milk, room temperature (whole milk preferred) |
For the Grand Marnier Glaze:
| Quantity | Unit | Ingredient |
|---|---|---|
| 1 ½ | cups | Powdered Sugar (Confectioners’ Sugar) |
| ¼ | cup | Grand Marnier |
| 2 | tablespoons | Orange Juice (freshly squeezed is best) |
| 1 | teaspoon | Orange Zest (optional, for garnish) |
Step-by-Step Instructions
Follow these steps carefully, and you’ll be on your way to a perfectly baked Grand Marnier Cake!
Step 1: Get Prepped (The Foundation of Success!)
- Preheat Your Oven: Adjust your oven rack to the middle position and preheat to 350°F (175°C). This ensures your oven is evenly heated when the cake goes in.
- Prepare Your Pan: Grease and flour a 9×13 inch baking pan (or a 10-12 cup Bundt pan). This means generously coating the inside with butter or non-stick spray, then dusting with a thin layer of flour, tapping out any excess. This prevents your cake from sticking – a common beginner frustration!
- Gather and Measure: Lay out all your ingredients and measure them precisely. Baking is a science, and exact measurements are key.
Step 2: Combine the Dry Ingredients
- Whisk Together: In a medium bowl, whisk together the 2 ½ cups all-purpose flour, 1 ½ teaspoons baking powder, and ½ teaspoon salt. Whisking ensures the leavening agents (baking powder) are evenly distributed, leading to an even rise. Set aside.
Step 3: Cream Butter and Sugar (The Secret to a Tender Crumb!)
- Cream the Butter and Sugar: In a large mixing bowl (using a stand mixer with a paddle attachment or a hand mixer), beat the softened 1 cup butter and 1 ¾ cups granulated sugar on medium-high speed for 3-5 minutes. You’re looking for a mixture that is light in color and fluffy in texture. This process incorporates air, which makes your cake tender and light.
- Add Eggs One at a Time: Reduce the mixer speed to medium. Add the 4 large eggs, one at a time, beating well after each addition until fully incorporated. Scrape down the sides of the bowl as needed to ensure everything is mixed evenly.
- Stir in Flavor: Beat in the 1 teaspoon vanilla extract and 1 tablespoon orange zest until just combined. Don’t overmix at this stage.
Step 4: Alternate Dry and Wet Ingredients
- Combine Liquids: In a separate small bowl or measuring cup, gently stir together the ½ cup Grand Marnier and ½ cup milk.
- Add Dry and Wet in Batches: With the mixer on low speed, add the dry ingredients to the wet ingredients in three additions, alternating with the liquid mixture in two additions.
- Start by adding about one-third of the flour mixture. Mix until *just* combined.
- Then add about half of the Grand Marnier/milk mixture. Mix until *just* combined.
- Repeat with another third of the flour, then the remaining liquid, and finally the last third of the flour.
- Important Tip: Do Not Overmix! Mix only until the ingredients are just combined and no streaks of flour remain. Overmixing develops the gluten in the flour, which can lead to a tough, dry cake.
Step 5: Bake to Perfection
- Pour into Pan: Pour the cake batter evenly into your prepared 9×13 inch baking pan. Use a spatula to level the top.
- Bake: Bake for 35-45 minutes (for a 9×13 pan) or 50-60 minutes (for a Bundt pan), or until a wooden skewer or toothpick inserted into the center of the cake comes out clean. If you see wet batter, bake for a few more minutes.
- Cool in Pan: Once baked, remove the cake from the oven and let it cool in the pan on a wire rack for 15-20 minutes. This allows the cake to set and prevents it from breaking when you remove it.
- Invert and Cool Completely: If using a Bundt pan, carefully invert the cake onto the wire rack to cool completely. If using a 9×13 pan, you can cool it completely in the pan or carefully transfer it to a wire rack after the initial cooling.
Step 6: Prepare and Apply the Glaze
- Whisk Glaze Ingredients: In a medium bowl, whisk together 1 ½ cups powdered sugar, ¼ cup Grand Marnier, and 2 tablespoons orange juice until smooth and lump-free. If the glaze is too thick, add a tiny bit more orange juice (½ teaspoon at a time). If too thin, add a bit more powdered sugar.
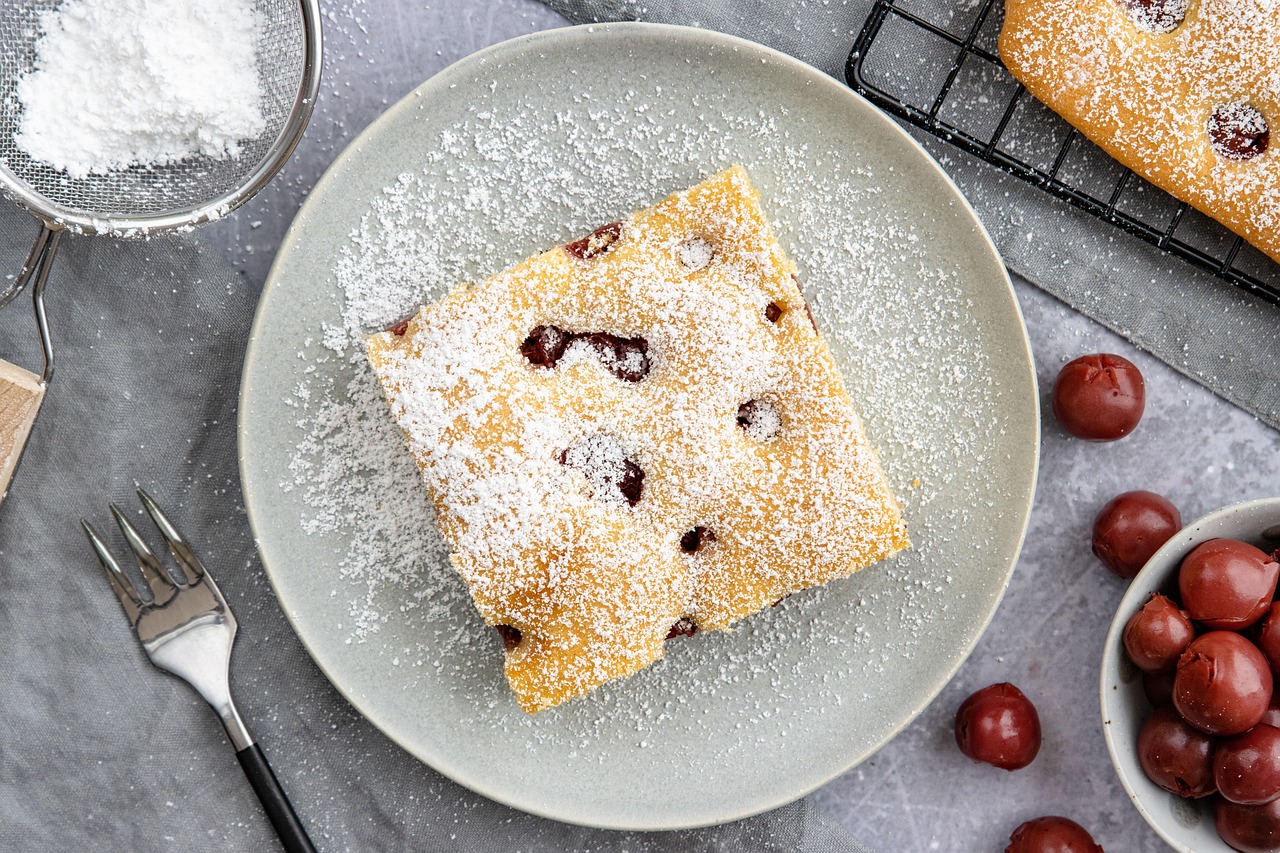
- Glaze the Cooled Cake: Once the cake is completely cool, drizzle the glaze evenly over the top. You can use a spoon or a small whisk.
- Garnish (Optional): Sprinkle with extra orange zest for a beautiful finish.
Tips & Tricks for Beginner Bakers
Baking can seem daunting, but these simple tips will make your journey smoother and more successful:
- Room Temperature Matters: Ensure butter, eggs, and milk are at room temperature. This allows them to emulsify better, creating a smoother batter and a more uniform texture in your cake. Cold ingredients can lead to a lumpy batter and a denser cake.
- Measure Accurately: Use proper measuring cups and spoons. For flour, spoon it into your measuring cup and then level it off with a straight edge (like the back of a knife) – don’t scoop directly from the bag, as this can pack the flour and result in too much.
- Don’t Overmix: This is arguably the most common beginner mistake! Mix only until ingredients are *just* combined. Overmixing develops gluten, leading to a tough, chewy cake instead of a light and tender one.
- Trust Your Oven Thermometer: Oven temperatures can vary widely. Investing in an inexpensive oven thermometer can help you ensure your oven is truly at the temperature you set, preventing under or over-baking.
- Patience is a Virtue (Especially for Cooling): Resist the urge to glaze or slice a warm cake. A warm cake is fragile and can crumble easily. Let it cool completely for the best structure and to allow the glaze to set properly.
- Zest Smart: When zesting oranges, use a microplane or fine grater and only remove the bright orange part of the peel. The white pith underneath is bitter and will negatively affect your cake’s flavor.
- Storage: Store your Grand Marnier cake in an airtight container at room temperature for up to 3-4 days. For longer storage, it can be refrigerated for up to a week.
Essential Baking Tools
Having the right tools makes all the difference in your baking adventures. Here are some basic essentials:
- Mixing Bowl (various sizes)
- Whisk (for dry ingredients and glaze)
- Baking Pan (9×13 inch or Bundt pan)
- Measuring Cups (dry and liquid)
- Measuring Spoons
- Spatula (rubber spatula for scraping bowls)
- Electric Hand Mixer or Stand Mixer (highly recommended for ease)
- Wire Rack (for cooling)
- Microplane Zester (for orange zest)
- Wooden Skewer or Toothpicks (for testing doneness)
Nutrition Information (Estimated per Serving)
Please note: This is an estimated nutritional breakdown for one serving (assuming 16 servings per cake) and can vary based on exact ingredients and portion sizes.
| Nutrient | Amount |
|---|---|
| Calories | ~350-400 kcal |
| Carbohydrates | ~50-60 g |
| Protein | ~4-5 g |
| Total Fat | ~15-20 g |
| Fiber | ~1 g |
| Sugar | ~35-45 g |
Frequently Asked Questions for Beginners
Q1: Can I make this cake without alcohol?
A: Absolutely! If you prefer to omit the Grand Marnier, you can substitute it with an equal amount of orange juice (freshly squeezed is best) in both the cake batter and the glaze. You’ll still get a lovely citrus flavor!
Q2: Why are room temperature ingredients so important?
A: Room temperature butter creams more easily with sugar, incorporating air for a lighter cake. Room temperature eggs and milk also emulsify better with the butter mixture, creating a smoother, more uniform batter that bakes evenly and results in a tender crumb.
Q3: How do I know when my cake is truly done baking?
A: The most reliable test is to insert a wooden skewer or toothpick into the very center of the cake. If it comes out clean (without any wet batter clinging to it), your cake is done. If it has wet batter, continue baking for a few more minutes and retest.
Q4: My cake sank in the middle! What went wrong?
A: A sunken cake is often due to one of a few reasons: the oven door was opened too early during baking (especially in the first 2/3 of the baking time), the cake was underbaked, or too much leavening (baking powder) was used. Make sure your oven temperature is accurate and resist opening the door until the cake is nearly done.
Q5: Can I make this cake ahead of time?
A: Yes! This cake is actually wonderful made a day in advance, as the flavors have time to meld and develop. Store it in an airtight container at room temperature. The glaze can be applied right before serving or shortly after the cake has completely cooled.
Q6: How should I store leftover Grand Marnier Cake?
A: Store any leftover cake in an airtight container at room temperature for up to 3-4 days. For longer storage, you can refrigerate it for up to a week. If refrigerating, it’s best to let it come to room temperature before serving for the best flavor and texture.
Conclusion
And there you have it your very own homemade Grand Marnier Cake! You’ve navigated the steps, understood the ‘whys,’ and created something truly delicious. Baking, especially for beginners, is all about taking it one step at a time, learning from each attempt, and most importantly, enjoying the process. Don’t be afraid to experiment a little next time or try another one of our easy baking recipes. We hope this recipe brings a little sunshine and a lot of satisfaction to your kitchen. Happy baking, and don’t forget to share your beautiful creation with us!