There’s something incredibly comforting and satisfying about the aroma of freshly baked bread wafting through your home. If you’ve ever walked into a Great Harvest Bread Co. and wished you could recreate that wholesome, hearty goodness yourself, you’re in the right place! This comprehensive guide will walk you through making delicious,
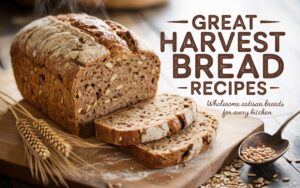
Rustic bread inspired by Great Harvest Bread Recipes, right in your own kitchen. Don’t let the idea of baking bread intimidate you this is one of the most easy baking recipes you’ll find, specifically designed with baking tips for beginners in mind. We’ll break down every step, ensuring your first loaf (and many more!) is a resounding success. Get ready to impress yourself and your loved ones with homemade bread that tastes as good as it smells!
Ingredients You’ll Need
Gathering your ingredients before you start is a key step to successful baking. Here’s what you’ll need for a beautiful, hearty loaf of honey whole wheat bread, inspired by the wholesome goodness of Great Harvest.
| Ingredient | Quantity | Unit |
|---|---|---|
| Warm Water (105-115°F / 40-46°C) | 1 ½ | cups |
| Active Dry Yeast | 2 ¼ | teaspoons (1 standard packet) |
| Honey | ¼ | cup |
| Olive Oil or Melted Butter | 2 | tablespoons |
| Salt | 1 ½ | teaspoons |
| Whole Wheat Flour | 3 | cups |
| All-Purpose Flour (or Bread Flour) | 1 to 1 ½ | cups |
Beginner Tip: Ensure your water temperature is just right! Too hot will kill the yeast, too cold won’t activate it. It should feel like a warm bath on your wrist – comfortably warm, not hot.
Step-by-Step Instructions: Bake Your Best Loaf!
Follow these detailed steps carefully, and you’ll be enjoying warm, homemade bread in no time. Don’t be afraid to get your hands a little floury – that’s part of the fun!
Step 1: Activate the Yeast (Proofing)
- In a large mixing bowl (or the bowl of your stand mixer), pour in the 1 ½ cups of warm water.
- Sprinkle the 2 ¼ teaspoons of active dry yeast evenly over the water.
- Add the ¼ cup of honey to the mixture. Honey not only sweetens the bread but also provides food for the yeast, helping it activate.
- Gently stir once or twice with a spoon, then let it sit undisturbed for 5-10 minutes.
- What to look for: The mixture should become foamy and bubbly on top, like the head on a beer. This is proof that your yeast is alive and active! If it doesn’t foam, your yeast might be old or the water temperature was off. Start again with fresh yeast and re-check your water temperature. This is a crucial first step for successful rising, so don’t skip it!
Step 2: Mix the Dough
- Once your yeast is active and foamy, add the 2 tablespoons of olive oil or melted butter and the 1 ½ teaspoons of salt to the bowl.
- Add the 3 cups of whole wheat flour, followed by 1 cup of all-purpose flour.
- Using a sturdy spoon or a dough hook on your stand mixer, mix until all the flour is incorporated and a shaggy, somewhat sticky dough forms.
- Beginner Tip: The dough will be sticky at first. That’s normal! If it seems excessively wet and doesn’t begin to form a ball, add the remaining ½ cup of all-purpose flour, a tablespoon at a time, until the dough starts to come together and pull away from the sides of the bowl. Avoid adding too much flour, as this can lead to a dense, dry loaf.
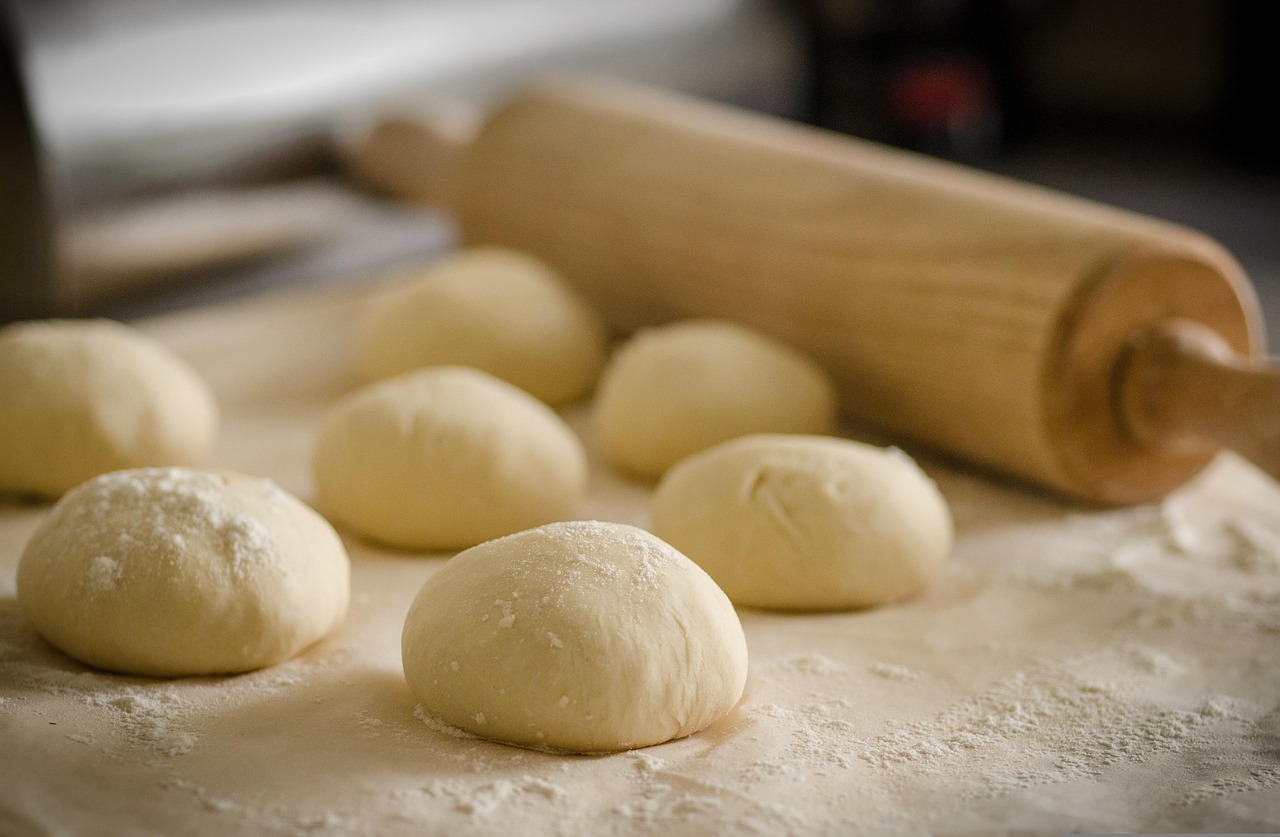
Step 3: Knead the Dough
Kneading develops the gluten in the flour, which gives the bread its structure, elasticity, and chewy texture. This is where the magic happens and your dough transforms!
- By Hand: Turn the dough out onto a lightly floured surface. Knead for 8-10 minutes. The basic technique is to push the dough away from you with the heels of your hands, fold it back over towards you, rotate it a quarter turn, and repeat. Continue this motion until the dough becomes smooth, elastic, and less sticky. It’s a workout, but rewarding!
- With a Stand Mixer: Attach the dough hook and knead on medium-low speed for 6-8 minutes. The dough should gather around the hook and pull cleanly away from the sides of the bowl, looking smooth and elastic.
- How to tell if it’s kneaded enough (The Windowpane Test): Pinch off a small piece of dough (about the size of a golf ball). Gently stretch it with your fingers. If you can stretch it thin enough to see light through it without tearing, it’s properly kneaded. If it tears easily, keep kneading for a few more minutes.
Step 4: First Rise (Bulk Fermentation)
- Lightly grease a clean large bowl with a little olive oil or cooking spray. This prevents the dough from sticking.
- Place the kneaded dough into the greased bowl, turning it once to coat the top with oil. This helps prevent a dry crust from forming during the rise.
- Cover the bowl tightly with plastic wrap or a clean, damp kitchen towel.
- Place the bowl in a warm, draft-free spot. A slightly warm oven (turned off, with just the light on) or a microwave with a cup of hot water inside (remove the water before putting in the dough) are great options for a warm environment.
- Let the dough rise for 1 to 1 ½ hours, or until it has doubled in size. The exact time depends on the warmth of your environment – cooler environments take longer.
- Common Mistake: Don’t rush this step! A proper first rise (also called bulk fermentation) is essential for good flavor and texture development in your bread. If your kitchen is cool, be patient, it might take longer.
Step 5: Shape the Loaf
- Once the dough has doubled, gently punch it down to release the air. This is a satisfying moment!
- Turn the dough out onto a lightly floured surface.
- Gently flatten the dough into a rectangle, roughly the length of your loaf pan (about 9-10 inches).
- Starting from one of the longer sides, tightly roll the dough up into a cylinder. Pinch the seam closed along the bottom and at the ends to create a smooth, taut loaf shape. This tension helps the loaf hold its form.
- Beginner Tip: Be gentle during shaping. You want to maintain some of the air bubbles that developed during the first rise, as these contribute to a light and airy texture in your final bread. Avoid overworking the dough.
Step 6: Second Rise (Proofing)
- Lightly grease a standard 9×5 inch loaf pan.
- Carefully place the shaped dough seam-side down into the prepared loaf pan.
- Cover the loaf pan loosely with plastic wrap or a clean kitchen towel.
- Return the pan to your warm, draft-free spot for the second rise.
- Let it rise for another 30-45 minutes, or until it has nearly doubled in size again and looks puffy and airy. It should extend about an inch or so over the top of the pan.
- Warning: Don’t let it over-proof during this stage, or it might collapse in the oven. To test for readiness, gently poke the dough with a floured finger. If it springs back slowly and leaves a slight indent, it’s ready. If it springs back immediately, it needs more time. If it collapses, it’s over-proofed.
Step 7: Bake Your Bread
- About 15 minutes before the end of the second rise, preheat your oven to 375°F (190°C).
- If desired, for a slightly crisper crust and a more rustic look, you can lightly brush the top of the loaf with a little water or sprinkle with oats or a dash of whole wheat flour just before baking.
- Carefully place the loaf pan into the preheated oven.
- Bake for 30-40 minutes.
- How to tell if it’s done: The crust should be a deep golden brown. For absolute certainty, use an instant-read thermometer. The internal temperature of the bread should register 200-210°F (93-99°C). You can also tap the bottom of the loaf – if it sounds hollow, it’s usually done.
Step 8: Cool and Enjoy!
- Once baked, immediately remove the bread from the loaf pan and transfer it to a wire cooling rack. This prevents the bottom crust from becoming soggy.
- Let the bread cool completely for at least 1-2 hours before slicing.
- Why this is important: Slicing hot bread can make it gummy inside because the internal structure is still setting and moisture is still redistributing. Cooling allows the starches to fully set and the texture to become perfect.
- Once cool, slice and savor your incredible homemade Great Harvest-inspired bread! It’s perfect with butter, jam, or as a base for sandwiches.
Pro Tips & Tricks for Beginner Bread Bakers
Baking bread is a journey, and these actionable tips will help you navigate it with confidence and achieve consistent results, just like the pros at Great Harvest.
- Master Your Yeast: Always proof your active dry yeast (Step 1). If it doesn’t foam, your yeast is dead, and your bread won’t rise. Don’t waste ingredients on dead yeast!
- Accurate Measuring: Especially for flour, use the ‘spoon and level’ method. Spoon flour into your measuring cup, then level it off with a straight edge. Scooping directly can pack too much flour, leading to dense bread.
- Trust Your Touch: Dough consistency can vary slightly based on humidity and flour type. Don’t be afraid to add a tiny bit more flour if it’s too sticky, or a teaspoon of water if it’s too dry, during kneading. The goal is a soft, pliable, slightly tacky dough that’s easy to handle.
- Warmth is Key for Rising: Yeast loves warmth. If your kitchen is cool, try placing the dough in an oven that’s turned off but has the light on (the light generates enough warmth), or in a microwave with a cup of hot water (remove the water before adding dough).
- Don’t Over-Proof: While a good rise is crucial, over-proofing can cause your bread to collapse in the oven or have a coarse texture. Look for the “slow spring-back” test (Step 6) to ensure it’s just right.
- Invest in an Oven Thermometer: Oven temperatures can be notoriously inaccurate. An inexpensive oven thermometer ensures your oven is truly at the temperature you set, preventing under or over-baking.
- Patience During Cooling: It’s tempting to slice into a warm loaf, but resist! Cooling completely allows the internal structure to firm up and prevents a gummy texture.
- Storage Savvy: Store cooled bread at room temperature in an airtight container or bread bag for 3-4 days. For longer storage, slice and freeze. Thaw slices as needed for fresh toast or sandwiches.
- Embrace Imperfection: Your first loaf might not be picture-perfect, and that’s okay! Every bake is a learning experience. Enjoy the process and the delicious results, no matter how rustic they look.
Essential Baking Tools for Your Kitchen
Having the right tools makes the baking process smoother and more enjoyable. Here are some essentials that will serve you well for this Great Harvest-inspired bread recipe and many more baking adventures:
- Large Mixing Bowl: For combining ingredients and the first rise.
- Whisk: For activating yeast and blending dry ingredients.
- 9×5 inch Loaf Pan: The perfect size for your bread loaf.
- Measuring Cups and Spoons: Accuracy is key in baking.
- Rubber Spatula or Dough Scraper: For mixing and handling sticky dough.
- Optional but Recommended: Kitchen scale for precise flour measurement, instant-read thermometer for checking water/dough temperature, stand mixer with dough hook.
Nutrition Information (Estimated per Serving)
While homemade bread is always a healthier choice, here’s an estimated nutritional breakdown for one slice (assuming 12 slices per loaf). Please note these are estimates and can vary based on exact ingredients and portion sizes.
| Nutrient | Amount |
|---|---|
| Calories | 180 kcal |
| Total Carbohydrates | 35 g |
| Protein | 6 g |
| Total Fat | 3 g |
| Dietary Fiber | 4 g |
| Sugars | 7 g |
*Estimates based on typical ingredients for a honey whole wheat bread. Actual nutritional values may vary depending on precise measurements and brands used.
Frequently Asked Questions for Beginner Bakers
Don’t worry if you have questions – that’s a sign of a curious baker! Here are some common queries from those new to bread making:
- Q: My bread didn’t rise. What went wrong?
- A: The most common culprits are dead or inactive yeast (check water temperature!), or your rising environment was too cold. Always proof your yeast first to ensure it’s active. If it doesn’t foam, discard and start with fresh yeast and correct water temperature (105-115°F).
- Q: My bread is very dense and heavy. How can I make it lighter?
- A: Dense bread often means too much flour, not enough kneading, or insufficient rising time. Ensure you’re measuring flour correctly (spoon and level), knead until the dough is elastic (windowpane test), and give the dough ample time to double in size during both rises.
- Q: Can I use all whole wheat flour for this recipe?
- A: Yes, you can, but your bread will be significantly denser and have a stronger whole wheat flavor. Whole wheat flour has more bran, which can inhibit gluten development. If you use 100% whole wheat, you might need a bit more water and slightly longer kneading time, and accept a denser crumb.
- Q: How do I know when my bread is fully baked?
- A: The crust should be a deep golden brown. For a precise answer, use an instant-read thermometer; the internal temperature should be between 200-210°F (93-99°C). You can also tap the bottom of the loaf – if it sounds hollow, it’s usually done.
- Q: Can I make this recipe in a stand mixer?
- A: Absolutely! A stand mixer with a dough hook makes the kneading process much easier. Follow the instructions for mixing and kneading, using medium-low speed for 6-8 minutes after the ingredients are combined.
- Q: How should I store my homemade bread?
- A: Once completely cooled, store your bread at room temperature in an airtight container, a bread box, or a sealed plastic bag for 3-4 days. For longer storage, slice the cooled loaf and freeze the slices. You can then pull out individual slices to toast as needed!
Your Homemade Bread Journey Begins!
Congratulations, aspiring baker! You’ve just unlocked the secrets to creating a truly wonderful, wholesome loaf of bread inspired by the beloved Great Harvest Bread Recipes. From the satisfying process of kneading to the incredible aroma filling your kitchen, every step of making bread is a rewarding experience.
Don’t worry if your first loaf isn’t picture-perfect. Baking is a skill that improves with practice, and every attempt is delicious in its own right. Keep these baking tips for beginners in mind, and you’ll soon be baking with confidence and joy. Share your creations, experiment with different flours or additions, and most importantly, enjoy the incredible taste of your own homemade bread. Happy baking!