Hawaiian Bread Recipe For Bread Machine: Your Easiest Tropical Escape!
Aloha, fellow baking enthusiasts! Are you ready to bring a taste of the tropics right into your kitchen with minimal effort? If you’ve been dreaming of soft, fluffy, slightly sweet bread with that unmistakable Hawaiian flavor, but feel intimidated by traditional baking, then you’re in the right place. Our **Hawaiian Bread Recipe For Bread Machine** is designed to be one of the most **easy baking recipes** you’ll ever try. Forget complex kneading and long proofing times – your trusty bread machine does all the heavy lifting! This detailed guide is packed with **baking tips for beginners**, ensuring you achieve bakery-quality results every single time. Get ready to impress your family and friends with this irresistible treat, perfect for breakfast, sandwiches, or simply enjoyed on its own.
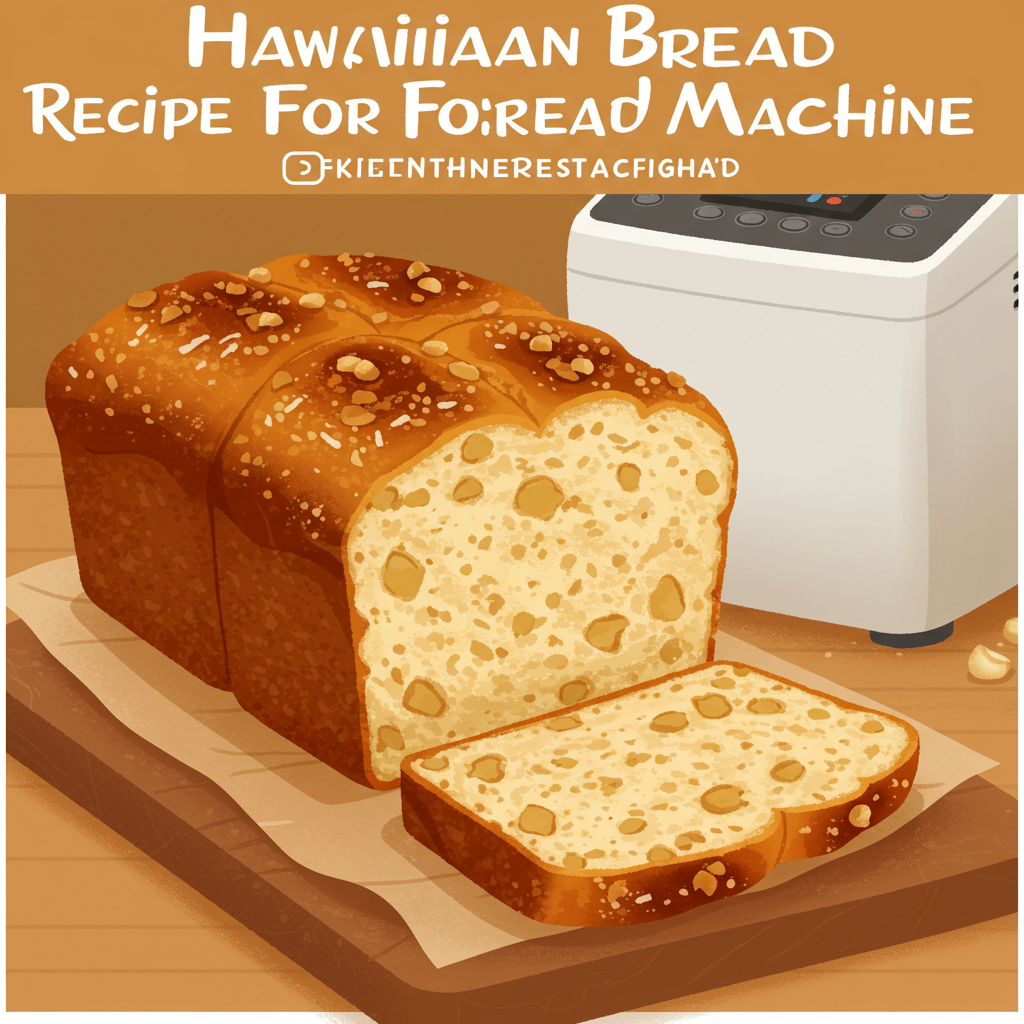
Let’s dive into making this wonderfully soft and golden loaf that will transport your senses straight to a sunny Hawaiian beach!
Ingredients List
Gathering your ingredients beforehand, also known as “mise en place,” is a great habit for any beginner baker. It ensures you have everything you need and helps prevent last-minute rushes!
| Ingredient | Quantity | Unit |
|---|---|---|
| Warm Milk (whole milk recommended) | 1 | cup |
| Unsweetened Pineapple Juice | 1/4 | cup |
| Large Egg (room temperature) | 1 | |
| Unsalted Butter (melted and cooled) | 1/4 | cup |
| All-Purpose Flour | 3 | cups |
| Granulated Sugar | 1/4 | cup |
| Salt | 1 | teaspoon |
| Instant Yeast (or bread machine yeast) | 2 | teaspoons |
Step-by-Step Instructions: Baking Hawaiian Bread in Your Bread Machine
Using a bread machine simplifies the process immensely. Just follow these steps carefully, and you’ll be enjoying warm, homemade Hawaiian bread in no time!
Step 1: Prepare Your Ingredients
Before you even touch your bread machine, ensure all your ingredients are measured accurately. This is crucial for successful baking! For best results, make sure your milk is warm (not hot, around 105-115°F or 40-46°C – warm to the touch but not scalding) and your egg is at room temperature. If your butter is melted, allow it to cool slightly so it doesn’t cook the yeast.
Beginner Tip: Using measuring cups designed for liquids (with a spout) for milk and pineapple juice, and dry measuring cups for flour and sugar will give you the most accurate results. Level off dry ingredients with a straight edge like a knife or spatula.
Step 2: Add Wet Ingredients to the Bread Machine Pan
Most bread machine manufacturers recommend adding liquid ingredients first to prevent the yeast from prematurely activating or getting wet before it’s time. Carefully pour the **warm milk**, **pineapple juice**, **beaten egg**, and **cooled melted butter** into the bread machine pan. Make sure the mixing paddle is correctly installed in the pan.
Common Mistake & Fix: If your butter is too hot, it can kill the yeast, preventing your bread from rising. Always ensure it’s cooled to lukewarm before adding.
Step 3: Add Dry Ingredients
Next, carefully add the dry ingredients on top of the liquids. First, add the **all-purpose flour**. Gently spoon it into the pan, forming a mound over the liquids. Then, add the **granulated sugar** and **salt** on opposite sides of the flour mound. It’s a good practice to keep the salt and yeast separate initially, as salt can inhibit yeast activity if they come into direct contact for too long.
Beginner Tip: When measuring flour, don’t scoop directly from the bag with your measuring cup, as this compacts the flour and can lead to too much flour. Instead, spoon the flour into your measuring cup and then level it off with a straight edge. This is called the “spoon and level” method.
Step 4: Add the Yeast Last
Finally, create a small indentation or well in the center of the flour mound (away from the salt) and add the **instant yeast**. This placement ensures the yeast isn’t immediately exposed to the liquids or salt, allowing it to activate at the right time during the kneading cycle.
Important: Do not stir the ingredients at this stage. Your bread machine will do all the mixing for you.
Step 5: Select Your Bread Machine Cycle
Place the bread machine pan back into the machine, close the lid, and select the appropriate setting. For this Hawaiian bread, the **”Sweet Bread”** cycle is usually the best choice, as it’s designed for doughs with higher sugar content and typically has a longer rise time. If your machine doesn’t have a “Sweet Bread” setting, the **”Basic”** or **”White Bread”** cycle will also work well. Select your desired crust color (light, medium, or dark – medium is often a good starting point for beginners) and loaf size if your machine offers these options.
Alternative: Using the “Dough” Cycle (for oven baking): If you prefer to shape and bake your bread in a traditional oven, select the “Dough” cycle. Once the cycle is complete (usually 1.5-2 hours), remove the dough, punch it down gently, shape it into a loaf or rolls, place it in a greased baking pan, let it rise in a warm place for another 30-45 minutes (until doubled in size), and then bake in a preheated oven at 350°F (175°C) for 25-35 minutes, or until golden brown and cooked through.
Step 6: Let the Machine Do Its Work
Press start and let your bread machine work its magic! It will go through cycles of kneading, rising, and baking. Avoid opening the lid during the kneading and rising phases, as this can disrupt the internal temperature and humidity, affecting the rise of your bread.
Observation During Kneading: Keep an eye on the dough during the first 5-10 minutes of kneading. It should form a smooth, elastic ball. If it looks too sticky (more like a batter), add a teaspoon of flour at a time until it reaches the right consistency. If it looks too dry or shaggy, add a teaspoon of warm milk or water at a time. This adjustment is rarely needed but can be helpful if your flour or humidity levels vary.
Step 7: Cooling and Enjoying
Once the bread machine beeps, indicating the cycle is complete, carefully remove the bread pan from the machine using oven mitts. It will be very hot! Invert the pan onto a wire rack to release the loaf. If the paddle is stuck in the bread, carefully remove it with a utensil. Allow the bread to cool completely on the wire rack for at least 1-2 hours before slicing. Slicing hot bread can make it gummy and dense.
The Waiting Game: It’s hard, but crucial! Cooling allows the internal structure of the bread to set and the moisture to redistribute, resulting in the perfect texture.
Congratulations! You’ve just made a delicious loaf of homemade Hawaiian bread. Enjoy it plain, toasted, with butter, or as the base for your favorite sandwiches.
Tips & Tricks for Perfect Hawaiian Bread Every Time
Even with the simplicity of a bread machine, a few extra tips can elevate your baking game and ensure consistent success:
- Ingredient Temperature is Key: Ensure all cold ingredients (like milk and egg) are at room temperature, and butter is melted but cooled. This helps activate the yeast properly and promotes an even rise.
- Measure Accurately: Baking is a science! Use proper measuring cups and spoons, and level off dry ingredients. Even a slight variation can impact the final texture of your bread.
- Fresh Yeast Matters: Yeast is a living organism. If your yeast is old or expired, your bread won’t rise. Always check the expiration date and store yeast in an airtight container in the refrigerator or freezer for longevity.
- Don’t Peek Too Often: Resist the urge to open the bread machine lid frequently during the kneading and rising cycles. Each time you open it, you release heat and humidity, which can hinder the bread’s development.
- Adjust for Altitude/Humidity: If you live in a high-altitude or very humid climate, you might need to slightly adjust your liquid or flour amounts. High altitude can require a bit more liquid, while high humidity might call for a touch more flour.
- Cool Completely: As tempting as it is, don’t slice into your bread while it’s still hot. It needs to cool completely on a wire rack to allow the internal structure to set, preventing a gummy texture.
- Clean Your Machine: Regularly clean your bread machine pan and paddle to ensure optimal performance and longevity.
Essential Baking Tools
While your bread machine does most of the work, a few basic tools will make your baking experience even smoother.
- Mixing Bowl (for whisking egg, melting butter, if not directly in machine)
- Whisk (for beating the egg)
- Baking Pan (if using the dough cycle and baking in the oven)
- Measuring Cups
- Spatula (for leveling flour and scraping bowls)
- Liquid measuring cup
- Measuring spoons
- Wire cooling rack
Nutrition Information (Estimated Per Slice – Approx. 1/12th of Loaf)
Please note that these values are estimates and can vary based on specific ingredient brands and exact measurements.
| Nutrient | Amount |
|---|---|
| Calories | 180-200 kcal |
| Carbohydrates | 30-35 g |
| Protein | 5-6 g |
| Fat | 4-5 g |
| Fiber | 1-2 g |
| Sugar | 6-8 g |
Frequently Asked Questions (FAQs)
Q1: Can I use active dry yeast instead of instant yeast?
A: Yes, you can! However, active dry yeast needs to be proofed first. To do this, dissolve 2.5 teaspoons of active dry yeast in 1/4 cup of the warm milk (taken from the total amount) with a pinch of sugar for 5-10 minutes until foamy. Then add this mixture with the rest of the wet ingredients.
Q2: My dough is too sticky/dry during the kneading cycle. What should I do?
A: It’s common to need minor adjustments! If the dough is too sticky and doesn’t form a ball (more like a batter), add flour one teaspoon at a time until it’s the right consistency. If it’s too dry, shaggy, and not coming together, add warm milk or water one teaspoon at a time. Make these adjustments within the first 10-15 minutes of the kneading cycle.
Q3: Can I make this Hawaiian bread without a bread machine?
A: Absolutely! While the bread machine simplifies things, you can mix the ingredients in a large bowl, knead by hand or with a stand mixer for 8-10 minutes until elastic, let it rise in a greased bowl for 1-1.5 hours, punch down, shape, rise again for 30-45 minutes, and then bake at 350°F (175°C) for 25-35 minutes.
Q4: How should I store homemade Hawaiian bread?
A: Store your cooled Hawaiian bread in an airtight container or a bread bag at room temperature for up to 3-4 days. For longer storage, you can slice and freeze it for up to 2-3 months. Thaw individual slices as needed, or pop them straight into the toaster!
Q5: Why did my bread not rise properly?
A: Several factors can cause this. The most common reasons are using expired or inactive yeast, liquids that were too hot (killing the yeast) or too cold (slowing yeast activity), or incorrect measurements of flour or liquid, which throws off the dough’s balance. Ensure your yeast is fresh and your liquid temperatures are just right.
Conclusion: Your Tropical Baking Adventure Awaits!
There you have it – a wonderfully detailed and incredibly easy **Hawaiian Bread Recipe For Bread Machine** that’s perfect for beginners and seasoned bakers alike. The aroma alone will fill your home with warmth and comfort, promising a slice of paradise with every bite. Don’t be shy; give this recipe a try! The satisfaction of baking your own bread, especially one as delicious as this, is truly unmatched. Happy baking, and enjoy your delicious, homemade Hawaiian bread!
“`