Welcome, fellow food enthusiasts and aspiring bakers! Are you ready to dive into a truly classic, comforting recipe that transports you straight back to the heartwarming kitchens of the 1940s? Today, we’re going to master How To Make Bread Stuffing Balls 1940S Recipe. Forget complicated culinary techniques; this recipe is all about simple, wholesome ingredients coming together to create something truly special. Whether you’re a seasoned chef or just starting your journey with How To Make Bread Stuffing Balls 1940S Recipe, these delightful stuffing balls are incredibly forgiving and packed with nostalgic flavor. We’ll walk you through every step, sharing essential How To Make Bread Stuffing Balls 1940S Recipe to ensure your success. Get ready to impress your family and friends with a side dish that’s rich in history and utterly delicious!
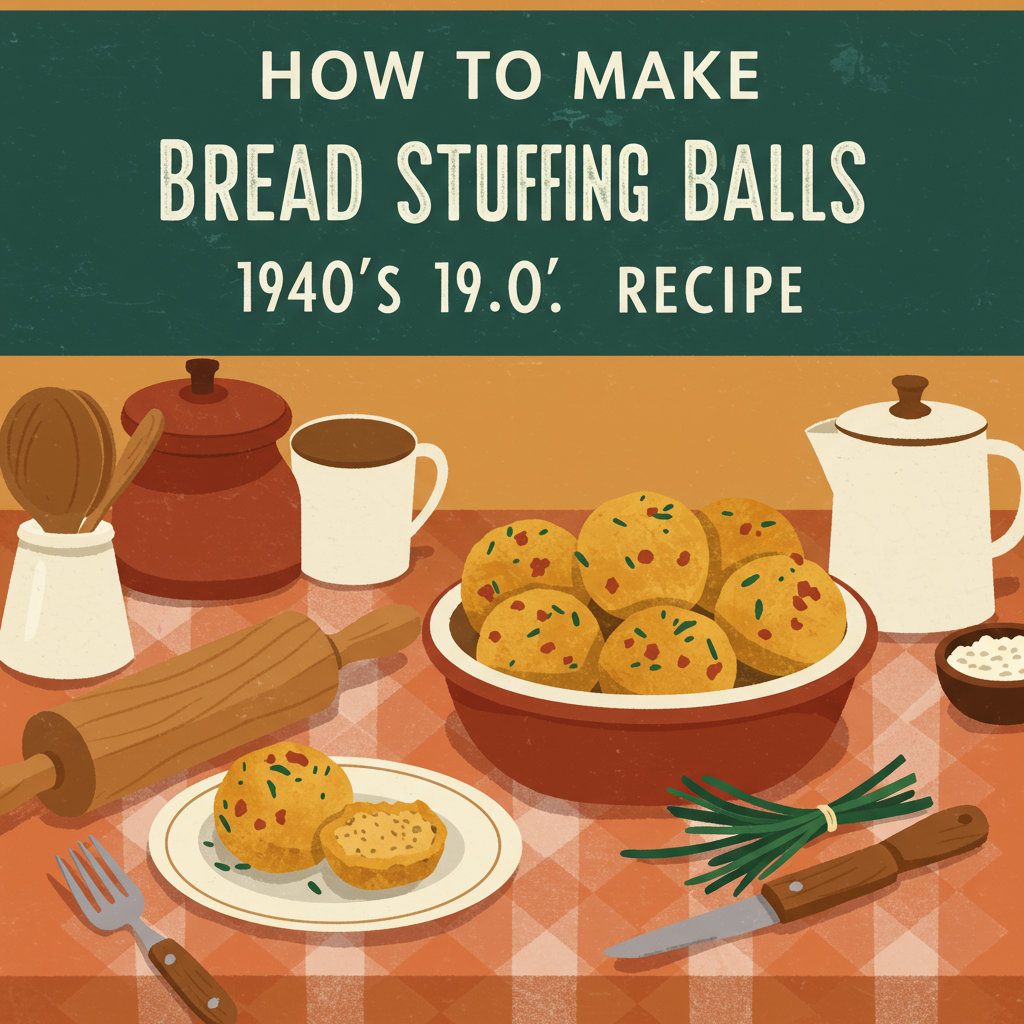
Classic 1940s Bread Stuffing Balls Recipe
This recipe brings back the essence of wartime cooking – making the most of simple ingredients to create flavorful, satisfying dishes. These bread stuffing balls are perfectly moist on the inside with a lovely golden exterior, seasoned with classic herbs that evoke a sense of home and tradition. They are perfect as a side dish for any roast, holiday meal, or even as a comforting weeknight treat.
Ingredients List
Gathering your ingredients beforehand is a great baking tip for beginners to ensure a smooth cooking process. Here’s what you’ll need:
| Quantity | Unit | Ingredient |
|---|---|---|
| 8-10 | cups | Stale Bread, cubed (approx. 1 large loaf, day-old white or sourdough recommended) |
| 1/2 | cup | Unsalted Butter |
| 1 | medium | Yellow Onion, finely diced |
| 2 | stalks | Celery, finely diced |
| 1.5 | teaspoons | Dried Sage |
| 1 | teaspoon | Dried Thyme |
| 1/2 | teaspoon | Dried Marjoram (optional, but adds great depth) |
| 1 | teaspoon | Salt (or to taste) |
| 1/2 | teaspoon | Black Pepper (freshly ground preferred) |
| 1.5 – 2 | cups | Chicken or Vegetable Broth (warm) |
| 2 | tablespoons | Fresh Parsley, chopped (for garnish, optional) |
Step-by-Step Instructions: How To Make Bread Stuffing Balls 1940S Recipe
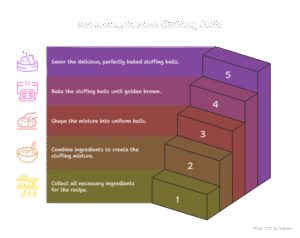
Follow these detailed steps carefully, and you’ll be enjoying perfectly baked stuffing balls in no time!
Step 1: Prepare Your Bread
- Start with **stale bread**. This is crucial! Fresh bread will absorb too much liquid and become mushy. If your bread isn’t stale, cut it into 1/2 to 3/4-inch cubes and spread it on a baking sheet. Bake at 250°F (120°C) for 15-20 minutes, or until lightly toasted and dry. Alternatively, leave it out overnight.
- Place all the dried bread cubes into a very large mixing bowl. You want plenty of room to mix later.
Step 2: Sauté the Aromatics
- In a large skillet or Dutch oven, melt the 1/2 cup of unsalted butter over medium heat. Butter adds incredible flavor and helps to moisten the stuffing.
- Add the finely diced yellow onion and finely diced celery to the melted butter.
- Sauté for about 8-10 minutes, stirring occasionally, until the vegetables are softened and translucent but not browned. Browning can impart a bitter flavor. This slow sautéing process allows their sweet flavors to develop.
Step 3: Season the Mixture
- Once the vegetables are soft, remove the skillet from the heat. Stir in the dried sage, dried thyme, dried marjoram (if using), salt, and black pepper. The residual heat from the vegetables will help to release the aromatic oils from the dried herbs, intensifying their flavor.
- Give everything a good stir to ensure the herbs and seasonings are evenly distributed throughout the vegetables.
Step 4: Combine and Moisten the Stuffing
- Pour the sautéed vegetable and herb mixture directly over the stale bread cubes in the large mixing bowl.
- Using a large spoon or your clean hands (which often work best for thorough mixing), gently toss the bread cubes with the buttery vegetable mixture. Make sure every piece of bread gets coated. This is where the magic starts to happen!
- Gradually add the warm chicken or vegetable broth, about 1/2 cup at a time, mixing gently after each addition. You want the bread to be thoroughly moistened but not soggy. The goal is a mixture that holds together when you squeeze it, but isn’t dripping wet. You might not need all 2 cups, or you might need a little more, depending on your bread’s dryness.
- Beginner Tip: A common mistake is adding too much liquid at once. Go slowly! It’s easier to add more liquid than to fix an overly wet mixture. If it feels too wet, you can add a handful of extra dry bread crumbs, but try to avoid this by being careful with the broth.
Step 5: Form the Stuffing Balls
- Preheat your oven to 375°F (190°C). Lightly grease a large baking pan or line it with parchment paper for easy cleanup.
- Take a small amount of the stuffing mixture (about 2-3 tablespoons per ball) and gently compress it with your hands to form compact balls, roughly 1.5 to 2 inches in diameter. Don’t pack them too tightly, as this can make them dense. Just enough to hold their shape.
- Arrange the formed stuffing balls in a single layer on your prepared baking pan, leaving a little space between each one for even baking.
Step 6: Bake to Golden Perfection
- Bake the stuffing balls in the preheated oven for 25-35 minutes.
- Halfway through the baking time (around 15 minutes), you can gently turn the balls over to encourage even browning on all sides.
- The stuffing balls are ready when they are golden brown on the outside and heated through to the center. They should have a slightly crisp exterior and a wonderfully moist, aromatic interior.
Step 7: Serve and Enjoy!
- Carefully remove the baking pan from the oven.
- If desired, sprinkle with fresh chopped parsley for a burst of color and freshness.
- Serve hot and watch them disappear! These bread stuffing balls are a perfect accompaniment to roasted meats, poultry, or as a delightful side dish on their own.
Tips & Tricks for Perfect Stuffing Balls
To make your How To Make Bread Stuffing Balls 1940S Recipe even more successful, here are some actionable pieces of advice:
- Bread Choice Matters: While white bread or sourdough is traditional, don’t shy away from using whole wheat bread for a nuttier flavor and added fiber. Just ensure it’s truly stale.
- Customize Your Herbs: Feel free to adjust the herb quantities to your preference. A pinch of rosemary or a dash of poultry seasoning can also be wonderful additions.
- Add-ins for Extra Flavor: For a richer stuffing, consider adding cooked crumbled sausage, chopped sautéed mushrooms, dried cranberries, or diced apples to your mixture along with the vegetables.
- Don’t Over-Mix: Once the liquid is added, mix just enough to combine. Over-mixing can develop the gluten in the bread, leading to tough stuffing balls.
- Make Ahead: You can prepare the stuffing mixture a day in advance and store it covered in the refrigerator. Form the balls just before baking. You can also form the balls and refrigerate them, then bake when ready, adding a few extra minutes to the baking time.
- Freezing Instructions: Unbaked or baked stuffing balls can be frozen. Place them on a baking sheet to freeze individually, then transfer to an airtight freezer bag for up to 3 months. Bake from frozen (adding extra time) or thaw first.
- Achieve the Right Moisture: The best indicator for enough moisture is when you squeeze a handful of the mixture, it holds together without crumbling, and you see a few drops of liquid, but it’s not saturated.
Essential Baking Tools
Having the right tools makes any baking project smoother. Here are some essentials for this recipe:
- Mixing Bowl (large, for combining ingredients)
- Whisk (for light mixing, though hands are often best for stuffing)
- Baking Pan (sheet pan or casserole dish)
- Measuring Cups (for dry ingredients and liquids)
- Spatula (for scraping and stirring)
- Large Skillet or Dutch Oven (for sautéing)
- Sharp Knife and Cutting Board (for chopping vegetables)
Nutrition Info (Estimated per serving, approx. 3 balls)
Please note: These are estimated values and can vary based on specific ingredient brands and quantities used.
| Nutrient | Amount |
|---|---|
| Calories | 250 kcal |
| Carbohydrates | 30 g |
| Protein | 5 g |
| Fat | 12 g |
| Fiber | 2 g |
| Sugar | 3 g |
Frequently Asked Questions (FAQs)
- Q1: Can I use fresh bread instead of stale bread?
- A: It’s highly recommended to use stale bread. Fresh bread contains too much moisture and will result in a dense, gummy stuffing. If you only have fresh bread, cube it and dry it out in a low oven (250°F/120°C) for 15-20 minutes, or leave it exposed to air overnight.
- Q2: My stuffing balls are too dry/too wet. What went wrong?
- A: If they’re too dry, you likely didn’t add enough broth. Next time, add broth gradually until the mixture is moist enough to hold together when squeezed. If they’re too wet, you added too much liquid. You can try adding a handful of dry breadcrumbs to absorb excess moisture, but be careful not to overdo it.
- Q3: Can I make these stuffing balls ahead of time?
- A: Absolutely! You can prepare the entire stuffing mixture and form the balls, then store them covered in the refrigerator for up to 24 hours before baking. This makes holiday meal prep much easier!
- Q4: What kind of broth should I use?
- A: Chicken broth is traditional and adds a rich, savory flavor. However, vegetable broth works perfectly if you prefer a vegetarian option, or if you’re serving it with a vegetable-based meal. Ensure it’s warm when you add it.
- Q5: Can I add meat or other ingredients to this 1940s recipe?
- A: While the 1940s recipe is typically simple, feel free to customize! Cooked and crumbled sausage, bacon bits, or even sautéed mushrooms are popular additions that add extra flavor and heartiness. Just sauté them before adding to the bread mixture.
Conclusion
And there you have it – your very own batch of heartwarming, delicious How To Make Bread Stuffing Balls 1940S Recipe! This recipe proves that you don’t need fancy ingredients or complex techniques to create something truly memorable. It’s a testament to the power of simple, honest cooking and a fantastic entry point into easy baking recipes for anyone. We hope our baking tips for beginners have given you the confidence to try this classic. Don’t be afraid to experiment with your favorite herbs or add-ins once you’ve mastered the basic technique. Share these delightful stuffing balls with your loved ones, and savor a taste of history. Happy baking!
“`
1 thought on “How To Make Bread Stuffing Balls 1940S Recipe – Bake & Enjoy”