Don’t be intimidated this is one of those incredibly easy baking recipes that requires more patience than skill, making it perfect for anyone looking for baking tips for beginners. We’ll guide you through every step, ensuring your first loaf is a resounding success. Get ready to fill your home with an aroma that’s both ancient and inviting!
Ingredients List
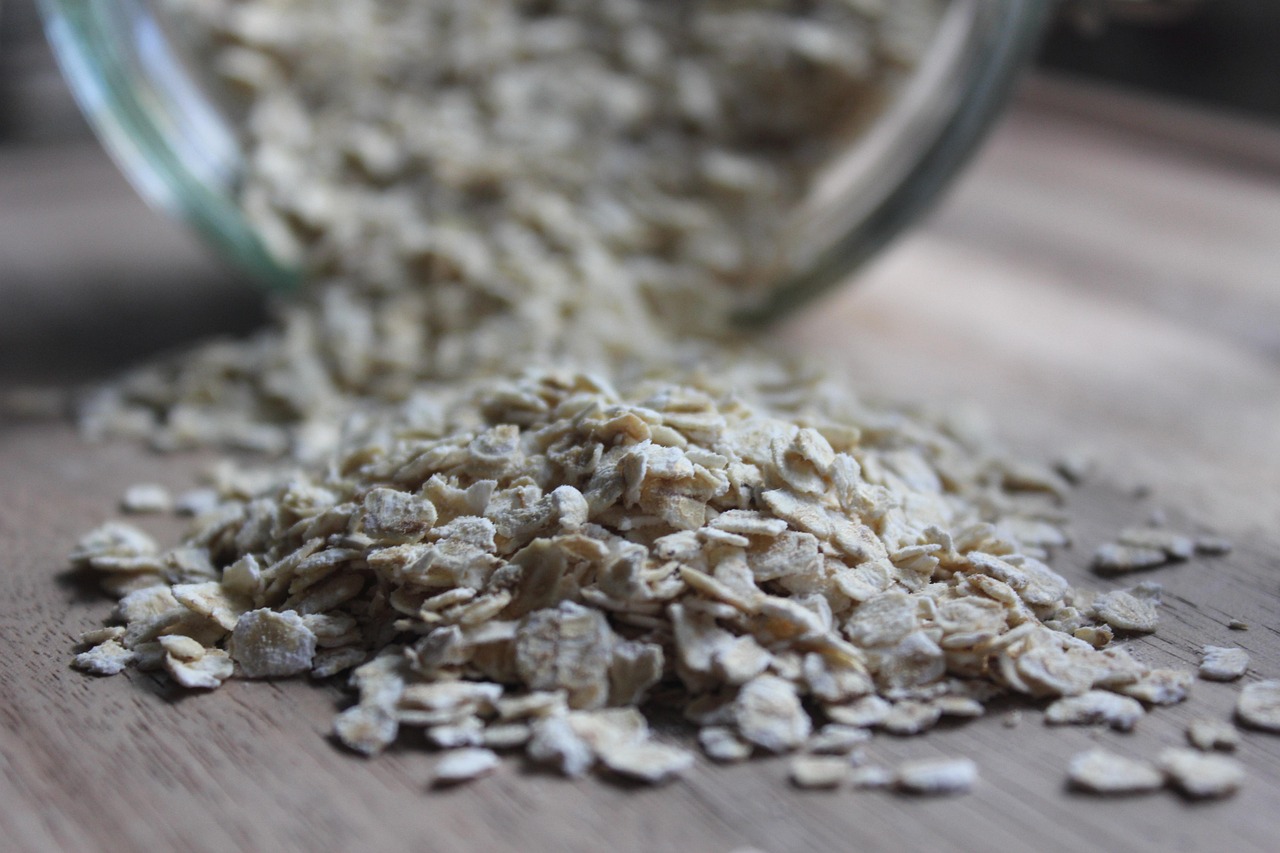
Gathering your ingredients is the first step to baking success. Make sure everything is measured accurately!
| Quantity | Unit | Ingredient |
|---|---|---|
| 2 | cups | Dark Rye Flour |
| 1 | cup | All-Purpose Flour (or Bread Flour for a slightly chewier texture) |
| 1 | teaspoon | Salt |
| 2 | teaspoons | Active Dry Yeast |
| 1/2 | cup | Dark Molasses (unsulphured is best for flavor) |
| 1/4 | cup | Brown Sugar (packed) |
| 2 | cups | Warm Water (105-115°F / 40-46°C, for activating yeast) |
| 2 | tablespoons | Vegetable Oil (plus extra for greasing) |
Step-by-Step Instructions: Your Guide to Perfect Icelandic Rye Bread
Baking this traditional bread is a journey, not a race. Follow these detailed steps for a delicious outcome!
1. Activate Your Yeast
In a large mixing bowl, combine the warm water (make sure it’s not too hot or too cold – think warm bathwater!) with the active dry yeast and a pinch of the brown sugar. Stir gently and let it sit for about 5-10 minutes. You’re looking for a foamy, bubbly layer to form on top – this means your yeast is alive and ready to work! If it doesn’t foam, your yeast might be old or the water temperature was off, and you’ll need to start this step again.
2. Combine Wet Ingredients
Once your yeast is active, add the dark molasses, remaining brown sugar, and vegetable oil to the yeast mixture. Whisk everything together until the sugar is dissolved and the molasses is well incorporated. This creates the sweet, dark base for our bread.
3. Mix Dry Ingredients
In a separate large bowl, whisk together the dark rye flour, all-purpose flour, and salt. Make sure they are thoroughly combined. The rye flour is dense, so a good whisking ensures even distribution.
4. Bring it All Together (No Kneading Required!)
Gradually add the dry ingredient mixture to the wet ingredients, mixing with a sturdy spoon or spatula until just combined. Do not overmix! Unlike many other bread recipes, Icelandic rye bread is dense and more like a thick batter than a kneadable dough. Overmixing can develop too much gluten in the all-purpose flour, making your bread tough instead of moist and dense. A few lumps are perfectly fine.
5. Prepare for the Long, Slow Bake
Lightly grease a 9×5 inch loaf pan (or a sturdy oven-safe pot with a lid, like a Dutch oven). Pour the thick batter into the prepared pan, smoothing the top with your spatula. Cover the pan tightly with aluminum foil or its lid. This is crucial! The tight cover traps steam, creating a moist environment that helps the bread bake slowly and evenly without forming a hard crust too quickly.
6. The Slow Bake Begins
Preheat your oven to a very low temperature, around 200-225°F (95-107°C). This low temperature is key to achieving the traditional dense, moist texture. Place your covered loaf pan in the preheated oven and bake for 3 to 4 hours. Yes, it’s a long time, but it’s mostly hands-off! The bread cooks slowly, caramelizing the sugars and developing its signature dark color and deep flavor. You can check it after 3 hours; if it seems too wet, continue baking. Some people even bake it for up to 6 hours at an even lower temperature (around 175°F / 80°C) for an incredibly dense, moist result.
7. Check for Doneness
After 3-4 hours, carefully remove the foil or lid. The bread should be very dark brown and firm to the touch. You can insert a wooden skewer or toothpick into the center; it should come out mostly clean, though it might have some moist crumbs due to the bread’s dense nature. The internal temperature should be around 200°F (93°C) if you have a thermometer.
8. Cool and Rest
Once baked, remove the loaf pan from the oven and let it cool in the pan for about 15-20 minutes. This allows the bread to set further. Then, carefully invert the bread onto a wire rack to cool completely. **This step is important!** Resisting the urge to cut into it immediately ensures the internal moisture distributes evenly, resulting in a perfect texture. Let it cool for at least an hour, or even longer, before slicing.
9. Serve and Enjoy!
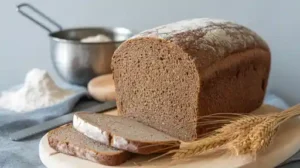
Slice your beautiful, dark Icelandic Rye Bread. It’s traditionally served thin with butter, cheese, smoked salmon, or pickled herring. It also makes fantastic toast! Enjoy the fruits of your patient labor.
Tips & Tricks for Beginner Bakers
Even though this is an easy baking recipe, a few extra pointers can make your experience even smoother and more rewarding:
- Temperature is Key for Yeast: Always ensure your water for yeast activation is between 105-115°F (40-46°C). Too hot will kill the yeast, too cold won’t activate it. A kitchen thermometer is a great investment for accuracy.
- Don’t Overmix: Seriously, for this recipe, less is more when it comes to mixing. Just combine until no dry streaks remain. Overmixing develops gluten, which can make this dense bread tough.
- The Power of the Slow Bake: The long, low-temperature bake is what gives Rúgbrauð its characteristic dark color, moist texture, and sweet, deep flavor. Don’t rush it! It’s not like a regular loaf of bread.
- Cover it Up: Keeping the bread covered during most of the baking process traps steam, preventing a dry crust and ensuring the interior bakes through slowly and evenly.
- Embrace the Density: This isn’t a light, airy bread. It’s meant to be dense, moist, and substantial. Don’t worry if it doesn’t rise like a typical sandwich loaf.
- Patience with Cooling: Allowing the bread to cool completely on a wire rack is vital. This process helps set the crumb and prevents it from becoming gummy when sliced.
- Storage: Store your cooled bread tightly wrapped in plastic wrap or in an airtight container at room temperature for up to 5 days, or freeze slices for longer storage.
With these baking tips for beginners, you’re well on your way to mastering this delightful Icelandic treat!
Essential Baking Tools
Having the right tools makes any baking project easier. Here are a few essentials you’ll need for this recipe:
- Mixing Bowl (large for dough, medium for dry ingredients)
- Whisk (for combining dry ingredients and wet ingredients)
- Baking Pan (a 9×5 inch loaf pan, or a small Dutch oven)
- Measuring Cups and Measuring Spoons (for accurate ingredient portions)
- Spatula (for mixing and scraping down bowls)
- Aluminum Foil or an Oven-Safe Lid (for covering the baking pan)
- Wire Rack (for cooling the bread)
- Optional: Kitchen Thermometer (for checking water temperature for yeast and internal bread temperature)
Nutrition Info (Approximate per slice)
This information is an estimate based on the ingredients listed and a loaf yielding 12-16 slices. Actual values may vary based on exact ingredient brands and portion sizes.
| Nutrient | Amount |
|---|---|
| Calories | 180-220 kcal |
| Carbohydrates | 40-50 g |
| Protein | 5-7 g |
| Fat | 2-4 g |
| Fiber | 4-6 g |
| Sugar | 15-20 g |
Frequently Asked Questions (FAQs)
Q: Can I use light rye flour instead of dark rye flour?
A: While you can, dark rye flour is essential for the authentic color, flavor, and dense texture of traditional Icelandic rye bread. Using light rye flour will result in a lighter color and a slightly different, less intense flavor profile. We recommend sticking to dark rye for the best results.
Q: My yeast didn’t foam. What went wrong?
A: This is a common issue for beginners! The most likely culprits are the water temperature being too hot (killing the yeast) or too cold (not activating it), or your yeast being old and inactive. Make sure your water is within the 105-115°F range, and check the expiry date on your yeast package. If it doesn’t foam, discard and try again with fresh yeast and properly warmed water.
Q: Why is the baking time so long and the temperature so low?
A: This is a defining characteristic of Icelandic Rúgbrauð. The long, slow bake at a low temperature allows the starches in the rye flour to gelatinize and the sugars to caramelize slowly, resulting in the bread’s incredibly moist, dense texture and deep, sweet flavor without drying it out or burning the crust. It’s more akin to steaming than traditional baking.
Q: How do I store Icelandic Rye Bread?
A: Once completely cooled, wrap the bread tightly in plastic wrap or store it in an airtight container at room temperature for up to 5 days. It also freezes beautifully! Slice the cooled loaf, wrap individual slices, and place them in a freezer-safe bag for up to 3 months. Thaw at room temperature or toast directly from frozen.
Q: Can I add seeds or nuts to this recipe?
A: Traditionally, Icelandic rye bread is plain, but baking is about exploration! You could certainly experiment with adding a few tablespoons of caraway seeds, sunflower seeds, or even chopped walnuts for added texture and flavor. Stir them into the dry ingredients before combining with the wet.
Conclusion: Your Homemade Taste of Iceland
Congratulations, baker! You’ve just embarked on a culinary journey to Iceland and brought a piece of its delicious tradition into your home. This Icelandic Rye Bread Recipe is more than just bread; it’s a testament to patience, simple ingredients, and a unique baking method that yields truly exceptional results. Don’t forget to share your beautiful loaf with friends and family, or simply savor it yourself. We hope these baking tips for beginners have made your experience enjoyable and confidence-building. Keep exploring, keep baking, and enjoy every flavorful slice of your homemade Rúgbrauð!