Welcome, fellow baking enthusiasts and kitchen adventurers! If you’ve ever baked a glorious, cloud-like Angel Food Cake, you know its delicate, airy texture is a masterpiece in itself. But what truly elevates this heavenly dessert to perfection? A simple, yet utterly delicious, icing! Today, we’re diving into the world of Icing For Angel Food Cake Recipe a secret weapon for anyone looking to add that perfect finishing touch without breaking a sweat. This isn’t just another recipe; it’s one of those truly easy baking recipes that builds confidence and delivers amazing results every time.
Whether you’re a seasoned baker or just starting your journey and eager for some solid baking tips for beginners, this guide is crafted just for you. We’ll walk you through creating a luscious lemon-vanilla glaze that perfectly complements the light sweetness of Angel Food Cake. Get ready to impress your friends and family with minimal effort and maximum flavor!
Ingredients You’ll Need
Gathering your ingredients before you start is one of the best habits a beginner baker can adopt. It makes the process smooth and enjoyable!
| Quantity | Unit | Ingredient |
|---|---|---|
| 2 | cups | Powdered Sugar (Confectioners’ Sugar) |
| 3-4 | tablespoons | Milk (whole or 2%, or lemon juice for a tangy twist!) |
| 1 | teaspoon | Vanilla Extract (pure is best for flavor) |
| Pinch | Salt (enhances sweetness and balances flavor) |
Step-by-Step Instructions: Crafting Your Perfect Icing
Let’s get mixing! Follow these detailed steps, and you’ll have a beautiful icing in no time. We’ve included plenty of extra **baking tips for beginners** along the way.
Step 1: Prepare Your Workspace and Gather Ingredients (Mise en Place)
- Read the Entire Recipe First: This is a golden rule for beginners! Understanding the whole process before you start prevents surprises.
- Gather Everything: Pull out all your ingredients and tools (mixing bowl, whisk, measuring cups/spoons). This French term “mise en place” (everything in its place) is fantastic for smooth baking.
- Ensure Your Cake is Cooled: This icing should only be applied to a completely cooled Angel Food Cake. If your cake is still warm, the icing will simply melt off! Patience is key.
Step 2: Sift the Powdered Sugar – The Secret to Smoothness
- Measure Accurately: Measure out 2 cups of powdered sugar.
- Sift, Sift, Sift: Place a fine-mesh sieve over your mixing bowl and pour the powdered sugar into it. Use a spoon or your hand to push the sugar through the sieve.
- Why Sift? Powdered sugar is notorious for clumping. Sifting removes these lumps, ensuring your icing is incredibly smooth and velvety, without any gritty bits. This is a crucial step for a professional-looking finish!
- No Sieve? No Problem (But Sift if You Can!): If you absolutely don’t have a sieve, you can try whisking the sugar vigorously in a dry bowl to break up lumps, but sifting is truly superior.
Step 3: Add Your Flavorings and a Pinch of Salt
- Vanilla First: Add the 1 teaspoon of vanilla extract directly into the sifted powdered sugar in the bowl.
- The Tiny Pinch of Salt: Don’t skip this! A tiny pinch (about 1/8 teaspoon) of salt doesn’t make your icing salty; it brightens and balances the sweetness, making the other flavors pop. It’s a professional chef’s trick that works wonders in baking.
Step 4: Gradually Introduce the Liquid for the Perfect Consistency
- Start Small: Begin by adding 3 tablespoons of your chosen liquid (milk or lemon juice) to the bowl with the powdered sugar, vanilla, and salt.
- Mix Gently at First: Using a whisk, stir the ingredients together. Start slowly to avoid creating a “sugar cloud” that will cover your kitchen (and you!). Once the sugar is mostly incorporated, you can increase your mixing speed.
- Observe the Consistency: Your goal is a smooth, pourable, yet thick enough icing that will coat the back of a spoon. It should drip slowly, not run off quickly.
Step 5: Adjusting the Consistency – The Art of the Glaze
- Too Thick? Add More Liquid, Drop by Drop: If your icing is too thick and paste-like, add the remaining 1 tablespoon of milk (or lemon juice) *very slowly*, half a teaspoon at a time. Whisk thoroughly after each addition and check the consistency. It’s much easier to add more liquid than to fix an icing that’s too thin.
- Too Thin? Add More Powdered Sugar, Half a Tablespoon at a Time: If your icing is too runny, sift in another half tablespoon of powdered sugar. Whisk well and check. Repeat until you reach the desired consistency. Remember, a little goes a long way!
- What is “Perfect”? For Angel Food Cake, you want an icing that’s thin enough to drizzle and spread easily, but thick enough to cling to the cake and set up slightly without being completely transparent.
Step 6: Taste and Adjust Flavors
- Spoon Test: Dip a clean spoon into your icing and give it a taste.
- Flavor Boost: Does it need more vanilla? A little more tang from lemon? Feel free to add another tiny splash of extract or a bit of lemon zest if you desire. Mix well after any additions.
Step 7: Apply the Icing to Your Cooled Angel Food Cake
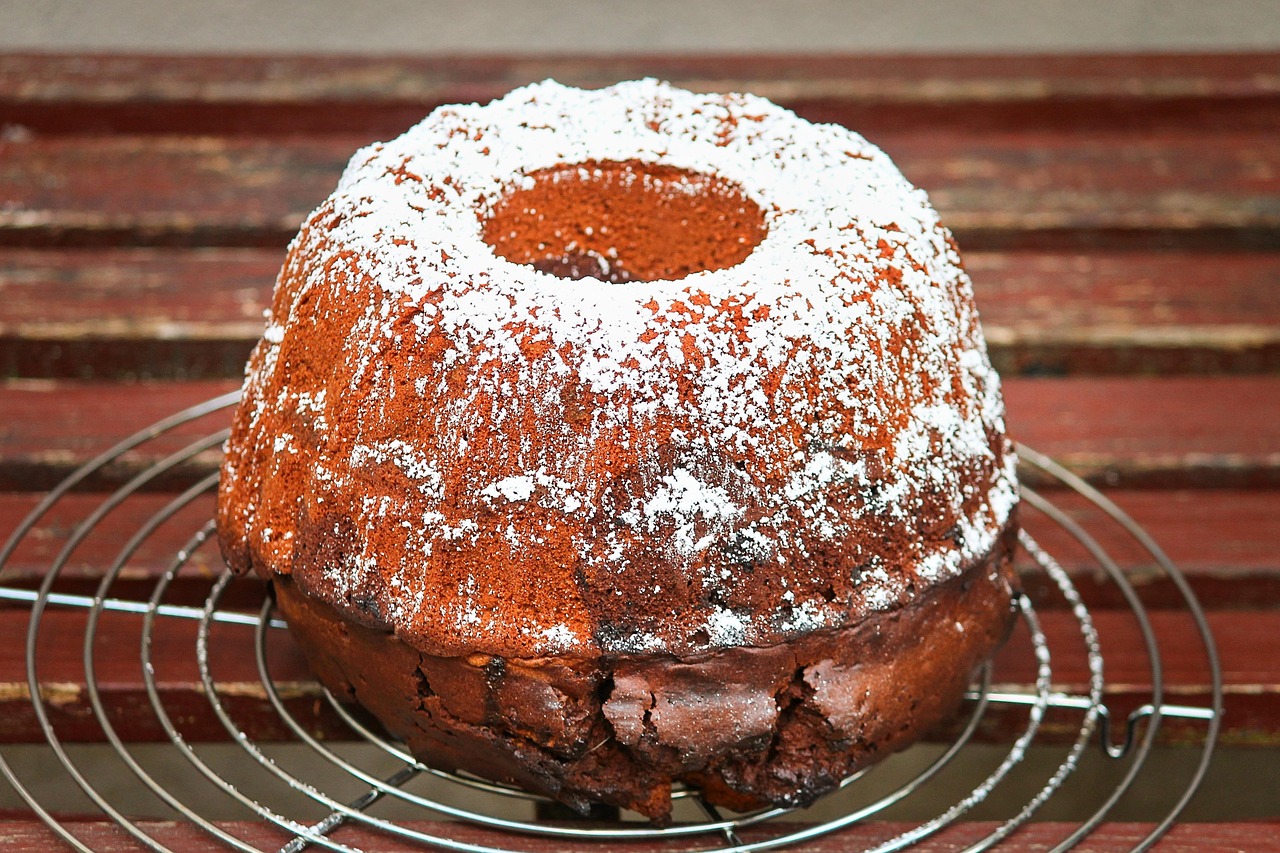
- Place Cake on a Rack: For easy icing and drip collection, place your cooled Angel Food Cake on a wire rack set over a baking sheet or a piece of parchment paper. This catches any drips and makes cleanup a breeze.
- Pour and Spread: Gently pour the icing over the top of the cake. Use the back of a spoon or an offset spatula to spread it evenly, allowing some of it to elegantly drip down the sides. Don’t worry about perfection; rustic drips are charming!
Step 8: Allow the Icing to Set
- Patience, Again: Let the iced cake sit at room temperature for at least 15-30 minutes, or until the icing has firmed up slightly. This allows the glaze to set into a beautiful, slightly firm coating.
- Serve and Enjoy! Once set, slice into your magnificent Angel Food Cake and savor every bite!
Tips & Tricks for Icing Success
Mastering icing is all about a few key techniques. Here are some extra **baking tips for beginners** to ensure your success with this **Icing For Angel Food Cake Recipe**:
- Sifting is Non-Negotiable (Almost): Seriously, for the smoothest icing, do not skip sifting your powdered sugar. It makes a world of difference in texture.
- Go Slow with Liquids: The most common mistake is adding too much liquid at once. Always add liquid ingredients gradually, especially when adjusting consistency. You can always add more, but you can’t easily take it out!
- Flavor Variations: Get creative! Instead of milk, try orange juice or lime juice for different citrus notes. Add a tiny bit of almond extract for a subtle nutty flavor, or a pinch of cinnamon for warmth. A teaspoon of lemon zest mixed in can also add a burst of fresh flavor.
- Storage: This icing is best made fresh, but if you have leftovers, store it in an airtight container in the refrigerator for up to 3-4 days. You might need to add a tiny splash of milk or lemon juice and whisk it well to bring it back to the right consistency before using.
- When to Ice: Always, always ice a *completely cooled* cake. Warm cakes will melt your beautiful glaze into a sugary puddle.
- Don’t Be Afraid to Experiment: Baking, especially with simple recipes like this, is a fantastic way to learn. Don’t be afraid to adjust flavors or consistencies to your personal preference.
Essential Baking Tools
Having the right tools makes baking much easier and more enjoyable. Here are a few basics for this recipe:
- Mixing Bowl
- Whisk
- Baking Pan (for the Angel Food Cake, not the icing itself, but good to have!)
- Measuring Cups
- Spatula (or an offset spatula for spreading)
- Fine-Mesh Sieve (highly recommended for sifting!)
Nutrition Information (Per Serving, Estimated)
This information is an estimate based on a serving size of approximately 2 tablespoons of icing.
| Nutrient | Amount |
|---|---|
| Calories | ~120-150 kcal |
| Carbohydrates | ~30-35 g |
| Protein | ~0-1 g |
| Fat | ~0-1 g |
| Fiber | 0 g |
| Sugar | ~30-35 g |
Frequently Asked Questions (FAQs)
Here are some common questions beginners often ask about this kind of icing:
- Q1: Can I make this icing ahead of time?
- A: Yes, you can! Prepare the icing and store it in an airtight container in the refrigerator for up to 3-4 days. When you’re ready to use it, let it come to room temperature and give it a good whisk. You might need to add a tiny splash of milk or lemon juice to achieve the perfect consistency again, as it can thicken slightly in the fridge.
- Q2: My icing is too runny! How can I fix it?
- A: Don’t panic! This is an easy fix. Simply add more sifted powdered sugar, about half a tablespoon at a time, whisking well after each addition until you reach your desired consistency. Remember to sift the added sugar to avoid lumps!
- Q3: My icing is too thick and paste-like. What should I do?
- A: Also an easy fix! Add more liquid (milk, lemon juice, or even just water), but add it *very slowly*, about 1/4 to 1/2 teaspoon at a time. Whisk thoroughly after each addition until the icing is smooth and pourable. It’s always easier to thin it out than to thicken it up!
- Q4: Can I use water instead of milk or lemon juice?
- A: Absolutely! Water will work perfectly fine for consistency. However, milk adds a touch of richness and a creamier mouthfeel, while lemon juice provides a lovely tangy contrast. Water will result in a very neutral-flavored glaze, allowing the vanilla to shine through more distinctly.
- Q5: What other flavor variations can I try?
- A: The possibilities are endless! You can swap vanilla for almond extract, peppermint extract (for a festive touch), or coconut extract. You can also mix in citrus zest (orange, lime) for an extra pop of fresh flavor. A small amount of fruit puree (like raspberry or strawberry) can also add color and flavor, though it might affect consistency.
The Sweet Finish to Your Angel Food Masterpiece!
Congratulations! You’ve just mastered one of the simplest yet most rewarding easy baking recipes – a perfect Icing For Angel Food Cake Recipe. This delightful lemon-vanilla glaze is the ideal partner for the light, airy texture of Angel Food Cake, transforming a simple dessert into a truly memorable treat. With these detailed steps and baking tips for beginners, you now have the confidence to whip up this icing for any occasion.
Don’t be shy to experiment with flavors and find your own perfect combination. The joy of baking lies in creating something delicious with your own hands. So go ahead, drizzle that beautiful icing, slice into your cake, and enjoy the sweet success of your baking adventure! Happy baking!