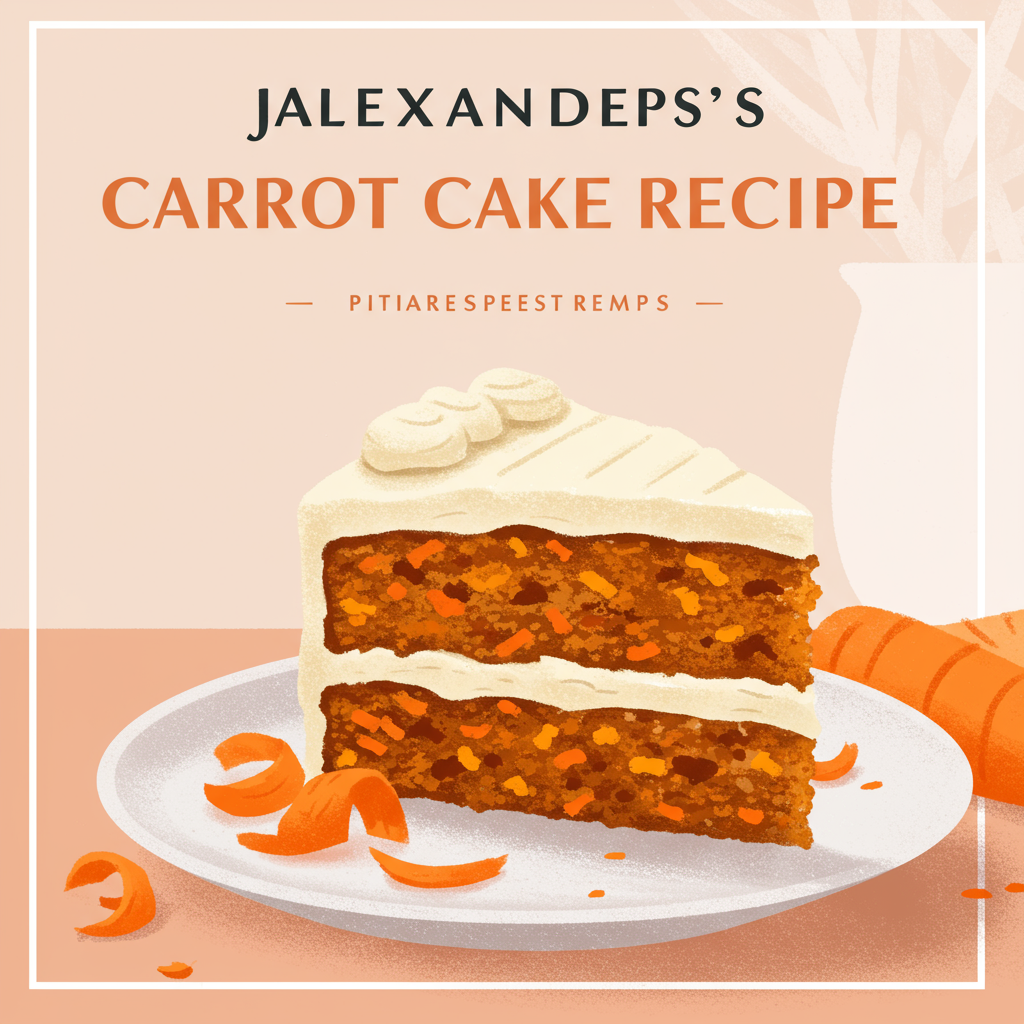
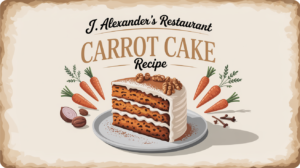
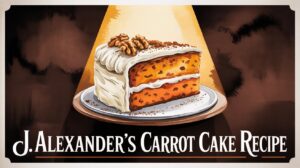
Get ready to embark on a sweet adventure! If you’ve ever savored the rich, moist, and perfectly spiced carrot cake from J. Alexander’s Restaurant, you know it’s a slice of heaven. Now, imagine bringing that same incredible flavor right into your own kitchen! This detailed guide will walk you through recreating that iconic dessert, making it one of the most rewarding easy baking recipes you’ll ever try. Whether you’re a seasoned baker or just starting out, this J Alexander’S Restaurant Carrot Cake Recipe is designed to be completely beginner-friendly. We’ll cover everything from precise measurements to crucial baking tips for beginners, ensuring your cake turns out moist, flavorful, and absolutely irresistible, complete with that luscious cream cheese frosting. Prepare to impress your taste buds and everyone lucky enough to share a slice!
Ingredients List
Gathering all your ingredients before you start is a key step to smooth baking. Here’s what you’ll need for both the cake and the decadent cream cheese frosting:
For the Moist Carrot Cake:
| Quantity | Unit | Ingredient |
|---|---|---|
| 2 ½ | cups | All-purpose flour |
| 2 | cups | Granulated sugar |
| ½ | cup | Packed light brown sugar |
| 2 | teaspoons | Baking soda |
| 1 | teaspoon | Salt |
| 2 | teaspoons | Ground cinnamon |
| ½ | teaspoon | Ground nutmeg |
| 1 ½ | cups | Vegetable oil (or other neutral oil like canola) |
| 4 | large | Eggs, at room temperature |
| 1 | teaspoon | Vanilla extract |
| 3 | cups | Finely grated carrots (about 4-5 medium carrots) |
| 1 | cup | Crushed pineapple, well-drained |
| 1 | cup | Chopped pecans or walnuts (optional, but highly recommended) |
For the Cream Cheese Frosting:
| Quantity | Unit | Ingredient |
|---|---|---|
| 16 | ounces | Cream cheese, softened (2 standard blocks) |
| 1 | cup | Unsalted butter, softened (2 sticks) |
| 4-5 | cups | Powdered sugar (confectioners’ sugar), sifted |
| 2 | teaspoons | Vanilla extract |
| ¼ | teaspoon | Salt (enhances sweetness and cuts richness) |
Step-by-Step Instructions: Bake Your Best Carrot Cake!
Follow these detailed steps carefully, and you’ll be on your way to a show-stopping carrot cake. Don’t rush, especially if you’re new to baking!
Step 1: Prepare Your Pans and Preheat Your Oven
- Preheat: Adjust your oven rack to the middle position and preheat your oven to 350°F (175°C). Preheating is crucial because it ensures your cake starts baking at the correct temperature from the moment it enters the oven, leading to an even rise and bake.
- Prepare Pans: Grease and flour two 9-inch round baking pans, or three 8-inch round pans, thoroughly. You can also line the bottoms with parchment paper for extra insurance against sticking. To do this, trace the bottom of your pan onto parchment, cut out the circles, and place them in the greased pans. Grease the parchment as well, then lightly flour the entire pan. This step is vital; a well-greased and floured pan means your cake will release easily after baking.
Step 2: Combine the Dry Ingredients
- In a large bowl, whisk together the flour, granulated sugar, brown sugar, baking soda, salt, ground cinnamon, and ground nutmeg.
- Beginner Tip: When measuring flour, use the “spoon and level” method. Spoon the flour into your measuring cup until it’s overflowing, then use the straight edge of a knife to level off the excess. Do not scoop the flour directly with the measuring cup, as this compacts it and can lead to too much flour, resulting in a dry cake. Whisking these dry ingredients together ensures they are evenly distributed, so you don’t get pockets of baking soda or salt in your finished cake.
Step 3: Mix the Wet Ingredients
- In a separate, medium-sized bowl, whisk together the vegetable oil, eggs, and vanilla extract until well combined and smooth.
- Beginner Tip: Ensure your eggs are at room temperature. Room temperature eggs emulsify better with other ingredients, creating a smoother, more uniform batter and a lighter cake texture. If you forgot to take them out, you can quickly warm them by placing them in a bowl of warm (not hot) water for 5-10 minutes.
Step 4: Combine Wet and Dry Ingredients
- Pour the wet ingredients mixture into the bowl with the dry ingredients.
- Using a spatula or a wooden spoon, mix until just combined. Be careful not to overmix!
- Common Mistake & Tip: Overmixing develops the gluten in the flour too much, leading to a tough, dense, and chewy cake instead of a light and tender one. Mix only until no streaks of dry flour remain. A few small lumps are perfectly fine.
Step 5: Fold in the Carrots, Pineapple, and Nuts
- Add the finely grated carrots, well-drained crushed pineapple, and chopped pecans or walnuts (if using) to the batter.
- Gently fold them in until evenly distributed.
- Beginner Tip: Make sure your pineapple is very well-drained. Excess moisture can make your cake soggy. You can even press it in a paper towel to remove extra liquid. For the carrots, finely grated carrots integrate better into the cake, providing moisture without large, chunky bits.
Step 6: Bake the Cake Layers
- Divide the batter evenly among your prepared baking pans.
- Place the pans in the preheated oven.
- Baking Time: Bake for 30-35 minutes for 9-inch pans, or 25-30 minutes for 8-inch pans, or until a wooden skewer or toothpick inserted into the center of the cake comes out clean or with a few moist crumbs attached.
- Beginner Tip: Avoid opening the oven door frequently, especially during the first 20 minutes of baking, as this can cause the cake to collapse. If your cake seems to be browning too quickly on top, you can loosely tent it with aluminum foil.
Step 7: Cool the Cakes
- Once baked, remove the cakes from the oven and let them cool in their pans on a wire rack for about 15-20 minutes.
- After this initial cooling, carefully invert the cakes onto the wire rack, remove the pans, and peel off any parchment paper.
- Let the cakes cool completely to room temperature before frosting.
- Critical Step: Do not attempt to frost warm cakes! The frosting will melt and slide right off, creating a messy disaster. Patience is key here.
Step 8: Prepare the Cream Cheese Frosting
- In a large mixing bowl, using an electric mixer (handheld or stand mixer with paddle attachment), beat the softened cream cheese, softened butter, vanilla extract, and salt together on medium speed until smooth and creamy. This usually takes about 2-3 minutes.
- Beginner Tip: Both the cream cheese and butter must be at room temperature for a lump-free, smooth frosting. If they are too cold, your frosting will be lumpy. If they are too warm, it might be too runny.
- Gradually add the sifted powdered sugar, one cup at a time, mixing on low speed until combined, then increase to medium speed and beat until light and fluffy. You might not need all 5 cups; add until you reach your desired consistency and sweetness.
- Common Mistake & Tip: Sifting the powdered sugar is important to prevent lumps in your frosting. If your frosting seems too thick, you can add a tablespoon of milk or cream. If it’s too thin, add a bit more sifted powdered sugar.
Step 9: Assemble and Frost Your Cake
- If your cake layers have domed tops, you can use a serrated knife to carefully level them, creating flat surfaces for easier stacking. This step is optional but makes for a more professional-looking cake.
- Place one cake layer on your serving plate or cake stand. Spread a generous layer of cream cheese frosting over the top.
- Carefully place the second (and third, if using) cake layer on top, aligning them as best as you can.
- Finish by spreading the remaining frosting over the top and sides of the entire cake. You can use an offset spatula or the back of a spoon to create swirls or a smooth finish.
- Optional Decoration: Garnish with extra chopped pecans or walnuts, or some fine carrot curls if you’re feeling fancy!
Step 10: Chill and Serve
- For best results, chill the frosted cake in the refrigerator for at least 30 minutes to allow the frosting to set.
- Slice and serve! Enjoy your incredible homemade J. Alexander’s style carrot cake.
Tips & Tricks for Carrot Cake Success
Baking is both an art and a science, and these little secrets can make a big difference, especially for beginners:
- Room Temperature Ingredients are Key: For both the cake batter (eggs) and the frosting (butter, cream cheese), ensure ingredients are at room temperature. This allows them to emulsify properly, creating a smooth batter and a lump-free, creamy frosting.
- Don’t Overmix: Once you’ve added the wet ingredients to the dry, mix just until combined. Overmixing develops gluten, leading to a tough, dense cake.
- Grate Carrots Finely: Finely grated carrots blend seamlessly into the cake texture, providing moisture and flavor without being chunky.
- Drain Pineapple Thoroughly: Excess moisture from the pineapple can make your cake soggy. Squeeze out as much liquid as possible before adding it to the batter.
- Cool Cakes Completely: This cannot be stressed enough! Frosting a warm cake will result in a melted, sliding mess. Patience is a virtue here.
- Spoon and Level Flour: Avoid scooping flour directly from the bag. Instead, spoon it into your measuring cup and level off the top with a straight edge. This prevents adding too much flour, which can lead to a dry cake.
- Parchment Paper is Your Friend: Lining your baking pans with parchment paper on the bottom ensures easy release and prevents sticking.
- Taste Your Frosting: Before you finish, taste the frosting. If it’s not sweet enough, add more sifted powdered sugar. If it’s too thick, a tiny bit of milk or cream can thin it out.
Essential Baking Tools
Having the right tools makes baking much easier and more enjoyable. Here are a few essentials you’ll need for this recipe:
- Mixing Bowl
- Whisk
- Baking Pan (9-inch round or 8-inch round)
- Measuring Cups & Spoons
- Spatula (rubber and offset)
- Electric Mixer (handheld or stand mixer)
- Grater (for carrots)
- Wire Rack (for cooling)
- Parchment Paper
Nutrition Information (Estimated per serving)
Please note: This is an estimated nutritional value for one slice (approx. 1/16th of the cake) and can vary based on specific ingredients, portion size, and optional additions like nuts.
| Nutrient | Amount |
|---|---|
| Calories | ~520 kcal |
| Carbohydrates | ~65 g |
| Protein | ~5 g |
| Fat | ~30 g |
| Fiber | ~3 g |
| Sugar | ~45 g |
Frequently Asked Questions (FAQs)
Q1: Can I use pre-shredded carrots from the grocery store?
A1: While you can, it’s generally recommended to grate your own carrots. Pre-shredded carrots are often thicker and drier, which can affect the cake’s moisture and texture. If you must use them, try to give them a finer chop or pulse them lightly in a food processor to break them down.
Q2: My frosting is lumpy! What did I do wrong?
A2: Lumpy frosting is usually caused by using cold cream cheese or butter. Ensure both ingredients are at room temperature (softened but not melted) before you start mixing. If it’s already lumpy, you can try beating it for a longer time, or gently warming the bowl over a pot of simmering water for a few seconds to soften the lumps, then beat again.
Q3: Can I omit the pineapple or nuts from the recipe?
A3: Yes, you can omit either or both if you prefer. However, the pineapple adds a significant amount of moisture and a subtle tang that is characteristic of the J. Alexander’s style carrot cake. Omitting nuts will just change the texture, but the cake will still be delicious. If you omit the pineapple, the cake might be slightly less moist, but it will still be good.
Q4: How do I store leftover carrot cake?
A4: Due to the cream cheese frosting, carrot cake should be stored in an airtight container in the refrigerator. It will stay fresh for up to 3-5 days. For best flavor, let it sit at room temperature for about 30 minutes before serving.
Q5: My cake turned out dry. What could be the reason?
A5: A dry cake is commonly caused by one of a few things:
- Over-baking: Baking for too long removes too much moisture. Always check for doneness with the toothpick test.
- Too much flour: If flour is scooped directly from the bag, you can end up with more than needed. Use the “spoon and level” method.
- Not enough oil: Ensure you’ve measured the oil accurately, as it’s key to the cake’s moistness.
Q6: Can I make this into cupcakes instead of a layer cake?
A6: Absolutely! This recipe works wonderfully for cupcakes. Line a muffin tin with paper liners and fill each cup about two-thirds full. The baking time will be shorter, typically around 20-25 minutes. Check for doneness with a toothpick.
Conclusion: Your Carrot Cake Masterpiece Awaits!
Congratulations, aspiring baker! You now have all the tools and knowledge to create a truly spectacular carrot cake, reminiscent of the beloved J. Alexander’s classic. This recipe, while detailed, is broken down into simple, manageable steps, making it perfect for anyone looking to build their baking confidence. There’s immense satisfaction in pulling a perfectly baked cake from the oven, especially one that tastes this good.
Don’t be afraid to get a little flour on your hands and have fun with it! Baking should be an enjoyable process, and the reward of a moist, flavorful slice of homemade carrot cake is well worth the effort. Share your creation with loved ones, or simply savor it yourself with a cup of coffee. We can’t wait to hear about your baking success. Happy baking!