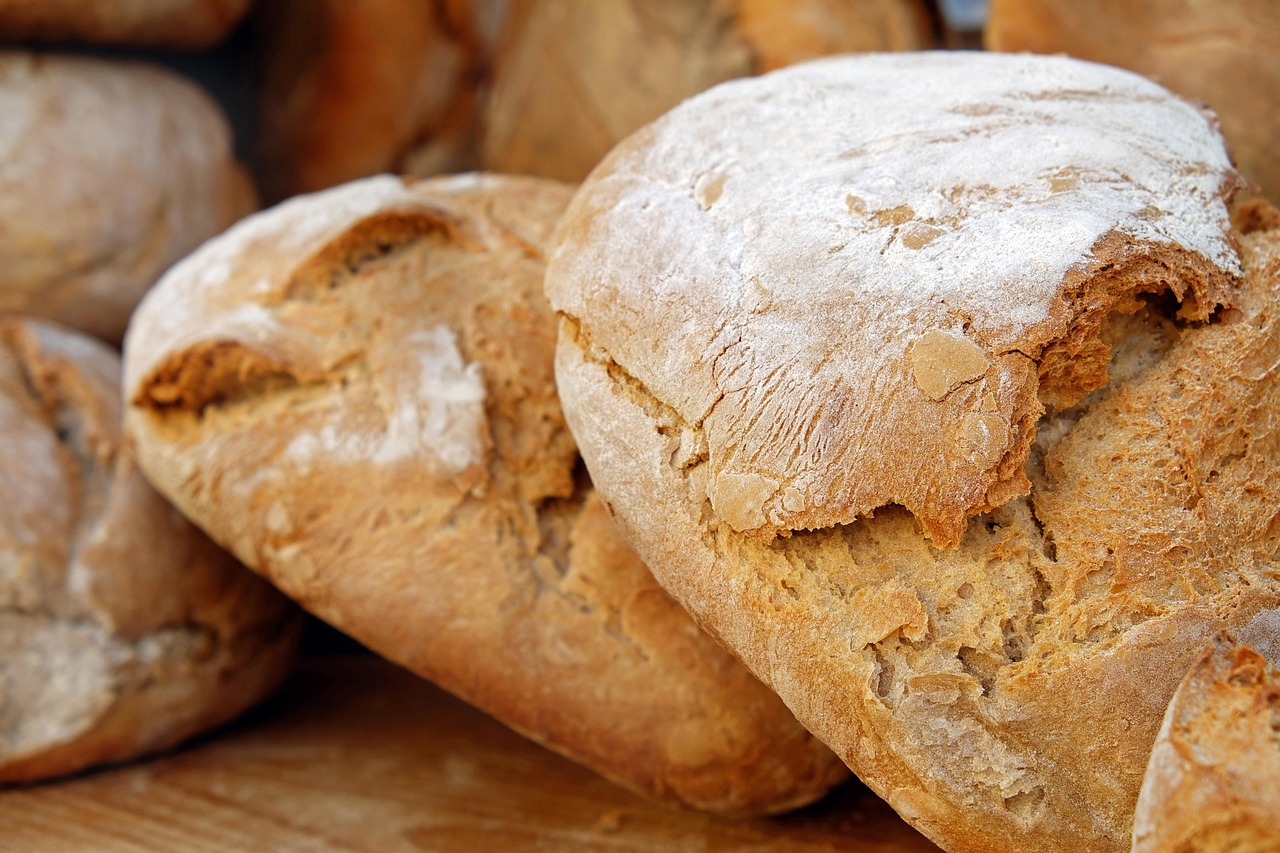
Are you ready to elevate your home baking game and fill your kitchen with the irresistible aroma of freshly baked bread? If you’ve been dreaming of making your own artisanal loaf but felt intimidated by sourdough, this is the recipe for you! Our Jalapeno Cheddar Sourdough Bread Recipe is designed with beginners in mind, breaking down each step into simple, manageable tasks. Imagine a golden-crusted loaf, bursting with savory cheddar and a subtle kick of jalapeño, all made by your own hands.
This isn’t just another one of those easy baking recipes; it’s a comprehensive guide packed with baking tips for beginners to ensure your success. Get ready to impress yourself and everyone lucky enough to try a slice of this incredible, flavorful bread!
Ingredients List
Gathering your ingredients is the first step to a successful bake. Always weigh your ingredients for accuracy, especially in sourdough baking!
| Ingredient | Quantity | Unit |
|---|---|---|
| Active Sourdough Starter | 100 | grams |
| Warm Water (90-95°F / 32-35°C) | 350 | grams |
| Bread Flour (high protein content is best) | 450 | grams |
| All-Purpose Flour | 50 | grams |
| Fine Sea Salt | 10 | grams |
| Fresh Jalapeños (diced, deseeded for less heat) | 1/4 – 1/2 | cup (approx. 30-60g) |
| Sharp Cheddar Cheese (shredded) | 1 | cup (approx. 120g) |
| Olive Oil (for bowl) | 1 | teaspoon |
| Rice Flour (for dusting banneton) | As needed |
Step-by-Step Instructions: Mastering Your Sourdough Loaf
1. Feed Your Sourdough Starter (The Night Before or Morning Of)
For a robust loaf, your sourdough starter needs to be active and bubbly. Feed your starter 4-12 hours before you plan to mix your dough. It should have doubled (or even tripled) in size and pass the float test (a small spoonful floats in water) before you begin. This ensures it has the strength to leaven your bread.
- Beginner Tip: Don’t rush this step! An underfed or inactive starter is the most common reason for a dense, flat loaf.
2. The Autolyse (Hydration & Gluten Relaxation)
In a large mixing bowl, combine the warm water and your active sourdough starter. Stir gently to break up the starter. Add both the bread flour and all-purpose flour. Mix with a wooden spoon or your hands until no dry spots remain and a shaggy dough forms. It won’t look smooth yet, and that’s perfectly normal! Cover the bowl with a damp kitchen towel or plastic wrap and let it rest for 30-60 minutes. This step, called autolyse, allows the flour to fully hydrate and the gluten to begin developing naturally, making the dough easier to work with later.
- Common Mistake: Adding salt too early. Salt can inhibit initial gluten development, so we wait!
3. Initial Mix & Salt Incorporation
After the autolyse, sprinkle the fine sea salt over the dough. With wet hands, gently incorporate the salt into the dough by squeezing and folding it for about 2-3 minutes. You’ll feel the dough become a bit tighter and smoother as the salt is distributed. Continue mixing until the salt is fully integrated.
4. Bulk Fermentation & Stretch and Folds (Developing Strength)
This is where the magic happens! Lightly oil your mixing bowl with olive oil and transfer the dough to it. This entire process, from salt incorporation to shaping, is called bulk fermentation. During this time, you’ll perform a series of “stretch and folds” to build gluten strength and aerate the dough.
- Set a timer: Over the next 2.5-4 hours (depending on your room temperature – warmer means faster fermentation), you’ll perform 4-5 sets of stretch and folds, spaced 30-45 minutes apart.
- How to do a stretch and fold: With wet hands, grab a portion of the dough from one side, stretch it upwards, and fold it over to the opposite side of the bowl. Rotate the bowl a quarter turn and repeat this motion 3-4 times, effectively stretching all sides of the dough. Cover the bowl after each set.
- What to look for: With each set, the dough will become smoother, more elastic, and hold its shape better. It will also start to feel lighter and puffier.
- Beginner Tip: Don’t worry if your dough is sticky at first. Wet hands are your best friend! The more you work it through the stretch and folds, the stronger and less sticky it will become.
- Common Mistake: Not enough stretch and folds or too many. Aim for a dough that feels strong but is still extensible.
5. Adding Inclusions (Jalapeños & Cheddar)
Around the 2nd or 3rd set of stretch and folds, it’s time to add your delicious inclusions! Sprinkle about half of the diced jalapeños and shredded cheddar cheese over the stretched dough. Perform your stretch and fold, gently folding the inclusions into the dough. Repeat with the remaining jalapeños and cheddar on the next stretch and fold. Try to distribute them as evenly as possible without tearing the dough too much.
- Beginner Tip: Adding inclusions too early can hinder gluten development. Adding them later helps maintain the dough’s structure.
- Spice Level: For less heat, make sure to remove all seeds and white membranes from the jalapeños. For more heat, leave some in!
6. Pre-Shaping (Creating Tension)
Once bulk fermentation is complete (the dough should be noticeably puffy, jiggly, and have increased in volume by 30-50%), gently turn the dough out onto a lightly floured surface. Lightly flour the top of the dough. Using a dough scraper or your hands, gently form the dough into a loose round. Don’t press too hard; you want to maintain the air bubbles. Let it rest, uncovered, for 20-30 minutes. This allows the gluten to relax, making the final shaping easier.
- What to look for: The dough should spread a bit during the rest, but still hold a round-ish shape.
7. Final Shaping (Building Structure)
Lightly flour your work surface again. Gently flip the dough over so the sticky side is up. There are many shaping techniques, but a simple one for beginners is:
- Stretch the bottom edge of the dough up towards the middle.
- Stretch the left side over to the right, overlapping the bottom fold.
- Stretch the right side over to the left, overlapping the previous fold.
- Roll the dough from the top down towards you, creating a tight log or boule (round).
- Using your hands or a dough scraper, cup the dough and gently drag it towards you, creating surface tension on the top.
Lightly flour your banneton (proofing basket) generously with rice flour (this prevents sticking better than regular flour). Carefully transfer the shaped dough, seam-side up, into the banneton.
- Beginner Tip: Don’t be afraid to use a little flour, but not too much, or the dough won’t seal properly. The goal is a tight, smooth surface.
- No Banneton? A bowl lined with a well-floured kitchen towel works perfectly!
8. Cold Proof (Retarding for Flavor & Easier Handling)
Cover the banneton with a plastic bag or plastic wrap and place it in the refrigerator for 12-18 hours. This cold proof significantly slows down fermentation, allowing the flavors to develop deeper and making the dough much easier to handle and score when it’s cold.
- Common Mistake: Skipping the cold proof. It’s crucial for both flavor and managing the dough.
9. Preheat Your Oven & Dutch Oven
About 1 hour before you’re ready to bake, place your Dutch oven (with its lid) in your oven and preheat to 450°F (230°C). It’s crucial to get the Dutch oven screaming hot, as this creates the perfect steamy environment for a beautiful crust and oven spring.
- Beginner Tip: Don’t open the oven door too often during preheating. Let it get fully hot!
10. Score & Bake
Carefully remove the hot Dutch oven from the oven. Gently invert your dough from the banneton directly into the hot Dutch oven. The seam-side, which was facing up in the banneton, will now be facing down, becoming the bottom of your loaf. Using a sharp lame or razor blade, quickly score the top of your dough. A simple cross or a single long slash down the middle is perfect for beginners. This allows the bread to expand predictably.
- Bake with Lid On: Place the lid back on the Dutch oven and bake for 30 minutes. The trapped steam helps the crust stay soft, allowing for maximum oven spring.
- Bake with Lid Off: Remove the lid and continue baking for another 20-25 minutes, or until the crust is a deep golden brown and sounds hollow when tapped on the bottom.
- Internal Temperature: For ultimate doneness, the internal temperature should be around 200-210°F (93-99°C).
- Common Mistake: Not scoring deep enough, or scoring too slowly, which can deflate the dough. Be swift and confident!
- No Dutch Oven? See our FAQ section for alternatives!
11. Cool Completely
This is arguably the hardest step! Once baked, carefully remove the bread from the Dutch oven and place it on a wire rack to cool completely for at least 1.5-2 hours before slicing. Slicing too early traps steam, leading to a gummy interior. Patience is key for the best texture and flavor!
- Beginner Tip: The bread is still cooking as it cools, and the crumb structure is setting. Resist the urge to cut into it immediately!
Tips & Tricks for Sourdough Success
- Know Your Starter: An active, healthy starter is 90% of sourdough success. It should consistently double in volume after feeding and pass the float test. If it’s sluggish, feed it more frequently for a few days before baking.
- Hydration is Key: Sourdough dough is often sticky, especially at higher hydration levels. Don’t be scared! Wetting your hands before handling the dough will prevent it from sticking to you.
- Room Temperature Matters: Sourdough fermentation is highly dependent on temperature. In a warmer kitchen, your bulk fermentation will be faster; in a cooler kitchen, it will take longer. Learn to read your dough (its look and feel) rather than strictly following times.
- Don’t Over-Flour: While flour is needed for shaping, too much can make the dough dry and prevent it from sealing properly, leading to a less shapely loaf. Use just enough to prevent sticking.
- Practice Your Scoring: Scoring isn’t just for beauty; it directs where the bread expands. Use a very sharp blade (a lame or a razor blade) and make quick, confident cuts. Deeper scores allow for more “oven spring.”
- Listen to Your Dough: More than exact times, pay attention to the dough’s texture and volume. It should be jiggly, airy, and have increased in volume by about 30-50% after bulk fermentation.
- Cool Completely: We can’t stress this enough! Slicing hot bread leads to a gummy texture. The internal structure is still setting as it cools, so resist the temptation!
Essential Baking Tools
Having the right tools makes the sourdough journey much smoother. Here are some essentials:
- Large Mixing Bowl: For mixing and bulk fermentation.
- Whisk or Fork: For breaking up starter in water.
- Dough Scraper: Invaluable for handling sticky dough and shaping.
- Kitchen Scale: Crucial for accurate ingredient measurements in sourdough.
- Measuring Cups & Spoons: For inclusions and smaller measurements.
- Banneton (Proofing Basket): Helps the dough hold its shape during proofing.
- Dutch Oven: Creates the perfect steamy environment for baking sourdough.
- Lame or Razor Blade: For scoring the dough before baking.
- Wire Rack: For cooling the bread completely.
- Spatula: For general use.
Nutrition Information (Approximate per 1/10th loaf)
Please note: These values are approximate and can vary based on exact ingredient brands, quantities, and preparation methods. This is a general guide.
| Nutrient | Per Serving (approx. 1/10th loaf) |
|---|---|
| Calories | 280-320 kcal |
| Carbohydrates | 45-50 g |
| Protein | 10-12 g |
| Fat | 6-9 g |
| Fiber | 2-3 g |
| Sugar | 1-2 g |
Frequently Asked Questions (FAQs)
1. How do I know if my sourdough starter is active enough?
Your starter is active when it has significantly increased in volume (doubled or tripled) 4-12 hours after being fed. It should be bubbly on top and throughout, and a small spoonful should float when dropped into a glass of water (the “float test”). If it doesn’t float, it’s not quite ready and needs more time or another feeding.
2. My dough is super sticky during bulk fermentation. Is that normal?
Yes, sourdough dough, especially with higher hydration, can be quite sticky! This is normal, especially in the initial stages. Using wet hands during stretch and folds is key to prevent sticking. As you perform more sets of stretch and folds, the gluten will develop, and the dough will become less sticky and easier to handle.
3. Can I adjust the spice level or use different cheese?
Absolutely! For less spice, remove all seeds and white membranes from the jalapeños. For more heat, leave some seeds in. You can also roast the jalapeños first for a smoky flavor. As for cheese, feel free to experiment with other hard or semi-hard cheeses like Monterey Jack, Colby, or even a mix of cheeses. Just ensure they are shredded for even distribution.
4. How do I know when my dough is perfectly proofed?
During the bulk fermentation, the dough should increase in volume by about 30-50% and feel airy and jiggly. After cold proofing, the dough should feel plump and soft but still have some resistance when gently poked. If it springs back too quickly, it might be under-proofed. If it collapses or leaves a deep indentation, it might be over-proofed. It’s a balance that comes with practice!
5. I don’t have a Dutch oven. Can I still bake this bread?
Yes, you can! While a Dutch oven creates the ideal steamy environment, you can mimic it. Preheat your oven with a baking stone or heavy baking sheet inside. Place a tray of hot water on the bottom rack of your oven to create steam. Bake your scored loaf directly on the hot stone/sheet. The crust might not be as consistently crisp, but you’ll still get delicious bread!
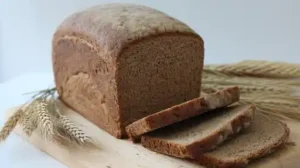
6. How do I store my homemade sourdough bread?
Once completely cool, store your sourdough bread at room temperature. For a day or two, simply place it cut-side down on a cutting board or in a paper bag. For longer storage (up to 4-5 days), store it in a bread box or a clean cotton bag. For freezing, slice the cooled bread and freeze the slices in an airtight bag. You can then toast individual slices as needed!
Conclusion
Congratulations, you’ve made it to the end of your sourdough journey or rather, the beginning of many! Baking your own Jalapeno Cheddar Sourdough Bread is an incredibly rewarding experience, and we hope this detailed guide has given you the confidence and knowledge to create a masterpiece. Don’t worry if your first loaf isn’t perfect; every bake is a learning experience. Embrace the process, enjoy the incredible aromas, and savor the taste of your homemade creation. Share your beautiful loaves with us, and happy baking!