
Forget store-bought loaves; once you taste the fresh, warm, homemade bread from this recipe, you’ll never look back. It’s a truly rewarding experience, and with your trusty Kitchen Aid mixer, it’s simpler than you think. Let’s get started!
Ingredients You’ll Need
Before we dive into the baking magic, gather these simple ingredients. Freshness is key, especially for your yeast!
| Ingredient | Quantity | Unit |
|---|---|---|
| Warm Water (105-115°F) | 1 ½ | cups |
| Active Dry Yeast | 2 ¼ | teaspoons (1 packet) |
| Granulated Sugar | 1 | tablespoon |
| All-Purpose Flour | 3 ½ – 4 | cups |
| Salt | 1 ½ | teaspoons |
| Olive Oil (or other neutral oil) | 2 | tablespoons |
| Extra Olive Oil for greasing | 1 | teaspoon |
Step-by-Step Instructions: Your Kitchen Aid Bread Adventure
Follow these detailed steps carefully, and you’ll be pulling a golden-brown loaf out of your oven in no time!
1. Activate Your Yeast (The First Proof of Life!)
In the bowl of your Kitchen Aid stand mixer, combine the **warm water** (make sure it’s between 105-115°F – too cold and the yeast won’t activate, too hot and it will die!), **granulated sugar**, and **active dry yeast**. Give it a gentle whisk to combine. Let this mixture sit for 5-10 minutes. You should see a foamy, bubbly layer form on top. This is your yeast waking up! If it doesn’t foam, your yeast might be expired or your water temperature was off. Don’t proceed until you see foam – it’s crucial for your bread to rise.
2. Combine Wet and Dry Ingredients
Once your yeast is active, add 2 cups of all-purpose flour, the **salt**, and the **olive oil** to the yeast mixture in the mixer bowl. Attach the dough hook to your Kitchen Aid mixer. Turn the mixer on low speed (Speed 2) and mix until just combined. This will be a very wet, sticky dough at this stage, and that’s perfectly normal.
3. Knead the Dough with Your Kitchen Aid
With the mixer still on low speed, gradually add the remaining **flour**, about half a cup at a time. Allow each addition to incorporate before adding more. The dough will start to pull away from the sides of the bowl and form a ball around the dough hook. You might not need all 4 cups of flour, or you might need a tiny bit more – it depends on your flour, humidity, etc. The goal is a dough that is **soft, elastic, and slightly tacky to the touch**, but no longer extremely sticky.
Continue to knead the dough on low speed (Speed 2) for about 7-10 minutes. This is where your Kitchen Aid really shines! Kneading develops the gluten, which gives your bread its structure and chewiness. A well-kneaded dough will feel smooth and elastic. You can test it by gently pulling a small piece; if it stretches thin without tearing easily (the “windowpane test”), it’s ready.
Common Beginner Mistake: Adding too much flour. Resist the urge to add excessive flour just because the dough is sticky. A slightly tacky dough is good. Too much flour results in dry, dense bread.
4. First Rise (Bulk Fermentation)
Remove the dough from the mixer bowl. Drizzle a **teaspoon of olive oil** into a clean, large bowl and swirl to coat the sides. Place your kneaded dough into the oiled bowl, turning it once to coat the entire ball of dough with oil. This prevents it from drying out.
Cover the bowl tightly with plastic wrap or a clean kitchen towel. Place the bowl in a warm, draft-free spot in your kitchen. This could be near a sunny window, in a slightly warm (but turned off) oven, or even on top of your refrigerator. Let the dough rise for 1 to 1.5 hours, or until it has **doubled in size**. The exact time will vary based on your kitchen’s temperature. Patience is key here!
Tip for Beginners: Creating a warm proofing environment. If your kitchen is cool, preheat your oven to its lowest setting (e.g., 170°F) for just 1-2 minutes, then turn it OFF. Place the covered bowl in the *warm, turned-off* oven. This creates a perfect environment for rising.
5. Punch Down and Shape the Dough
Once the dough has doubled, gently “punch it down” to release the air. This isn’t aggressive punching, just a gentle deflate. Turn the dough out onto a lightly floured surface. Gently shape it into a rectangular loaf. You can do this by flattening it into a rectangle, then folding the longer sides into the middle, and finally rolling it up tightly from one end to the other, pinching the seam closed at the bottom.
Alternative Shaping: For a round loaf, simply gently shape it into a smooth ball by tucking the edges underneath.
6. Second Rise (Proofing)
Lightly grease a standard **9×5 inch loaf pan** with a little butter, oil, or non-stick spray. Carefully place your shaped dough into the prepared loaf pan, seam-side down. Cover the loaf pan loosely with plastic wrap or a clean kitchen towel. Return it to your warm, draft-free spot for another 30-45 minutes, or until the dough has risen significantly and is almost double in size, peaking nicely above the rim of the pan.
Common Beginner Mistake: Under-proofing. If your bread doesn’t rise much in the oven, it might have been under-proofed. If it rises too much and then collapses, it might have been over-proofed. Aim for a dough that looks airy and has expanded significantly but still feels a bit springy when gently poked.
7. Preheat Your Oven
About 15-20 minutes before the second rise is complete, preheat your oven to **375°F (190°C)**. This gives your oven ample time to reach and stabilize at the correct temperature.
8. Bake Your Bread!
Carefully place the loaf pan into the preheated oven. Bake for **30-35 minutes**, or until the crust is golden brown and the internal temperature reaches **200-210°F (93-99°C)**. You can use an instant-read thermometer inserted into the center of the loaf for accuracy.
Tip: If the top is browning too quickly, you can loosely tent it with aluminum foil for the last 10-15 minutes of baking.
9. Cool and Enjoy
Once baked, immediately remove the bread from the oven. Carefully take the loaf out of the pan and place it on a wire cooling rack. Allow it to cool completely for at least 1-2 hours before slicing. This step is crucial! Slicing hot bread can make it gummy and dense inside, as the internal structure is still setting.
Once cooled, slice and enjoy your incredible homemade bread! It’s perfect with butter, jam, or for making sandwiches.
Tips & Tricks for Beginner Bakers
Baking bread is a science and an art, but these tips will help you master it quickly:
- Accurate Measuring: Always measure flour by **spooning it into your measuring cup and leveling it off** with a straight edge, rather than scooping directly from the bag. Scooping can compact the flour, leading to too much flour and a dry loaf.
- Yeast is Alive: Treat your yeast with care! Ensure your water is the correct temperature (105-115°F). If your kitchen is cold, warm your mixing bowl slightly before adding water and yeast.
- Patience with Rising: Don’t rush the proofing process. The dough needs time to develop flavor and texture. If your kitchen is cold, find a warm spot or create one (like a turned-off, slightly warm oven).
- Don’t Over-Flour: When kneading or shaping, use just enough flour to prevent sticking. Too much extra flour makes the bread tough and dense.
- Listen to Your Dough: Pay attention to how your dough feels. It should be elastic and smooth after kneading, and light and airy after proofing.
- Oven Temperature Matters: Invest in an oven thermometer to ensure your oven is truly at the temperature you set. Many ovens run hot or cold.
- Cool Completely: Resist the urge to slice hot bread! Cooling allows the starches to set, resulting in a better texture and flavor.
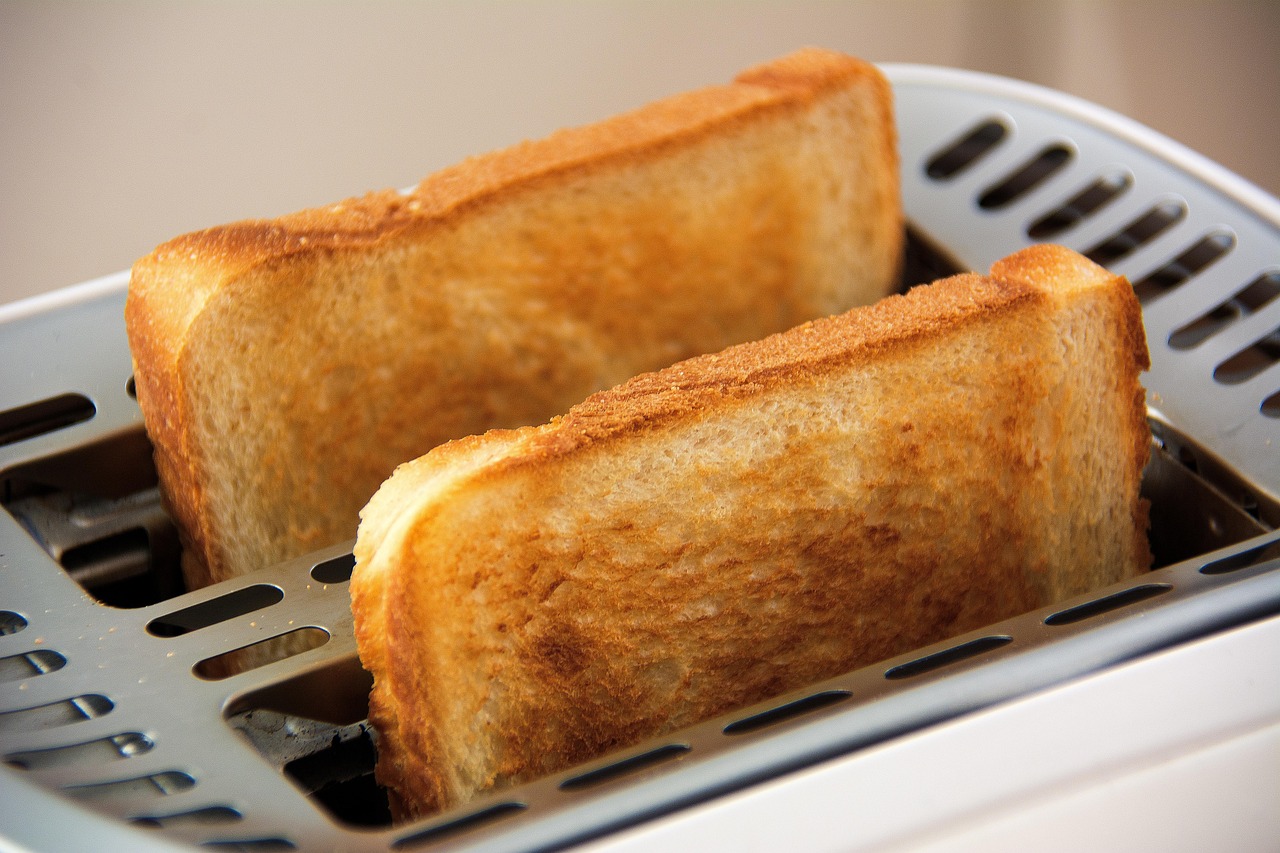
- Storage: Store your cooled bread in an airtight container at room temperature for 3-4 days. For longer storage, slice and freeze it; it toasts beautifully from frozen.
Essential Baking Tools
Having the right tools makes all the difference in your baking journey. Here are a few essentials:
- Mixing Bowl
- Whisk
- Baking Pan (9×5 inch loaf pan)
- Measuring Cups and Measuring Spoons
- Spatula (for scraping down the bowl)
- Dough Scraper (helpful for handling sticky dough)
- Kitchen Aid Stand Mixer (of course!)
- Wire Cooling Rack
Nutrition Information (Per Slice, approx. 12 slices per loaf)
Please note: These are estimated values and can vary based on specific ingredient brands and exact measurements.
| Nutrient | Amount |
|---|---|
| Calories | 150-170 kcal |
| Carbohydrates | 30-35 g |
| Protein | 5-6 g |
| Fat | 2-3 g |
| Fiber | 1-2 g |
| Sugar | 1-2 g |
Frequently Asked Questions (FAQs)
Q1: Why didn’t my bread rise?
A: The most common reasons are inactive yeast (check the expiration date!), water that was too hot (killed the yeast) or too cold (didn’t activate it), or not enough proofing time in a warm environment. Ensure your yeast foams up nicely in step 1.
Q2: Can I use whole wheat flour instead of all-purpose?
A: Yes, but with some adjustments. Whole wheat flour absorbs more liquid, so you might need to add a little more water (start with an extra 1/4 cup). Also, whole wheat bread tends to be denser and may not rise as high. A good starting point for beginners is to substitute 1 cup of all-purpose flour with whole wheat, keeping the rest all-purpose.
Q3: My dough is too sticky/too dry during kneading. What should I do?
A: If it’s too sticky after adding the recommended flour, add a tablespoon of flour at a time until it’s tacky but manageable. If it’s too dry, add a teaspoon of warm water at a time. Dough consistency can vary based on humidity and flour type, so trust your judgment and the feel of the dough.
Q4: How do I store homemade bread?
A: Once completely cooled, store your bread in an airtight container, a bread box, or a sealed plastic bag at room temperature for 3-4 days. For longer storage, slice the bread and freeze it in a freezer-safe bag for up to 2-3 months. You can toast slices directly from frozen.
Q5: Can I make this recipe without a Kitchen Aid stand mixer?
A: Absolutely! The kneading process will just require more elbow grease. Instead of using the dough hook, you’ll need to knead the dough by hand on a lightly floured surface for 10-15 minutes, until it’s smooth and elastic. It’s a great workout!
Q6: Can I add extra ingredients like seeds or herbs?
A: Yes, once the dough is mostly kneaded (around the last 2-3 minutes of kneading in the mixer), you can add ingredients like a 1/4 cup of sunflower seeds, pumpkin seeds, dried herbs (like rosemary or thyme), or even a few tablespoons of grated Parmesan cheese. Just mix until incorporated.
Your Homemade Bread Awaits!
Congratulations, future baker! You now have a fantastic, detailed, and beginner-friendly guide to making delicious homemade bread using your Kitchen Aid mixer. There’s truly nothing quite like the aroma of freshly baked bread filling your home, and the taste of a warm slice is pure comfort. Don’t be afraid to experiment and make this recipe your own.
Baking is a journey of learning and discovery. Each loaf you bake will get better and better. So, roll up your sleeves, fire up that Kitchen Aid, and prepare to enjoy the incredible satisfaction of creating something wonderful with your own hands. We can’t wait to hear about your bread-making success!