Are you ready to whip up some seriously delicious and surprisingly healthy waffles without breaking a sweat? If you’ve been searching for a foolproof, delightful breakfast solution, look no further! This Kodiak Cake Waffle Recipe is not just another meal; it’s an invitation to enjoy wholesome, protein-packed goodness that tastes like a treat. Perfect for anyone venturing into the kitchen, this recipe is one of the best easy baking recipes you can start with. We’re going to walk through every step, ensuring you master some fundamental baking tips for beginners along the way. Get ready to impress yourself and your loved ones with fluffy, golden waffles that are simple to make, yet incredibly satisfying!
Gather Your Simple Ingredients
One of the best things about this recipe is how few ingredients you need. Kodiak Cakes mix does a lot of the heavy lifting for you! Here’s what you’ll need to make about 2-3 delicious waffles:
| Ingredient | Quantity | Unit |
| Kodiak Cakes Flapjack & Waffle Mix (Original or Buttermilk) | 1 | cup |
| Milk (dairy or non-dairy, e.g., almond, soy, oat) | 3/4 | cup |
| Large Egg | 1 | |
| Vegetable Oil or Melted Butter (Optional, for extra crispiness) | 1 | tablespoon |
| Vanilla Extract (Optional, for added flavor) | 1/2 | teaspoon |
| Cooking Spray or Oil (for waffle iron) | ||
| Your Favorite Toppings (Syrup, fruit, whipped cream, etc.) |
Step-by-Step Instructions: Your Waffle-Making Journey

Ready to make some magic? Follow these detailed, beginner-friendly steps for perfect Kodiak Cake waffles every time!
Step 1: Preheat Your Waffle Iron Like a Pro
- First things first: plug in your waffle iron! Turn it on to your desired setting. Most waffle irons have a medium-high setting, which is usually perfect for a golden-brown, crispy exterior.
- Wait for the green light! Many waffle irons have an indicator light that tells you when it’s fully preheated. This is crucial because a properly preheated iron ensures even cooking and prevents sticking. If you pour batter onto a cold iron, your waffles might be soggy or stick.
- Beginner Tip: While it’s preheating, gather all your ingredients and tools. This is called “mise en place” in cooking, and it makes the process so much smoother!
Step 2: Prepare Your Wet Ingredients for a Smooth Start
- In a medium-sized mixing bowl, crack your large egg.
- Pour in the 3/4 cup of milk. You can use any type of milk you prefer – dairy, almond, oat, or soy all work wonderfully.
- If you’re using the optional 1 tablespoon of vegetable oil or melted butter and 1/2 teaspoon of vanilla extract, add them now. The oil/butter helps create a crispier waffle, and vanilla adds a lovely aroma and flavor.
- Grab a whisk and gently whisk these wet ingredients together until they are well combined. You don’t need to go crazy, just ensure the egg yolk and white are fully mixed with the milk.
Step 3: Combine Wet and Dry Ingredients (The Gentle Way!)
- Now, add the 1 cup of Kodiak Cakes mix directly into your wet ingredient mixture in the bowl.
- Using your whisk or a spatula, gently mix the ingredients together.
- BIG Beginner Tip: Do NOT overmix! This is one of the most common mistakes in baking, especially with pancakes and waffles. Overmixing develops the gluten in the flour too much, leading to tough, chewy, and less fluffy waffles. A few lumps are perfectly fine and actually desired! Mix just until the dry ingredients are moistened and there are no large pockets of dry flour. The batter should be slightly thick but pourable.
- Alternative: If you want a thinner waffle, you can add an extra splash of milk (1-2 tablespoons) until you reach your desired consistency. For a thicker, chewier waffle, stick to the initial measurements.
Step 4: Grease Your Waffle Iron (Even If It’s Non-Stick!)
- Once your waffle iron is preheated (green light’s on!), it’s time to lightly grease it. Even if your iron claims to be non-stick, a little cooking spray or a brush of oil can prevent sticking and ensure a beautiful, golden crust.
- Carefully spray both the top and bottom plates with cooking spray, or lightly brush with a neutral oil (like vegetable or canola oil).
- Common Mistake: Forgetting this step can lead to your precious waffles sticking and tearing when you try to remove them. Don’t skip it!
Step 5: Pour and Cook the Perfect Waffle
- Now for the fun part! Carefully pour the batter onto the center of the bottom waffle iron plate. The amount of batter will depend on the size of your waffle iron. For a standard 7-inch round waffle iron, usually about 1/2 to 3/4 cup of batter is sufficient.
- Beginner Tip: Don’t overfill! This is another common mistake. Overfilling will cause the batter to overflow the edges, creating a messy situation and potentially damaging your waffle iron. Start with a smaller amount, and if needed, you can add a little more next time.
- Gently close the lid of your waffle iron. Do not press down hard; just let it close naturally.
- Cook for 3-5 minutes, or until the waffle is golden brown and the steam stops escaping from the sides of the waffle iron. Many waffle irons will also have an indicator light that turns green when the waffle is done.
- How to Tell It’s Done: The best indicators are the steam stopping (meaning most of the moisture has cooked out) and the light turning green. If you open it too early, the waffle might tear.
Step 6: Serve and Enjoy Your Masterpiece!
- Once cooked, carefully open the waffle iron and use a non-metal utensil (like a silicone spatula or tongs) to lift the waffle out. Avoid metal utensils, as they can scratch the non-stick coating.
- Place your freshly cooked waffle on a plate. If you’re making multiple waffles, you can keep the finished ones warm in a preheated oven set to a very low temperature (around 200°F or 90°C) on a baking pan.
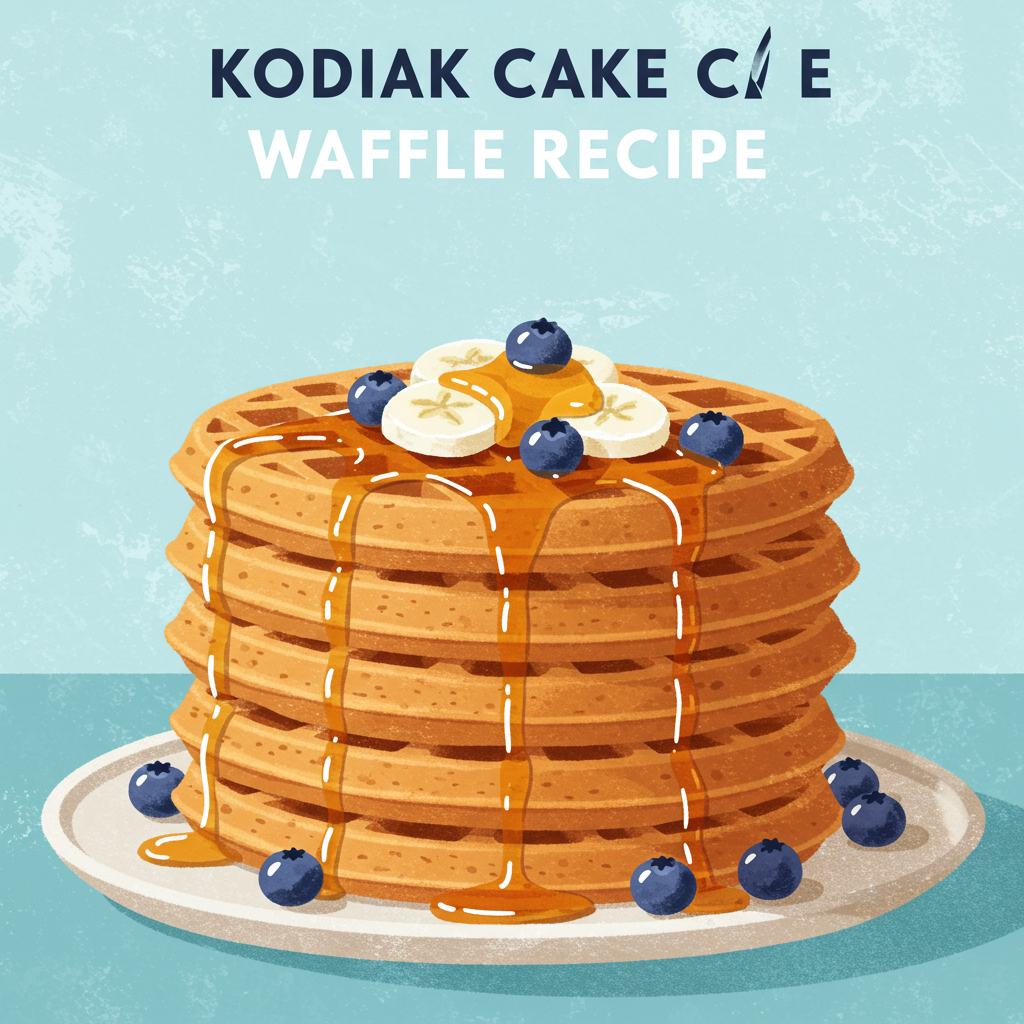
- Serve immediately with your favorite toppings! From classic maple syrup and fresh berries to chocolate chips or whipped cream – the possibilities are endless.
Tips & Tricks for Waffle Perfection
Elevate your waffle game with these handy tips and tricks, perfect for any aspiring baker!
- Don’t Overmix the Batter: As mentioned, this is key! A slightly lumpy batter is a happy batter. Overmixing leads to gluten development, making your waffles tough instead of light and fluffy. Mix just enough to incorporate the ingredients.
- Rest the Batter: If you have 5-10 minutes to spare after mixing, let the batter rest. This allows the flour to fully hydrate and the gluten to relax, resulting in an even more tender waffle.
- Adjust Consistency: If your waffles are too thick, add a splash more milk. If they’re too thin, you can add a tablespoon or two of extra Kodiak Cakes mix. The ideal consistency is like a thick pancake batter – pourable but not watery.
- Proper Preheat is Paramount: Always wait for your waffle iron to be fully preheated. This ensures even cooking and a beautifully crispy exterior. Patience is a virtue here!
- Grease, Grease, Grease: Even if your waffle iron is non-stick, a light coating of cooking spray or oil prevents sticking and helps create a perfectly golden crust. Re-grease between waffles if necessary.
- Don’t Overfill: This is a common beginner mistake. Start with less batter than you think you need, then adjust. Overflowing batter creates a mess and can cook unevenly.
- Keep Warm: If you’re serving a crowd, place cooked waffles on a wire rack set over a baking pan in a warm oven (around 200°F / 90°C) to keep them toasty until all are ready.
- Customization Fun: Get creative! Add a handful of fresh blueberries, chocolate chips, or a pinch of cinnamon to your batter for extra flavor. Just gently fold them in at the end.
- Storage & Reheating: Leftover waffles can be stored in an airtight container in the refrigerator for 2-3 days, or frozen for up to 2 months. Reheat them in a toaster, toaster oven, or back in the waffle iron for crispiness.
Essential Baking Tools for Your Kitchen
You don’t need a professional kitchen to make amazing waffles, but having a few basic tools makes the process much easier. Here are some essentials:
- Mixing Bowl
- Whisk
- Waffle Iron (not linked, as specific models vary, but essential!)
- Baking Pan (for keeping waffles warm)
- Measuring Cups
- Measuring Spoons (for vanilla extract)
- Spatula (preferably silicone or non-metal for lifting waffles)
Approximate Nutrition Information (Per Waffle)
This information is an estimate based on the ingredients listed for one serving (assuming 2.5 waffles from the recipe). Actual values may vary based on exact ingredients and portion sizes. Kodiak Cakes are known for their higher protein content!
| Nutrient | Amount |
| Calories | ~280 kcal |
| Carbohydrates | ~35 g |
| Protein | ~16 g |
| Fat | ~8 g |
| Fiber | ~6 g |
| Sugar | ~4 g |
Frequently Asked Questions (FAQs)
Q1: Can I use water instead of milk?
A: Yes, you absolutely can! Kodiak Cakes mix is designed to work well with water, milk, or even buttermilk. Using water will result in a slightly less rich and less fluffy waffle, but it’s a great option if you’re out of milk or want to reduce the calorie count further.
Q2: How do I know when my waffle is done?
A: Most waffle irons have an indicator light that will turn green or off when the waffle is finished cooking. Another great sign is when the steam stops escaping from the sides of the waffle iron – this means most of the moisture has cooked out, indicating a crispy exterior. Typically, it takes about 3-5 minutes, depending on your iron and desired crispiness.
Q3: My waffles are sticking, what should I do?
A: Sticking is usually due to insufficient greasing or not preheating the iron properly. Ensure you generously spray or brush both the top and bottom plates of your waffle iron with cooking oil before pouring the batter. Even with non-stick surfaces, a little extra oil helps a lot! Also, make sure your iron is fully preheated before adding batter.
Q4: Can I make the batter ahead of time?
A: Yes, you can! You can prepare the batter and store it in an airtight container in the refrigerator for up to 24 hours. When you’re ready to make waffles, give the batter a gentle stir (don’t overmix!) and add a splash more milk if it has thickened too much.
Q5: Can I add other ingredients to the batter?
A: Absolutely! This is where you can get creative. Common additions include fresh berries (blueberries, raspberries), chocolate chips, a pinch of cinnamon or nutmeg, or even a tablespoon of protein powder for an extra boost. Gently fold them into the batter just before cooking.
Conclusion: Your Waffle Success Story Awaits!
And there you have it! Your very own Kodiak Cake Waffle Recipe, perfected with baking tips for beginners at every turn. You’ve just learned how to create a delicious, wholesome, and incredibly satisfying breakfast or brunch with ease. This recipe proves that easy baking recipes can be both healthy and delightful, building your confidence in the kitchen with every golden-brown waffle you pull from the iron. So go ahead, gather your ingredients, fire up that waffle maker, and treat yourself to a stack of homemade goodness. Don’t forget to share your creations and tag us on social media! Happy Waffle-Making!
3 thoughts on “Kodiak Cake Waffle Recipe – Bake Today, Enjoy Today”