Gather Your Ingredients: The Heart of Your Kokosh Cake
Before we begin, ensure all your ingredients are measured out and ready. This is called “mise en place” in French, and it makes the baking process so much smoother!
For the Moist Vanilla Cake Base:
| Quantity | Unit | Ingredient |
|---|---|---|
| 2 | cups | All-purpose flour, sifted |
| 1 | tablespoon | Baking powder |
| ½ | teaspoon | Salt |
| ½ | cup (1 stick) | Unsalted butter, softened |
| 1 ½ | cups | Granulated sugar |
| 2 | large | Eggs, room temperature |
| 1 | teaspoon | Vanilla extract |
| 1 | cup | Milk (whole or 2%), room temperature |
For the Rich Chocolate-Walnut Streusel Topping:
| Quantity | Unit | Ingredient |
|---|---|---|
| ½ | cup | All-purpose flour |
| ½ | cup | Granulated sugar |
| ¼ | cup | Unsweetened cocoa powder |
| 1 | cup | Finely ground walnuts |
| ½ | teaspoon | Ground cinnamon (optional, but recommended!) |
| ½ | cup (1 stick) | Unsalted butter, very cold and cubed |
Step-by-Step Instructions: Your Path to Kokosh Cake Perfection
Follow these detailed steps carefully, and you’ll be amazed at what you can create!
Step 1: Get Ready to Bake! (Prepping Your Oven and Pan)
- Preheat Your Oven: Adjust your oven rack to the middle position. Preheat your oven to 350°F (175°C). It’s crucial for the oven to be fully heated before your cake goes in, so give it at least 15-20 minutes.
- Prepare Your Baking Pan: Grease and flour a 9×13 inch baking pan. To do this, rub a thin layer of butter or shortening all over the inside of the pan. Then, sprinkle a tablespoon or two of flour into the pan, tilting and tapping it to coat all surfaces. Tap out any excess flour. This prevents your cake from sticking – a common baking frustration we want to avoid! You can also line the bottom with parchment paper for extra insurance.
Step 2: Crafting the Chocolate-Walnut Streusel Topping
We’ll make this first so it’s ready to sprinkle.
- Combine Dry Ingredients: In a medium bowl, whisk together the ½ cup all-purpose flour, ½ cup granulated sugar, ¼ cup cocoa powder, 1 cup ground walnuts, and ½ teaspoon ground cinnamon (if using). Make sure there are no lumps of cocoa powder.
- Add Cold Butter: Add the ½ cup (1 stick) of very cold, cubed unsalted butter to the dry mixture.
- Mix into Crumbly Topping: Using your fingertips, a pastry blender, or two knives, cut the butter into the dry ingredients until the mixture resembles coarse crumbs. Some larger pea-sized pieces are perfectly fine and will add wonderful texture. Beginner Tip: Working quickly with cold butter is key here to prevent it from melting too much, which would make the streusel less crumbly. Set this aside.
Step 3: Creating the Moist Vanilla Cake Batter
Now for the cake itself! This is a classic creaming method.
- Whisk Dry Ingredients: In a medium bowl, whisk together the 2 cups sifted all-purpose flour, 1 tablespoon baking powder, and ½ teaspoon salt. Sifting the flour helps prevent lumps and makes for a lighter cake. Set aside.
- Cream Butter and Sugar: In a large mixing bowl (or the bowl of a stand mixer fitted with the paddle attachment), beat the ½ cup softened unsalted butter and 1 ½ cups granulated sugar on medium speed until light and fluffy. This should take about 3-5 minutes. Beginner Tip: Softened butter means it’s pliable but still cool to the touch, not melted. This step incorporates air, making your cake tender.
- Add Eggs Gradually: Add the 2 large room temperature eggs one at a time, beating well after each addition until fully incorporated. Scrape down the sides of the bowl as needed to ensure everything is mixed evenly. Common Mistake: Adding cold eggs can curdle the batter. Room temperature eggs emulsify better, leading to a smoother batter.
- Stir in Vanilla: Mix in the 1 teaspoon vanilla extract.
- Alternate Dry and Wet Ingredients: With the mixer on low speed, add about one-third of the dry ingredient mixture to the butter mixture, mixing just until combined. Then, add half of the 1 cup room temperature milk, mixing until just incorporated. Repeat with another third of the dry ingredients, the remaining milk, and finally, the last third of the dry ingredients. Crucial Beginner Tip: Do NOT overmix! Overmixing develops gluten, which can make your cake tough. Mix just until no streaks of flour remain.
Step 4: Assembling and Baking Your Kokosh Cake
- Pour Batter into Pan: Pour the cake batter evenly into your prepared 9×13 inch baking pan. Use a spatula to gently spread it to the edges.
- Sprinkle Streusel: Evenly sprinkle the chocolate-walnut streusel topping all over the top of the cake batter.
- Bake: Place the pan in the preheated oven and bake for 30-38 minutes.
- Check for Doneness: The cake is done when a wooden skewer or toothpick inserted into the center comes out clean or with a few moist crumbs attached (but no wet batter). The streusel topping should look golden and set.
- Cooling Time: Once baked, remove the cake from the oven and place it on a wire rack to cool completely in the pan. Trying to slice a warm cake can cause it to crumble. Patience is a virtue here!
Step 5: Slice, Serve, and Savor!
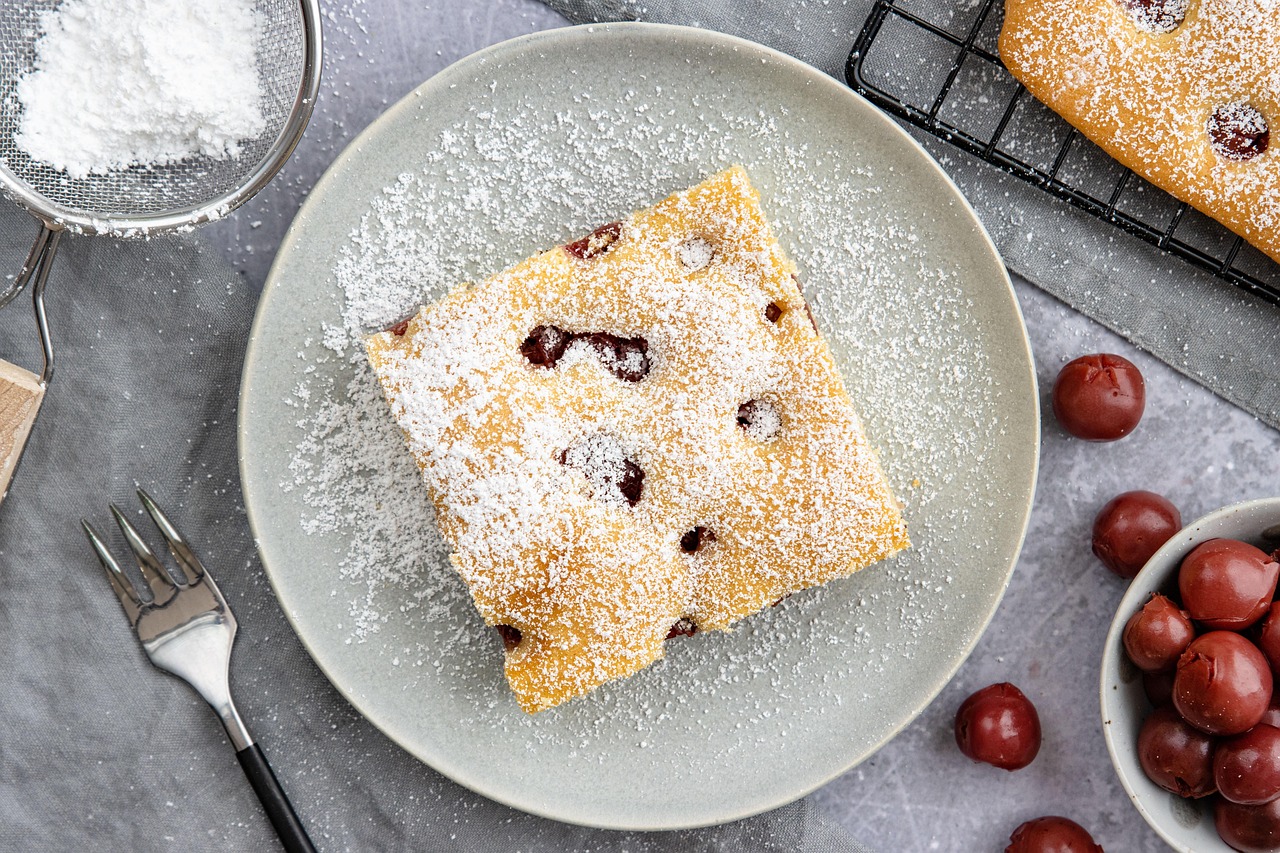
- Once completely cooled, slice your beautiful Kokosh Cake into squares.
- Serve plain, with a dusting of powdered sugar, or a dollop of whipped cream. Enjoy your homemade masterpiece!
Pro Baking Tips & Tricks for Beginners
Mastering baking takes practice, but these tips will give you a significant head start and help you avoid common pitfalls:
- Accuracy is King: Baking is a science! Use proper measuring cups and spoons. For dry ingredients, spoon flour into your measuring cup and level it off with a straight edge (like the back of a knife). Don’t pack it down!
- Room Temperature Matters: Unless specified, ingredients like butter and eggs should be at room temperature. This allows them to emulsify better, creating a smoother, more uniform batter and a lighter texture in your final product. Plan ahead and take them out of the fridge an hour or two before you start.
- Don’t Skip Sifting: Sifting flour removes lumps and aerates it, leading to a lighter, fluffier cake. It only takes an extra minute!
- Know Your Oven: Oven temperatures can vary. Investing in an inexpensive oven thermometer can help you ensure your oven is truly at the temperature you set.
- Avoid Overmixing: Once you add flour to your wet ingredients, mix only until just combined. Overmixing develops gluten, which can lead to a tough, dry cake.
- Cool Completely: Resist the urge to cut into your cake too early. A cake continues to “set” as it cools, and cutting it warm can cause it to crumble or dry out faster.
- Read the Entire Recipe First: Before you even touch an ingredient, read the recipe from start to finish. This helps you understand the process and catch any potential issues or questions beforehand.
Essential Baking Tools for Your Kitchen
Having the right tools makes baking a joy. Here are some basics you’ll want on hand:
- Mixing Bowls (various sizes)
- Whisk
- 9×13 inch Baking Pan
- Measuring Cups (dry and liquid)
- Rubber Spatula
- Measuring Spoons
- Electric Mixer (handheld or stand mixer)
- Wire Rack
- Parchment Paper
Nutrition Information (Estimated per slice)
Please note: These values are approximate and can vary based on exact ingredient brands and portion sizes.
| Nutrient | Amount |
|---|---|
| Calories | ~380 kcal |
| Carbohydrates | ~55g |
| Protein | ~6g |
| Fat | ~18g |
| Fiber | ~2g |
| Sugar | ~35g |
Frequently Asked Questions (FAQs) for Beginner Bakers
Don’t be shy! Here are answers to some common questions you might have:
Q: Can I make this Kokosh Cake ahead of time?
A: Absolutely! This cake actually tastes even better the next day as the flavors meld. You can bake it, let it cool completely, and then store it at room temperature in an airtight container for up to 3-4 days.
Q: How should I store leftover Kokosh Cake?
A: Store your cake in an airtight container at room temperature for up to 3-4 days. If you live in a very warm or humid climate, or if you want to extend its freshness, you can store it in the refrigerator for up to a week. Just bring it to room temperature before serving for the best texture.
Q: What if my cake sinks in the middle?
A: A sinking cake can be due to several reasons: opening the oven door too early (before it’s set), an oven that’s too cool (check with an oven thermometer!), old baking powder, or overmixing the batter. Ensure your oven is preheated, use fresh leavening agents, and resist peeking too soon!
Q: Can I use different nuts for the streusel?
A: Yes! While walnuts are traditional, you can certainly experiment. Pecans or almonds would also be delicious in the streusel topping. Just make sure they are finely ground.
Q: My streusel topping isn’t crumbly enough, it’s too clumpy. What went wrong?
A: This usually happens if your butter wasn’t cold enough or if you worked it too much, causing it to melt. The key to a good streusel is to keep the butter very cold and work quickly to cut it into the dry ingredients until it forms distinct crumbs, not a paste.
Q: What if I don’t have buttermilk for the cake?
A: If you don’t have buttermilk, you can easily make a substitute! Add 1 tablespoon of white vinegar or lemon juice to a liquid measuring cup, then fill the rest of the cup with regular milk until it reaches the 1-cup mark. Let it sit for 5-10 minutes until it slightly curdles, then use it as directed.
Your Baking Journey Starts Now!
Congratulations, budding baker! You’ve just completed a journey into the heart of a delicious Kokosh Cake Recipe. We hope this detailed, beginner-friendly guide has not only taught you how to bake a fantastic cake but also ignited a passion for creating in the kitchen. Remember, every master baker started somewhere, and every “mistake” is just a learning opportunity. Don’t be afraid to try, to experiment, and most importantly, to enjoy the process.
Now, go forth, bake this magnificent cake, and share the joy! We’d love to hear about your baking success. Happy baking!