Welcome, fellow baking enthusiasts and aspiring home chefs! Are you ready to dive into the delightful world of baking with a recipe that’s as refreshing as it is rewarding. Today, we’re unwrapping the secrets to our incredible Lemon And Lime Cake Recipe. This isn’t just any cake; it’s a burst of sunshine in every bite, perfectly balancing tart citrus with sweet, fluffy cake. We know that starting out can feel a bit daunting, which is why we’ve designed this as one of the most easy baking recipes you’ll ever encounter. Forget complicated techniques; we’re here to provide you with all the essential baking tips for beginners, ensuring your first (or fiftieth!) attempt is a resounding success. Get ready to impress yourself and your loved ones with this vibrant, moist, and utterly irresistible cake!
Ingredients You’ll Need
Gather your ingredients! Having everything measured and ready before you start (this is called mise en place, or “everything in its place”) will make your baking experience much smoother and more enjoyable.
| Ingredient | Quantity | Unit |
|---|---|---|
| For the Cake: | ||
| All-Purpose Flour | 2 ½ | cups |
| Granulated Sugar | 1 ¾ | cups |
| Baking Powder | 2 ½ | teaspoons |
| Salt | ½ | teaspoon |
| Unsalted Butter, softened | 1 | cup (2 sticks) |
| Large Eggs, room temperature | 4 | |
| Whole Milk, room temperature | 1 | cup |
| Fresh Lemon Zest | 2 | tablespoons (from 2 large lemons) |
| Fresh Lime Zest | 1 | tablespoon (from 1-2 limes) |
| Fresh Lemon Juice | ¼ | cup |
| Fresh Lime Juice | 2 | tablespoons |
| For the Zesty Glaze: | ||
| Powdered Sugar (Confectioners’ Sugar) | 2 | cups |
| Fresh Lemon Juice | 3-4 | tablespoons |
| Fresh Lime Juice | 1-2 | tablespoons |
Step-by-Step Instructions for Your Perfect Lemon And Lime Cake
Follow these detailed steps, and you’ll be on your way to a show-stopping cake. Remember, baking is all about precision and patience!
Step 1: Get Prepped and Ready
- First things first, preheat your oven to 350°F (175°C). This ensures an even bake from the moment your cake goes in, preventing a dense center or burnt edges.
- Prepare a 9-inch round cake pan (or two 8-inch pans for a layer cake, adjusting baking time slightly). Beginner Tip: Grease the pan thoroughly with butter or non-stick spray, then dust with flour. Rotate the pan to coat all surfaces, then tap out any excess flour. For extra insurance against sticking, you can also line the bottom with a circle of parchment paper. This simple step is crucial for an easy release and a beautiful cake!
Step 2: Combine Your Dry Ingredients
- In a large bowl, whisk together the all-purpose flour, granulated sugar, baking powder, and salt.
- Beginner Tip: Whisking these together well ensures the leavening agents (baking powder) are evenly distributed throughout the batter. This helps your cake rise beautifully and uniformly, preventing dense spots or uneven texture.
Step 3: Cream the Butter and Sugar (The Foundation of Flavor!)
- In a separate, even larger bowl (or the bowl of a stand mixer fitted with the paddle attachment), beat the softened unsalted butter on medium speed for about 1-2 minutes until it’s light and fluffy.
- Gradually add the granulated sugar to the butter, beating on medium-high speed for another 3-5 minutes. You’re looking for a pale, fluffy, and airy mixture. This process, called “creaming,” incorporates air into the butter and sugar, which is vital for a light and tender cake texture. It’s like creating tiny air pockets that will expand in the oven.
- Common Mistake & Fix: If your butter isn’t soft enough, it won’t cream properly, leading to a denser, heavier cake. Always let it sit on the counter for at least an hour before you start, or gently warm it in the microwave for a few seconds (be very careful not to melt it completely!).
Step 4: Add Eggs and Zest
- Add the large eggs one at a time, beating well after each addition until fully incorporated. Take your time here! Scrape down the sides of the bowl as needed with a spatula to ensure everything is mixed evenly and no butter or egg is left uncombined.
- Once the eggs are in, stir in the fresh lemon zest and fresh lime zest. The oils in the zest carry most of the citrus flavor and aroma, so don’t skip this step – it’s where the magic happens!
Step 5: Alternate Wet and Dry Ingredients
- In a separate small bowl or measuring cup, combine the whole milk, fresh lemon juice, and fresh lime juice.
- With the mixer on low speed, add about one-third of the dry ingredients to the butter mixture, mixing just until combined.
- Then, add half of the milk mixture, mixing until just combined.
- Repeat this process: add another third of the dry ingredients, then the remaining milk mixture, and finally the last third of the dry ingredients.
- Beginner Tip: Mix only until *just* combined after each addition. Overmixing is a common pitfall for beginners! It develops the gluten in the flour too much, which can result in a tough, chewy, and dry cake. We want tender and moist, so stop mixing as soon as you see no more streaks of flour.
Step 6: Bake to Perfection
- Pour the cake batter evenly into your prepared cake pan(s). Gently tap the pan on the counter a few times to release any large air bubbles.
- Bake for 30-35 minutes for a single 9-inch cake, or 25-30 minutes for two 8-inch layer cakes.
- How to Check for Doneness: The cake is ready when a wooden skewer or toothpick inserted into the center comes out clean or with a few moist crumbs attached (but no wet batter). The top should be golden brown and spring back when lightly touched.
- Common Mistake & Fix: Baking time can vary based on your oven’s calibration. If your cake is browning too quickly on top before it’s fully cooked through, you can loosely tent it with aluminum foil for the last 10-15 minutes of baking.
Step 7: Cool Down Properly
- Once baked, remove the cake from the oven and let it cool in the pan on a wire rack for about 10-15 minutes. This allows the cake to set and firm up, making it less likely to break when you remove it.
- After this initial cooling, carefully invert the cake onto the wire rack. Remove the pan and any parchment paper, then let the cake cool completely. Allowing it to cool completely before glazing is crucial; if it’s warm, the glaze will melt, run off, and create a sticky mess!
Step 8: Whisk Up the Zesty Glaze
- While the cake cools, prepare your glaze. In a medium bowl, whisk together the powdered sugar, fresh lemon juice, and fresh lime juice until smooth and free of lumps.
- Beginner Tip: Start with less liquid (e.g., 3 tbsp lemon juice and 1 tbsp lime juice) and add more a teaspoon at a time until you reach your desired consistency. You want a glaze that’s thick enough to coat the back of a spoon and appear opaque, but still pourable. If it’s too thick, add more juice; if too thin, add a bit more powdered sugar.
Step 9: Glaze and Serve!
- Once the cake is completely cool, place the wire rack with the cake over a sheet of parchment paper or a plate to catch any drips (this makes cleanup easier!). Pour the glaze evenly over the top, letting it drip enticingly down the sides for a beautiful, rustic look.
- Allow the glaze to set for about 15-20 minutes before slicing and serving. This allows the glaze to firm up slightly.
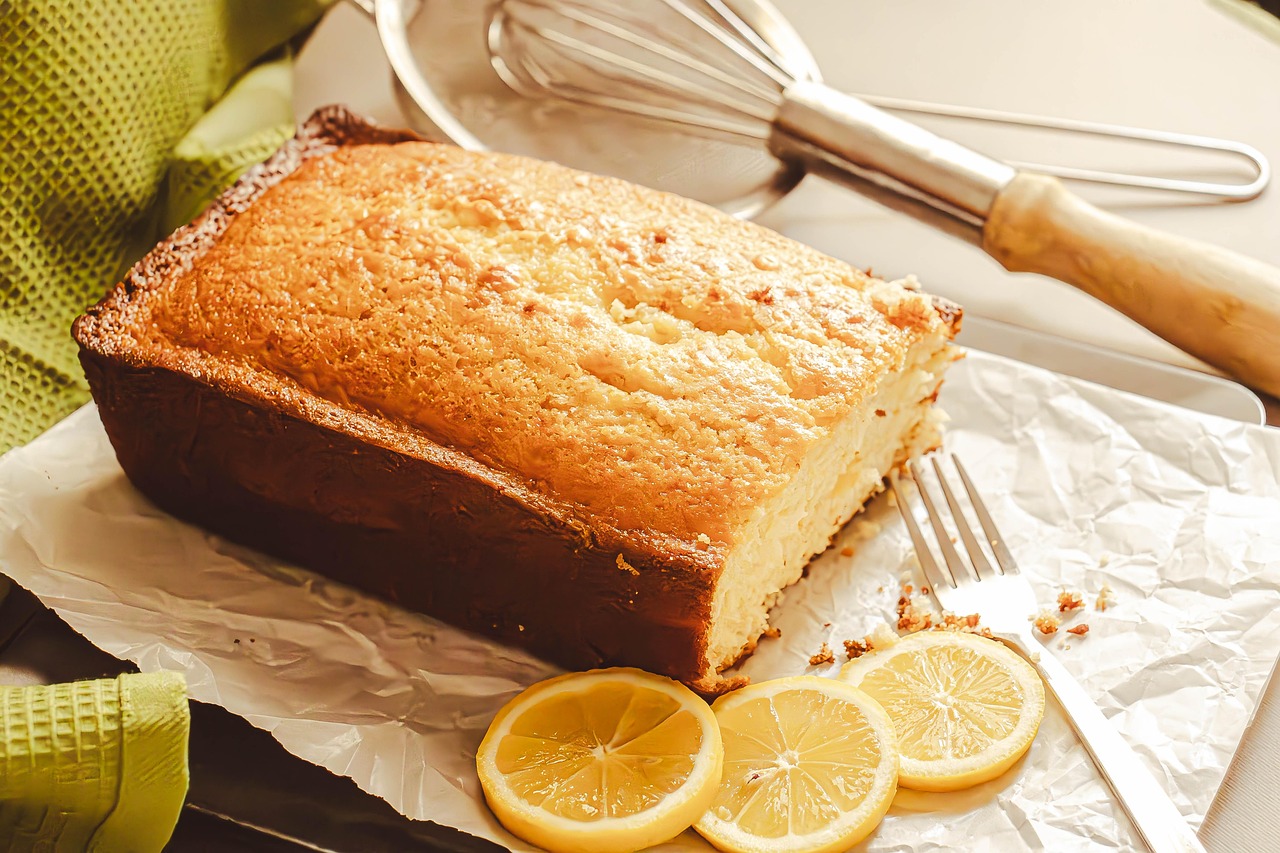
- Garnish with extra citrus zest or thin slices of lemon and lime, if desired, for an extra pop of color and freshness. Enjoy your homemade masterpiece!
Tips & Tricks for Beginner Bakers
Baking can be incredibly rewarding, and these extra nuggets of wisdom will help you achieve perfection every time:
- Room Temperature is Key: Ensure your butter, eggs, and milk are at room temperature. This helps them emulsify better, creating a smoother, more uniform batter and a lighter, more tender cake. Plan ahead by taking them out of the fridge an hour or two before you start. Cold ingredients can cause your batter to curdle.
- Measure Flour Correctly: Don’t scoop flour directly from the bag with your measuring cup. This compacts it, leading to too much flour and a dry, dense cake. Instead, spoon the flour into your measuring cup and then level it off with the back of a knife or a straight edge.
- Don’t Overmix: We’ve said it before, but it bears repeating! Overmixing develops gluten, making your cake tough and chewy. Mix only until ingredients are just combined, and then stop.
- Invest in an Oven Thermometer: Oven temperatures can fluctuate wildly from what the dial says. An inexpensive oven thermometer will give you an accurate reading, preventing under or over-baking and ensuring consistent results.
- Zesting with Ease: Use a microplane grater for the finest zest. Only grate the brightly colored part of the peel, avoiding the bitter white pith underneath. Rotate the fruit as you go.
- Adjusting Glaze Consistency: If your glaze is too thick, add a tiny splash more juice. If it’s too thin, whisk in another tablespoon of powdered sugar. A perfect glaze should be pourable but still opaque enough to coat the cake.
- Storage: Store your glazed cake in an airtight container at room temperature for up to 3 days, or in the refrigerator for up to 5 days. For the best flavor and texture, bring refrigerated cake to room temperature before serving.
Essential Baking Tools
Having the right tools makes all the difference in your baking journey. Here are some essentials to get you started on the right foot:
- Mixing Bowl (a set of various sizes is very useful)
- Whisk (both a balloon whisk and a fork can work!)
- Baking Pan (a 9-inch round is ideal for this recipe, consider a springform for easy release)
- Measuring Cups and Measuring Spoons (accuracy is paramount in baking!)
- Spatula (a rubber or silicone spatula for scraping bowls and folding)
- Microplane grater (for getting that fine, flavorful zest)
- Wire cooling rack (essential for even cooling and preventing a soggy bottom)
- Stand mixer or hand mixer (optional, but highly recommended for ease and consistent creaming)
Nutrition Information (Estimated per Serving)
Please note: These values are approximate and can vary based on specific ingredients, brands, and portion sizes. This estimate is based on 12 servings from the recipe.
| Nutrient | Amount |
|---|---|
| Calories | 380 kcal |
| Carbohydrates | 58 g |
| Protein | 4 g |
| Fat | 16 g |
| Fiber | 1 g |
| Sugar | 38 g |
Frequently Asked Questions for Beginner Bakers
Q: Why is my cake dry?
A: A dry cake is often the result of overbaking, using too much flour (due to incorrect measuring), or not having your ingredients at room temperature. Ensure you measure your flour correctly (spoon and level!), and always test for doneness with a toothpick. Investing in an oven thermometer can also help you maintain accurate oven temperatures.
Q: Can I use bottled lemon and lime juice instead of fresh?
A: While fresh juice and zest will always give you the best, brightest, and most authentic citrus flavor, you can use bottled juice in a pinch for the liquid component. However, the fresh zest is crucial for that vibrant aroma and intense taste, so we highly recommend using fresh lemons and limes for that part if at all possible.
Q: How do I prevent my cake from sticking to the pan?
A: Thorough pan preparation is key! Always grease your pan generously with butter or cooking spray, then dust it with a thin, even layer of flour. For extra security, you can line the bottom with a circle of parchment paper. Also, be patient and let the cake cool in the pan for 10-15 minutes before inverting it onto a wire rack; this allows it to firm up and release more easily.
Q: How do I know when my cake is perfectly baked?
A: The most reliable method is the toothpick test. Insert a wooden skewer or toothpick into the very center of the cake. If it comes out clean or with only a few moist crumbs attached, your cake is done. If there’s wet batter, give it a few more minutes (2-5 minutes) and test again.
Q: Can I make this into cupcakes?
A: Absolutely! This recipe works wonderfully as cupcakes. Line a muffin tin with paper liners, fill each about two-thirds full with batter, and bake for approximately 18-22 minutes, or until a toothpick inserted into the center of a cupcake comes out clean. Keep a close eye on them as cupcake baking times are shorter.
Q: How should I store the leftover cake?
A: Store your glazed Lemon And Lime Cake in an airtight container at room temperature for up to 3 days. If you need it to last longer, you can store it in the refrigerator for up to 5 days. Just remember to bring refrigerated cake back to room temperature before serving for the best taste and texture.
Bake, Enjoy, and Share Your Zesty Creation!
And there you have it! A comprehensive, beginner-friendly guide to baking a truly spectacular Lemon And Lime Cake Recipe. We hope these detailed instructions and helpful tips empower you to confidently create this delightful dessert. There’s nothing quite like the satisfaction of pulling a beautiful, fragrant cake from the oven that you made yourself. This cake is perfect for celebrations, a simple afternoon treat, or just because you deserve something wonderfully zesty. Don’t be afraid to experiment and make it your own! We’d love to hear about your baking journey and see your delicious creations in the comments below. Happy baking!