Welcome, aspiring bakers! Are you ready to fill your home with the irresistible aroma of autumn? There’s nothing quite like a warm slice of homemade pumpkin bread, and today, we’re diving into the classic, comforting, and incredibly simple libby’s pumpkin bread recipe. This isn’t just any recipe; it’s a rite of passage for anyone looking to master libby’s pumpkin bread recipe. We’ve designed this guide specifically with libby’s pumpkin bread recipe in mind, breaking down every step so you can bake with confidence and achieve perfect results every time. Forget intimidation – we’re going to make baking fun, foolproof, and utterly delicious. Get ready to impress yourself and everyone lucky enough to taste your masterpiece!
Ingredients You’ll Need
Gathering your ingredients beforehand is a crucial first step for any successful baking adventure. Here’s everything you’ll need for your delicious pumpkin bread:
| Ingredient | Quantity | Unit |
|---|---|---|
| All-Purpose Flour | 2 ½ | cups |
| Granulated Sugar | 1 ½ | cups |
| Baking Soda | 1 | teaspoon |
| Salt | 1 | teaspoon |
| Ground Cinnamon | 1 | teaspoon |
| Ground Nutmeg | ½ | teaspoon |
| Ground Cloves (optional) | ¼ | teaspoon |
| Canned Libby’s 100% Pure Pumpkin Puree | 15 | ounces (1 can) |
| Large Eggs | 2 | |
| Vegetable Oil | ½ | cup |
| Water | ¼ | cup |
| Vanilla Extract | 1 | teaspoon |
Step-by-Step Instructions for Perfect Pumpkin Bread
Let’s get baking! Follow these detailed steps for a beautifully moist and flavorful pumpkin bread.
Step 1: Get Ready to Bake (Preheating & Pan Prep)
- Preheat Your Oven: Start by preheating your oven to 350°F (175°C). This is crucial because a properly preheated oven ensures even baking from the moment your batter goes in.
- Prepare Your Loaf Pans: Lightly grease and flour two 8×4-inch loaf pans (or one 9×5-inch loaf pan). If you don’t have butter or shortening, non-stick cooking spray works perfectly.
- Beginner Tip: To grease and flour, first spray or spread a thin layer of fat, then add a tablespoon or two of flour. Tilt the pan, tapping gently, until the flour coats all surfaces. Tap out any excess flour. This prevents your bread from sticking!
- Alternative: You can also line your loaf pans with parchment paper, leaving an overhang on the sides to easily lift the bread out after baking.
Step 2: Mixing the Dry Ingredients
- Combine Dry Ingredients: In a large mixing bowl, whisk together the flour, granulated sugar, baking soda, salt, ground cinnamon, ground nutmeg, and ground cloves (if using).
- Beginner Tip: Whisking thoroughly here is important! It ensures that the leavening agent (baking soda) and spices are evenly distributed throughout the flour, leading to an even rise and consistent flavor in every bite.
- Measuring Flour Correctly: For accurate results, spoon your flour into the measuring cup and then level it off with a straight edge (like the back of a knife). Don’t scoop directly from the bag, as this can compact the flour and lead to too much flour, resulting in dense, dry bread.
Step 3: Mixing the Wet Ingredients
- Combine Wet Ingredients: In a separate medium-sized bowl, whisk together the canned Libby’s 100% pure pumpkin puree, large eggs, vegetable oil, water, and vanilla extract until completely smooth and well combined.
- Important Note: Make sure you’re using 100% pure pumpkin puree, NOT pumpkin pie filling. Pumpkin pie filling already has spices and sugar added, which will throw off the balance of this recipe.
- Egg Temperature: For best results, allow your eggs to come to room temperature before mixing. This helps them incorporate more smoothly into the batter. If you’re short on time, you can place them in a bowl of warm water for 5-10 minutes.
Step 4: Combining Wet and Dry Ingredients
- Combine Wet into Dry: Pour the wet ingredient mixture into the bowl with the dry ingredients.
- Mix Until Just Combined: Using a spatula or a large spoon, gently mix the ingredients together just until no streaks of dry flour remain.
- Critical Beginner Tip: Do NOT overmix! Overmixing develops the gluten in the flour too much, which can lead to a tough, chewy, and dense pumpkin bread instead of a tender, moist one. A few small lumps are perfectly fine.
- Optional Add-ins: If you’d like to add nuts (like pecans or walnuts) or chocolate chips, gently fold them in now. Aim for about ½ to 1 cup of your chosen addition.
Step 5: Baking Your Pumpkin Bread
- Divide and Pour: Divide the batter evenly between your two prepared loaf pans (or pour into a single 9×5-inch pan). Smooth the top gently with your spatula.
- Bake to Perfection: Place the pans in your preheated oven.
- For two 8×4-inch loaf pans: Bake for 50-60 minutes.
- For one 9×5-inch loaf pan: Bake for 60-75 minutes.
- How to Check for Doneness: The best way to tell if your pumpkin bread is done is to insert a wooden skewer or toothpick into the center of the loaf. If it comes out clean or with a few moist crumbs attached (but no wet batter), your bread is ready! If it comes out wet, continue baking for another 5-10 minutes and check again.
- Common Mistake: Opening the oven door too frequently, especially in the first 30 minutes, can cause your bread to sink in the middle. Try to resist peeking!
Step 6: Cooling and Enjoying
- Cool in Pans: Once baked, remove the loaf pans from the oven and let them cool on a wire rack for about 10-15 minutes. This allows the bread to set and makes it easier to remove from the pans.
- Remove from Pans: After cooling slightly, carefully run a knife around the edges of the bread to loosen it, then invert the pans onto the wire rack to remove the loaves.
- Cool Completely: Allow the pumpkin bread to cool completely on the wire rack before slicing.
- Beginner Tip: While it’s tempting to slice into warm bread, cooling it completely allows the internal structure to fully set, preventing it from crumbling and ensuring a perfect slice. The flavors also meld and deepen as it cools.
- Slice and Serve: Once cooled, slice your beautiful pumpkin bread and enjoy! It’s delicious on its own, with a pat of butter, or even a cream cheese frosting.
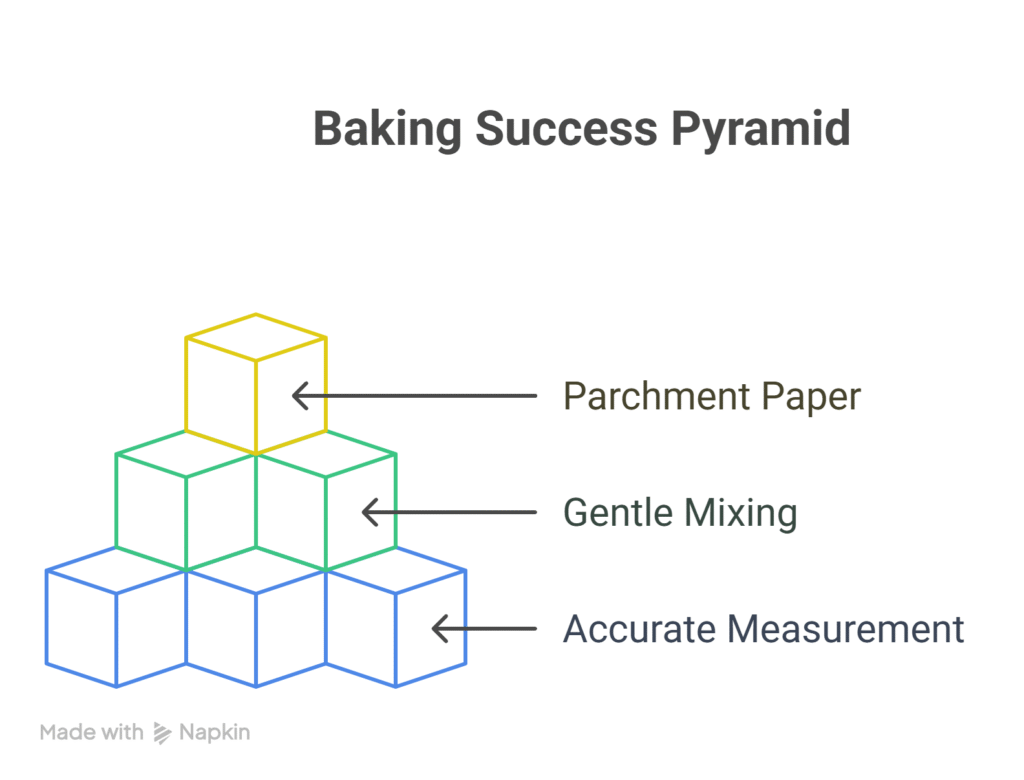
Tips & Tricks for Baking Success
Baking can feel like a science, but with a few simple tips, you’ll be a pro in no time!
- Read the Entire Recipe First: Before you even touch an ingredient, read through the whole recipe. This helps you understand the process, anticipate steps, and avoid surprises.
- Accuracy in Measuring: Baking is precise. Use proper measuring cups for dry ingredients (leveling off) and liquid measuring cups for liquids (checking at eye level). Small inaccuracies can significantly impact the final texture.
- Room Temperature Ingredients: Eggs, oil, and pumpkin puree at room temperature mix together more easily and create a smoother, more emulsified batter, leading to a lighter and more uniform texture.
- Don’t Overmix: This is worth repeating! For quick breads like pumpkin bread, overmixing develops gluten, which results in a tough, dense product. Mix only until the ingredients are just combined.
- Know Your Oven: Ovens can vary. If your bread consistently bakes faster or slower than recipe times, consider getting an oven thermometer to check its accuracy.
- Test for Doneness: The toothpick test is your best friend. Don’t rely solely on visual cues, as the top might brown before the inside is fully cooked.
- Cooling is Key: Patience during the cooling process pays off. It allows the bread to firm up and prevents it from falling apart when sliced.
Essential Baking Tools
Having the right tools makes all the difference, especially when you’re just starting out. Here are some must-haves for your baking adventures:
- Mixing Bowl Set: A good set of various sizes is invaluable for separating wet and dry ingredients.
- Whisk: Essential for aerating dry ingredients and thoroughly combining wet ones.
- Loaf Baking Pan: An 8×4-inch or 9×5-inch loaf pan is perfect for this recipe.
- Measuring Cups & Spoons: Accurate measurements are key to baking success.
- Rubber Spatula: Ideal for scraping down bowls and gently folding ingredients without overmixing.
- Wire Rack: For cooling your bread evenly and preventing a soggy bottom.
- Wooden Skewer or Toothpicks: For testing doneness.
Nutrition Information (Estimated Per Serving)
This information is an estimate based on dividing the recipe into 12 servings. Actual values may vary.
| Nutrient | Per Serving |
|---|---|
| Calories | 320-350 kcal |
| Carbohydrates | 50-55 g |
| Protein | 4-5 g |
| Fat | 12-15 g |
| Fiber | 2-3 g |
| Sugar | 30-35 g |
Frequently Asked Questions (FAQs)
Q1: Can I use pumpkin pie filling instead of 100% pure pumpkin puree?
A: Absolutely not! This is a common beginner mistake. Pumpkin pie filling is already sweetened and spiced, and using it will make your bread overly sweet and alter the spice balance significantly. Always double-check your can to ensure it says “100% Pure Pumpkin” or “Pure Pumpkin Puree.”
Q2: My pumpkin bread sank in the middle. What went wrong?
A: There are a few common reasons:
- Underbaked: The center wasn’t fully cooked through. Always use the toothpick test.
- Too Much Leavening: While baking soda helps it rise, too much can cause it to rise too quickly and then collapse.
- Oven Door Opened Too Soon: Rapid temperature changes, especially in the first 30 minutes, can cause the delicate structure to fall.
- Overmixing: Developing too much gluten can lead to a weak structure that can’t support the rise.
Q3: How do I store leftover pumpkin bread?
A: Once completely cooled, wrap the loaf tightly in plastic wrap or aluminum foil, or store it in an airtight container at room temperature for up to 3-4 days. For longer storage, you can freeze individual slices or whole loaves (well-wrapped) for up to 2-3 months. Thaw at room temperature or gently warm in the microwave.
Q4: Can I add other ingredients like chocolate chips or nuts?
A: Yes, absolutely! This recipe is very forgiving and delicious with additions. Gently fold in about ½ to 1 cup of chocolate chips (semi-sweet or milk chocolate), chopped walnuts, pecans, or even dried cranberries after you’ve combined the wet and dry ingredients, just before pouring into the pans. To prevent nuts/chocolate chips from sinking to the bottom, toss them lightly with a tablespoon of flour before adding to the batter.
Q5: What if I only have one loaf pan?
A: No problem! You can bake one loaf at a time. Simply bake the first loaf, then let the pan cool slightly before preparing it again for the second batch of batter. Keep the remaining batter covered at room temperature while the first loaf bakes. The baking time will be the same for each loaf.
Conclusion
Congratulations, baker! You’ve just mastered the art of creating a truly delightful Libby’s Pumpkin Bread Recipe. This classic treat is more than just a dessert; it’s a warm hug in food form, perfect for cozy mornings, afternoon snacks, or sharing with loved ones. Remember, every baking journey starts with a single step, and you’ve taken a giant leap today. Don’t be afraid to experiment, tweak, and make this recipe your own. With these **easy baking recipes** and **baking tips for beginners**, you’re well on your way to becoming a confident and skilled baker. So go ahead, slice into your masterpiece, and savor the sweet taste of success! Happy baking!
“`
3 thoughts on “libby’s pumpkin bread recipe – Quick & Easy Delight”