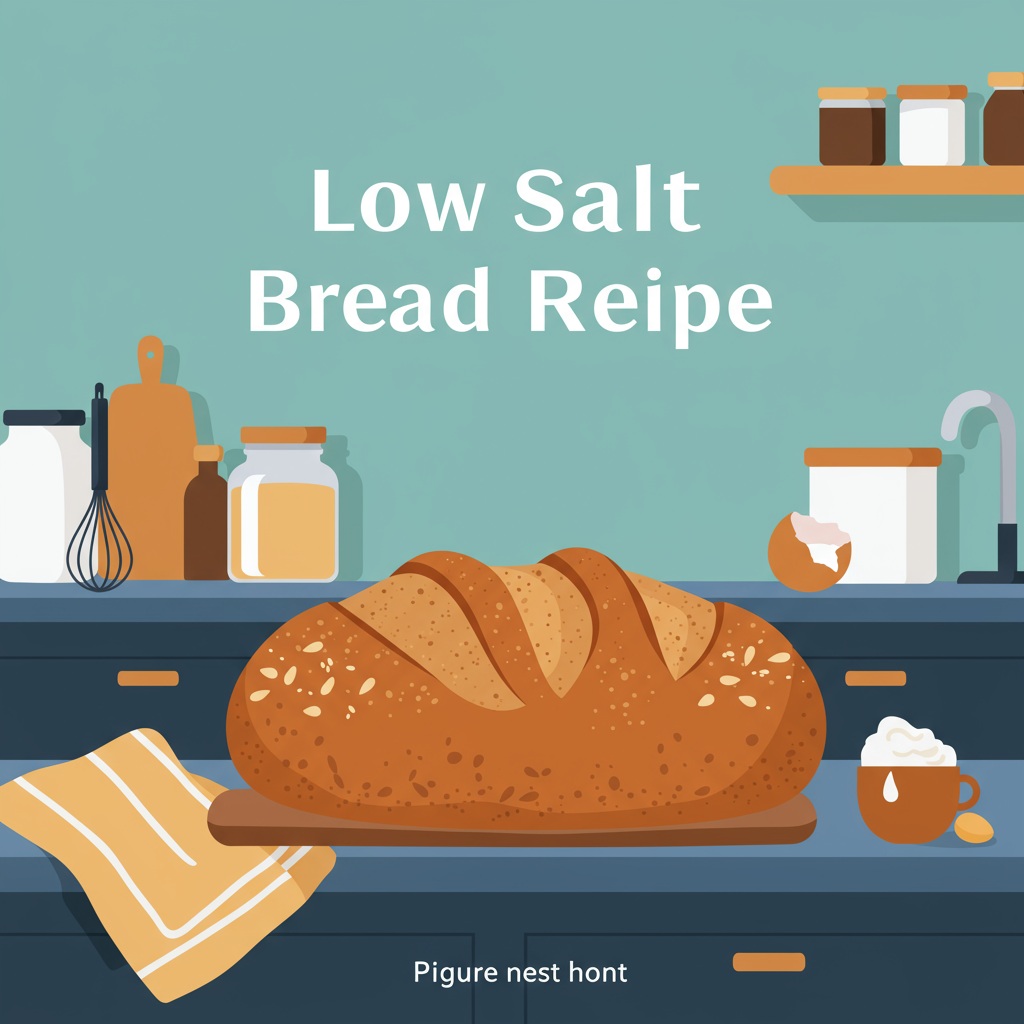
Welcome, aspiring bakers! Are you looking for a fantastic way to enjoy homemade bread while keeping an eye on your sodium intake? You’ve come to the right place! This Low Salt Bread Recipe is designed specifically for beginners, focusing on simplicity, clear instructions, and incredible flavor. Forget bland, store-bought options – with just a few basic ingredients and some enthusiasm, you’ll be pulling a warm, aromatic loaf from your oven in no time. We’ll walk you through every step, providing valuable baking tips for beginners to ensure your first (and every subsequent) loaf is a resounding success. Get ready to discover the joy of baking and add a truly rewarding skill to your repertoire with one of the most satisfying and easy baking recipes out there!

Baking bread can seem intimidating, but we promise it’s much easier than you think. This recipe cuts down on the salt without sacrificing taste, proving that healthy can also be incredibly delicious. So tie on your apron, gather your ingredients, and let’s create some magic together!
Prep Time: 20 minutes
Rise Time: 1.5 – 2 hours (total)
Bake Time: 30-35 minutes
Yield: 1 loaf (approximately 12 slices)
Ingredients You’ll Need
Here’s what you’ll need to get started. We recommend using a kitchen scale for flour for accuracy, but cup measurements are also provided.
| Ingredient | Quantity | Unit |
|---|---|---|
| Warm Water (105-115°F / 40-46°C) | 1 ½ | cups |
| Instant Yeast | 2 ¼ | teaspoons (1 standard packet) |
| Granulated Sugar | 1 | tablespoon |
| All-Purpose Flour | 3 ½ – 4 | cups (420-480g) |
| Olive Oil (or other neutral oil) | 2 | tablespoons |
| Salt (very low sodium) | ¼ | teaspoon |
Step-by-Step Instructions: Your Path to Perfect Bread
Follow these detailed steps carefully, and you’ll be amazed at what you can create!
-
Activate the Yeast: The Spark of Life!
In a large mixing bowl, pour in the 1 ½ cups of warm water. It’s crucial that the water is between 105-115°F (40-46°C). If it’s too cold, the yeast won’t activate; too hot, and it will die. A kitchen thermometer is your best friend here! Sprinkle in the 1 tablespoon of sugar and the 2 ¼ teaspoons of instant yeast. Give it a gentle stir. Let this mixture sit for 5-10 minutes. You’ll know your yeast is active and happy when it becomes foamy and bubbly on top. If it doesn’t foam, your yeast might be old, or your water temperature was off – it’s best to start again.
-
Combine Wet and Dry Ingredients: Building the Dough
Once your yeast is frothy, add the 2 tablespoons of olive oil and the ¼ teaspoon of salt to the yeast mixture. Give it a good stir. Now, gradually add 2 cups of the all-purpose flour, one cup at a time, mixing well with a sturdy spoon or a whisk until smooth. At this stage, your mixture will look like a thick batter. This initial mixing helps to hydrate the flour and start gluten development.
-
Adding More Flour & Initial Mixing: From Batter to Dough
Continue adding the remaining flour, about ½ cup at a time. After each addition, stir until the flour is mostly incorporated. You’ll notice the mixture getting thicker and harder to stir. Eventually, it will form a shaggy, somewhat sticky dough. When it becomes too difficult to stir with a spoon, it’s time to switch to using your hands!
Beginner Tip: Don’t add all the flour at once! The exact amount of flour can vary depending on humidity and how packed your flour is. You want a dough that is soft but manageable, not overly stiff or sticky.
-
Kneading the Dough: Developing the Gluten
Lightly flour a clean countertop or a large wooden cutting board. Turn the dough out onto the floured surface. Now for the fun part: kneading! This is where you develop the gluten, which gives bread its structure and chewiness.
- How to Knead: Use the heel of your hand to push the dough away from you, fold it back over itself, give it a quarter turn, and repeat. Continue this motion for about 8-10 minutes.
- What to Look For: Initially, the dough will be sticky and shaggy. As you knead, it will become smoother, more elastic, and less sticky. It should spring back slowly when you gently poke it with your finger. If it’s too sticky, add a tiny bit more flour (a tablespoon at a time). If it’s too stiff, your bread will be dense.
- Stand Mixer Alternative: If you have a stand mixer with a dough hook, you can knead on medium-low speed for 6-8 minutes, or until the dough is smooth and elastic.
-
First Rise (Bulk Fermentation): Letting the Dough Grow!
Lightly grease the large mixing bowl you used earlier with a little olive oil. Place the kneaded dough into the bowl, turning it once to coat the entire surface with oil. This prevents it from drying out. Cover the bowl tightly with plastic wrap or a clean damp kitchen towel.
Place the bowl in a warm, draft-free spot. An oven with just the light on (not heated!) is a great spot, or a sunny windowsill. Let the dough rise for 60-90 minutes, or until it has doubled in size. This is called the first rise, or bulk fermentation. The yeast is feasting and producing carbon dioxide, creating those wonderful air pockets!
Common Mistake: If your dough isn’t rising, your yeast might be inactive, or your rising spot might be too cold. Be patient!
-
Punching Down & Shaping the Loaf: Getting Ready for the Pan
Once the dough has doubled, gently “punch down” the dough to release the air. This sounds aggressive, but it’s just a gentle deflating to evenly distribute the yeast and gas. Turn the dough out onto a lightly floured surface.
Now, shape your loaf. For a standard loaf pan (8.5 x 4.5 inches or 9 x 5 inches), gently flatten the dough into a rectangle roughly the length of your pan. Roll it up tightly from one of the long sides, pinching the seam closed as you go. Tuck in the ends to create a neat loaf shape.
Beginner Tip: Don’t overwork the dough at this stage. Be gentle to retain some of the air created during the first rise.
-
Second Rise (Proofing): The Final Stretch
Lightly grease your loaf pan. Carefully place the shaped dough into the prepared pan, seam-side down. Cover the pan loosely with plastic wrap or a damp kitchen towel. Return the pan to your warm, draft-free spot for another 30-45 minutes, or until the dough has risen again and is about 1 inch above the rim of the pan.
Test for Proofing: Gently poke the dough with a floured finger. If the indent slowly springs back halfway, it’s ready to bake. If it springs back completely, it needs more time. If it collapses, it’s over-proofed (but still usually salvageable – just bake it!).
-
Preheat & Bake: The Moment of Truth!
About 15 minutes before the end of the second rise, preheat your oven to 375°F (190°C). Place an oven rack in the center of the oven.
Once the oven is preheated and the dough is properly proofed, carefully place the loaf pan into the hot oven. Bake for 30-35 minutes, or until the crust is golden brown and the internal temperature reaches 200-210°F (93-99°C) if you have a thermometer. You can also tap the bottom of the loaf – it should sound hollow.
-
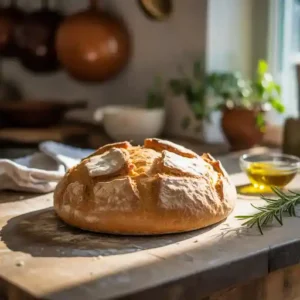
Cooling: The Most Important Step!
Once baked, immediately remove the bread from the loaf pan and place it on a wire cooling rack. This is crucial for preventing a soggy bottom and allowing steam to escape. Let the bread cool completely (yes, completely!) before slicing, usually about 1-2 hours. Slicing hot bread can make it gummy and dense.
Patience is a virtue here! Resist the urge to cut into it right away. The internal structure is still setting as it cools.
Tips & Tricks for Beginner Bread Bakers
Mastering bread baking is a journey, and these actionable tips will set you up for success with your **Low Salt Bread Recipe** and beyond!
- Measure Accurately: Especially flour. For cup measurements, use the “spoon and level” method: spoon flour into the measuring cup until overflowing, then level off with a straight edge. Better yet, use a kitchen scale for flour (1 cup AP flour is about 120g-125g).
- Yeast is Alive: Treat your yeast with care! Ensure your water temperature is correct, and store yeast in an airtight container in the fridge or freezer for maximum potency.
- Warm Environment for Rising: Dough loves warmth! If your kitchen is cool, try placing the covered bowl in a slightly warm (but OFF) oven with just the light on, or on top of a warm appliance.
- Don’t Over-Flour: When kneading, resist the urge to add too much flour. A slightly sticky dough is often better than a stiff one, as it results in a softer bread. Only add flour a tablespoon at a time if the dough is unmanageably sticky.
- Listen to Your Dough: Learning to “read” your dough comes with practice. Pay attention to how it feels when kneading (smooth, elastic), how it looks when rising (doubled, airy), and how it sounds when baked (hollow tap).
- Cool Completely: We can’t stress this enough! Cooling allows the starches to set and the moisture to redistribute, giving you the best texture and flavor.
- Experiment with Flavors: Once you’re comfortable, try adding herbs like dried rosemary or thyme (in small amounts to keep sodium low), or a sprinkle of garlic powder to the dough for extra flavor.
Essential Baking Tools
Having the right tools makes all the difference! Here are some basics we recommend for this recipe:
- Mixing Bowl (large, sturdy)
- Whisk (or sturdy spoon)
- Loaf Baking Pan (8.5 x 4.5 or 9 x 5 inches)
- Measuring Cups & Measuring Spoons
- Rubber Spatula (for scraping bowls)
- Kitchen Scale (highly recommended for flour accuracy)
- Instant-Read Thermometer (for water temperature and bread doneness)
Estimated Nutrition Information (per slice, 1/12th of loaf)
Please note: These are estimated values and can vary based on exact ingredients and portion sizes.
| Nutrient | Value |
|---|---|
| Calories | 140-160 kcal |
| Carbohydrates | 28-32 g |
| Protein | 4-5 g |
| Fat | 2-3 g |
| Fiber | 1-2 g |
| Sugar | 1-2 g |
| Sodium | ~50-70 mg |
Frequently Asked Questions (FAQs) for Beginners
1. Can I use active dry yeast instead of instant yeast?
Yes, you can! If using active dry yeast, you’ll need to “proof” it first. Combine the warm water, sugar, and active dry yeast in your bowl and let it sit for 5-10 minutes until foamy before adding other ingredients. Instant yeast can be mixed directly with dry ingredients, but for beginners, proofing it first (as described in step 1) is a good habit to ensure your yeast is alive and well.
2. How do I know if my water is the right temperature for yeast?
The ideal range is 105-115°F (40-46°C). It should feel warm, but not hot, to the touch – like a baby’s bathwater. Anything hotter than 130°F (54°C) will likely kill the yeast. A kitchen thermometer is the most reliable way to check.
3. My dough didn’t rise. What went wrong?
This is a common issue for beginners! The most likely culprits are:
- Inactive Yeast: Your yeast might be old or dead. Always check the expiration date.
- Incorrect Water Temperature: Water that’s too hot kills the yeast, and water that’s too cold slows it down significantly or prevents activation.
- Cold Environment: Yeast needs warmth to thrive. Ensure your rising spot is warm and draft-free.
Don’t get discouraged! Try again, paying close attention to your yeast and water temperature.
4. Can I use whole wheat flour for this recipe?
You can! However, whole wheat flour absorbs more liquid and has less gluten, so it will result in a denser loaf. For a beginner-friendly approach, we recommend starting with all-purpose flour. If you want to experiment, try substituting 1 cup of all-purpose flour with whole wheat flour first, and you might need to add a tablespoon or two more water.
5. How should I store homemade bread?
Once completely cooled, store your bread at room temperature in an airtight container, a bread box, or a sealed plastic bag. It will stay fresh for 3-4 days. For longer storage, you can slice the cooled bread and freeze it in an airtight freezer bag for up to 2-3 months. Thaw slices as needed, or pop them straight into a toaster!
Conclusion: Your Homemade Bread Journey Begins!
Congratulations, baker! You’ve just created a delicious, wholesome loaf of Low Salt Bread from scratch. There’s truly nothing quite like the smell and taste of freshly baked homemade bread, especially when you know exactly what went into it. We hope this detailed, beginner-friendly guide has demystified the baking process and filled you with confidence.
Don’t worry if your first loaf isn’t absolutely perfect – every bake is a learning experience. The important thing is that you tried, and you made something wonderful with your own hands. Enjoy your bread toasted, with your favorite low-sodium spreads, or as part of a healthy sandwich. Keep experimenting, keep baking, and most importantly, keep enjoying the process! We’d love to hear about your baking adventures! Share your results and any questions in the comments below.