Are you looking for a fantastic, homemade bread recipe that fits your dietary needs without sacrificing flavor? Navigating a low-sodium diet can be challenging, especially when store-bought breads often contain hidden salts. But fear not! This Low Sodium Bread Recipe is here to save the day. It’s designed to be incredibly beginner-friendly, making it one of the easiest baking recipes you’ll ever try. Forget dense, flavorless loaves this recipe yields a soft, airy, and incredibly satisfying bread that’s perfect for sandwiches, toast, or simply enjoying on its own.
We’ll walk you through every step, providing valuable baking tips for beginners to ensure your success. You’ll be amazed at how simple and rewarding it is to bake your own fresh, wholesome bread. Not only will you control exactly what goes into your food, but you’ll also fill your home with that irresistible aroma of freshly baked bread. Let’s get started on your baking journey!
Ingredients You’ll Need
Gathering your ingredients before you begin is a key step in hassle-free baking. Here’s what you’ll need for your delicious low sodium bread:
| Ingredient | Quantity |
|---|---|
| Warm Water (105-115°F / 40-46°C) | 1 ½ cups |
| Active Dry Yeast | 2 ¼ teaspoons (1 standard packet) |
| Granulated Sugar | 1 tablespoon |
| All-Purpose Flour | 3 ½ – 4 cups (plus extra for dusting) |
| Olive Oil (or other neutral oil) | 2 tablespoons (plus extra for greasing) |
Step-by-Step Instructions: Your Guide to Perfect Low Sodium Bread
Follow these detailed steps carefully, and you’ll be pulling a beautiful, golden-brown loaf from your oven in no time!
Step 1: Activate the Yeast (The Magic Begins!)
In a large mixing bowl (or the bowl of your stand mixer), combine the warm water and granulated sugar. Stir gently until the sugar dissolves. Sprinkle the active dry yeast over the water. Do not stir it in immediately. Let it sit undisturbed for 5-10 minutes. You should see a foamy layer form on top – this means your yeast is active and ready to work! If it doesn’t foam, your water might have been too hot (killing the yeast) or too cold (not activating it), or your yeast might be old. Start over with new yeast and correctly tempered water.
Step 2: Combine Wet and Dry Ingredients
Once your yeast is bubbly, add the olive oil to the yeast mixture. Give it a quick stir. Now, gradually add 3 cups of the all-purpose flour, one cup at a time, mixing well after each addition. You can use a wooden spoon, a sturdy spatula, or the dough hook attachment on your stand mixer (on low speed). The mixture will start to come together into a shaggy dough.
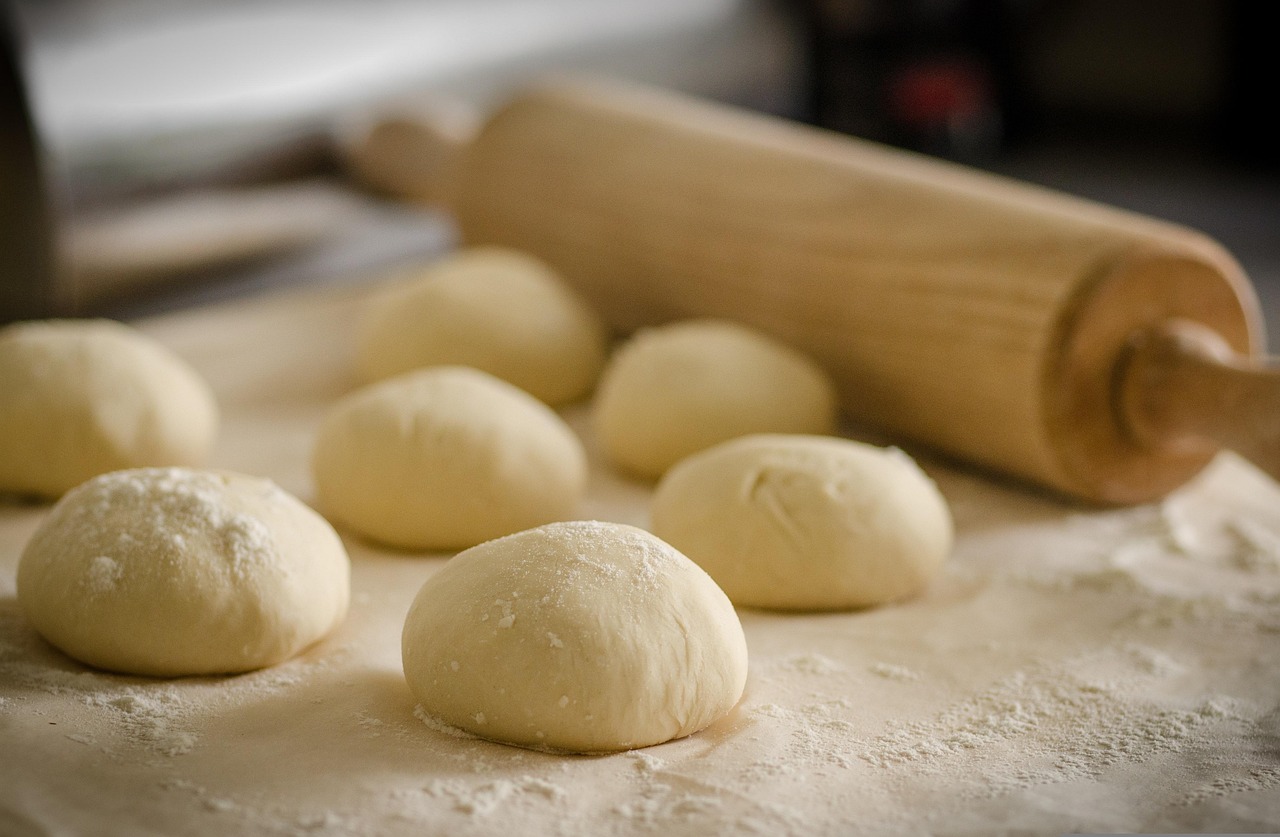
Step 3: Knead the Dough (Develop That Gluten!)
This is where the structure of your bread comes from! Slowly add the remaining ½ to 1 cup of flour, a little at a time, until the dough comes together and is no longer overly sticky. You might not need all of the flour, or you might need a tiny bit more – it depends on your environment and flour humidity. The dough should be soft, slightly tacky, but not sticking excessively to your hands or the bowl.
- If using a stand mixer: Attach the dough hook and knead on medium-low speed for 7-10 minutes. The dough should pull away from the sides of the bowl and become smooth and elastic.
- If kneading by hand: Turn the dough out onto a lightly floured surface. Knead by pushing the dough away from you with the heels of your hands, folding it back over, rotating, and repeating. Continue for 10-15 minutes until the dough is smooth, elastic, and springs back when gently poked. A good test is the “windowpane test”: pull a small piece of dough and stretch it thin. If you can stretch it enough to see light through it without tearing, your gluten is well-developed.
Beginner Tip: Don’t add too much flour during kneading! A slightly sticky dough is better than a dry, tough one. Resist the urge to keep adding flour if it’s just a little tacky.
Step 4: First Rise (Proofing for Flavor)
Lightly grease a clean large bowl with a little olive oil. Place the kneaded dough into the bowl, turning it once to coat the top with oil. This prevents it from drying out. Cover the bowl tightly with plastic wrap or a clean kitchen towel. Place it in a warm, draft-free place (like a turned-off oven with the light on, or a sunny spot) for 1 to 1 ½ hours, or until the dough has doubled in size. The rising time can vary based on the temperature of your room.
Common Mistake: Rushing the first rise. This rise develops flavor and texture. Be patient!
Step 5: Punch Down and Shape the Loaf
Once the dough has doubled, gently punch it down to release the air. This helps to redistribute the yeast and create a finer crumb. Turn the dough out onto a lightly floured surface. Gently shape it into a rectangular loaf. For a classic loaf, flatten the dough into a rectangle, then roll it up tightly starting from one of the longer sides. Pinch the seam closed and tuck the ends underneath. This creates tension that helps the bread hold its shape.
Step 6: Second Rise (Final Proof)
Lightly grease a 9×5 inch loaf pan. Carefully place the shaped dough seam-side down into the prepared loaf pan. Cover the pan loosely with plastic wrap or a kitchen towel. Return it to your warm, draft-free spot for another 30-45 minutes, or until the dough has risen significantly and looks puffy, nearly double in size again, and just peeks over the rim of the pan.
Beginner Tip: The second rise is crucial for a light, airy loaf. If your dough doesn’t rise enough, your bread might be dense.
Step 7: Preheat and Bake!
While your bread is on its second rise, preheat your oven to 375°F (190°C). Once preheated and the dough has completed its second rise, carefully remove the cover from the loaf pan. Optionally, you can brush the top with a little water for a crispier crust, or milk for a softer, golden crust.
Bake for 30-35 minutes, or until the crust is golden brown and the internal temperature reaches 200-210°F (93-99°C) when measured with an instant-read thermometer. If the top is browning too quickly, you can loosely tent it with aluminum foil.
Step 8: Cool and Enjoy!
Once baked, immediately remove the bread from the loaf pan and transfer it to a wire rack to cool completely. This prevents the bottom of the loaf from becoming soggy. Resist the urge to slice into it too soon! Cooling allows the internal structure to set and steam to escape, resulting in a much better texture. Once cool, slice and enjoy your incredible homemade Low Sodium Bread Recipe!
Tips & Tricks for Low Sodium Bread Baking Success
Achieving perfect bread every time is easier with a few extra pointers:
- Measure Accurately: Especially with flour, using a kitchen scale for precise measurement (1 cup all-purpose flour is approximately 120-125g) can make a big difference. If not, spoon flour into your measuring cup and level it off.
- Water Temperature is Key: Invest in an instant-read thermometer to ensure your water is between 105-115°F (40-46°C) for yeast activation. Too hot will kill the yeast, too cold won’t activate it.
- Don’t Over-Flour: A common beginner mistake is adding too much flour, which leads to dry, dense bread. The dough should be soft and slightly tacky, not dry and stiff.
- Patience with Proofing: Dough rising times are estimates. Look for visual cues (doubled in size, puffy) rather than strictly adhering to the clock. Cold weather slows down rising, warm weather speeds it up.
- Create a Warm Environment: If your kitchen is cool, place the covered dough in a turned-off oven with the light on, or a microwave with a cup of hot water next to it (after heating the water).
- Listen to Your Dough: Learn to feel the dough. Does it feel elastic? Does it spring back? These tactile cues are invaluable.
- Storage: Store your homemade low sodium bread at room temperature in an airtight container or bread bag for 3-4 days. For longer storage, slice and freeze for up to 3 months.
- Add-ins (Optional): Once you’re comfortable with the basic recipe, you can experiment with low-sodium add-ins like dried herbs (rosemary, thyme), garlic powder (not garlic salt!), or seeds (sesame, poppy, sunflower) during the kneading stage.
Essential Baking Tools
Having the right tools makes all the difference for a smooth baking experience. Here are some essentials you might find helpful:
- Mixing Bowl
- Whisk
- Baking Pan (Loaf Pan)
- Measuring Cups
- Measuring Spoons
- Spatula
- Kitchen Scale (highly recommended for accuracy!)
- Instant-Read Thermometer (for water and bread internal temperature)
Nutrition Information (Estimated per slice)
Please note: These are estimated nutritional values based on the ingredients used and assuming a loaf yields 12 slices. Actual values may vary based on specific ingredients and preparation.
| Nutrient | Amount (per slice) |
|---|---|
| Calories | 130-140 kcal |
| Carbohydrates | 25-28 g |
| Protein | 4-5 g |
| Fat | 2-3 g |
| Fiber | 1-2 g |
| Sugar | 1-2 g |
| Sodium | ~5-10 mg (naturally occurring in flour/yeast) |
Frequently Asked Questions (FAQs)
Q1: Why didn’t my bread rise?
There are a few common reasons: your yeast might be old or inactive (always check the expiration date and look for foam after activation), your water temperature was too hot (killed the yeast) or too cold (didn’t activate it), or your kitchen was too cold for proofing. Ensure water is 105-115°F and your proofing spot is warm and draft-free.
Q2: Can I use whole wheat flour for this recipe?
Yes, but with some adjustments. Whole wheat flour absorbs more liquid and has more fiber, which can result in a denser loaf. You might need to add a little extra water (start with 1-2 tablespoons) and the kneading time might be slightly longer. For beginners, I recommend starting with all-purpose flour and gradually experimenting with blends (e.g., 50% all-purpose, 50% whole wheat).
Q3: My dough is too sticky/too dry, what should I do?
If your dough is too sticky to handle, add flour one tablespoon at a time until it’s manageable but still soft and slightly tacky. If it’s too dry and crumbly, add water one teaspoon at a time until it comes together. Humidity and flour type can affect consistency, so trust your instincts and adjust as needed.
Q4: How do I know when the bread is fully baked?
The crust should be golden brown, and when you tap the bottom of the loaf, it should sound hollow. For absolute certainty, use an instant-read thermometer; the internal temperature should be between 200-210°F (93-99°C).
Q5: Can I make this bread without a stand mixer?
Absolutely! All the steps can be done by hand. The kneading process will take a bit longer (10-15 minutes) and require more elbow grease, but it’s a very satisfying way to make bread and gives you a great feel for the dough.
Your Low Sodium Bread Journey Begins!
Congratulations, future baker! You now have all the tools and knowledge to create your very own, incredibly satisfying Low Sodium Bread Recipe. Don’t be intimidated by baking – it’s a rewarding process that gets easier and more intuitive with practice. There’s truly nothing quite like the smell and taste of freshly baked bread, especially when you know exactly what went into it.
So, roll up your sleeves, embrace the process, and get ready to impress yourself (and anyone lucky enough to share your loaf!) with this delicious creation. Happy baking!