Are you navigating a low-sodium diet but still crave the comforting sweetness of a homemade cake? You’re in the right place! Many people believe that eating low sodium means sacrificing flavor, especially when it comes to treats. But we’re here to shatter that myth with our incredible Low Sodium Cake Recipes guide, designed specifically for you. This post is packed with easy baking recipes that don’t compromise on taste, making it perfect for anyone, especially those looking for baking tips for beginners.
Baking can seem intimidating, but with the right guidance, it’s a rewarding and delicious journey. This particular recipe focuses on creating a moist, flavorful vanilla cake that’s significantly lower in sodium than traditional versions. We’ll walk you through every step, ensuring your first (or fiftieth!) low-sodium cake is a resounding success. Get ready to enjoy a delightful dessert that perfectly fits your dietary needs without skimping on indulgence!
Gather Your Low-Sodium Baking Essentials: Ingredients List
Before you begin, ensure all your ingredients are at room temperature – this helps them combine smoothly and creates a better texture in your final cake. Remember to check labels for “no added salt” or “low sodium” versions of ingredients where applicable, though we’ve chosen naturally low-sodium options here.
| Ingredient | Quantity | Unit |
|---|---|---|
| All-Purpose Flour | 2 ½ | cups |
| Granulated Sugar | 1 ½ | cups |
| Unsalted Butter, softened | ½ | cup (1 stick) |
| Large Eggs, room temperature | 3 | |
| Low-Sodium Milk (e.g., Unsweetened Almond Milk or low-fat dairy milk) | 1 | cup |
| Pure Vanilla Extract | 2 | teaspoons |
| Cream of Tartar | 1 ½ | teaspoons |
| Baking Soda | ½ | teaspoon |
| Optional: Lemon Zest | 1 | teaspoon |
Your Step-by-Step Guide to Baking a Perfect Low-Sodium Cake
Follow these instructions carefully, and you’ll be enjoying a fantastic cake in no time. Don’t rush, and pay attention to the details – that’s the secret to successful baking!
Step 1: Prepare Your Workspace and Oven
- Preheat Oven: Set your oven to 350°F (175°C). It’s crucial for the oven to be at the correct temperature *before* you put the cake in, as inconsistent heat can affect how the cake rises and bakes.
- Prepare Baking Pan: Grease and flour a 9×13 inch baking pan (or two 8-inch round cake pans for a layer cake). To do this, use a small amount of unsalted butter or a non-stick cooking spray to coat the inside of the pan(s) thoroughly. Then, sprinkle a tablespoon or two of flour into the pan, tilting it and tapping gently to ensure the flour coats all the greased surfaces. Tap out any excess flour. This step is vital to prevent your cake from sticking! Alternatively, you can line the bottom with parchment paper after greasing for extra insurance.
Step 2: Combine Dry Ingredients
- Sift Together: In a medium-sized bowl, sift together the all-purpose flour, cream of tartar, and baking soda. Sifting helps to aerate the flour, removing any lumps and ensuring your cake has a light, fluffy texture. This is especially important when using cream of tartar and baking soda as leaveners, as it helps distribute them evenly.
- Whisk: After sifting, give them a quick whisk to ensure everything is well combined. Set this bowl aside.
Step 3: Cream Butter and Sugar
- Beat Butter: In a large mixing bowl, using an electric mixer (handheld or stand mixer with paddle attachment), beat the softened unsalted butter on medium speed for about 1-2 minutes until it’s light and creamy. Why softened butter? Room temperature butter creams better with sugar, creating tiny air pockets that contribute to the cake’s light texture.
- Add Sugar: Gradually add the granulated sugar to the butter, beating on medium-high speed for another 3-5 minutes. The mixture should become pale yellow, light, and fluffy. This process is called “creaming,” and it incorporates air, which is essential for a tender cake.
Step 4: Incorporate Eggs and Vanilla
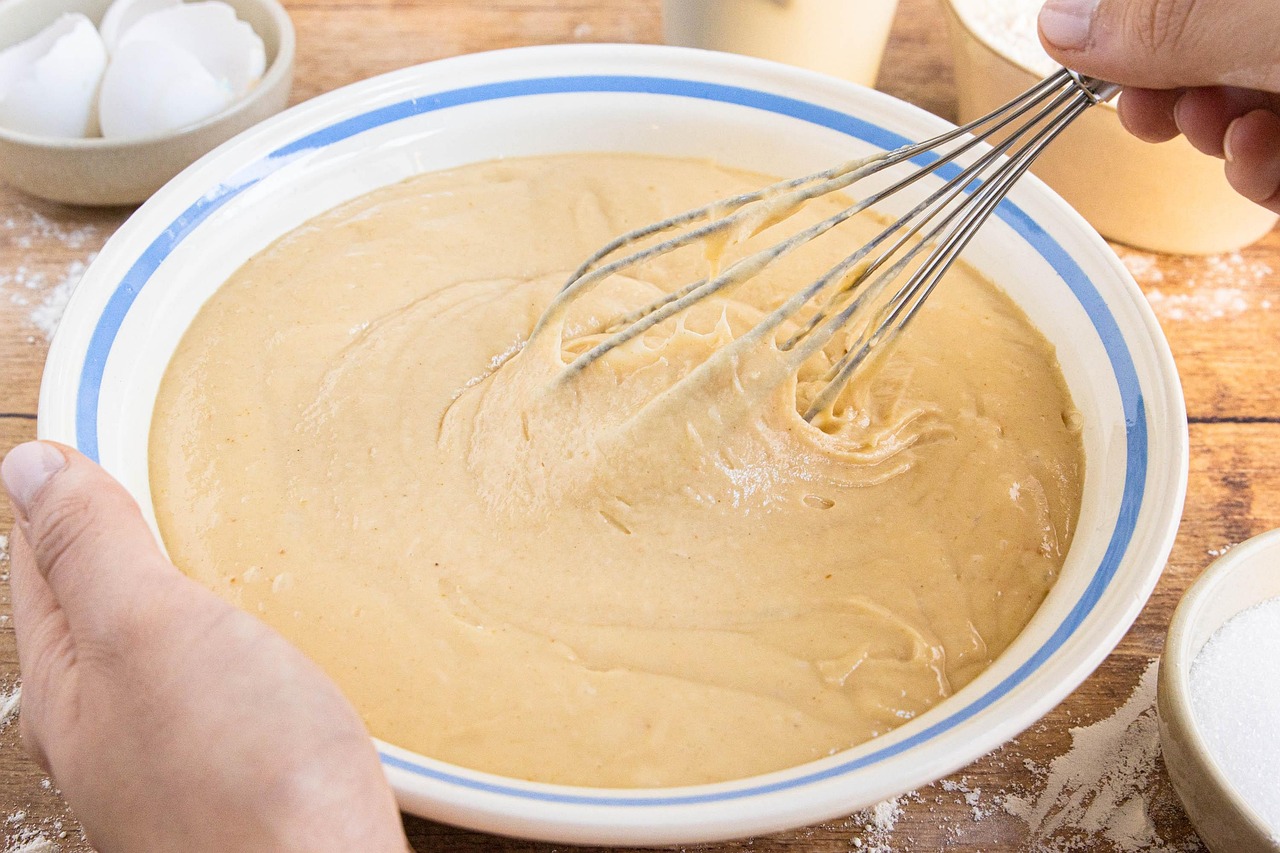
- Add Eggs One by One: Crack your large eggs into a separate small bowl first (this allows you to easily remove any shell pieces). Add them to the butter-sugar mixture one at a time, beating well after each addition until fully incorporated. Scrape down the sides of the bowl with a spatula after each egg to ensure everything is mixed evenly. Why one at a time? This helps the mixture emulsify properly, preventing it from curdling.
- Mix in Vanilla: Stir in the pure vanilla extract (and lemon zest, if using) until just combined.
Step 5: Alternate Dry and Wet Ingredients
- The Alternating Method: This is a classic baking technique that helps create a smooth batter and a tender crumb.
- Start with Dry: Add about one-third of your dry ingredient mixture to the wet mixture in the large bowl. Beat on low speed just until combined – do not overmix!
- Add Liquid: Pour in half of the low-sodium milk. Beat on low speed until just combined.
- Repeat: Add another third of the dry ingredients, mix, then the remaining milk, mix.
- Finish with Dry: End with the final third of the dry ingredients. Beat on low speed just until no streaks of flour remain.
- Important Tip for Beginners: DO NOT OVERMIX! Overmixing develops the gluten in the flour too much, leading to a tough, dense, and chewy cake instead of a light and tender one. Stop mixing as soon as the ingredients are combined. A few small lumps are okay.
Step 6: Bake Your Low-Sodium Masterpiece
- Pour Batter: Pour the cake batter evenly into your prepared baking pan(s). Gently tap the pan on the counter a couple of times to release any large air bubbles.
- Bake: Place the pan in the preheated oven.
- Baking Time:
- For a 9×13 inch pan: Bake for 30-35 minutes.
- For two 8-inch round pans: Bake for 25-30 minutes.
- Check for Doneness: The cake is done when a wooden skewer or toothpick inserted into the center comes out clean or with a few moist crumbs attached (not wet batter). The top should be golden brown and spring back lightly when gently pressed. Resist the urge to open the oven door too early, especially in the first 20 minutes, as this can cause the cake to sink.
Step 7: Cool and Enjoy!
- Cool in Pan: Once baked, remove the cake from the oven and let it cool in the pan on a wire rack for about 10-15 minutes. This allows the cake to set and prevents it from breaking when you remove it.
- Invert onto Rack: After 10-15 minutes, carefully invert the cake onto the wire rack to cool completely. If using parchment paper, gently peel it off. Why cool completely? Frosting a warm cake will cause the frosting to melt and slide right off. Even if you’re not frosting, cutting a warm cake can result in crumbling.
- Serve: Once completely cool, you can dust it with a little powdered sugar, or for a low-sodium frosting option, consider a simple glaze made with powdered sugar and a tiny amount of lemon juice or milk.
Tips & Tricks for Low-Sodium Baking Success
Baking is a science, but also an art that comes with practice. Here are some extra pointers to help you master this easy baking recipe:
- Measure Accurately: Baking is precise! Use proper measuring cups for dry ingredients (level off with a straight edge) and liquid measuring cups for liquids (read at eye level). Don’t just scoop flour directly from the bag; spoon it into your measuring cup and then level it.
- Room Temperature Ingredients are Key: We can’t stress this enough! Eggs, butter, and milk at room temperature combine much more smoothly and create a more uniform batter and a better texture in your final cake. If you forget, quickly warm eggs in warm water for 5-10 minutes, and microwave butter for 10-15 seconds at a time until just softened (not melted).
- Don’t Overmix: This is the most common beginner mistake. Overmixing develops gluten, leading to a tough, dry cake. Mix until just combined.
- Know Your Oven: Ovens can vary significantly in temperature. An inexpensive oven thermometer can be a game-changer for consistent baking results.
- Parchment Paper is Your Friend: For extra insurance against sticking, especially with round cake pans, line the bottom with parchment paper after greasing. Cut a circle of parchment paper to fit the bottom of the pan.
- Sift Your Dry Ingredients: This step isn’t just for removing lumps; it also aerates the flour, making your cake lighter and fluffier.
- Low-Sodium Frosting Options: For a low-sodium cake, avoid store-bought frostings which are often high in sodium. A simple glaze of powdered sugar mixed with a little low-sodium milk or lemon juice is a great alternative. You can also whip up a meringue-based frosting if you’re feeling adventurous!
- Flavor Variations: Feel free to add other extracts like almond or orange, or incorporate some fresh citrus zest for a different flavor profile. Just be sure these additions are low in sodium.
Essential Baking Tools for Your Kitchen
Having the right tools makes all the difference, especially when you’re starting out. Here are a few essentials you’ll need for this recipe, with convenient links to find them:
- Mixing Bowls (various sizes)
- Whisk
- Baking Pan (9×13 inch or two 8-inch round)
- Measuring Cups & Spoons
- Rubber Spatula
- Electric Mixer (handheld or stand mixer)
- Wire Cooling Rack
- Oven Thermometer (highly recommended!)
Nutrition Information (Per Serving)
This information is an estimate based on approximately 12 servings for a 9×13 inch cake using the specified ingredients. Actual values may vary based on exact measurements and brands used. The sodium count is kept to a minimum by avoiding added salt and high-sodium leavening agents.
| Nutrient | Amount (Estimated) |
|---|---|
| Calories | 280-310 kcal |
| Carbohydrates | 45-50 g |
| Protein | 4-5 g |
| Total Fat | 10-12 g |
| Saturated Fat | 6-7 g |
| Fiber | 1 g |
| Sugar | 28-32 g |
| Sodium | < 50 mg |
Frequently Asked Questions (FAQs) for Beginner Bakers
Q1: Why can’t I use regular baking powder in this low-sodium recipe?
A: Most commercial baking powders contain sodium bicarbonate (baking soda) combined with an acid (often sodium aluminum sulfate or monocalcium phosphate, which are sodium compounds). While they are convenient, they add a significant amount of sodium. By using cream of tartar (an acid) and baking soda (sodium bicarbonate) separately, we control the sodium content and achieve the desired leavening without the extra sodium from baking powder.
Q2: What if I don’t have cream of tartar? Can I substitute it?
A: Cream of tartar is an acidic salt that works with baking soda to create carbon dioxide, which makes the cake rise. It’s crucial for this specific low-sodium recipe. If you don’t have it, you technically could try substituting with lemon juice or vinegar (1.5 teaspoons cream of tartar ≈ 1 teaspoon lemon juice/vinegar), but this can affect the flavor and texture significantly. For best results in a low-sodium cake, it’s highly recommended to use cream of tartar as specified.
Q3: My cake came out dense or dry. What went wrong?
A: This is a common issue for beginners! The most likely culprits are:
- Overmixing the batter: As mentioned, this develops gluten, leading to a tough, dense cake. Mix only until the ingredients are just combined.
- Incorrect oven temperature: If your oven runs too hot, it can dry out the cake quickly. If it’s too cool, the cake might not rise properly and can become dense. An oven thermometer helps immensely.
- Too much flour: Measuring by volume can be tricky. Too much flour will absorb too much liquid, resulting in a dry cake. Spooning flour into your measuring cup rather than scooping directly from the bag helps.
Q4: Can I add fresh fruit or nuts to this low-sodium cake?
A: Absolutely! Fresh fruit like blueberries, raspberries, or finely diced apples can be a delicious addition. For nuts, ensure they are unsalted. Toss fruits or nuts lightly in about 1 tablespoon of flour before folding them into the batter. This helps prevent them from sinking to the bottom of the pan during baking. Add them in the final step, just before pouring the batter into the pan.
Q5: How long will this low-sodium cake stay fresh?
A: Stored properly at room temperature in an airtight container, this cake will stay fresh for 2-3 days. If refrigerated, it can last up to 5 days, though it’s best enjoyed closer to the baking date for optimal freshness and moisture. For longer storage, you can freeze individual slices in an airtight container for up to 2-3 months.
Your Low-Sodium Baking Journey Starts Now!
There you have it! A comprehensive, beginner-friendly guide to baking a delicious, moist, and flavorful low-sodium cake. We hope this recipe empowers you to enjoy baking without worrying about your sodium intake. Remember, practice makes perfect, and every bake is a learning experience. Don’t be afraid to experiment with your favorite low-sodium flavorings once you’ve mastered the basic recipe!
We’re confident that this Low Sodium Cake Recipe will become a staple in your kitchen. So go ahead, preheat that oven, gather your ingredients, and get ready to impress yourself and your loved ones with a guilt-free treat. Happy baking!