Forget complicated techniques or intimidating ingredient lists. We’re all about easy baking recipes here, and this cookie cake is the perfect example. It’s a crowd-pleaser for parties, a delightful treat for family movie night, or just a fantastic way to satisfy that sweet tooth. We’ve packed this guide with all the baking tips for beginners you’ll need, ensuring your first (or fiftieth!) cookie cake turns out perfectly every single time. Get ready to impress yourself and everyone around you with this fun and festive creation!
Gather Your Sweet Supplies: Ingredients List
Before we dive into the delicious details, let’s make sure you have everything you need. Using fresh, good quality ingredients makes all the difference!
| Ingredient | Quantity | Unit |
|---|---|---|
| Unsalted Butter, softened | 1 | cup (2 sticks) |
| Granulated Sugar | ¾ | cup |
| Light Brown Sugar, packed | ¾ | cup |
| Large Eggs | 2 | |
| Vanilla Extract | 1 | teaspoon |
| All-Purpose Flour | 2 ¼ | cups |
| Baking Soda | 1 | teaspoon |
| Salt | ½ | teaspoon |
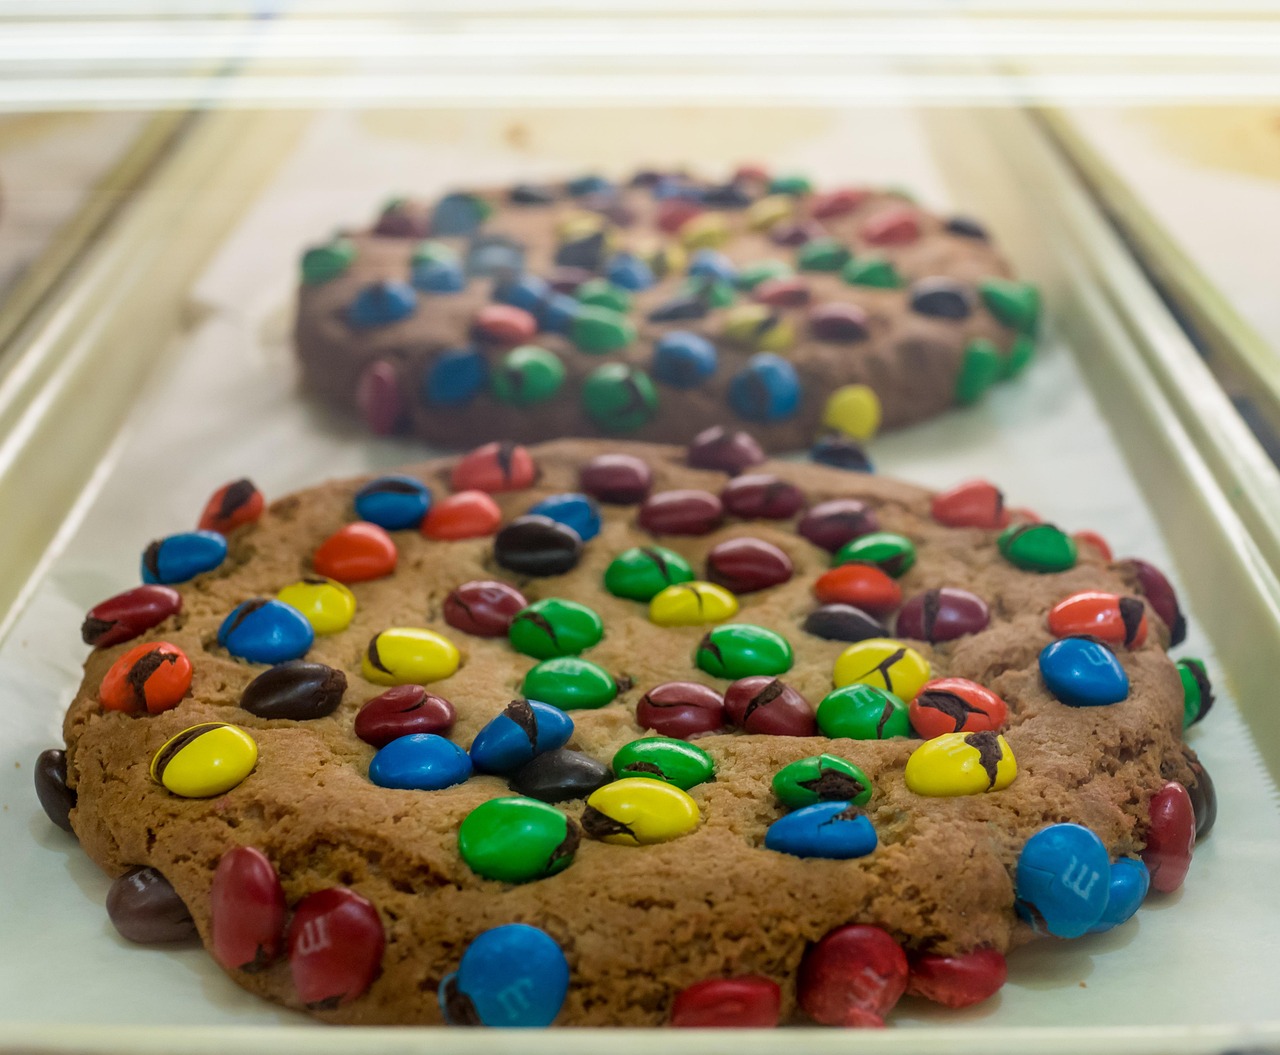
| M&M’s Candy | 1 ½ | cups |
| Extra M&M’s for topping (optional) | ½ | cup |
Your Step-by-Step Journey to Cookie Cake Perfection
Follow these detailed instructions carefully, and don’t be afraid to take your time. Baking is a joy, not a race!
Step 1: Preheat and Prep Your Pan
Start by preheating your oven to 350°F (175°C). This ensures your oven is at the correct temperature when your dough is ready, preventing uneven baking. Next, lightly grease a 12-inch round pizza pan or a 9×13 inch baking pan with butter or non-stick cooking spray. For easier removal and cleanup, I highly recommend lining the bottom of your pan with a round of parchment paper. If you don’t have a round, you can just cut a square and let the edges come up the sides slightly.
Step 2: Cream the Butter and Sugars
In a large mixing bowl, using an electric mixer (handheld or stand mixer), cream together the softened butter, granulated sugar, and brown sugar on medium speed until the mixture is light and fluffy. This usually takes about 2-3 minutes. This step is crucial because it incorporates air into the butter and sugar, which gives your cookie cake a light and tender texture, rather than a dense and heavy one. Scrape down the sides of the bowl with a spatula occasionally to ensure everything is well combined.
Step 3: Add Eggs and Vanilla
Crack in the two large eggs, one at a time, mixing well after each addition. Adding them one at a time ensures they are fully incorporated into the butter mixture, creating a smooth emulsion. Then, stir in the vanilla extract. Vanilla adds that classic warm, comforting flavor that makes cookies so irresistible. Mix until just combined; overmixing at this stage can start to develop the gluten too much.
Step 4: Combine Dry Ingredients
In a separate medium bowl, whisk together the all-purpose flour, baking soda, and salt. Whisking them separately ensures that the leavening agent (baking soda) and salt are evenly distributed throughout the flour. This prevents pockets of unmixed ingredients and ensures your cookie cake rises uniformly. Set aside.
Step 5: Gradually Add Dry to Wet
With your electric mixer on low speed, slowly add the dry ingredient mixture to the wet ingredient mixture, a little at a time. Mix only until just combined and no streaks of flour remain. The key here is to avoid overmixing. Overmixing develops the gluten in the flour too much, which can result in a tough, dense cookie cake instead of a soft and chewy one. As soon as you see the flour disappear, stop mixing!
Step 6: Fold in the M&M’s
Remove the bowl from the mixer and, using a spatula or wooden spoon, gently fold in 1 ½ cups of M&M’s candy. Be careful not to crush the candies. This gentle folding ensures the M&M’s are evenly distributed without overworking the dough. If you want extra color and crunch on top, save about ¼ to ½ cup of M&M’s for later.
Step 7: Press into the Pan
Spoon the cookie dough into your prepared baking pan. Using your hands (lightly floured if sticky) or a spatula, evenly press the dough across the bottom of the pan. Make sure the dough is distributed from edge to edge and has a uniform thickness. This ensures even baking. If you saved some M&M’s, sprinkle them over the top of the pressed dough now, gently pressing them in slightly.
Step 8: Bake to Perfection
Place the pan in your preheated oven and bake for 20-25 minutes. Baking times can vary depending on your oven, so keep an eye on it. The cookie cake is done when the edges are golden brown and the center looks set but still slightly soft. A toothpick inserted into the center should come out with moist crumbs, not wet batter. Avoid overbaking, as this will result in a dry cookie cake!
Step 9: Cool and Enjoy!
Once baked, remove the cookie cake from the oven and let it cool in the pan on a wire rack for at least 15-20 minutes. This is a crucial step! The cookie cake continues to cook slightly as it cools in the hot pan, and it needs time to set up properly. Trying to cut it too soon will result in a crumbly mess. After 15-20 minutes, you can carefully lift it out using the parchment paper (if used) and transfer it to the wire rack to cool completely. Slice, serve, and savor your homemade masterpiece!
Pro-Tips & Tricks for Baking Beginners
Elevate your M&M Cookie Cake with these simple yet effective tips:
- Room Temperature Ingredients are Key: Ensure your butter and eggs are at room temperature. Softened butter creams much better with sugar, creating a smoother, airier dough. Cold ingredients don’t emulsify as well, leading to a denser result.
- Measure Flour Correctly: Don’t scoop flour directly from the bag with your measuring cup. This compacts it, leading to too much flour. Instead, spoon flour into your measuring cup and then level it off with a straight edge (like the back of a knife). This is called the “spoon and level” method.
- Don’t Overmix: This is arguably the most important tip for any cookie or cake. Once you add the flour, mix only until just combined. Overmixing develops gluten, which makes baked goods tough and less tender.
- Parchment Paper is Your Best Friend: Seriously, don’t skip it! Lining your pan with parchment paper prevents sticking and makes transferring your cookie cake out of the pan a breeze.
- Know Your Oven: Ovens can vary widely in temperature. If you find your baked goods are consistently under or overcooked, consider investing in an oven thermometer. It’s a small tool that makes a huge difference.
- Cool Completely for Clean Slices: Patience is a virtue, especially when it comes to cooling. A fully cooled cookie cake will slice cleanly and hold its shape much better than a warm one.
- Get Creative with Toppings: While M&M’s are classic, feel free to experiment! Add chocolate chips, sprinkles, chopped nuts, or even a drizzle of chocolate ganache or frosting once cooled.
- Storage: Store your M&M cookie cake in an airtight container at room temperature for up to 3-4 days. It stays delightfully chewy!
Essential Baking Tools for Your Kitchen
Having the right tools makes baking a joy. Here are some basics you’ll want to have on hand:
- Mixing Bowls (various sizes)
- Whisk
- Round Pizza Pan or 9×13 Baking Pan
- Measuring Cups and Spoons
- Rubber Spatula
- Electric Mixer (handheld or stand mixer)
- Parchment Paper
- Wire Cooling Rack
Nutrition at a Glance (Estimated Per Serving)
Please note: These are estimated values for one serving (approximately 1/12th of the cake) and can vary based on exact ingredients and portion size.
| Nutrient | Amount |
|---|---|
| Calories | 380 kcal |
| Carbohydrates | 55 g |
| Protein | 4 g |
| Fat | 18 g |
| Fiber | 1 g |
| Sugar | 35 g |
Frequently Asked Questions for Cookie Cake Success
Q1: Can I use different types of candy or add-ins?
Absolutely! This recipe is incredibly versatile. Feel free to swap out M&M’s for chocolate chips (milk, dark, or white), Reese’s Pieces, chopped candy bars, sprinkles, or even a combination. Just keep the total quantity of add-ins around 1.5 to 2 cups.
Q2: Why is my cookie cake dry/crumbly?
The most common reasons for a dry or crumbly cookie cake are overmixing the dough (which develops too much gluten) or overbaking. Make sure you mix the flour in only until just combined, and remove the cake from the oven when the edges are golden but the center still looks slightly soft. It will continue to set as it cools.
Q3: How do I know when my M&M Cookie Cake is done baking?
Look for golden brown edges and a center that appears set but might still look a tiny bit soft. If you insert a toothpick into the center, it should come out with moist crumbs attached, not wet batter. Trust your instincts – when in doubt, it’s better to slightly underbake than overbake for a chewier cookie cake.
Q4: Can I make the cookie dough ahead of time?
Yes, you can! You can prepare the dough, press it into your pan, cover it tightly with plastic wrap, and refrigerate it for up to 24-48 hours. When you’re ready to bake, you might need to add a few extra minutes to the baking time since the dough will be cold.
Q5: What if I don’t have parchment paper?
While parchment paper is highly recommended for easy removal, you can still bake without it. Just make sure your pan is very thoroughly greased with butter or non-stick spray. You might need to run a knife around the edges after cooling to help release the cookie cake.
Q6: My butter isn’t at room temperature. What can I do?
Don’t worry! You can quickly soften butter by cutting it into smaller pieces and letting it sit on the counter for 15-30 minutes. Or, for a quicker method, microwave it in 10-second bursts, flipping it between bursts, until it’s soft but not melted. You want it pliable, not liquid.
Your Cookie Cake Adventure Awaits!
There you have it your complete guide to baking a show-stopping M And M Cookie Cake Recipe! We hope these baking tips for beginners have empowered you to step into the kitchen with confidence and create something truly delicious. This recipe proves that baking doesn’t have to be complicated to be incredibly rewarding. The smell of a freshly baked cookie cake filling your home is pure joy, and the taste is even better!
So go ahead, gather your ingredients, put on your apron, and get ready to create a dessert that will bring smiles to everyone’s faces. Don’t forget to share your creations with us – we love seeing your baking triumphs! Happy baking!