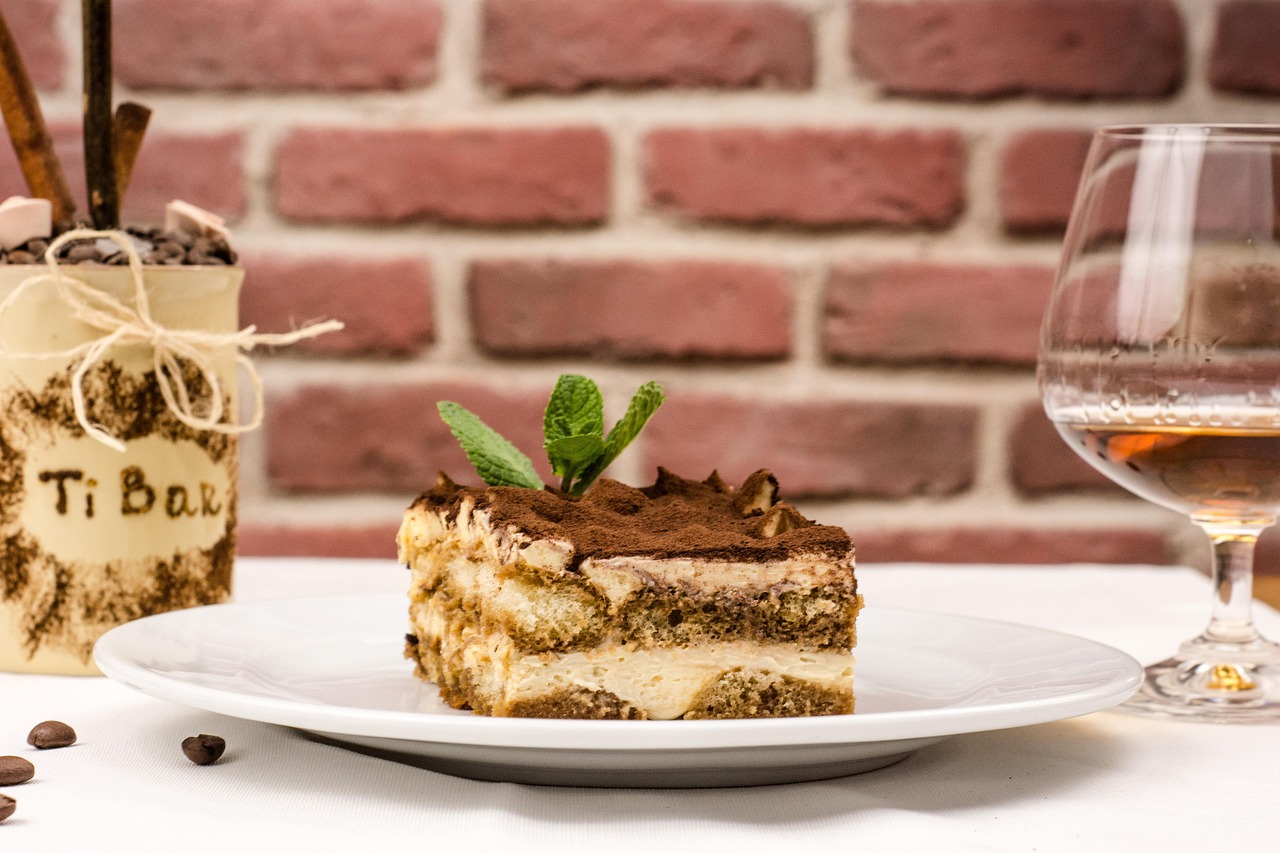
Welcome, fellow baking enthusiasts! Are you ready to dive into the wonderful world of cake making? If you’ve been searching for Mascarpone Cake Recipes that are not only incredibly delicious but also perfect for those just starting their culinary journey, you’ve come to the right place.
This recipe is designed to be one of the most easy baking recipes you’ll ever try, packed with all the baking tips for beginners you need to succeed. Get ready to create a show-stopping dessert with a tender crumb, rich flavor, and a uniquely creamy texture that will impress everyone. Forget complicated steps; we’re breaking down every single detail to ensure your first (or fiftieth!) mascarpone cake is an absolute triumph!
Ingredients List
Gather your ingredients! For the best results, ensure your dairy products and eggs are at room temperature unless otherwise specified. This helps them combine smoothly, creating a more uniform batter.
| Ingredient | Quantity | Unit |
|---|---|---|
| All-Purpose Flour | 2 ½ | cups |
| Baking Powder | 2 | teaspoons |
| Salt | ½ | teaspoon |
| Unsalted Butter (softened) | 1 ½ | sticks (12 tbsp) |
| Granulated Sugar | 1 ¾ | cups |
| Large Eggs (room temperature) | 4 | |
| Vanilla Extract | 2 | teaspoons |
| Whole Milk (room temperature) | ¾ | cup |
| Mascarpone Cheese (room temperature) | 8 | ounces |
| For the Mascarpone Whipped Cream Frosting: | ||
| Heavy Cream (cold) | 2 | cups |
| Mascarpone Cheese (cold) | 8 | ounces |
| Powdered Sugar | ½ | cup (or to taste) |
| Vanilla Extract | 1 | teaspoon |
Step-by-Step Instructions: Bake Your Perfect Mascarpone Cake!
Follow these detailed steps carefully, and you’ll be amazed at what you can create. We’ll walk through each part, from preparing your pans to frosting your beautiful cake.
Phase 1: Preparation is Key!
- Preheat Your Oven & Prep Your Pans: This is a crucial first step! Preheat your oven to 350°F (175°C). While it’s heating, take two 8-inch round baking pans. Lightly grease the bottoms and sides with butter or baking spray. Then, dust them with a light coating of flour, tapping out any excess. For an extra non-stick measure, you can also line the bottoms with parchment paper after greasing. (Beginner Tip: Preheating ensures your cake starts baking immediately and rises evenly. Greasing and flouring prevents sticking!)
- Measure and Sift Dry Ingredients: In a medium bowl, whisk together the 2 ½ cups of all-purpose flour, 2 teaspoons of baking powder, and ½ teaspoon of salt. (Beginner Tip: Sifting or whisking dry ingredients together ensures they are well combined and aerated, leading to a lighter, fluffier cake. Don’t skip this!)
- Bring Wet Ingredients to Room Temperature: Make sure your butter, eggs, mascarpone cheese, and whole milk are all at room temperature. This is vital for a smooth, emulsified batter. If your butter isn’t soft, you can cut it into smaller pieces and let it sit for 15-30 minutes, or microwave it for a few seconds (be careful not to melt it completely!). For eggs, place them in warm water for 5-10 minutes.
Phase 2: Mixing the Cake Batter
- Cream Butter and Sugar: In a large mixing bowl (or the bowl of a stand mixer fitted with the paddle attachment), beat the softened 1 ½ sticks of unsalted butter and 1 ¾ cups of granulated sugar together on medium speed. Beat for 3-5 minutes, or until the mixture is light, fluffy, and pale yellow. Scrape down the sides of the bowl occasionally to ensure everything is evenly mixed. (Beginner Tip: This ‘creaming’ step incorporates air into the butter, which is essential for a light cake texture.)
- Add Eggs Gradually: Add the 4 large eggs one at a time, beating well after each addition. Make sure each egg is fully incorporated before adding the next. If the mixture looks a little curdled, don’t worry too much; it will come together once the dry ingredients are added.
- Stir in Vanilla and Mascarpone: Beat in the 2 teaspoons of vanilla extract until just combined. Then, add the 8 ounces of room temperature mascarpone cheese. Mix on low speed until just smooth. Be careful not to overmix the mascarpone at this stage.
- Alternate Dry and Wet Ingredients: Now it’s time to add your dry ingredients and milk.
- First Addition: Add about one-third of your dry ingredient mixture to the butter mixture. Mix on low speed until just combined – stop as soon as you see no more streaks of flour.
- Second Addition: Pour in half of the ¾ cup whole milk. Mix on low until just combined.
- Third Addition: Add another one-third of the dry ingredients, mix until just combined.
- Fourth Addition: Add the remaining milk, mix until just combined.
- Final Addition: Add the last of the dry ingredients. Mix on low speed just until the batter is smooth and no dry streaks remain. (Beginner Tip: Overmixing develops the gluten in the flour, which can lead to a tough, dense cake. Mix only until just combined!)
Phase 3: Baking Your Cakes
- Divide and Bake: Divide the cake batter evenly between your two prepared 8-inch round baking pans. Smooth the tops with a spatula.
- Bake to Perfection: Place the pans in the preheated oven. Bake for 28-35 minutes, or until a wooden skewer or toothpick inserted into the center of the cakes comes out clean. (Beginner Tip: Avoid opening the oven door too early, especially in the first 20 minutes, as this can cause cakes to sink.)
- Cooling Process: Once baked, remove the cakes from the oven and let them cool in their pans on a wire rack for 10-15 minutes. This allows them to firm up slightly. After this time, carefully invert the cakes onto the wire rack, remove the pans, and peel off any parchment paper. Let the cakes cool completely before frosting. (Beginner Tip: Frosting a warm cake will cause the frosting to melt and slide right off!)
Phase 4: Making the Mascarpone Whipped Cream Frosting
- Chill Your Bowl & Whisk: For the best whipped cream, place your mixing bowl (preferably metal) and whisk attachment in the freezer for 10-15 minutes before you start. This helps the cream whip up faster and hold its shape better.
- Whip Heavy Cream: In your chilled bowl, pour in 2 cups of cold heavy cream. Beat on medium-high speed until soft peaks form.
- Add Mascarpone & Flavorings: Add the 8 ounces of cold mascarpone cheese, ½ cup of powdered sugar, and 1 teaspoon of vanilla extract to the bowl. Continue beating on medium-high speed until stiff peaks form. Be careful not to overbeat, or it will curdle and become grainy. The frosting should be light, airy, and hold its shape. (Beginner Tip: Cold mascarpone and heavy cream are essential for stable whipped frosting. If your frosting seems too thin, you might need to chill it in the fridge for 20-30 minutes before frosting.)
Phase 5: Assembling and Decorating
- Level Your Cakes (Optional): If your cake layers have domed tops, you can use a serrated knife to carefully level them, creating flat surfaces for easier stacking. This makes for a neater final cake.
- Stack and Frost: Place one cooled cake layer on your serving plate or cake stand. Spread about one-third of the mascarpone whipped cream frosting evenly over the top. Gently place the second cake layer on top. Cover the top and sides of the entire cake with the remaining frosting, using an offset spatula or knife to create a smooth or decorative finish.
- Chill and Serve: For best results, chill the frosted cake in the refrigerator for at least 30 minutes to allow the frosting to set. This also makes for cleaner slices. Slice and serve!
Tips & Tricks for Baking Success
Even with detailed instructions, a few extra pointers can elevate your baking game from good to absolutely phenomenal!
- Room Temperature is Non-Negotiable: Seriously, we can’t stress this enough! Room temperature butter, eggs, and mascarpone emulsify much better, creating a smooth, homogenous batter that traps air more efficiently, resulting in a finer crumb and lighter texture.
- Don’t Overmix: Once you add flour, mix *just* until combined. Overmixing develops gluten, leading to a tough, dry, and chewy cake rather than a tender, moist one.
- Invest in a Kitchen Scale: While cup measurements are provided, measuring flour by weight (grams) is far more accurate and consistent. It eliminates variations due to how flour is packed into a measuring cup.
- Patience with Cooling: Resist the urge to frost a warm cake! Even slightly warm cake will melt your beautiful frosting into a runny mess. Ensure cakes are completely cool to the touch.
- Sift Dry Ingredients: Beyond just combining, sifting aerates your flour, making your cake lighter and preventing lumps.
- Quality Ingredients Matter: Especially for a cake like this where mascarpone is a star, good quality, fresh ingredients will make a noticeable difference in flavor.
- Chill Your Frosting if Needed: If your mascarpone whipped cream feels too soft to work with, pop it into the fridge for 15-20 minutes to firm up slightly. A chilled bowl and whisk also help immensely when making whipped cream.
- Know Your Oven: Ovens can vary. If your cakes are browning too quickly or not baking evenly, consider using an oven thermometer to check for accuracy or rotating your pans halfway through baking.
- Crumb Coat for a Clean Finish: For a super neat frosting job, apply a very thin layer of frosting all over the cake (the “crumb coat”) and chill it for 15-20 minutes. This traps any loose crumbs. Then, apply your final, thicker layer of frosting.
Essential Baking Tools
Having the right tools makes all the difference, especially when you’re starting out. Here are some basics you’ll want in your kitchen:
- Mixing Bowl
- Whisk
- Baking Pan (specifically 8-inch round)
- Measuring Cups
- Measuring Spoons
- Spatula (rubber spatula and offset spatula for frosting)
- Electric Hand Mixer or Stand Mixer
- Parchment Paper
- Wire Cooling Rack
Nutrition Information (Estimated per serving)
Please note: These are approximate values and can vary based on specific brands and exact portion sizes (assuming 12 servings per cake).
| Nutrient | Amount |
|---|---|
| Calories | 450-500 kcal |
| Carbohydrates | 50-55 g |
| Protein | 6-8 g |
| Fat | 25-30 g |
| Fiber | 1-2 g |
| Sugar | 35-40 g |
Frequently Asked Questions (FAQs)
1. What is mascarpone cheese, and why is it good for cake?
Mascarpone is an Italian cream cheese, but it’s much richer and creamier than regular cream cheese, with a higher fat content and a milder, slightly sweet flavor. In cakes, it adds incredible moisture, richness, and a silky-smooth texture without being overly tangy. It makes the cake incredibly tender and decadent!
2. Can I make this cake ahead of time?
Absolutely! The cake layers can be baked a day or two in advance. Once completely cooled, wrap them tightly in plastic wrap and store them at room temperature (or in the fridge if your kitchen is very warm). The frosting can also be made a day ahead and stored in an airtight container in the refrigerator. Just give it a quick whisk to re-fluff before frosting.
3. How should I store the Mascarpone Cake?
Due to the mascarpone whipped cream frosting, this cake should be stored in an airtight container in the refrigerator. It will stay fresh and delicious for 3-4 days. Let it come to room temperature for about 15-20 minutes before serving for the best flavor and texture.
4. My cake sank in the middle! What went wrong?
Several factors can cause a cake to sink. Common culprits include opening the oven door too early (especially in the first 20 minutes), overmixing the batter, using old or expired leavening agents (baking powder), or incorrect oven temperature. Make sure your oven is preheated properly and avoid peeking!
5. Can I add other flavors to this Mascarpone Cake?
Yes, this recipe is a fantastic base for customization! You could add lemon zest to the batter for a bright citrus note, a teaspoon of almond extract instead of some vanilla, or even swirl in some fruit puree (like raspberry or strawberry) into the batter or frosting. A little cocoa powder can also turn it into a chocolate mascarpone cake.
Ready to Bake Your Mascarpone Masterpiece?
There you have it – a comprehensive, step-by-step guide to baking a truly delightful mascarpone cake that even the most novice baker can master! We hope these detailed instructions and helpful tips empower you to confidently create this incredibly tender and rich dessert. Baking is a journey of joy, and every cake you make is a step forward. Don’t be afraid to experiment and most importantly, have fun in the kitchen!
If you bake this recipe, we’d love to see your creations! Share your photos and tag us on social media. Happy baking!