
Remember that iconic scene from the movie Matilda, where Bruce Bogtrotter tackles an enormous, fudgy chocolate cake? Well, get ready to recreate that legendary dessert right in your own kitchen! Our Matilda Cake Recipe is designed to be incredibly rich, moist, and utterly irresistible, making it the perfect treat for any occasion. Don’t be intimidated by its grandeur; this recipe is surprisingly straightforward and perfect for anyone looking for Matilda Cake Recipe. We’ve packed it with practical Matilda Cake Recipe to ensure your first (or fiftieth!) Matilda Cake is a show-stopping success. Prepare to delight your taste buds and impress everyone with this truly magnificent chocolate creation!
Ingredients List
Gather your ingredients! For the best results, ensure your cold ingredients (like butter, eggs, and buttermilk) are at room temperature unless otherwise specified. This helps them combine more smoothly, leading to a more consistent batter and a better final texture.
For the Rich Chocolate Cake Layers:
| Quantity | Unit | Ingredient |
|---|---|---|
| 2 | cups | All-Purpose Flour |
| 2 | cups | Granulated Sugar |
| ¾ | cup | Unsweetened Cocoa Powder (Dutch-processed for a darker color) |
| 2 | teaspoons | Baking Soda |
| 1 | teaspoon | Baking Powder |
| 1 | teaspoon | Salt |
| 1 | cup | Buttermilk (room temperature) |
| ½ | cup | Vegetable Oil (or any neutral oil) |
| 2 | Large | Eggs (room temperature) |
| 1 | teaspoon | Vanilla Extract |
| 1 | cup | Hot Brewed Coffee (or hot water, for blooming the cocoa) |
For the Decadent Fudge Frosting:
| Quantity | Unit | Ingredient |
|---|---|---|
| 1 | cup (2 sticks) | Unsalted Butter, softened |
| 1 | cup | Unsweetened Cocoa Powder |
| 4-5 | cups | Powdered Sugar (Confectioners’ Sugar), sifted |
| ½ | cup | Milk or Heavy Cream, plus more if needed (room temperature) |
| 2 | teaspoons | Vanilla Extract |
| ¼ | teaspoon | Salt |
Step-by-Step Instructions: Bake Your Matilda Cake Masterpiece!
Follow these detailed steps carefully, and you’ll be on your way to a perfect, movie-worthy chocolate cake. Don’t rush, and remember, baking is a joyful process!
Part 1: Preparing the Moist Chocolate Cake Layers
- Preheat and Prepare Your Pans: Preheat your oven to 350°F (175°C). Take two 8-inch round baking pans. Generously grease the bottoms and sides with butter or baking spray. Then, lightly dust them with flour, tapping out any excess. For an extra layer of security and easier removal, you can cut circles of parchment paper to line the bottoms of the pans. This step is crucial for preventing your cakes from sticking!
- Combine Dry Ingredients: In a large mixing bowl, whisk together the all-purpose flour, granulated sugar, unsweetened cocoa powder, baking soda, baking powder, and salt. Make sure there are no lumps and everything is well combined. This ensures even leavening and flavor throughout the cake.
- Combine Wet Ingredients (Except Coffee): In a separate medium bowl, whisk together the buttermilk, vegetable oil, large eggs, and vanilla extract until smooth. Make sure your eggs and buttermilk are at room temperature; this helps them emulsify better with the oil, creating a smoother batter and a more tender cake.
- Integrate Wet into Dry: Pour the wet ingredient mixture into the bowl with the dry ingredients. Using a whisk or a rubber spatula, mix until just combined. Be careful not to overmix! Overmixing develops the gluten in the flour too much, which can lead to a tough, dry cake. A few small lumps are perfectly fine.
- Add the Hot Coffee: This is a secret weapon for super moist chocolate cakes! Carefully pour the hot brewed coffee (or hot water) into the batter. Whisk gently until the batter is smooth and well combined. The hot liquid “blooms” the cocoa powder, intensifying its flavor and creating a wonderfully rich color. Don’t worry if the batter seems thin; this is exactly how it should be for a moist cake.
- Fill the Pans and Bake: Divide the thin cake batter evenly between your two prepared 8-inch round baking pans. You can use a kitchen scale for precision if you want perfectly level cakes, or simply eyeball it. Place the pans in the preheated oven and bake for 30-35 minutes, or until a wooden skewer or toothpick inserted into the center of the cakes comes out clean or with a few moist crumbs attached.
- Cool the Cakes: Once baked, remove the cakes from the oven and let them cool in their pans on a wire rack for about 10-15 minutes. This allows the cakes to firm up slightly. Then, carefully invert the cakes onto the wire rack, remove the pans, and peel off any parchment paper. Let them cool completely to room temperature before frosting. This step is crucial! Frosting warm cakes will cause the frosting to melt and slide right off.
Part 2: Crafting the Decadent Fudge Frosting
- Beat the Butter: In a large mixing bowl, using an electric mixer (handheld or stand mixer with a paddle attachment), beat the softened unsalted butter on medium speed for about 2-3 minutes until it’s light and fluffy. Softened butter is key here for a smooth, creamy frosting.
- Add Cocoa Powder: Gradually add the unsweetened cocoa powder to the butter, beating until fully incorporated. Scrape down the sides of the bowl as needed. The mixture will be thick and dark.
- Alternate Powdered Sugar and Liquid: With the mixer on low speed, gradually add the sifted powdered sugar, alternating with small splashes of milk or heavy cream. Begin and end with powdered sugar. Add the vanilla extract and salt with the last addition of liquid.
- Beginner Tip: Sifting your powdered sugar is vital to avoid a lumpy frosting!
- Common Mistake & Fix: If your frosting is too thick, add a teaspoon of milk at a time until it reaches your desired consistency. If it’s too thin, add more sifted powdered sugar, a tablespoon at a time.
- Beat Until Fluffy: Once all ingredients are added, increase the mixer speed to medium-high and beat the frosting for another 3-5 minutes. This aerates the frosting, making it wonderfully light, fluffy, and easy to spread. It will transform into a truly decadent, fudgy texture.
Part 3: Assembling Your Matilda Cake
- Level the Cakes (Optional but Recommended): If your cake layers have domed tops, you can use a serrated knife or a cake leveler to carefully trim them flat. This creates a much more stable and professional-looking cake. Save the trimmings for a chef’s snack!
- The Crumb Coat (Essential for Beginners!): Place one cooled cake layer on your serving plate or cake stand. Spread a thin, even layer of frosting over the top. This is your “crumb coat.” It traps any loose crumbs, preventing them from mixing into your final decorative layer of frosting.
- Stack and Frost: Carefully place the second cake layer on top of the first. Spread another thin layer of frosting over the top and around the sides of the entire cake, covering it completely with the crumb coat.
- Chill the Crumb Coat: Transfer the cake to the refrigerator for 15-20 minutes. This allows the crumb coat to firm up, making the final frosting much easier and cleaner.
- The Final Frosting Layer: Once the crumb coat is firm, take the remaining frosting and apply a generous, thick layer over the top and sides of the cake. Use an offset spatula or a butter knife to smooth out the frosting. For that classic, rustic Matilda cake look, you don’t need to strive for perfection – embrace the generous, fudgy texture! You can create swirls or peaks with your spatula for an appealing finish.
- Serve and Enjoy: Slice into your magnificent Matilda Cake and enjoy the rich, chocolatey goodness! This cake is best served at room temperature.
Tips & Tricks for a Perfect Matilda Cake
Achieving baking perfection, especially for beginners, often comes down to a few key practices. Here are some actionable tips to ensure your Matilda Cake turns out flawlessly every time:
- Room Temperature Ingredients are Your Best Friend: This cannot be stressed enough! Butter, eggs, and buttermilk should be at room temperature. Cold ingredients don’t emulsify well, leading to a lumpy batter or frosting. For butter, leave it out for an hour or two. For eggs, place them in warm water for 10 minutes.
- Measure with Precision: Baking is a science. Use proper measuring cups for dry ingredients (levelled off with a straight edge) and liquid measuring cups for wet. For ultimate accuracy, consider using a kitchen scale for flour and sugar. Too much flour is a common culprit for dry cakes!
- Don’t Overmix the Batter: Once you combine wet and dry ingredients, mix only until just incorporated. Overmixing develops gluten, which can make your cake tough and chewy instead of tender and moist. A few small lumps are perfectly fine.
- Cool Cakes Completely: Patience is a virtue in baking. Do NOT attempt to frost warm cakes. The frosting will melt, slide off, and create a crumbly mess. Ensure your cake layers are completely cool to the touch before even thinking about frosting.
- Sift Your Dry Ingredients & Powdered Sugar: Sifting flour, cocoa powder, and especially powdered sugar removes lumps and aerates the ingredients, leading to a smoother batter and frosting. This is crucial for that silky-smooth fudge frosting.
- The Power of the Crumb Coat: This thin layer of frosting applied first and chilled briefly is a game-changer for beginners. It locks in any loose crumbs, preventing them from mixing into your final, beautiful layer of frosting. It creates a smooth canvas for your masterpiece.
- Adjust Frosting Consistency: If your frosting is too stiff, add milk or cream one teaspoon at a time until it reaches a spreadable consistency. If it’s too thin, add more sifted powdered sugar, one tablespoon at a time. It’s easier to add more than to take away!
Essential Baking Tools
Having the right tools makes all the difference, especially when you’re just starting out. Here are some essentials you’ll need for this Matilda Cake recipe:
- Mixing Bowls (various sizes)
- Whisk (for dry ingredients and quick mixing)
- 8-inch Round Baking Pans (2 of them)
- Measuring Cups and Spoons (for accurate ingredient measurement)
- Rubber Spatula (for scraping bowls and folding ingredients)
- Electric Mixer (handheld or stand mixer for the frosting)
- Wire Rack (for cooling cakes)
- Offset Spatula or Butter Knife (for spreading frosting)
- Parchment Paper (optional, but highly recommended for pan lining)
Nutrition Information (Per Serving – Estimated)
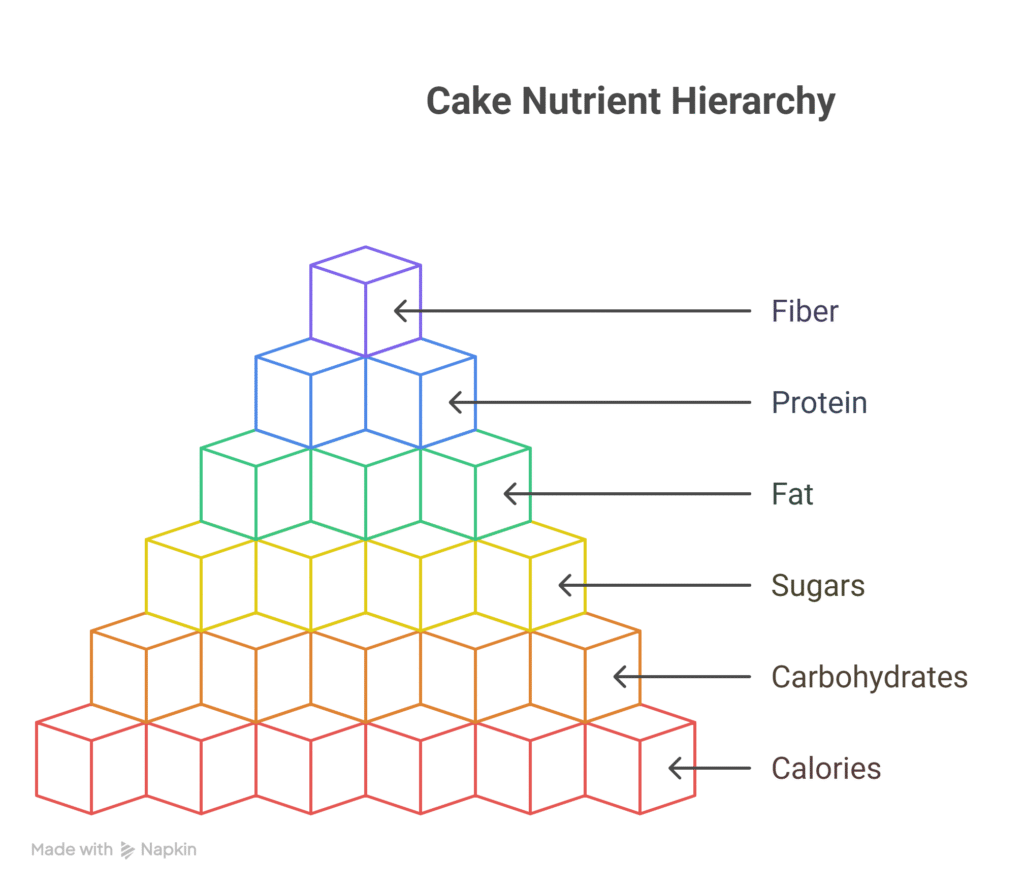
Please note that these values are approximate and can vary based on specific ingredient brands and portion sizes. This is a rich, indulgent cake, so enjoy it in moderation!
| Nutrient | Amount |
|---|---|
| Calories | ~450-550 kcal |
| Carbohydrates | ~70-85 g |
| Protein | ~5-7 g |
| Total Fat | ~25-35 g |
| Fiber | ~3-5 g |
| Total Sugars | ~50-65 g |
Frequently Asked Questions (FAQs)
- Q: Can I substitute buttermilk if I don’t have any?
- A: Yes! You can easily make a buttermilk substitute. For every 1 cup of buttermilk needed, pour 1 tablespoon of white vinegar or lemon juice into a liquid measuring cup, then fill the rest of the cup with regular milk (dairy or non-dairy) up to the 1-cup line. Stir gently and let it sit for 5-10 minutes until it slightly curdles. It works perfectly in this recipe!
- Q: My cake turned out dry. What went wrong?
- A: The most common reasons for a dry cake are overbaking or using too much flour. Make sure to measure your flour accurately (spoon it into the measuring cup and level it off) and check for doneness at the earliest recommended baking time. A toothpick should come out clean or with a few moist crumbs, not wet batter.
- Q: Can I make this cake ahead of time?
- A: Absolutely! The cake layers can be baked, cooled completely, wrapped tightly in plastic wrap, and stored at room temperature for up to 2 days, or frozen for up to 2-3 weeks. The frosting can also be made a day or two in advance and stored in an airtight container in the refrigerator; bring it to room temperature and re-whip it briefly before frosting.
- Q: How do I prevent lumps in my fudge frosting?
- A: The key to a smooth, lump-free frosting is to use softened butter and to sift your powdered sugar before adding it to the mixture. Sifting breaks up any existing clumps and aerates the sugar, making it easier to incorporate smoothly.
- Q: What if I don’t drink coffee? Can I still use it in the cake?
- A: Yes! The coffee in this recipe is primarily used to “bloom” the cocoa powder, intensifying its chocolate flavor without making the cake taste like coffee. If you prefer not to use coffee, you can substitute it with an equal amount of hot water. The cake will still be delicious and moist.
- Q: How should I store leftover Matilda Cake?
- A: Store any leftover cake in an airtight container at room temperature for up to 2-3 days. For longer storage, you can refrigerate it for up to a week. If refrigerating, let the cake come to room temperature for about 30 minutes before serving for the best texture and flavor.
Conclusion: Your Matilda Cake Awaits!
Congratulations, aspiring baker! You’ve just created a truly magnificent Matilda Cake Recipe that would make even the Trunchbull secretly envious (though she’d never admit it!). This rich, moist, and utterly fudgy chocolate cake is more than just a dessert; it’s a testament to your newfound baking skills and a delightful treat to share with loved ones. Don’t be afraid to experiment, personalize, and most importantly, enjoy the process. Every bake is a learning experience, and with these baking tips for beginners, you’re well on your way to becoming a confident home baker. So, go ahead, grab a slice (or two!), and savor the sweet victory of your delicious creation. We’d love to hear about your baking journey in the comments below!