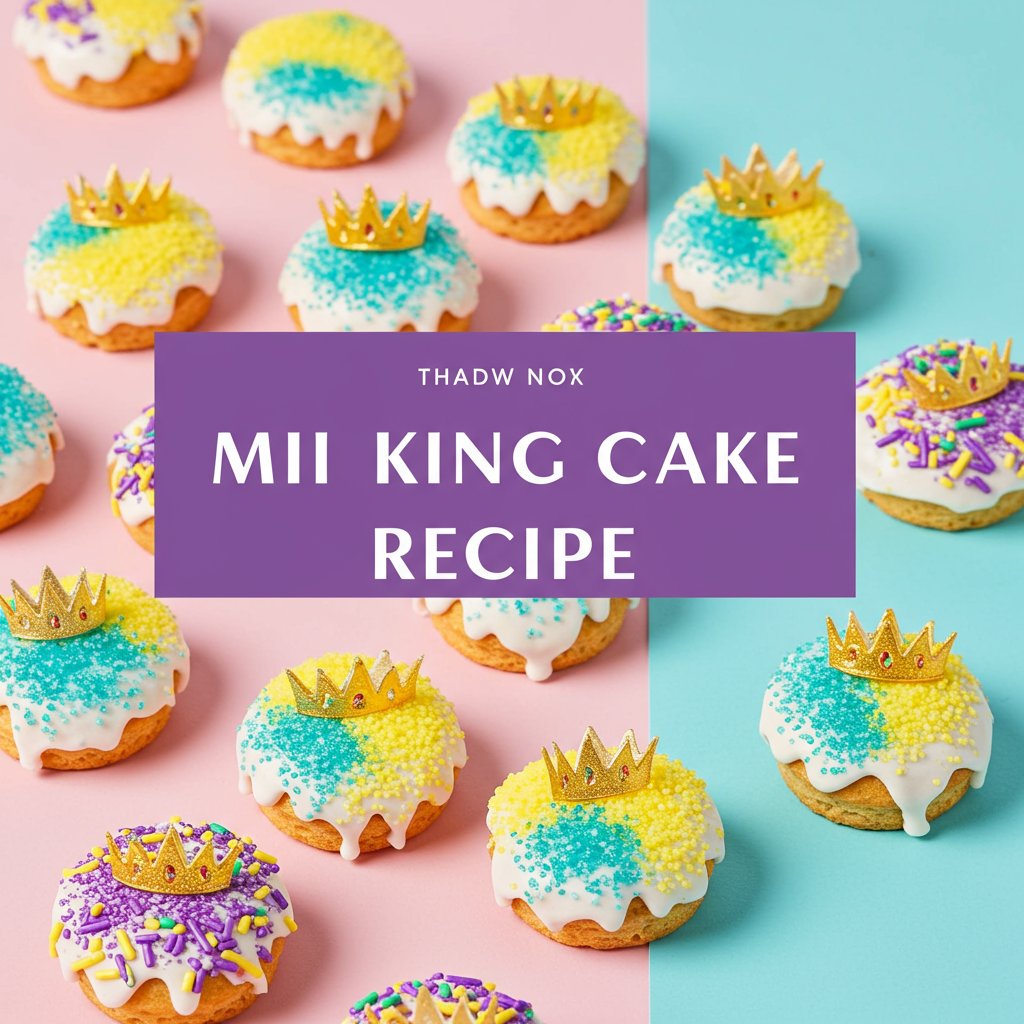
Get ready to sprinkle some Mardi Gras magic into your kitchen, no matter the time of year! If you’ve always admired those festive, colorful King Cakes but felt intimidated by baking with yeast, you’re in the perfect place. Our Mini King Cake Recipe is designed especially for beginners, making it one of the most easy baking recipes you’ll ever try. We’re going to walk you through every single step, offering all the baking tips for beginners you need to achieve delicious, beautiful results. These individual-sized delights are not only adorable but also incredibly fun to make and share. So, tie on your apron, gather your ingredients, and let’s create some sweet, celebratory mini king cakes together!
Ingredients You’ll Need
Before we dive into the fun, let’s make sure you have everything ready. Precision in measuring is one of the most important baking tips for beginners!
For the Dough:
| Quantity | Unit | Ingredient |
|---|---|---|
| 1/2 | cup | Warm Milk (105-115°F / 40-46°C) |
| 2 1/4 | teaspoons | Active Dry Yeast (one standard packet) |
| 1/4 | cup | Granulated Sugar, plus a pinch for yeast |
| 1 | large | Egg, room temperature |
| 1/4 | cup | Unsalted Butter, melted and cooled slightly |
| 1/2 | teaspoon | Salt |
| 1/2 | teaspoon | Vanilla Extract |
| 1/4 | teaspoon | Ground Nutmeg (optional, but highly recommended!) |
| 2 to 2 1/4 | cups | All-Purpose Flour, plus more for dusting |
For the Cinnamon-Sugar Filling:
| Quantity | Unit | Ingredient |
|---|---|---|
| 2 | tablespoons | Unsalted Butter, softened |
| 1/4 | cup | Light Brown Sugar, packed |
| 1 | teaspoon | Ground Cinnamon |
For the Icing & Decoration:
| Quantity | Unit | Ingredient |
|---|---|---|
| 1 | cup | Powdered Sugar (confectioners’ sugar) |
| 1-2 | tablespoons | Milk (or heavy cream) |
| 1/4 | teaspoon | Vanilla Extract |
| Purple, Green, and Gold Sprinkles (or sanding sugars) | ||
| 6-8 | Plastic King Cake Babies (optional, added AFTER baking for safety) or whole almonds/pecans |
Step-by-Step Instructions: Your Mini King Cake Journey
Don’t be intimidated by yeast! We’re breaking down every step to make this a joyful and successful baking experience. Read through all the steps once before you start!
Step 1: Activate Your Yeast (The Magic Starter!)
- In a large mixing bowl (or the bowl of your stand mixer), pour in the **1/2 cup of warm milk**. The temperature is crucial here – it should feel like a warm bath, around 105-115°F (40-46°C). If it’s too hot, it will kill the yeast; too cold, and it won’t activate.
- Sprinkle the **2 1/4 teaspoons of active dry yeast** over the milk, along with a **pinch of granulated sugar**. The sugar gives the yeast something to “eat” and helps it activate.
- Give it a gentle stir and let it sit for **5-10 minutes**. You’ll know your yeast is alive and well when it becomes foamy and bubbly on top. This is called “proofing” the yeast. If it doesn’t foam, your yeast might be old, or your milk wasn’t the right temperature. Don’t proceed until you have a bubbly mixture!
Step 2: Mix the Dough Ingredients
- Once your yeast is foamy, add the remaining 1/4 cup granulated sugar, 1 large egg (make sure it’s at room temperature for better incorporation), 1/4 cup melted and slightly cooled butter, 1/2 teaspoon salt, 1/2 teaspoon vanilla extract, and 1/4 teaspoon ground nutmeg (if using) to the yeast mixture. Whisk everything together until well combined.
- Gradually add the all-purpose flour, starting with 2 cups. Add it about half a cup at a time, mixing with a wooden spoon or the dough hook attachment of your stand mixer on low speed.
- Once the dough starts to come together, it will look shaggy. If using a stand mixer, increase the speed to medium-low and knead for about 5-7 minutes. If kneading by hand, turn the dough out onto a lightly floured surface and knead for 8-10 minutes.
- Beginner Tip for Kneading: When kneading by hand, push the dough away from you with the heels of your hands, fold it back over itself, turn it slightly, and repeat. It will be sticky at first, but resist the urge to add too much extra flour. Add only a tablespoon at a time if it’s truly unmanageable. The dough should become smooth, elastic, and spring back slowly when you gently poke it with a finger.
Step 3: First Rise (The Patience Game!)
- Lightly grease a clean large bowl with a little oil or non-stick spray. Place the kneaded dough into the bowl, turning it once to coat the top. This prevents a dry crust from forming.
- Cover the bowl tightly with plastic wrap or a clean kitchen towel.
- Place the bowl in a warm, draft-free spot. A slightly warm oven (turned off, of course, after heating it to its lowest setting for a minute then turning off) or even a sunny windowsill works well.
- Let the dough rise for **1 to 1.5 hours**, or until it has roughly doubled in size. Don’t rush this step! A proper first rise develops flavor and texture.
Step 4: Prepare the Filling
- While your dough is rising, prepare the delicious cinnamon-sugar filling. In a small bowl, combine the 2 tablespoons softened unsalted butter, 1/4 cup packed light brown sugar, and 1 teaspoon ground cinnamon. Mix with a fork until it forms a thick paste. Set aside.
Step 5: Shape Your Mini King Cakes
- Once the dough has doubled, gently punch it down to release the air. This step is called “degassing.”
- Turn the dough out onto a lightly floured surface. Use a bench scraper or a sharp knife to divide the dough into 6-8 equal pieces. For truly mini cakes, aim for 8 pieces.
- Take one piece of dough and, using a rolling pin, roll it into a rectangle, approximately 6×4 inches (15×10 cm). Don’t worry about perfection; rustic charm is part of the fun!
- Spread about 1-2 teaspoons of the cinnamon-sugar filling evenly over the entire surface of the rectangle, leaving a small border on one of the long edges.
- Starting from the long edge closest to you, carefully roll the dough into a tight log. Pinch the seam closed to seal it.
- Now, gently shape the log into a circle or oval, bringing the two ends together and pinching them firmly to seal. You’ve just made your first mini king cake ring!
- Repeat this process for the remaining dough pieces and filling.
- Optional: The Baby! If you’re including a plastic baby, you can carefully insert it into the bottom of one of the shaped dough rings now, pushing it in gently so it’s hidden. *For safety, many people prefer to insert the baby AFTER baking and decorating.* Alternatively, you can bake a whole almond or pecan inside one cake for the finder.
Step 6: Second Rise & Baking
- Lightly grease a baking sheet or line it with parchment paper. Carefully transfer your shaped mini king cakes to the prepared baking sheet, leaving some space between them as they will rise again.
- Cover the mini king cakes loosely with plastic wrap or a clean kitchen towel.
- Let them rise again in a warm, draft-free spot for another 30-45 minutes, or until visibly puffy. They won’t quite double in size again, but should look noticeably larger and softer.
- While the cakes are rising for the second time, preheat your oven to 375°F (190°C).
- Bake the mini king cakes for 12-18 minutes, or until they are golden brown on top and the bottoms are also lightly browned. Baking times can vary, so keep an eye on them after 12 minutes.
- Once baked, transfer the mini king cakes to a wire rack to cool completely before icing. This is crucial; icing a warm cake will result in melted, runny icing!
Step 7: The Icing & Decoration (The Fun Part!)
- Once your mini king cakes are completely cool, it’s time to decorate! In a small bowl, whisk together the 1 cup powdered sugar, 1-2 tablespoons milk, and 1/4 teaspoon vanilla extract.
- Beginner Tip for Icing: Start with 1 tablespoon of milk and add more a tiny bit at a time until you reach your desired consistency. You want a thick but pourable icing – not too runny, or it will just drip off, and not too thick, or it won’t spread smoothly.
- Drizzle or spread the icing over each cooled mini king cake. You can use a spoon or a small offset spatula.
- Immediately after icing each cake, generously sprinkle with your purple, green, and gold sprinkles (or sanding sugars). Work quickly, as the icing sets fast!
- If you chose to add the plastic baby after baking, now is the time to gently insert it into the bottom of one of the decorated cakes.
- Your beautiful, festive Mini King Cake Recipe creations are now ready to be enjoyed!
Tips & Tricks for Beginner Bakers
Baking can sometimes feel like a science experiment, but with a few pointers, you’ll master it in no time!
- Room Temperature Ingredients: For yeast doughs, eggs and butter at room temperature emulsify better, leading to a smoother, more consistent dough. Plan ahead and take them out of the fridge an hour or two before you start.
- Don’t Over-Flour: When kneading, resist the urge to add too much extra flour. A slightly sticky dough is often a good thing. Adding too much flour results in a dry, tough cake. Trust the process, and only add a tiny bit more if the dough is truly unmanageable.
- Warmth is Key for Rising: Yeast loves warmth! If your kitchen is cold, find the warmest spot – perhaps near a sunny window, on top of a warm (but not hot!) appliance, or in an oven that’s been briefly warmed and then turned off.
- Patience with Proofing: The rising times are estimates. Always go by how the dough looks (doubled in size, puffy) rather than strictly by the clock. Different environments can affect rising times.
- Perfect Icing Consistency: When making the icing, always add liquid a little at a time. It’s easier to add more milk than to thicken runny icing. Aim for a consistency that coats the back of a spoon and drips off slowly.
- Storage: Store your mini king cakes in an airtight container at room temperature for up to 2-3 days. They are best enjoyed fresh!
Essential Baking Tools
Having the right tools makes all the difference! Here are some basics you’ll want:
- Mixing Bowls (various sizes)
- Whisk
- Baking Sheet/Pan
- Measuring Cups and Spoons
- Spatula (rubber or offset)
- Rolling Pin
- Parchment Paper (optional, but great for non-stick)
Nutrition Information (Estimate per Mini King Cake)
Please note that these are approximate values and can vary based on exact ingredient brands and portion sizes.
| Nutrient | Amount |
|---|---|
| Calories | 320 kcal |
| Carbohydrates | 55 g |
| Protein | 6 g |
| Fat | 10 g |
| Fiber | 1 g |
| Sugar | 28 g |
Frequently Asked Questions (FAQs)
Q1: My yeast didn’t foam. What went wrong?
A1: This is a common issue for beginners! The most likely culprits are the water temperature (too hot or too cold) or expired yeast. Ensure your milk is between 105-115°F (40-46°C) and check the expiration date on your yeast packet. If it doesn’t foam, discard and start again with fresh yeast and correct milk temperature.
Q2: Can I make the dough ahead of time?
A2: Yes! After the first rise, you can punch down the dough, place it in a greased bowl, cover it tightly with plastic wrap, and refrigerate it overnight (up to 24 hours). The next day, let it sit at room temperature for about 30-60 minutes before proceeding with shaping and the second rise.
Q3: What can I use if I don’t have a plastic king cake baby?
A3: Traditionally, a whole pecan or almond is often baked inside. You can also use a large dried bean (like a kidney bean), or simply omit it and tell everyone the “baby” is metaphorical, or place a small toy or coin *after* baking and cooling.
Q4: How do I know when my mini king cakes are fully baked?
A4: They should be beautifully golden brown on top and the sides. If you tap the bottom of a cake, it should sound hollow. An internal temperature of around 200-210°F (93-99°C) with an instant-read thermometer also indicates doneness, but for small cakes, visual cues are often enough.
Q5: My dough isn’t rising, even in a warm spot. What should I do?
A5: If your yeast was active (foamy), then it might just need more time. Dough can be finicky depending on humidity and temperature. Give it more time, up to 2-3 hours for the first rise. If after that it still hasn’t risen at all, your yeast might have died during mixing (e.g., if it came into direct contact with too much salt or hot butter).
Q6: Can I freeze these mini king cakes?
A6: Yes, you can! For best results, freeze them *before* icing and decorating. Once completely cooled after baking, wrap each mini cake tightly in plastic wrap, then place them in a freezer-safe bag for up to 1 month. Thaw at room temperature, then apply icing and sprinkles when ready to serve.
Time to Celebrate Your Baking Success!
Congratulations, baker! You’ve successfully navigated the wonderful world of yeast and created your very own batch of delightful Mini King Cakes. We hope this Mini King Cake Recipe has shown you just how rewarding and fun baking can be, even for beginners. Don’t worry if your first attempt isn’t absolutely perfect – every bake is a learning experience, and the most important ingredient is always the joy of making something with your own hands. So go ahead, share your creations, and bask in the delicious glory of your baking triumph. Happy Mardi Gras, or just happy baking!