
Welcome, fellow baking enthusiasts (and soon-to-be enthusiasts)! Are you ready to dive into the wonderfully comforting world of homemade coffee cake? This Moist Coffee Cake Recipe is an absolute game-changer, especially if you’re looking for Moist Coffee Cake Recipe that deliver incredible flavor with minimal fuss. Forget dry, crumbly cakes; we’re talking about a super moist, tender crumb topped with a sweet, buttery streusel and finished with a delicate vanilla glaze. It’s the perfect companion for your morning coffee, a delightful brunch centerpiece, or a cozy evening treat. Don’t worry if you’re just starting your baking journey – I’ve packed this post with all the Moist Coffee Cake Recipe you’ll need to succeed. Get ready to impress yourself and your loved ones with this truly irresistible creation!
Ingredients You’ll Need
Gathering your ingredients before you start is one of the best habits for successful baking. Let’s make sure you have everything ready for this delicious coffee cake!
For the Crumb Topping:
| Quantity | Unit | Ingredient |
|---|---|---|
| 1/2 | cup | All-purpose flour |
| 1/2 | cup | Granulated sugar |
| 1/4 | cup | Packed light brown sugar |
| 1/2 | teaspoon | Ground cinnamon |
| 1/4 | teaspoon | Ground nutmeg (optional, but lovely!) |
| 1/4 | cup (1/2 stick) | Unsalted butter, melted |
For the Moist Coffee Cake:
| Quantity | Unit | Ingredient |
|---|---|---|
| 1 1/2 | cups | All-purpose flour |
| 1 | teaspoon | Baking powder |
| 1/2 | teaspoon | Baking soda |
| 1/4 | teaspoon | Salt |
| 1/2 | cup (1 stick) | Unsalted butter, softened to room temperature |
| 1 | cup | Granulated sugar |
| 1 | large | Egg, room temperature |
| 1 | teaspoon | Vanilla extract |
| 1/2 | cup | Sour cream or plain Greek yogurt, room temperature |
| 1/4 | cup | Milk (any kind), room temperature |
For the Vanilla Glaze:
| Quantity | Unit | Ingredient |
|---|---|---|
| 1 | cup | Powdered sugar (confectioners’ sugar) |
| 1/2 | teaspoon | Vanilla extract |
| 2-3 | tablespoons | Milk or heavy cream |
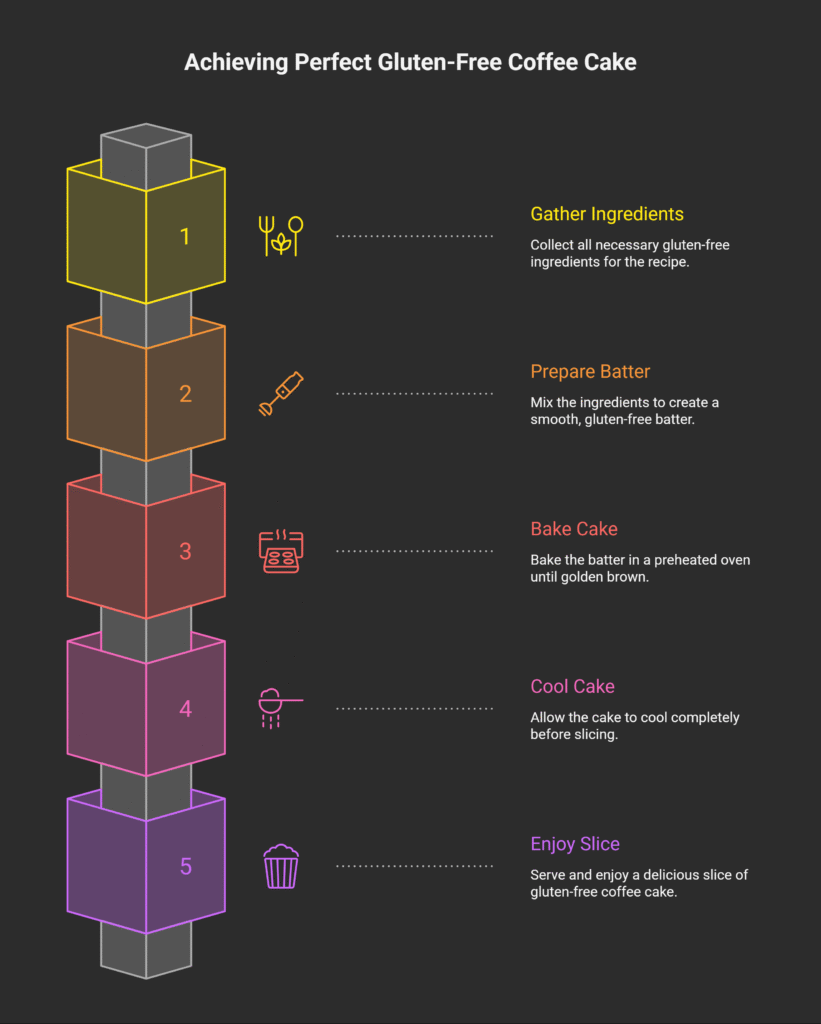
Step-by-Step Instructions: Bake Your Best Coffee Cake Ever!
Follow these detailed steps carefully, and you’ll be enjoying a perfectly moist coffee cake in no time. Remember, baking is a science, so precision helps, especially for beginners!
1. Prepare for Baking:
- Preheat Oven: Preheat your oven to 350°F (175°C). This ensures the oven is at a consistent temperature when the cake goes in, promoting even baking.
- Prepare Pan: Lightly grease and flour a 9-inch square baking pan or a 9-inch round springform pan. You can also line the bottom with parchment paper for easier removal. This prevents the cake from sticking.
- Room Temperature Ingredients: Make sure your butter, egg, sour cream/yogurt, and milk are all at room temperature. This is crucial for a smooth batter that emulsifies properly, leading to a light and fluffy cake. If your ingredients are cold, the batter can curdle and result in a dense cake.
2. Make the Crumb Topping:
- Combine Dry Ingredients: In a medium bowl, whisk together the 1/2 cup flour, granulated sugar, brown sugar, cinnamon, and nutmeg (if using). Whisking ensures all ingredients are evenly distributed.
- Add Butter: Pour in the 1/4 cup melted butter. Using a fork, stir the mixture until it comes together in moist crumbs. It should resemble wet sand with some larger clumps. Beginner Tip: Don’t overmix; you want distinct crumbs, not a paste. Set this aside.
3. Prepare the Coffee Cake Batter:
- Whisk Dry Ingredients: In a separate medium bowl, whisk together the 1 1/2 cups flour, baking powder, baking soda, and salt. Set aside. This ensures the leavening agents are evenly distributed, so your cake rises uniformly.
- Cream Butter and Sugar: In a large mixing bowl (or the bowl of a stand mixer fitted with the paddle attachment), beat the 1/2 cup softened butter and 1 cup granulated sugar together on medium speed until light and fluffy, about 2-3 minutes. This process, called “creaming,” incorporates air into the butter, which helps the cake rise and creates a tender texture.
- Add Egg and Vanilla: Beat in the large room temperature egg until just combined. Scrape down the sides of the bowl. Then, add the 1 teaspoon vanilla extract and mix until fully incorporated.
- Alternate Dry and Wet Ingredients:
- First Addition: Add half of the dry ingredient mixture to the wet ingredients and mix on low speed until just combined. Be careful not to overmix!
- Wet Addition: In a small bowl, whisk together the 1/2 cup sour cream/yogurt and 1/4 cup milk. Add this entire mixture to the batter and mix on low speed until just combined.
- Final Dry Addition: Add the remaining dry ingredient mixture and mix on low speed until just combined. Critical Beginner Tip: Stop mixing as soon as you no longer see streaks of dry flour. Overmixing develops gluten, which can make your cake tough and dry. A few small lumps are perfectly fine!
4. Assemble and Bake:
- Layer Batter: Pour the cake batter into your prepared baking pan and spread it evenly with a spatula.
- Add Crumb Topping: Evenly sprinkle the crumb topping mixture over the top of the batter. Gently press it down lightly so it adheres to the cake.
- Bake: Bake for 35-45 minutes, or until a wooden skewer or toothpick inserted into the center of the cake comes out clean (a few moist crumbs are okay, but no wet batter). Beginner Tip: Start checking at 35 minutes. Ovens vary, and overbaking can lead to a dry cake. If the topping starts to brown too quickly, you can loosely tent the pan with foil.
- Cool: Remove the cake from the oven and let it cool in the pan on a wire rack for at least 15-20 minutes before attempting to remove it. This allows the cake to set and prevents it from breaking. Once slightly cooled, carefully transfer the cake to the wire rack to cool completely before glazing.
5. Make the Vanilla Glaze:
- Whisk Glaze Ingredients: In a small bowl, whisk together the 1 cup powdered sugar, 1/2 teaspoon vanilla extract, and 2 tablespoons of milk/cream.
- Adjust Consistency: Add more milk/cream, 1/2 teaspoon at a time, until you reach a pourable but still thick consistency. You want it to drizzle nicely, not be too watery.
- Glaze Cake: Once the coffee cake is completely cool, drizzle the glaze evenly over the top using a spoon or fork. Cooling the cake completely before glazing prevents the glaze from melting and soaking into the cake.
Tips & Tricks for Baking Success (Especially for Beginners!)
Baking can seem daunting, but with a few simple tips, you’ll be a pro in no time!
- Measure Accurately: Baking is a science! Use proper measuring cups and spoons. For flour, spoon it into your measuring cup and level it off with a straight edge (like a knife) – don’t scoop directly from the bag, as this compacts the flour and you’ll end up with too much.
- Room Temperature is Key: I can’t stress this enough! Softened butter, eggs, and dairy products at room temperature emulsify better, creating a smoother batter and a more tender, even-textured cake. Plan ahead and take them out of the fridge an hour or two before you start.
- Don’t Overmix: Once you add the flour to the wet ingredients, mix *just* until no dry streaks remain. Overmixing develops gluten, leading to a tough, chewy cake. A few small lumps are perfectly fine!
- Know Your Oven: Ovens can vary wildly in temperature. Consider getting an inexpensive oven thermometer to ensure your oven is truly at the temperature you set.
- Test for Doneness: The toothpick test is your best friend. Insert a wooden skewer or toothpick into the center of the cake. If it comes out clean (or with a few moist crumbs), it’s done. If it has wet batter, bake for a few more minutes.
- Cool Completely Before Glazing: Patience is a virtue! Glazing a warm cake will cause the glaze to melt, run off, and be absorbed by the cake, leaving you with less glaze and a soggy top.
- Read the Recipe First: Before you even start, read the entire recipe from beginning to end. This helps you understand the process, gather all ingredients, and avoid surprises.
Essential Baking Tools
Having the right tools makes baking much easier and more enjoyable. Here are a few essentials:
- Mixing Bowl
- Whisk
- Baking Pan (9-inch square or round)
- Measuring Cups and Measuring Spoons
- Spatula (rubber or silicone for scraping bowls)
- Wire Rack (for cooling)
- Electric Mixer (handheld or stand mixer, optional but helpful)
Nutrition Information (Estimate per serving, based on 12 servings)
Please note: This is an estimated nutritional breakdown. Actual values may vary based on specific ingredient brands and preparation.
| Nutrient | Amount |
|---|---|
| Calories | 350-400 kcal |
| Carbohydrates | 50-60 g |
| Protein | 4-5 g |
| Fat | 15-20 g |
| Fiber | 1-2 g |
| Sugar | 35-45 g |
Frequently Asked Questions (FAQs)
Q1: Can I make this coffee cake ahead of time?
A1: Absolutely! You can bake the cake a day in advance. Store it covered at room temperature. If glazing, it’s best to glaze it a few hours before serving or right before to keep the glaze fresh and pretty. You can also freeze the unglazed cake for up to 3 months, wrapped tightly in plastic wrap and then foil.
Q2: What if I don’t have sour cream?
A2: Plain Greek yogurt is an excellent substitute for sour cream and will provide a similar moist texture and slight tang. You can also make a buttermilk substitute by adding 1/2 tablespoon of lemon juice or white vinegar to 1/2 cup of regular milk and letting it sit for 5-10 minutes until it slightly curdles.
Q3: How do I know when the coffee cake is fully baked?
A3: The best way is the toothpick test! Insert a wooden skewer or toothpick into the center of the cake. If it comes out clean (or with just a few moist crumbs attached), your cake is done. If you see wet batter, continue baking for a few more minutes and re-test.
Q4: My crumb topping isn’t crumbly enough, what went wrong?
A4: This usually happens if the butter was too warm (it absorbed too much flour) or if the mixture was overmixed, turning it into more of a paste. For perfect crumbs, ensure your melted butter isn’t scorching hot, and mix just until distinct crumbs form. You can also pop it in the fridge for 10-15 minutes if it feels too soft.
Q5: How should I store leftover coffee cake?
A5: Store the coffee cake, covered tightly, at room temperature for up to 3 days. If you live in a very warm climate or want it to last longer, you can store it in the refrigerator for up to 5 days, though the texture might become slightly firmer. Bring it to room temperature before serving for the best taste.
Conclusion
And there you have it! Your very own, incredibly moist, and utterly delicious coffee cake. Whether you’re a seasoned baker or just dipping your toes into the world of flour and sugar, this Moist Coffee Cake Recipe is designed for success. It’s proof that homemade treats don’t have to be complicated to be absolutely amazing. So go ahead, brew a fresh cup of coffee, slice into your masterpiece, and savor every single crumb. Don’t forget to share your baking journey with us – we love seeing your creations! Happy baking!
“`
2 thoughts on “Moist Coffee Cake Recipe – Sweet Homemade Fun”