Have you ever dreamed of the smell of freshly baked bread filling your home, but felt intimidated by the whole process? You’re not alone! Many aspiring bakers shy away from bread making, thinking it’s too complex or requires special skills. Well, I’m here to tell you that with your trusty Ninja Foodi Bread Recipe, making delicious, crusty, and tender homemade bread is not just possible, it’s incredibly simple! This recipe is designed specifically for beginners, focusing on easy baking recipes that deliver fantastic results every time. Forget the fear, we’re going to break down every step with clear baking tips for beginners so you can confidently bake a beautiful loaf.

Your Ninja Foodi isn’t just for pressure cooking and air frying; it’s a versatile kitchen powerhouse, and today we’re unlocking its potential for baking. Get ready to impress yourself (and everyone else!) with a golden-brown, perfectly baked loaf of bread. Let’s get baking!
Ingredients You’ll Need
Gathering your ingredients before you start is one of the best **baking tips for beginners**. It ensures a smooth process and prevents any mid-recipe scrambles. Here’s what you’ll need for your delicious Ninja Foodi bread:
| Ingredient | Quantity | Unit |
|---|---|---|
| Warm Water (105-115°F / 40-46°C) | 1 ½ | cups |
| Active Dry Yeast | 2 ¼ | teaspoons (one standard packet) |
| Granulated Sugar | 1 | tablespoon |
| All-Purpose Flour | 3 | cups (plus more for dusting) |
| Salt | 1 | teaspoon |
| Olive Oil (or other neutral oil) | 1 | tablespoon (plus more for greasing) |
| Optional: Egg Wash (1 egg + 1 tbsp water) | 1 | egg |
| Optional: Sesame Seeds or Oats | 1 | tablespoon |
Step-by-Step Instructions: Your Guide to Perfect Bread
Follow these detailed steps carefully, and you’ll be enjoying homemade bread in no time. Don’t rush, and remember that baking is a journey, not a race!
Step 1: Activate the Yeast (The “Proof” is in the Pudding!)
- In a large mixing bowl (or the bowl of your stand mixer), pour in 1 ½ cups of warm water. The temperature is crucial here – it should feel like a warm bath, not hot. Too hot, and you’ll kill the yeast; too cold, and it won’t activate. A thermometer reading between 105-115°F (40-46°C) is ideal.
- Sprinkle the 2 ¼ teaspoons of active dry yeast and 1 tablespoon of granulated sugar over the warm water. The sugar gives the yeast something to “eat” and helps it activate.
- Gently stir once or twice, then let it sit undisturbed for 5-10 minutes. You’ll know your yeast is alive and well when it becomes foamy and bubbly on top. If it doesn’t foam, your yeast might be old or your water temperature was off. Don’t proceed until you have a foamy mixture – it’s the foundation of your bread!
Step 2: Combine Dry Ingredients
- While your yeast is proofing, in a separate medium bowl, whisk together the 3 cups of all-purpose flour and 1 teaspoon of salt. Whisking ensures the salt is evenly distributed throughout the flour.
Step 3: Mix the Dough
- Once your yeast mixture is beautifully foamy, add the 1 tablespoon of olive oil to it.
- Gradually add the dry flour mixture to the wet ingredients. Add about a cup at a time, mixing with a wooden spoon or a stand mixer with a dough hook on low speed.
- Continue mixing until all the flour is incorporated and a shaggy dough forms. It might seem a bit sticky, but that’s perfectly normal at this stage!
Step 4: Knead the Dough (Developing the Magic)
Kneading is essential for developing gluten, which gives bread its structure and chewy texture.
- By Hand: Turn the dough out onto a lightly floured surface. Knead for 8-10 minutes. To knead, push the dough away from you with the heel of your hand, fold it back over, rotate it, and repeat. It should start sticky, but as you knead, it will become smooth, elastic, and less sticky. A good test: poke it with your finger; if it springs back, it’s ready.
- With a Stand Mixer: If using a stand mixer with a dough hook, knead on medium-low speed for 6-8 minutes. The dough should gather around the hook and pull away from the sides of the bowl.
Step 5: First Rise (Proofing for Flavor)
- Lightly grease a clean large bowl with a little olive oil. Place the kneaded dough in the bowl, turning it once to coat all sides with oil. This prevents it from drying out.
- Cover the bowl tightly with plastic wrap or a clean kitchen towel.
- Place the bowl in a warm, draft-free spot. An unheated oven with the light on, or near a sunny window, works well. Let the dough rise for 1 to 1 ½ hours, or until it has doubled in size. This first rise is crucial for flavor development! If your kitchen is cool, it might take a bit longer.
Step 6: Shape the Loaf
- Once the dough has doubled, gently punch it down to release the air. This is called “degassing” and helps create a finer crumb.
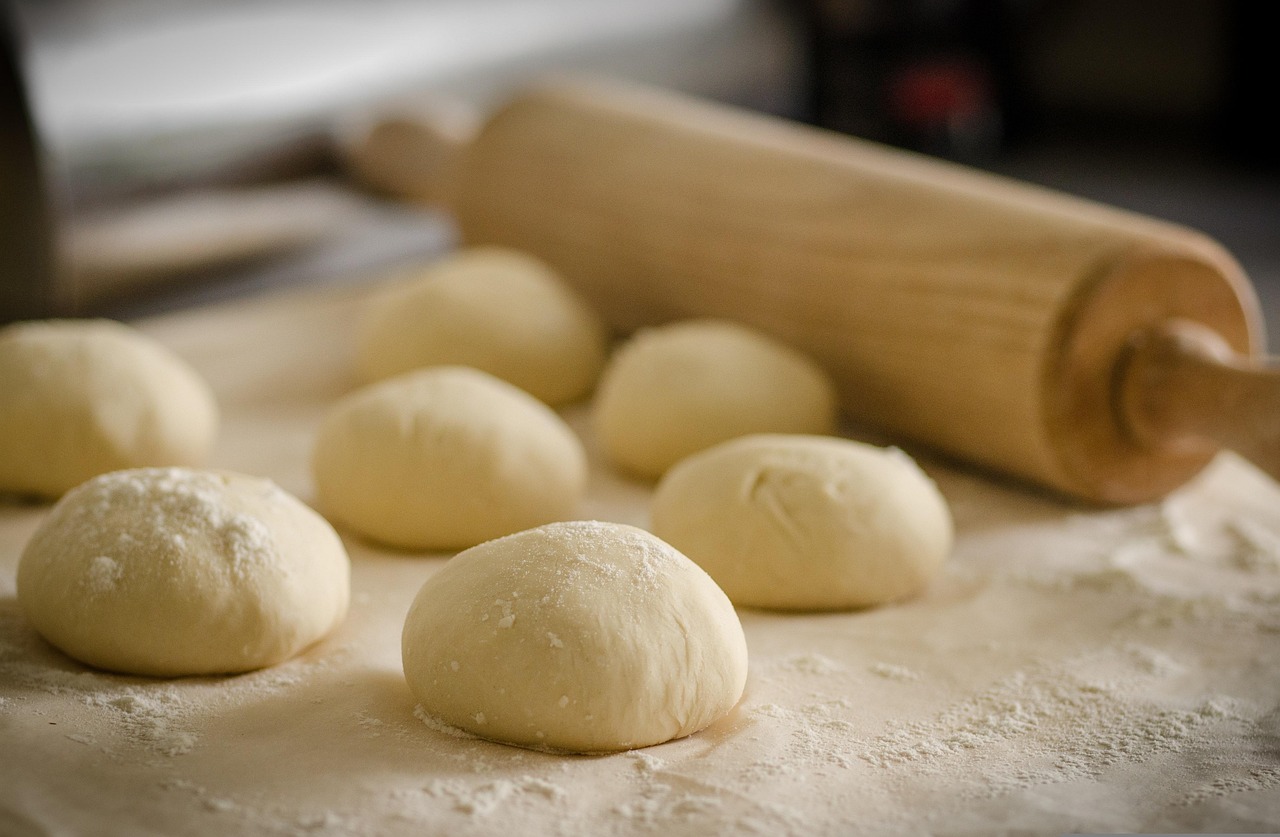
- Turn the dough out onto a lightly floured surface. Gently shape it into a rectangular loaf. For a classic loaf, gently flatten the dough into a rectangle, then starting from one of the longer sides, roll it up tightly into a log, pinching the seam closed at the bottom. Tuck the ends under slightly to create a neat shape.
Step 7: Second Rise in the Ninja Foodi
- Lightly grease the bottom and sides of your Ninja Foodi’s main cooking pot (the ceramic non-stick pot).
- Carefully place your shaped loaf into the greased pot.
- Cover the pot with the Ninja Foodi’s pressure cooking lid (but don’t seal it, just rest it on top) or a clean kitchen towel.
- Let the dough rise for another 30-45 minutes, or until it has almost doubled in size again. This second rise gives the bread its final airy texture.
Step 8: Bake in Your Ninja Foodi!
This is where your Ninja Foodi shines for baking!
- Preheat (Optional but Recommended): If your Ninja Foodi has a preheat function for Air Crisp/Bake, use it. Otherwise, you can preheat by setting it to “Bake/Roast” or “Air Crisp” at 350°F (175°C) for 5-10 minutes while the dough is on its second rise.
- Once the second rise is complete, if desired, brush the top of the loaf with the egg wash (1 egg beaten with 1 tbsp water) and sprinkle with sesame seeds or oats for a beautiful golden crust.
- Place the cooking pot with the dough directly into the Ninja Foodi base.
- Close the crisping lid (the one attached to the unit for air frying).
- Set the Ninja Foodi to “Bake/Roast” or “Air Crisp” at 325-350°F (160-175°C). (Start with 325°F if you’re worried about over-browning).
- Bake for 25-35 minutes.
- Checking for Doneness: After 25 minutes, carefully lift the crisping lid and check the bread. It should be golden brown on top. You can use an instant-read thermometer to check the internal temperature – it should be at least 200-210°F (93-99°C). Another classic test is to tap the bottom of the loaf; if it sounds hollow, it’s done!
- Preventing Over-Browning: If your bread is browning too quickly on top before it’s cooked through, you can loosely tent it with aluminum foil for the remaining baking time.
Step 9: Cool Completely (The Hardest Part!)
- Once baked, carefully remove the hot loaf from the Ninja Foodi pot and place it on a wire cooling rack.
- Let the bread cool for at least 30-60 minutes before slicing. This step is crucial! Slicing hot bread can make it gummy and dense inside because the internal structure is still setting. Patience will be rewarded with perfect texture!
- Slice, slather with butter, and enjoy your amazing homemade Ninja Foodi bread!
Tips & Tricks for Beginner Bread Bakers
Baking bread is a wonderful journey, and these actionable **baking tips for beginners** will help ensure your success and confidence:
- Check Your Yeast: Always ensure your yeast is fresh. If it doesn’t foam up in warm water and sugar, it’s dead, and your bread won’t rise. Buy new yeast!
- Water Temperature is Key: Invest in an instant-read thermometer. Aim for 105-115°F (40-46°C) for active dry yeast. Too hot kills it, too cold slows it down.
- Measure Flour Correctly: Don’t scoop flour directly from the bag with your measuring cup, as this compacts it. Instead, spoon flour into your measuring cup and then level it off with a straight edge. This prevents adding too much flour, which can lead to dry, dense bread.
- Don’t Over-Flour Your Surface: When kneading, use just enough flour to prevent sticking. Too much extra flour can make your dough stiff and heavy.
- Proofing Environment: Find a warm, draft-free spot for your dough to rise. A turned-off oven with the light on creates a perfect environment.
- Listen to Your Dough: The dough should be soft and pliable, not overly stiff. If it feels too dry, add a tiny bit more water; if too wet, a little more flour.
- Ninja Foodi Ventilation: Ensure the crisping lid is properly closed during baking. Avoid opening it too frequently, especially during the first 15-20 minutes, as this can cause temperature fluctuations.
- Cooling is Non-Negotiable: Resist the urge to slice into your bread right away! Cooling on a wire rack allows steam to escape and the internal structure to set, preventing a gummy texture.
- Experiment with Flavors: Once you’re comfortable, try adding herbs (rosemary, thyme), garlic powder, or cheese to your dough during the kneading stage for different variations.
Essential Baking Tools
Having the right tools makes all the difference, especially when you’re starting out. Here are a few essentials that will make your bread-making journey smoother:
- Mixing Bowl
- Whisk
- Baking Pan (while we use the Foodi pot, a separate pan is good for shaping or if you ever try an oven version)
- Measuring Cups & Measuring Spoons
- Spatula or Wooden Spoon
- Instant Read Thermometer (for water temp and bread doneness)
Nutrition Information
Here’s an approximate nutritional breakdown per serving (assuming 10 slices per loaf). Please note these are estimates and can vary based on specific ingredients and portion sizes.
| Nutrient | Per Serving (1/10th of loaf, approx) |
|---|---|
| Calories | 220 kcal |
| Carbohydrates | 42 g |
| Protein | 8 g |
| Fat | 3 g |
| Fiber | 2 g |
| Sugar | 1 g |
*Disclaimer: These are approximate values and may vary based on specific ingredients and portion sizes.
Frequently Asked Questions (FAQs)
Q1: My dough isn’t rising, what went wrong?
A: The most common culprits are inactive yeast (check the expiration date!), water that was too hot (killed the yeast) or too cold (didn’t activate it), or a proofing environment that was too cold and drafty. Make sure your yeast foams up properly in warm, sugared water before proceeding!
Q2: Can I use whole wheat flour instead of all-purpose flour?
A: Yes, you can! However, whole wheat flour absorbs more liquid and has less gluten-forming protein than all-purpose flour. You might need to add a tablespoon or two more water, and the bread will be denser. For beginners, it’s best to stick to all-purpose flour until you get comfortable with the process.
Q3: How do I know when the bread is fully baked?
A: The best way is to check the internal temperature with an instant-read thermometer; it should be between 200-210°F (93-99°C). Alternatively, tap the bottom of the loaf – if it sounds hollow, it’s generally done. The crust should also be a deep golden brown.
Q4: Can I make this recipe in a regular oven?
A: Absolutely! Follow all the dough preparation and rising steps. For baking, preheat your oven to 375°F (190°C). Place the shaped loaf in a greased loaf pan or on a baking sheet. Bake for 30-40 minutes, or until golden brown and the internal temperature reaches 200-210°F (93-99°C). You might need a small oven-safe dish with water at the bottom of the oven for some steam, which helps with crust development.
Q5: How should I store homemade bread?
A: Once completely cooled, store your homemade bread in an airtight container, a bread bag, or wrapped in plastic wrap at room temperature for up to 3-4 days. For longer storage, slice the bread and freeze it in an airtight freezer bag for up to 2-3 months. Thaw slices as needed, or pop them straight into the toaster!
Conclusion: Your Baking Adventure Starts Now!
Congratulations! You’ve just embarked on a fantastic baking journey and discovered how easy and rewarding it is to make fresh, homemade bread using your Ninja Foodi. There’s truly nothing quite like the aroma and taste of bread you’ve baked yourself. This Ninja Foodi Bread Recipe is designed to build your confidence and show you that delicious baking is within everyone’s reach.
Don’t worry if your first loaf isn’t picture-perfect; every bake is a learning experience. Keep practicing, keep experimenting, and most importantly, keep enjoying the process. We hope this guide has provided you with all the baking tips for beginners you need to succeed. So go ahead, share your delicious creation with loved ones, and savor every bite. Happy baking!