Are you ready to embark on a delightful baking journey that will fill your home with the most inviting aromas? Today, we’re diving into the wonderful world of Scandinavian baking with our incredible Norwegian Rhubarb Cake Recipe. If you’re new to baking, don’t fret! This recipe is designed to be one of the most easy baking recipes you’ll ever try. With simple ingredients and straightforward steps, you’ll be amazed at the delicious results you can achieve. We’ll provide all the essential baking tips for beginners, ensuring your first (or fiftieth!) attempt at this charming cake is a resounding success. Get ready to create a moist, tender cake with a beautiful sweet-tart rhubarb topping that’s perfect for any occasion, from a cozy afternoon fika to a festive family gathering.
What Makes Norwegian Rhubarb Cake So Special?
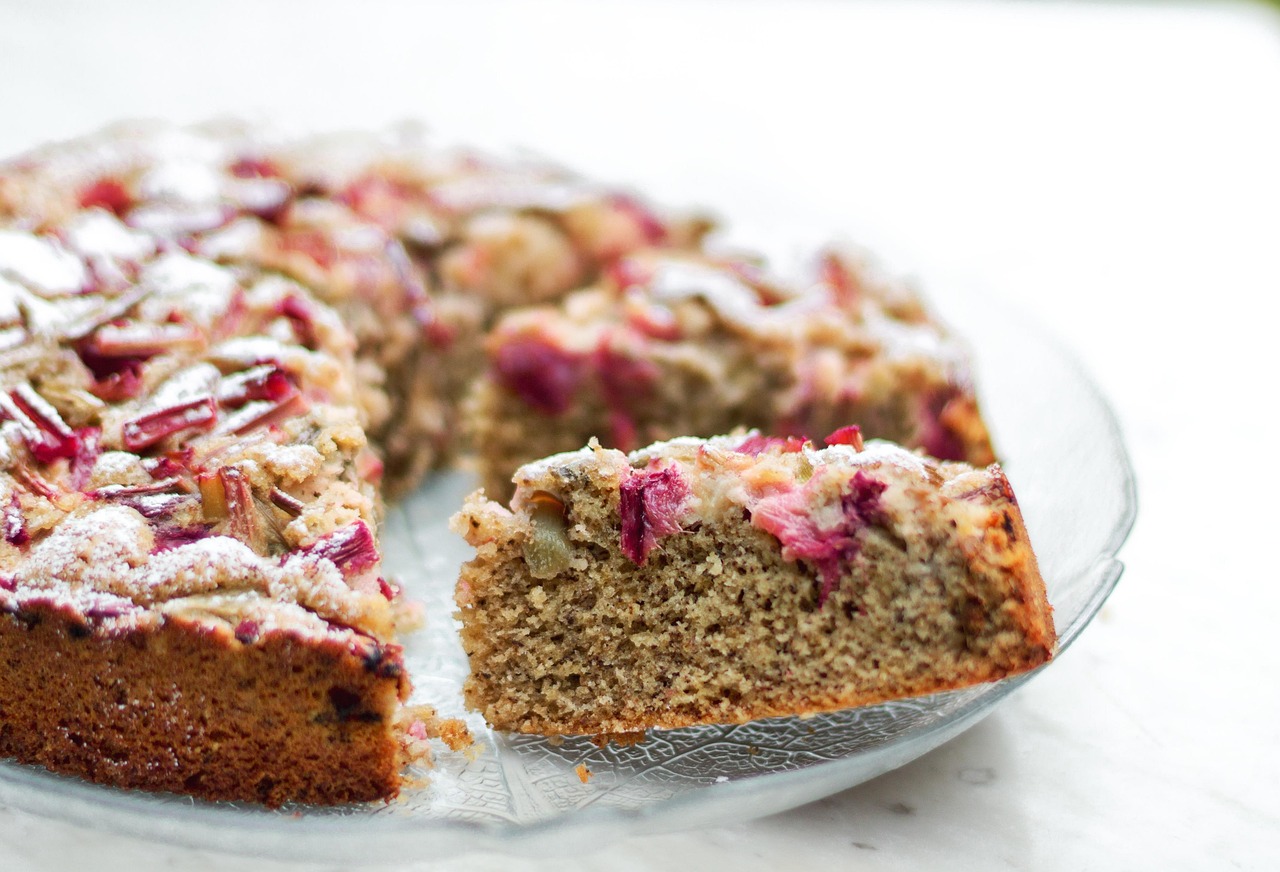
This cake is a true celebration of spring and early summer, when rhubarb is at its peak. It’s known for its delicate balance of flavors: the tangy brightness of rhubarb perfectly complements the rich, buttery sweetness of the cake base. Often enjoyed with a dollop of whipped cream or a scoop of vanilla ice cream, it’s a versatile dessert that’s both comforting and refreshing. Let’s gather our ingredients and get baking!
Ingredients You’ll Need
Gathering your ingredients before you start is a crucial step in successful baking – it’s called “mise en place” and it makes everything so much smoother!
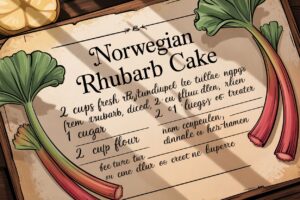
For the Cake:
| Quantity | Unit | Ingredient |
|---|---|---|
| 1 ½ | cups | All-Purpose Flour |
| 1 ½ | teaspoons | Baking Powder |
| ½ | teaspoon | Salt |
| ½ | cup | Unsalted Butter, softened |
| 1 | cup | Granulated Sugar |
| 2 | large | Eggs |
| ½ | cup | Whole Milk |
| 1 | teaspoon | Vanilla Extract |
For the Rhubarb Topping:
| Quantity | Unit | Ingredient |
|---|---|---|
| 2 | cups | Fresh Rhubarb, chopped into ½-inch pieces |
| ¼ | cup | Granulated Sugar |
| 1 | tablespoon | All-Purpose Flour |
| ½ | teaspoon | Ground Cinnamon (optional, but highly recommended!) |
Step-by-Step Baking Instructions
Follow these detailed steps carefully, and you’ll have a gorgeous Norwegian Rhubarb Cake in no time! Remember, baking is a science, but it’s also a lot of fun.
Step 1: Preheat Your Oven & Prepare Your Pan
- Preheat your oven: Set your oven to 350°F (175°C). Giving your oven time to preheat properly is key to even baking.
- Prepare your baking pan: Lightly grease and flour a 9-inch round cake pan or an 8×8 inch square baking pan. You can also line the bottom with parchment paper for easier removal, especially with a round pan.
- Beginner Tip: To grease and flour, first wipe the inside of the pan with butter or cooking spray. Then, add a tablespoon or two of flour, tilt the pan, and tap it gently to coat all surfaces. Tap out any excess flour.
Step 2: Combine Dry Ingredients
- In a medium bowl, whisk together the 1 ½ cups of all-purpose flour, 1 ½ teaspoons of baking powder, and ½ teaspoon of salt. Set this aside.
- Beginner Tip: Whisking dry ingredients ensures they are evenly distributed, preventing pockets of baking powder or salt in your final cake.
Step 3: Cream Butter and Sugar
- In a large mixing bowl, using an electric mixer (handheld or stand mixer), cream together the softened ½ cup (1 stick) of unsalted butter and 1 cup of granulated sugar. Beat on medium speed until the mixture is light, fluffy, and pale in color. This usually takes about 3-5 minutes.
- Beginner Tip: Make sure your butter is truly softened! It should yield slightly to a gentle press but not be melted. Room temperature butter creams beautifully, incorporating air which makes your cake light and airy. Cold butter won’t cream properly, and melted butter will result in a dense cake.
Step 4: Add Eggs and Vanilla
- Add the eggs one at a time to the butter-sugar mixture, beating well after each addition. Scrape down the sides of the bowl with a spatula after adding each egg to ensure everything is incorporated.
- Beginner Tip: Adding eggs one at a time helps them emulsify properly into the butter mixture, creating a stable batter. If you add them all at once, the mixture might curdle.
- Stir in the 1 teaspoon of vanilla extract.
Step 5: Alternate Dry and Wet Ingredients
- With the mixer on low speed, gradually add the dry ingredients to the wet ingredients, alternating with the ½ cup of whole milk. Start and end with the dry ingredients.
- For example: Add about a third of the flour mixture, mix until just combined. Then add half of the milk, mix. Add another third of the flour mixture, mix. Add the remaining milk, mix. Finish with the last third of the flour mixture, mixing until just combined.
- Beginner Tip: Do not overmix! Overmixing develops the gluten in the flour too much, which can lead to a tough, dense cake. Mix only until no streaks of flour remain. A few small lumps are better than overmixing.
Step 6: Prepare the Rhubarb Topping
- In a separate small bowl, gently toss the chopped rhubarb with ¼ cup of granulated sugar, 1 tablespoon of all-purpose flour, and ½ teaspoon of ground cinnamon (if using). The flour helps absorb some of the rhubarb’s moisture, preventing the topping from sinking entirely into the cake.
- Alternative: If you don’t have fresh rhubarb, you can use frozen! Just don’t thaw it beforehand. Toss the frozen rhubarb directly with the sugar, flour, and cinnamon. It might release a bit more liquid during baking, but the cake will still be delicious.
Step 7: Assemble and Bake
- Pour the cake batter into your prepared baking pan, spreading it evenly with a spatula.
- Arrange the rhubarb mixture evenly over the top of the batter. You can gently press some pieces down slightly, but don’t submerge them.
- Bake for 45-55 minutes, or until a wooden skewer or toothpick inserted into the center of the cake (avoiding a piece of rhubarb) comes out clean.
- Beginner Tip: Ovens can vary! Start checking around 40-45 minutes. If the top is browning too quickly, you can loosely tent it with aluminum foil for the last 10-15 minutes of baking.
Step 8: Cool and Serve
- Once baked, remove the cake from the oven and let it cool in the pan for 15-20 minutes on a wire rack. This allows the cake to set and prevents it from breaking when you remove it.
- After cooling slightly, carefully run a knife around the edges of the pan, then invert the cake onto the wire rack to cool completely.
- Serve warm or at room temperature, perhaps with a dollop of whipped cream, a scoop of vanilla ice cream, or a dusting of powdered sugar. Enjoy your homemade Norwegian Rhubarb Cake!
Tips & Tricks for Baking Success
Even though this is an easy recipe, a few extra pointers can elevate your baking game and ensure a perfect result every time. These baking tips for beginners will build your confidence!
- Room Temperature Ingredients are Key: This is a golden rule for many baking recipes! Ensure your butter, eggs, and milk are at room temperature. This allows them to emulsify and combine more easily, resulting in a smoother, more uniform batter and a finer-textured cake. If your butter is too cold, it won’t cream properly. If your eggs are cold, they can seize the butter.
- Measure Accurately: Baking is a precise science. Use proper measuring cups and spoons. For flour, spoon it into your measuring cup and then level it off with a straight edge (like the back of a knife) – don’t scoop directly from the bag, as this can compact the flour and lead to using too much.
- Don’t Overmix: Once you add the flour to the wet ingredients, mix only until just combined. Overmixing develops gluten, which can make your cake tough and dense. A few small lumps in the batter are perfectly fine!
- Know Your Oven: Ovens can have hot spots or vary in temperature. If you find your cakes consistently bake unevenly or too quickly/slowly, consider investing in an oven thermometer to check its accuracy. Rotate your cake halfway through baking if you notice uneven browning.
- Customization Ideas: Feel free to add a pinch of cardamom to the cake batter for an authentic Scandinavian flavor twist. A squeeze of lemon juice over the rhubarb before baking can also enhance its tartness. For a crunchy topping, sprinkle a tablespoon of coarse sugar or a few crushed almonds over the rhubarb before baking.
- Storage: Store leftover cake at room temperature in an airtight container for up to 3 days, or in the refrigerator for up to 5 days. It also freezes well for up to 2-3 months.
Essential Baking Tools
Having the right tools makes baking a joy! Here are some basics you’ll want on hand:
- Mixing Bowl (a set of various sizes is very useful)
- Whisk (for dry ingredients and lighter mixing)
- Electric Mixer (handheld or stand mixer – makes creaming butter & sugar so much easier!)
- 9-inch Round or 8×8 inch Square Baking Pan
- Measuring Cups and Measuring Spoons (for both dry and liquid ingredients)
- Rubber Spatula (for scraping bowls and folding ingredients)
- Parchment Paper (optional, but great for non-stick)
- Wire Rack (for cooling your cake)
- Toothpicks or a wooden skewer (for checking doneness)
Nutrition Information (Estimated per serving, 1/12th of cake)
Please note, these are approximate values and can vary based on specific ingredients and preparation methods.
| Nutrient | Amount |
|---|---|
| Calories | 320 kcal |
| Carbohydrates | 48g |
| Protein | 4g |
| Fat | 13g |
| Fiber | 1g |
| Sugar | 30g |
Frequently Asked Questions (FAQs)
Q1: Can I use frozen rhubarb instead of fresh?
A: Yes, absolutely! If using frozen rhubarb, there’s no need to thaw it beforehand. Simply toss the frozen pieces directly with the sugar, flour, and cinnamon as instructed. Frozen rhubarb can sometimes release a bit more moisture during baking, but the cake will still be delicious. You might just notice a slightly softer top layer.
Q2: My cake turned out dense/dry. What went wrong?
A: The most common culprits for a dense or dry cake are overmixing the batter (which develops gluten too much) or inaccurate flour measurement (too much flour). Ensure you measure your flour by spooning it into the cup and leveling it off, rather than scooping directly. Also, mix the batter only until the ingredients are just combined, and no visible streaks of flour remain.
Q3: How do I know when the cake is fully baked?
A: The best way to check for doneness is to insert a wooden skewer or toothpick into the center of the cake (making sure to avoid a piece of rhubarb, as that will always be moist). If it comes out clean or with a few moist crumbs attached, the cake is done. If it comes out with wet batter, continue baking for a few more minutes and test again.
Q4: Can I add other fruits to this cake?
A: While this recipe focuses on rhubarb, you can certainly experiment! Strawberries pair beautifully with rhubarb, so adding a cup of sliced strawberries along with the rhubarb would be a delicious variation. Blueberries or raspberries could also work, though they might release more juice, so consider adding an extra tablespoon of flour to the fruit mixture.
Q5: How should I store the leftover cake?
A: Once completely cooled, store the cake in an airtight container at room temperature for up to 3 days. If you want it to last longer, you can refrigerate it for up to 5 days. For longer storage, the cake freezes wonderfully for up to 2-3 months. Just wrap individual slices or the whole cake tightly in plastic wrap and then foil before freezing.
Time to Enjoy Your Creation!
Congratulations, you’ve just baked a beautiful and delicious Norwegian Rhubarb Cake! We hope this detailed, beginner-friendly guide has made your baking experience enjoyable and stress-free. There’s nothing quite like the satisfaction of pulling a homemade cake from the oven, especially one as charming and flavorful as this Scandinavian classic. Don’t be afraid to experiment with toppings or serve it with your favorite accompaniments. Share it with loved ones, enjoy a quiet moment with a cup of coffee, and revel in your baking success. Keep practicing, keep exploring, and most importantly, keep enjoying the sweet rewards of your kitchen adventures!