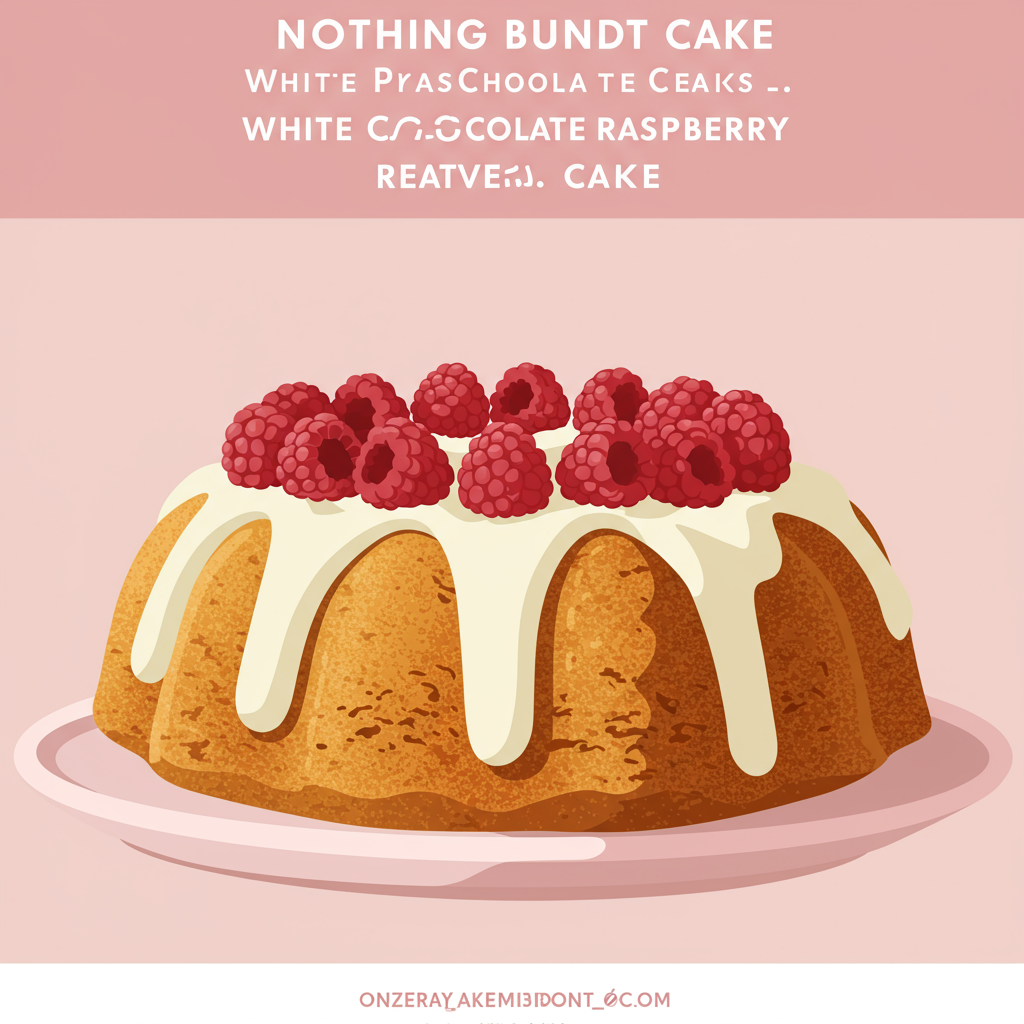
Welcome, fellow sweet tooths and aspiring bakers! Are you ready to embark on a delightful baking adventure that promises a show-stopping dessert without the fuss? If you’ve ever dreamt of creating a beautiful, moist, and utterly delicious cake, but felt intimidated by complex recipes, then you’ve landed in the perfect spot. Today, we’re diving into the wonderful world of bundt cakes with our incredible Nothing Bundt Cake White Chocolate Raspberry Recipe.

This recipe is a true gem, designed to be one of the most easy baking recipes you’ll ever try. It combines the rich, sweet notes of white chocolate with the bright, tangy burst of fresh raspberries, all baked into an elegant bundt shape that’s sure to impress. Don’t worry if you’re a complete novice; we’ll walk you through every single step, armed with essential baking tips for beginners to ensure your success. Get ready to fill your kitchen with the most inviting aromas and bake a cake that tastes as good as it looks!
Ingredients List
Gather your ingredients! For the best results, we recommend using high-quality ingredients and ensuring your dairy and eggs are at room temperature. This helps them combine more smoothly and creates a better emulsion for a lighter, more tender cake.
| Ingredient | Quantity | Unit |
|---|---|---|
| All-Purpose Flour | 2 ½ | cups |
| Granulated Sugar | 1 ¾ | cups |
| Baking Powder | 2 ½ | teaspoons |
| Salt | ½ | teaspoon |
| Unsalted Butter (softened) | ¾ | cup (1 ½ sticks) |
| Vegetable Oil | ¼ | cup |
| Large Eggs (room temperature) | 4 | |
| Vanilla Extract | 2 | teaspoons |
| Buttermilk (room temperature) | 1 | cup |
| White Chocolate Chips | 1 | cup |
| Fresh Raspberries | 1 | cup |
| For the White Chocolate Glaze: | ||
| Powdered Sugar (confectioners’ sugar) | 2 | cups |
| Melted White Chocolate | ½ | cup |
| Milk or Heavy Cream | 3-4 | tablespoons |
| Vanilla Extract | ½ | teaspoon |
Step-by-Step Instructions: Bake Your Dream Cake!
Follow these detailed steps carefully, and you’ll be enjoying a perfect bundt cake in no time. We’ve included plenty of tips to guide you through each stage!
Step 1: Get Ready to Bake (Prepping is Key!)
- Preheat your oven: Set your oven to 350°F (175°C). Giving your oven time to fully preheat ensures even baking from the start.
- Prepare your bundt pan: This is arguably the most crucial step for any bundt cake! Generously grease a 10-12 cup bundt pan. We recommend using a baking spray with flour (like Baker’s Joy or Pam Baking) or a solid shortening/butter and then dusting it thoroughly with all-purpose flour. Make sure to get into every nook and cranny of the pan’s design. This extra effort prevents your beautiful cake from sticking. Beginner Tip: After greasing and flouring, invert the pan and tap out any excess flour. This prevents white patches on your baked cake.
- Bring ingredients to room temperature: If your butter, eggs, and buttermilk aren’t already, take them out of the fridge at least 30-60 minutes before you start. Room temperature ingredients emulsify better, leading to a smoother batter and a more tender, even-textured cake.
Step 2: Mix the Dry Ingredients
- In a large bowl, whisk together the all-purpose flour, granulated sugar, baking powder, and salt. Whisking ensures these ingredients are evenly distributed, so you don’t get pockets of unmixed baking powder in your cake. Set aside.
Step 3: Cream the Wet Ingredients
- In a separate, even larger bowl (or the bowl of a stand mixer fitted with the paddle attachment), beat the softened unsalted butter and vegetable oil together on medium speed until light and fluffy. This typically takes 2-3 minutes. The butter should be pale yellow and creamy. The oil adds extra moisture and helps keep the cake tender.
- Add the large eggs, one at a time, beating well after each addition. Scrape down the sides of the bowl as needed to ensure everything is incorporated.
- Stir in the vanilla extract.
Step 4: Combine Wet and Dry
- With the mixer on low speed, gradually add about one-third of the dry ingredients to the wet ingredients, mixing just until combined.
- Pour in half of the buttermilk, mixing until just incorporated.
- Repeat this process: add another third of the dry ingredients, then the remaining buttermilk, and finally the last third of the dry ingredients. Beginner Tip: Always begin and end with dry ingredients.
- Important: Do NOT overmix! Mix only until the flour streaks have just disappeared. Overmixing develops the gluten in the flour too much, which can lead to a tough, dry cake.
Step 5: Fold in the Goodies
- Gently fold in the white chocolate chips and fresh raspberries using a spatula. Be careful not to crush the raspberries too much, as this can tint your batter. We’ll add some extra raspberries for garnish later, so don’t worry if a few break.
- Alternative: If using frozen raspberries, toss them lightly in a tablespoon of flour before adding them to the batter. This helps prevent them from sinking to the bottom during baking. Do not thaw them first!
Step 6: Bake Your Bundt Cake
- Pour the batter evenly into your prepared bundt pan. Smooth the top with a spatula.
- Bake for 50-60 minutes, or until a wooden skewer or toothpick inserted into the center of the cake comes out clean or with a few moist crumbs attached (no wet batter). Beginner Tip: Avoid opening the oven door frequently, especially in the first 30 minutes, as this can cause the cake to sink.
- Once baked, remove the cake from the oven and let it cool in the pan on a wire rack for 10-15 minutes. This cooling period in the pan is essential; it allows the cake to firm up slightly, making it less likely to break when inverted.
- After 10-15 minutes, carefully invert the bundt pan onto the wire rack. If you greased it well, it should slide out easily. Let the cake cool completely on the wire rack before glazing (at least 1-2 hours). Glazing a warm cake will cause the glaze to melt and run off.
Step 7: Prepare the White Chocolate Glaze
- While the cake is cooling, prepare your glaze. In a medium bowl, whisk together the powdered sugar, melted white chocolate, and vanilla extract.
- Gradually add the milk or heavy cream, one tablespoon at a time, whisking until you reach a smooth, pourable consistency. You want it thick enough to coat the back of a spoon, but thin enough to drizzle. If it’s too thick, add a tiny bit more milk; if too thin, add a tablespoon more powdered sugar.
Step 8: Glaze and Garnish
- Once the cake is completely cool, place it on a serving plate or cake stand.
- Drizzle the white chocolate glaze generously over the top of the cake, allowing it to drip down the sides. For a neater look, you can place strips of parchment paper under the edges of the cake before glazing to catch drips, then carefully pull them away once the glaze is set.
- Optionally, garnish with a few fresh raspberries on top for an extra pop of color and freshness.
- Allow the glaze to set for about 15-20 minutes before slicing and serving. Enjoy your homemade masterpiece!
Tips & Tricks for Bundt Cake Perfection
Even with an easy recipe, a few expert tips can elevate your baking game and ensure consistent success:
- Greasing is Gold: We can’t stress this enough for bundt cakes! Use a baking spray with flour, or apply a generous layer of softened butter/shortening with a pastry brush, then dust with flour. For chocolate cakes, use cocoa powder instead of flour to avoid white patches. Get into every crevice!
- Room Temperature Matters: Butter, eggs, and dairy at room temperature mix more evenly, creating a smoother batter and a finer crumb. Plan ahead and take them out of the fridge an hour before you start.
- Measure Flour Correctly: Don’t scoop flour directly from the bag with your measuring cup, as this compacts it. Instead, spoon flour into your measuring cup and then level it off with a straight edge (like a knife). This prevents adding too much flour, which can lead to a dry cake.
- Don’t Overmix: Mix your batter only until ingredients are just combined. Overmixing develops gluten, resulting in a tough, chewy cake instead of a tender, moist one.
- Patience with Cooling: Resist the urge to flip your bundt cake out of the pan too soon. The 10-15 minute cooling period in the pan is vital for the cake to firm up and prevent it from breaking when inverted. Then, let it cool completely on a wire rack before glazing.
- Customize Your Glaze: If you prefer a thinner glaze, add more milk or cream, a teaspoon at a time. For a thicker glaze, add a tablespoon or two more powdered sugar.
- Storage: Store your bundt cake at room temperature, covered tightly, for up to 3-4 days. If it’s very warm in your kitchen or you’ve added fresh fruit garnish, you might want to refrigerate it after the first day.
Essential Baking Tools
Having the right tools makes all the difference, especially when you’re just starting out. Here are some essentials that will help you master this recipe and many more:
- Mixing Bowl (a set of various sizes is ideal)
- Whisk (for dry ingredients and glaze)
- Bundt Cake Pan (10-12 cup capacity)
- Measuring Cups and Measuring Spoons
- Rubber Spatula (for scraping bowls and folding)
- Electric Mixer (handheld or stand mixer)
- Wire Cooling Rack
Nutrition Information (Estimated per serving)
Please note that these values are estimates and can vary based on specific ingredient brands and portion sizes. This calculation is based on approximately 16 servings per cake.
| Nutrient | Amount |
|---|---|
| Calories | 380-420 kcal |
| Carbohydrates | 50-55 g |
| Protein | 4-5 g |
| Total Fat | 18-22 g |
| Fiber | 1-2 g |
| Sugar | 35-40 g |
Frequently Asked Questions (FAQs)
Q1: Why did my bundt cake stick to the pan?
A: This is the most common bundt cake woe! It’s almost always due to insufficient greasing and flouring. Ensure you generously coat every crevice of the pan with baking spray (with flour) or butter/shortening followed by a thorough dusting of flour. Don’t forget the central tube! Also, make sure to let the cake cool in the pan for 10-15 minutes before inverting, as this allows it to firm up and release more easily.
Q2: Can I use frozen raspberries instead of fresh ones?
A: Yes, you absolutely can! If using frozen raspberries, do not thaw them. Toss them lightly in about a tablespoon of all-purpose flour before gently folding them into the batter. This helps prevent them from sinking to the bottom of the cake and prevents excess moisture from bleeding into the batter.
Q3: What if I don’t have buttermilk?
A: No problem! You can easily make a buttermilk substitute at home. For 1 cup of buttermilk, measure 1 cup of regular milk (whole or 2% works best) and stir in 1 tablespoon of lemon juice or white vinegar. Let it sit for 5-10 minutes until it slightly curdles. Then, it’s ready to use!
Q4: How do I know when the cake is truly done baking?
A: The best way to check for doneness is the “toothpick test.” Insert a long wooden skewer or toothpick into the thickest part of the cake. If it comes out clean or with a few moist crumbs attached (no wet batter), your cake is ready. If it comes out wet, continue baking for 5-10 minute increments until it passes the test.
Q5: Can I make this cake ahead of time?
A: Yes, bundt cakes are excellent for making ahead! You can bake the cake a day or two in advance. Store it tightly covered at room temperature. Prepare the glaze on the day you plan to serve it, or glaze it a few hours before, allowing the glaze to set. This actually gives the flavors time to meld and deepen!
Conclusion: Your Baking Success Story Starts Here!
There you have it – a comprehensive guide to baking your very own Nothing Bundt Cake White Chocolate Raspberry Recipe. We hope this detailed, beginner-friendly post has empowered you with the confidence and knowledge to tackle this delicious project. Remember, baking is a journey of learning and discovery, and every cake you make teaches you something new.
Don’t be afraid to get a little flour on your hands and enjoy the process. The reward? A stunning, moist, and flavorful cake that will bring smiles to everyone’s faces. Go ahead, preheat that oven, and create some sweet memories. We can’t wait to hear about your baking success!