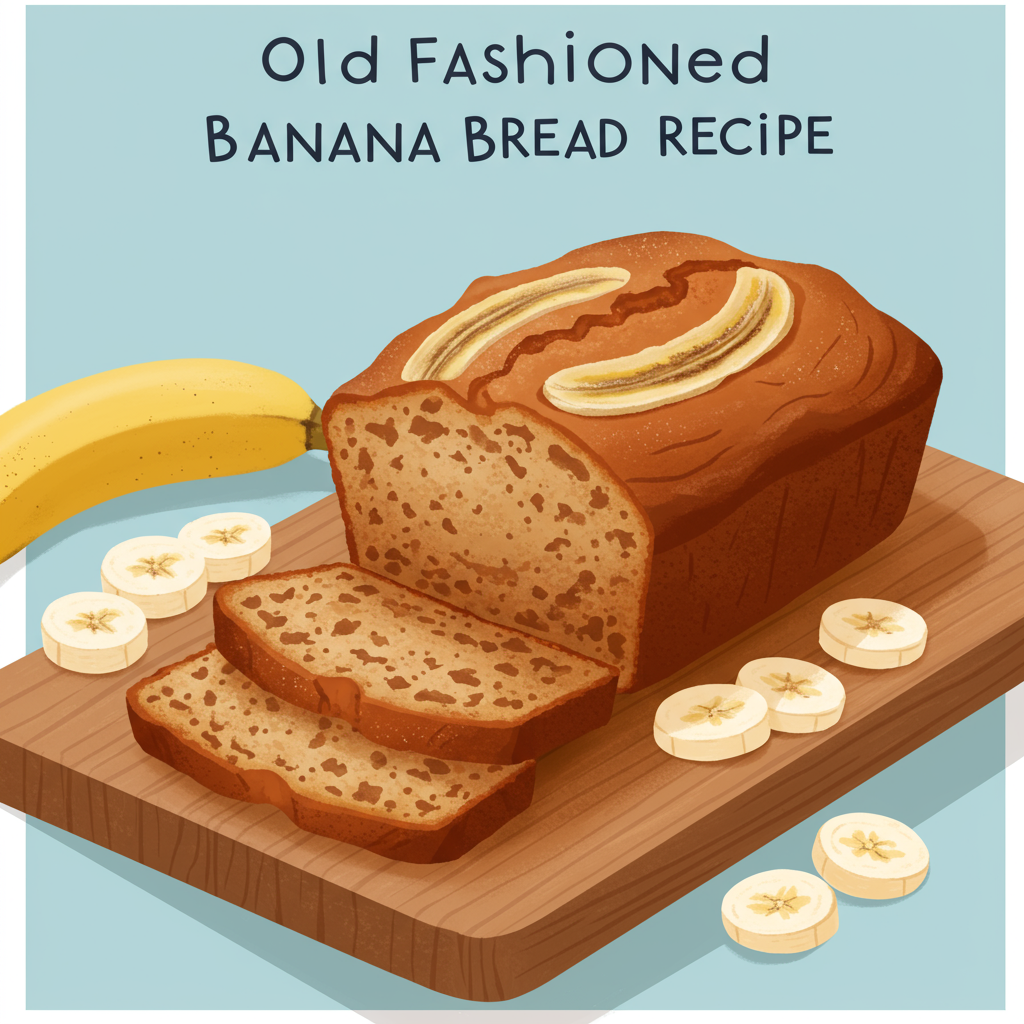
Welcome to Your New Favorite: Old Fashioned Banana Bread Recipe!
There’s something incredibly comforting about the aroma of freshly baked banana bread wafting through your home. It’s a classic for a reason – simple, satisfying, and utterly delicious. If you’re new to the kitchen or looking for some **easy baking recipes** to add to your repertoire, you’ve landed in the perfect spot! This **Old Fashioned Banana Bread Recipe** is designed with **baking tips for beginners** in mind, ensuring a perfect loaf every single time. Forget complicated techniques; we’re breaking down every step to make your baking journey a joy, not a challenge. Get ready to transform those forgotten, overripe bananas into a moist, tender, and incredibly flavorful treat that will have everyone asking for more. Let’s bake some magic!
This recipe is more than just ingredients and steps; it’s a guide to understanding the basics of baking, building your confidence, and creating something truly special. So tie on your apron, gather your ingredients, and let’s make the best banana bread you’ve ever tasted!
Ingredients You’ll Need
Gathering your ingredients before you start (this is called “mise en place”!) makes the baking process smoother and more enjoyable. Here’s everything you’ll need for this delicious Old Fashioned Banana Bread:
| Ingredient | Quantity |
|---|---|
| Overripe Bananas (medium-sized) | 3-4 |
| All-Purpose Flour | 1 ½ cups |
| Granulated Sugar | ¾ cup |
| Unsalted Butter (softened) | ½ cup (1 stick) |
| Large Egg | 1 |
| Milk (any kind) | ¼ cup |
| Baking Soda | 1 teaspoon |
| Salt | ½ teaspoon |
| Vanilla Extract | 1 teaspoon |
| Optional: Chocolate Chips or Chopped Nuts | ½ cup |
Step-by-Step Instructions: Baking Your Perfect Banana Bread
Follow these detailed steps carefully, and you’ll be enjoying a warm slice of homemade banana bread in no time. We’ve added extra tips just for beginners!
Step 1: Preheat and Prepare Your Pan
- Preheat your oven: Set your oven to 350°F (175°C). It’s important to preheat your oven fully before putting your bread in, so it bakes evenly right from the start.
- Prepare your loaf pan: Lightly grease a 9×5-inch loaf pan with butter or cooking spray. You can also line it with parchment paper, leaving an overhang on the sides – this makes it super easy to lift the bread out once it’s baked and cooled. This step prevents your bread from sticking!
Step 2: Mash Your Bananas
- In a medium bowl, peel your overripe bananas. The browner and spottier they are, the sweeter and more flavorful your bread will be!
- Using a fork or a potato masher, mash the bananas until mostly smooth. A few small lumps are perfectly fine and add lovely texture to the bread. Beginner Tip: Don’t worry about making it perfectly smooth; some texture is good!
Step 3: Cream Butter and Sugar
- In a large mixing bowl, add the softened unsalted butter and granulated sugar.
- Using an electric mixer (or a whisk and some elbow grease!), beat them together on medium speed until the mixture is light, fluffy, and pale in color. This process is called “creaming” and it incorporates air, which helps make your bread tender. This usually takes about 2-3 minutes.
Step 4: Add Wet Ingredients
- To the creamed butter and sugar, crack in the large egg. Beat until well combined.
- Stir in the mashed bananas, milk, and vanilla extract. Mix until everything is just combined. The mixture might look a little lumpy from the bananas, which is totally normal!
Step 5: Combine Dry Ingredients
- In a separate, small bowl, whisk together the all-purpose flour, baking soda, and salt. Whisking them together ensures that the leavening agent (baking soda) and salt are evenly distributed throughout the flour, leading to an even rise.
- Beginner Tip for Measuring Flour: Do NOT scoop flour directly from the bag with your measuring cup. This can compact the flour and lead to using too much, making your bread dense and dry. Instead, spoon the flour into your measuring cup until it overflows, then level it off with the back of a knife.
Step 6: Combine Wet and Dry Mixtures
- Add the dry ingredients mixture to the wet ingredients mixture in the large bowl.
- Using a spatula or wooden spoon, gently mix until just combined. This is a crucial step! Beginner Warning: Do NOT overmix! Overmixing develops the gluten in the flour too much, which will result in tough, dense banana bread instead of a soft, tender one. Stop mixing as soon as you no longer see streaks of dry flour. A few small lumps are perfectly fine.
- Optional Add-in: If you’re adding chocolate chips or chopped nuts, fold them in now, again, mixing just until they are evenly distributed.
Step 7: Bake Your Banana Bread
- Pour the batter into your prepared loaf pan. You can gently tap the pan on the counter a few times to settle the batter and remove any large air bubbles.
- Bake for 50-65 minutes, or until a wooden skewer or toothpick inserted into the center of the loaf comes out clean or with a few moist crumbs attached (no wet batter).
- Beginner Tip: Baking times can vary depending on your oven. Start checking around 50 minutes. If the top of the bread starts to brown too quickly but the inside isn’t done, you can loosely tent it with aluminum foil for the remaining baking time.
Step 8: Cool and Enjoy!
- Once baked, remove the loaf pan from the oven and let the banana bread cool in the pan for about 10-15 minutes. This allows the bread to set and makes it easier to remove.
- After 10-15 minutes, carefully run a knife around the edges (if not using parchment paper) and lift the bread out of the pan onto a wire rack to cool completely.
- Beginner Tip: While it’s tempting to slice into warm banana bread right away, letting it cool completely allows the flavors to meld and the texture to firm up, making it easier to slice and even more delicious!
- Slice and enjoy your homemade Old Fashioned Banana Bread!
Tips & Tricks for Banana Bread Perfection
Achieving the perfect banana bread is easy with a few insider secrets. Here are some actionable tips to elevate your baking:
- Embrace Overripe Bananas: The browner, the better! Overripe bananas are sweeter and more fragrant, giving your bread a richer flavor and moister texture. If your bananas aren’t quite ripe enough, you can speed up the process by baking them in their skins on a baking sheet at 300°F (150°C) for 15-30 minutes until they turn black and soft.
- Accurate Flour Measurement: As mentioned in the instructions, always spoon flour into your measuring cup and level it off with a straight edge. Scooping directly can add up to 25% too much flour, leading to dry, dense bread.
- Don’t Overmix: This is arguably the most crucial tip for any quick bread! Mix the wet and dry ingredients only until just combined. A few lumps of flour are okay. Overmixing develops gluten, which makes the bread tough and chewy instead of tender.
- Room Temperature Ingredients: Ensure your butter and egg are at room temperature. This helps them cream together smoothly with the sugar, creating a uniform batter that traps air, contributing to a lighter, more tender crumb.
- Storage: Store your banana bread at room temperature, tightly wrapped in plastic wrap or in an airtight container, for up to 3-4 days. For longer storage, slice and freeze individual pieces for up to 3 months. Thaw at room temperature or warm gently in the microwave.
- Personalize Your Loaf: Feel free to get creative! Add ½ cup of mix-ins like chocolate chips (milk, dark, or white), chopped walnuts, pecans, dried cranberries, or a sprinkle of cinnamon and nutmeg to the dry ingredients for extra spice.
Essential Baking Tools
Having the right tools makes baking much easier and more enjoyable, especially for beginners. Here are a few essentials you’ll need for this recipe:
- Mixing Bowl (You’ll need at least two: one large, one medium)
- Whisk (For dry ingredients and light mixing)
- Baking Pan (A 9×5-inch loaf pan is ideal)
- Measuring Cups (For both dry and liquid ingredients)
- Measuring Spoons (For smaller quantities like salt and baking soda)
- Spatula (A rubber spatula is great for scraping bowls and gentle mixing)
- Electric Mixer (Handheld or stand mixer makes creaming butter and sugar much easier)
- Fork or Potato Masher (For mashing bananas)
- Wire Rack (For cooling your baked bread)
Nutrition Information (Estimated per serving)
This information is an estimate based on 12 servings per loaf and standard ingredient values. Actual values may vary based on exact ingredients and portion sizes.
| Nutrient | Amount |
|---|---|
| Calories | 280 kcal |
| Carbohydrates | 48 g |
| Protein | 4 g |
| Fat | 10 g |
| Fiber | 2 g |
| Sugar | 28 g |
Frequently Asked Questions (FAQs) for Beginners
Q1: My bananas aren’t very ripe. Can I still use them?
A: While overripe bananas (brown and spotty) give the best flavor and moisture, you can ripen them quickly! Place unpeeled bananas on a baking sheet and bake at 300°F (150°C) for 15-30 minutes until their skins are black and shiny. Let them cool before mashing.
Q2: Can I use frozen bananas?
A: Absolutely! Frozen overripe bananas work wonderfully. Just make sure to thaw them completely and drain any excess liquid before mashing. The liquid can make your bread too wet.
Q3: How do I know when my banana bread is perfectly baked?
A: The best test is the toothpick test! Insert a wooden skewer or toothpick into the very center of the loaf. If it comes out clean or with a few moist crumbs attached (no wet batter), your bread is done. If it comes out wet, bake for a few more minutes and test again.
Q4: My banana bread came out dense and tough. What went wrong?
A: This is usually a sign of **overmixing** the batter. Once you add the dry ingredients to the wet, mix only until just combined – no more streaks of flour. Overmixing develops gluten, leading to a tough texture. Also, accurately measuring flour (spoon and level!) helps prevent a dense loaf.
Q5: How should I store leftover banana bread?
A: Store your banana bread tightly wrapped in plastic wrap or in an airtight container at room temperature for up to 3-4 days. If you want to keep it longer, you can freeze slices in an airtight container or freezer bag for up to 3 months.
Q6: Can I add other things to my banana bread?
A: Yes, absolutely! This recipe is a great base for customization. Common additions include ½ cup of chocolate chips (milk, dark, or white), chopped walnuts, pecans, or even dried cranberries. Fold them in gently with your spatula at the very end of mixing the batter.
Time to Enjoy Your Homemade Banana Bread!
Congratulations, baker! You’ve just created a delicious, comforting loaf of **Old Fashioned Banana Bread** from scratch. This recipe is a fantastic starting point for any beginner, proving that baking can be simple, rewarding, and incredibly fun. Don’t be afraid to experiment next time, but for now, savor the taste of your hard work. Every slice is a testament to your newfound baking skills!
Remember, practice makes perfect, and every bake is a learning experience. Keep exploring, keep baking, and most importantly, keep enjoying the process. We can’t wait to hear how your banana bread turns out!
“`