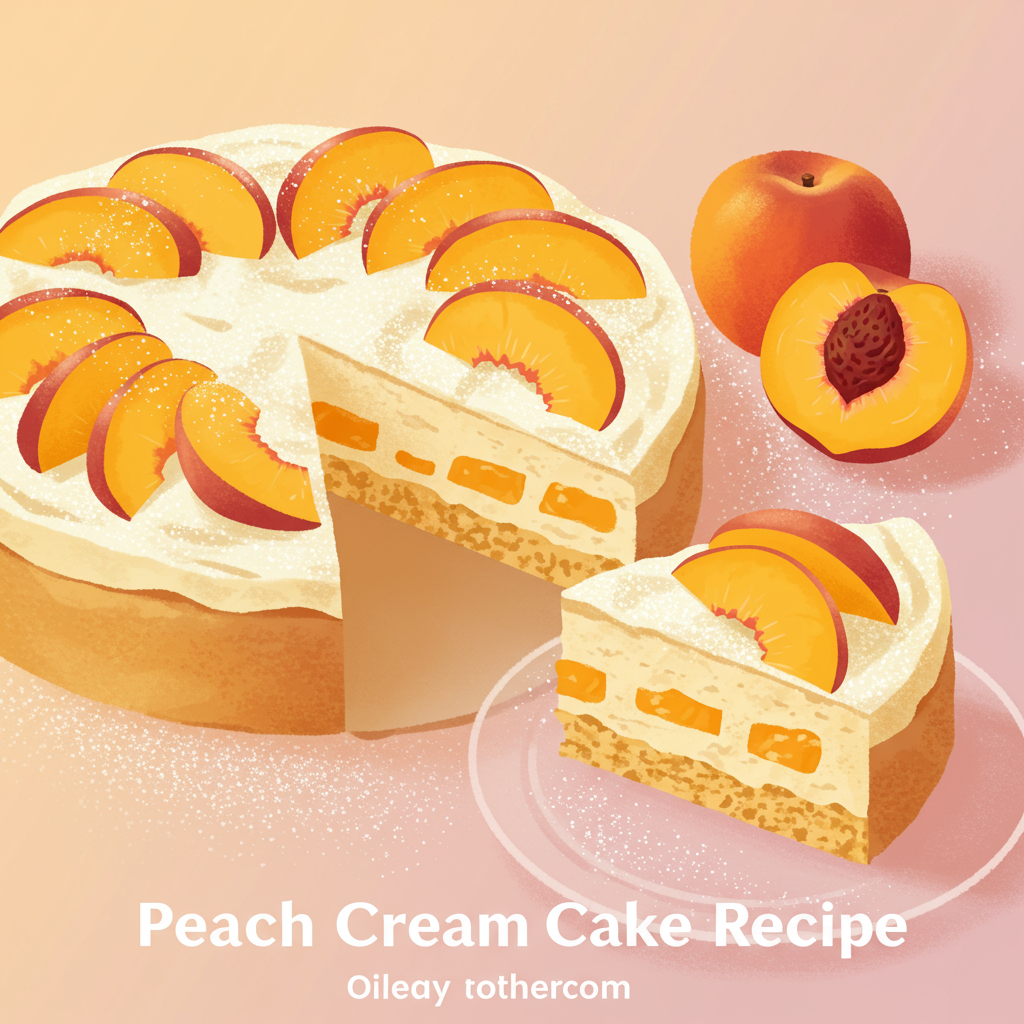
Welcome, fellow baking enthusiast! Are you ready to dive into a world of fluffy cake, sweet peaches, and luscious cream? If you’ve been searching for an easy baking recipe that delivers show-stopping results without the stress, you’ve come to the right place. Our Peach Cream Cake Recipe is designed specifically with you in mind, whether you’re a seasoned pro or just starting your journey with baking tips for beginners. This cake is a celebration of summer, bursting with the natural sweetness of fresh peaches enveloped in a light, airy cream, all resting on a tender cake base. Forget complicated techniques; we’re breaking down every step to ensure your success. Get ready to bake a masterpiece that will impress everyone!
Ingredients You’ll Need
Gathering your ingredients is the first step to a successful bake. Make sure everything is at room temperature unless specified otherwise – this truly makes a difference in texture!
For the Cake Layers:
| Quantity | Unit | Ingredient |
|---|---|---|
| 2 ½ | cups | All-Purpose Flour |
| 1 ½ | cups | Granulated Sugar |
| 1 | tablespoon | Baking Powder |
| ½ | teaspoon | Salt |
| 1 | cup (2 sticks) | Unsalted Butter, softened |
| 4 | large | Eggs, room temperature |
| 1 | cup | Whole Milk, room temperature |
| 2 | teaspoons | Vanilla Extract |
For the Peach Filling:
| Quantity | Unit | Ingredient |
|---|---|---|
| 4-5 | medium | Fresh Peaches, ripe but firm |
| ¼ | cup | Granulated Sugar (adjust to sweetness of peaches) |
| 1 | tablespoon | Lemon Juice (freshly squeezed) |
For the Whipped Cream Frosting:
| Quantity | Unit | Ingredient |
|---|---|---|
| 3 | cups | Heavy Whipping Cream, very cold |
| ½ | cup | Powdered Sugar (confectioners’ sugar), sifted |
| 1 | teaspoon | Vanilla Extract |
Step-by-Step Baking Instructions for Beginners
Patience and attention to detail are your best friends in baking. Read through all the steps before you begin!
Part 1: Preparing the Cake Layers
- Preheat Your Oven & Prep Pans: Preheat your oven to 350°F (175°C). This is crucial for even baking! Grease and flour two 8-inch round baking pans, or line the bottoms with parchment paper and grease the sides. This prevents sticking, a common beginner’s frustration.
- Combine Dry Ingredients: In a medium bowl, whisk together the 2 ½ cups all-purpose flour, 1 tablespoon baking powder, and ½ teaspoon salt. Whisking ensures everything is evenly distributed. Set aside.
- Cream Butter & Sugar: In a large mixing bowl, using an electric mixer (handheld or stand mixer with paddle attachment), beat the 1 cup softened unsalted butter and 1 ½ cups granulated sugar together on medium speed until light and fluffy. This usually takes about 3-5 minutes. Beginner Tip: Softened butter should indent when lightly pressed, not be melted or too hard.
- Add Eggs Gradually: Add the 4 large eggs, one at a time, beating well after each addition. Scrape down the sides of the bowl as needed to ensure everything is incorporated. Adding eggs slowly helps create a stable emulsion.
- Alternate Dry & Wet: With the mixer on low speed, gradually add the dry ingredients to the butter mixture, alternating with the 1 cup whole milk. Start and end with the dry ingredients. For example: add ⅓ of the flour mixture, mix until just combined, then ½ of the milk, mix, then another ⅓ flour, then the rest of the milk, and finally the last ⅓ flour.
- Mix in Vanilla: Stir in the 2 teaspoons vanilla extract until just combined. Important Beginner Tip: Do NOT overmix the batter once the flour is added! Overmixing develops gluten, leading to a tough, dry cake. Mix only until no streaks of flour remain.
- Divide & Bake: Divide the batter evenly between your two prepared baking pans. Smooth the tops with a spatula. Bake for 28-32 minutes, or until a wooden skewer or toothpick inserted into the center of the cakes comes out clean.
- Cooling the Cakes: Once baked, remove the cakes from the oven and let them cool in their pans on a wire rack for 10-15 minutes. This allows them to firm up. Then, carefully invert them onto the wire rack to cool completely. Beginner Tip: Do not try to frost warm cakes! They will crumble and the frosting will melt. Complete cooling can take 1-2 hours.
Part 2: Preparing the Peach Filling
- Wash & Slice Peaches: Wash your 4-5 fresh peaches thoroughly. You can peel them if desired (blanching in boiling water for 30 seconds then transferring to an ice bath makes peeling easy), but leaving the skin on is also fine and adds texture. Slice the peaches into thin wedges or dice them into small pieces.
- Macerate the Peaches: In a medium bowl, gently toss the sliced peaches with ¼ cup granulated sugar and 1 tablespoon lemon juice. The sugar will draw out the natural juices from the peaches, creating a delicious syrup, and the lemon juice helps prevent browning and brightens the flavor. Set aside for at least 15-20 minutes, or even up to an hour, gently stirring occasionally.
Part 3: Making the Whipped Cream Frosting
- Chill Your Tools: For the best whipped cream, place your large mixing bowl (preferably metal) and whisk attachment (if using a stand mixer) or beaters (for a hand mixer) in the freezer for 10-15 minutes before you start. Cold tools help the cream whip up faster and hold its shape better.
- Whip the Cream: Pour the 3 cups of very cold heavy whipping cream into the chilled bowl. Begin beating on medium-low speed, gradually increasing to medium-high.
- Add Sweetener & Vanilla: Once the cream starts to thicken and soft peaks form (this means when you lift the whisk, the peak collapses slightly), gradually add the ½ cup sifted powdered sugar and 1 teaspoon vanilla extract.
- Whip to Stiff Peaks: Continue beating on medium-high speed until stiff peaks form. Stiff peaks mean that when you lift the whisk, the peak stands straight up without collapsing. Crucial Beginner Tip: Watch carefully and stop as soon as stiff peaks form. Over-whipping can turn your beautiful cream into a curdled mess (almost butter!). If it starts to look grainy, stop immediately.
Part 4: Assembling Your Peach Cream Cake
This is where the magic happens! Take your time and enjoy the process.
- Level the Cakes (Optional but Recommended): If your cake layers have domed tops, you can use a serrated knife to carefully level them. This creates a more stable and aesthetically pleasing cake.
- First Layer: Place one cooled cake layer on your serving plate or cake stand. You can put a few dollops of whipped cream on the plate first to act as “glue” and prevent the cake from sliding.
- First Cream Layer: Spread about 1 to 1 ½ cups of the whipped cream frosting evenly over the top of the first cake layer.
- First Peach Layer: Drain any excess liquid from your macerated peaches (you can reserve this delicious peach syrup for drinks!). Arrange about half of the sliced peaches evenly over the whipped cream.
- Second Layer: Carefully place the second cake layer on top of the peaches.
- Frost the Top & Sides: Use the remaining whipped cream to generously frost the top and sides of the entire cake. You can make it smooth or create decorative swirls with an offset spatula. Beginner Tip: Don’t worry if it’s not perfect! A rustic look is charming, and the fresh peaches will make it beautiful.
- Garnish & Chill: If you have any remaining peach slices, arrange them decoratively on top of the cake. You can also add a sprinkle of fresh mint for color. Refrigerate the cake for at least 30 minutes before serving. This helps the cream set and allows the flavors to meld.
- Serve & Enjoy: Slice with a sharp knife (wiping the knife between cuts for clean slices) and serve chilled!
Tips & Tricks for a Perfect Peach Cream Cake
Here are some additional insights to help you achieve baking success, especially as a beginner!
- Room Temperature Ingredients are Key: For the cake batter, ensure butter, eggs, and milk are at room temperature. This allows them to emulsify properly, creating a smooth, homogenous batter and a tender crumb.
- Accurate Measuring: Baking is a science! Use proper measuring cups and spoons. For flour, spoon it into your measuring cup and then level it off with a straight edge (like the back of a knife) rather than scooping directly from the bag, which can compact the flour and lead to too much.
- Don’t Overmix: This cannot be stressed enough for cakes! Once you add the flour, mix only until just combined. Overmixing develops gluten, resulting in a tough, dry cake.
- Cold Cream, Cold Bowl: When making whipped cream, ensure your heavy cream is very cold, and chill your mixing bowl and whisk attachment. This makes the cream whip up faster and hold its volume longer.
- Patience with Cooling: Resist the urge to frost warm cakes. They will crumble, and your beautiful whipped cream will melt. Allow cakes to cool completely on a wire rack.
- Ripe but Firm Peaches: Choose peaches that are ripe enough to be flavorful and sweet, but still firm enough to hold their shape when sliced. Overly soft peaches can make the cake soggy.
- Chilling Time: Don’t skip the chilling step after assembling. It helps the whipped cream set and firms up the cake, making it easier to slice and serve.
- Clean Slices: For perfectly clean slices, use a long, sharp knife. Wipe the knife clean with a damp cloth between each slice to prevent dragging cream and crumbs.
- Storage: Store the cake in the refrigerator. It’s best enjoyed within 2-3 days.
Essential Baking Tools for Your Kitchen
Having the right tools makes all the difference! Here are some basics you’ll want:
- Mixing Bowls (various sizes)
- Whisk (for dry ingredients and whipping cream)
- 8-inch Round Baking Pans (two)
- Measuring Cups and Spoons
- Rubber Spatula (for scraping bowls)
- Electric Mixer (handheld or stand mixer – highly recommended!)
- Wire Cooling Rack
- Parchment Paper
- Offset Spatula (for frosting)
Estimated Nutrition Information (per serving)
Please note: This is an approximate nutritional estimate for 1/12th of the cake. Actual values may vary based on specific ingredient brands and preparation methods.
| Nutrient | Amount |
|---|---|
| Calories | ~450-550 kcal |
| Carbohydrates | ~60-75g |
| Protein | ~6-8g |
| Fat | ~25-35g |
| Fiber | ~2-3g |
| Sugar | ~40-55g |
Frequently Asked Questions (FAQs) for Beginner Bakers
- Q: Can I use canned peaches instead of fresh?
- A: While fresh peaches offer the best flavor and texture, you can use canned peaches in a pinch! Make sure to drain them very well and pat them dry with paper towels to prevent making your cake soggy. Reduce the added sugar for the peach filling, as canned peaches are often packed in syrup.
- Q: My cake stuck to the pan! What went wrong?
- A: This is a common issue! Ensure you properly grease and flour your pans, or use parchment paper on the bottom. Sometimes, not letting the cake cool slightly in the pan before inverting can also cause sticking. Make sure your pans aren’t scratched or old, as non-stick coatings can wear off.
- Q: Why did my whipped cream curdle or not get stiff?
- A: Whipped cream needs to be very cold to whip properly. Make sure your heavy cream, bowl, and whisk are all chilled. If it curdled, it was likely over-whipped – stop as soon as stiff peaks form. If it didn’t get stiff, it might not have been cold enough, or it might not have been heavy cream (whipping cream has a higher fat content than light cream).
- Q: Can I make this cake ahead of time?
- A: You can bake the cake layers a day in advance, wrap them tightly in plastic wrap, and store them at room temperature. The peach filling can also be prepared a few hours ahead and kept in the fridge. The whipped cream is best made fresh just before assembly. The assembled cake is best served within 24 hours for optimal freshness, though it will last 2-3 days in the refrigerator.
- Q: What if I don’t have an electric mixer?
- A: While an electric mixer makes things much easier and quicker, you can certainly make this cake by hand! You’ll need strong arms and a good whisk for creaming the butter and sugar and for whipping the cream. Be prepared for a bit of a workout, but the results will be just as delicious.
Your Delicious Journey Starts Now!
Congratulations, future baker! You now have all the tools, tips, and confidence to create your very own Peach Cream Cake Recipe. This delightful dessert isn’t just a treat for the taste buds; it’s a testament to the joy of homemade baking. Don’t be afraid to get a little messy, and remember that every bake is a learning experience. The most important ingredient is always love (and maybe a little bit of patience!). We can’t wait to see your beautiful creations. Share your results in the comments below, or tell us about your baking journey!