Why You’ll Love This Recipe
This recipe is a dream come true for busy bakers or anyone who loves a good shortcut. It’s perfect for last-minute cravings, potlucks, or just a simple weeknight dessert. With just a few basic ingredients, you can create cookies that taste like they came from a gourmet bakery, but without all the fuss. Plus, the peanut butter flavor is absolutely irresistible!
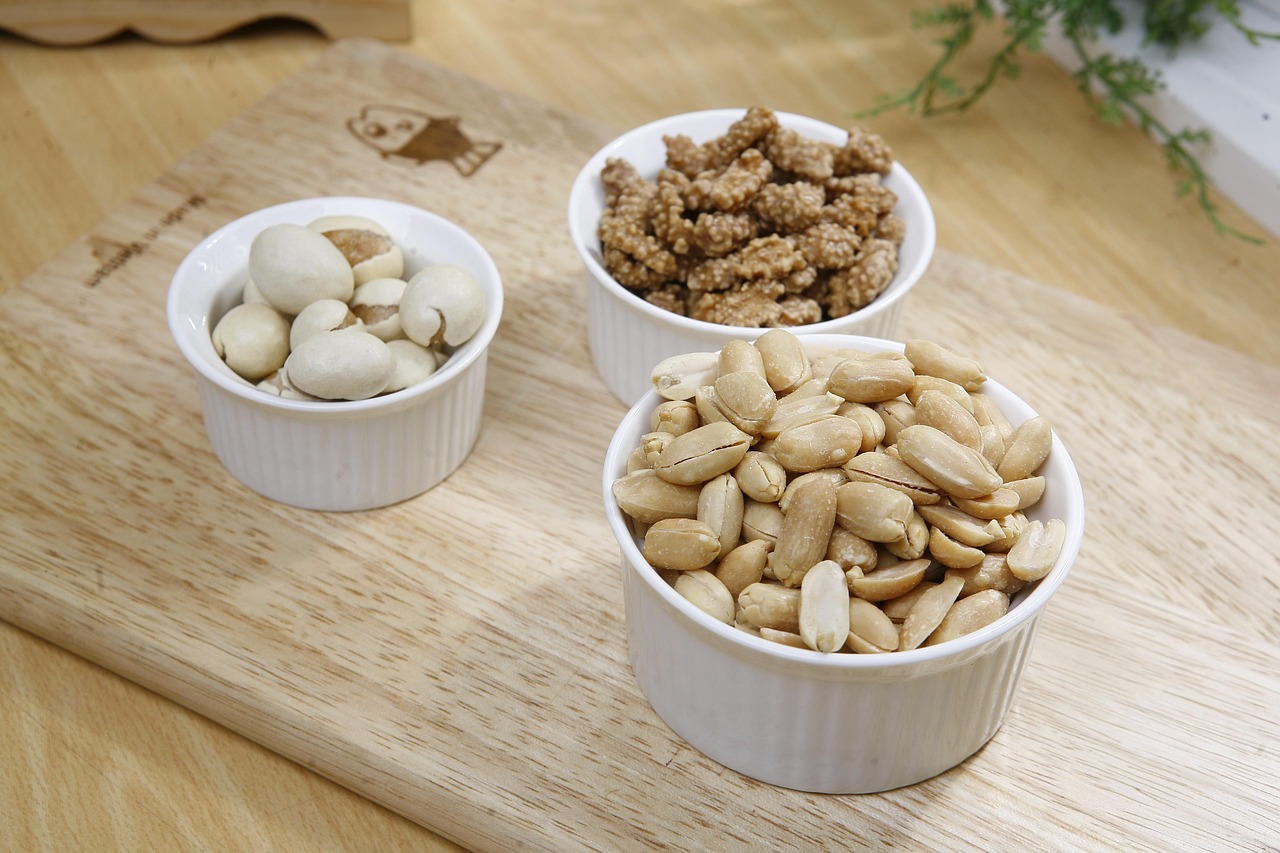
Ingredients List
Gathering your ingredients is the first step to baking success. Make sure to have everything ready before you start mixing!
| Ingredient | Quantity | Unit |
|---|---|---|
| Yellow or Vanilla Cake Mix | 1 (approx. 15.25 oz / 432g) | box |
| Creamy Peanut Butter | 1 | cup |
| Large Eggs | 2 | large |
| Vanilla Extract (optional, but recommended!) | 1 | teaspoon |
| Granulated Sugar (for rolling, optional) | 1/4 | cup |
Step-by-Step Instructions: Your Guide to Perfect Cookies
Follow these detailed instructions to create the best Peanut Butter Cookies Made With Cake Mix. We’ll walk you through each step, offering helpful tips along the way!
Step 1: Preheat Your Oven and Prep Your Baking Sheets
Before you even think about mixing, let’s get your oven ready. Preheating is crucial for even baking. Set your oven to 350°F (175°C). While it’s heating up, grab two large baking sheets. Line them with parchment paper or silicone baking mats. This step is a lifesaver, preventing your cookies from sticking and making cleanup a breeze. If you don’t have parchment paper, a light spray of non-stick cooking spray will work, but parchment is highly recommended for beginners!
Step 2: Combine the Wet Ingredients
In a large mixing bowl, add your creamy peanut butter, large eggs, and the optional (but highly recommended!) vanilla extract. Use a sturdy spoon, spatula, or an electric mixer (handheld or stand mixer) to mix these ingredients together until they are well combined and smooth. It might look a little lumpy at first, but keep going until it’s a consistent mixture. For beginners, using an electric mixer on medium speed can make this step much easier and quicker.
Step 3: Add the Cake Mix
Now for the magic ingredient! Pour the entire box of yellow or vanilla cake mix into your bowl with the peanut butter mixture. Start mixing on a low speed if using an electric mixer, or gently fold with a spoon or spatula. The mixture will be quite thick and crumbly at first, but keep mixing until it comes together to form a soft, cohesive dough. Important tip for beginners: Do not overmix! Once the cake mix is just incorporated and no dry streaks remain, stop mixing. Overmixing can lead to tough cookies.
Step 4: Form the Cookie Dough Balls
Once your dough is ready, it’s time to shape your cookies. Scoop out portions of dough, about 1 to 1.5 tablespoons each. The easiest way to get consistent-sized cookies (which helps them bake evenly) is to use a cookie scoop. If you don’t have one, just use a spoon and roll the dough between your palms into smooth balls. Aim for balls roughly the size of a golf ball.
Beginner’s Tip: If your dough feels too sticky to roll, you can chill it in the refrigerator for 15-20 minutes. This will firm it up and make it easier to handle.
Step 5: Optional Sugar Roll and Criss-Cross Pattern
This step adds that classic peanut butter cookie look and a lovely sugary crunch! Pour the 1/4 cup of granulated sugar into a small, shallow bowl. Gently roll each cookie dough ball in the sugar until it’s lightly coated. Place the sugared dough balls onto your prepared baking sheets, leaving about 2 inches of space between each cookie. They will spread a bit!
For the iconic criss-cross pattern, gently press the tines of a fork onto the top of each dough ball, first in one direction, then rotate the fork 90 degrees and press again. Don’t press too hard, just enough to make an indentation. This also helps to flatten the cookies slightly, ensuring even baking.
Step 6: Bake Your Cookies
Place your baking sheets into the preheated oven. Bake for 8-12 minutes. Baking times can vary depending on your oven, so keep an eye on them. You’re looking for cookies that are set around the edges and very lightly golden, but still look a little soft in the center. Beginner’s Tip: It’s better to slightly underbake peanut butter cookies than overbake them, as they will continue to cook and firm up as they cool. Overbaked cookies can become dry and crumbly.
Step 7: Cool and Enjoy!
Once baked, remove the baking sheets from the oven. Let the cookies cool on the baking sheets for about 5 minutes. This is crucial because they are very delicate when hot and can fall apart if moved too soon. After 5 minutes, carefully transfer the cookies to a wire cooling rack to cool completely. Cooling on a wire rack allows air to circulate around the cookies, preventing them from getting soggy on the bottom.
Once cooled, grab a glass of milk and enjoy your delicious, homemade Peanut Butter Cookies Made With Cake Mix!
Tips & Tricks for Cookie Success
Even though this recipe is super easy, these extra tips will help you make the absolute best cookies every time!
- Don’t Overbake: This is the golden rule for chewy cookies. Remove them from the oven when the edges are just set and lightly golden, even if the centers look slightly soft. They will continue to bake and firm up on the hot cookie sheet.
- Use a Cookie Scoop: For perfectly uniform cookies that bake evenly, a cookie scoop is your best friend. It takes the guesswork out of portioning.
- Room Temperature Ingredients (Mostly): While not as critical for this recipe, generally, room temperature eggs and peanut butter blend more smoothly. For the peanut butter, if it’s straight from the fridge and very stiff, microwave it for 10-15 seconds to soften slightly (don’t melt!).
- Variations are Fun: Feel free to experiment! Add 1/2 cup of chocolate chips or peanut butter chips to the dough for an extra layer of flavor. You could even try a chocolate cake mix for a chocolate peanut butter cookie!
- Proper Storage: Store your cooled cookies in an airtight container at room temperature for up to 3-5 days to keep them fresh and soft.
- The Criss-Cross: For that classic look, make sure to press the fork gently. If the dough sticks to the fork, dip the fork in a little granulated sugar between each cookie.
Essential Baking Tools
Having the right tools makes baking even more enjoyable and efficient. Here are a few essentials for this recipe:
- Mixing Bowl: A good sturdy bowl is fundamental for combining ingredients.
- Whisk or Electric Mixer: For smooth blending of wet ingredients.
- Baking Pan (or Baking Sheet): You’ll need at least one, but two make baking faster.
- Measuring Cups: Essential for accurate ingredient amounts.
- Spatula: Great for scraping down the sides of the bowl and folding ingredients.
- Cookie Scoop (optional, but highly recommended for uniform cookies!)
- Parchment Paper or Silicone Baking Mats (optional, but makes cleanup a breeze!)
Nutrition Information (Estimated per cookie)
Here’s an estimated nutritional breakdown for one cookie. Please note that these are approximate values and can vary based on specific brands of ingredients used and cookie size.
| Nutrient | Amount |
|---|---|
| Calories | 145 kcal |
| Carbohydrates | 18g |
| Protein | 4g |
| Fat | 8g |
| Fiber | 1g |
| Sugar | 12g |
Frequently Asked Questions (FAQs)
Q1: Can I use crunchy peanut butter instead of creamy?
A: Yes, absolutely! Using crunchy peanut butter will give your cookies an extra texture with bits of peanuts, which many people love. The baking process remains the same.
Q2: My dough is too sticky to roll. What should I do?
A: If your dough is too sticky, cover the bowl and chill it in the refrigerator for 20-30 minutes. This will help firm up the dough, making it much easier to handle and roll into balls. You can also lightly flour your hands if needed, but usually chilling is enough.
Q3: How do I get that perfect criss-cross pattern on top?
A: After placing your rolled cookie dough balls on the baking sheet, gently press the tines of a fork onto the top of each ball. Then, rotate the fork 90 degrees and press again to create the classic criss-cross pattern. If the dough sticks to your fork, dip the fork in a little granulated sugar between each press.
Q4: Can I add chocolate chips or other mix-ins?
A: Definitely! This recipe is very adaptable. Once your dough is mixed, you can fold in about 1/2 to 1 cup of chocolate chips, peanut butter chips, or even chopped nuts. Just be careful not to overmix after adding them.
Q5: How long do these cookies stay fresh?
A: When stored in an airtight container at room temperature, these cookies will stay fresh and delicious for about 3-5 days. For longer storage, you can freeze the baked cookies for up to 2-3 months.
Q6: Why are my cookies flat/puffy?
A: Flat cookies can be caused by melted butter (not an issue here), not enough flour (cake mix provides this), or an oven that’s not hot enough. Puffy cookies might result from too much flour or dough that was too cold. For this recipe, ensure your oven is preheated to the correct temperature and follow the ingredient measurements precisely.