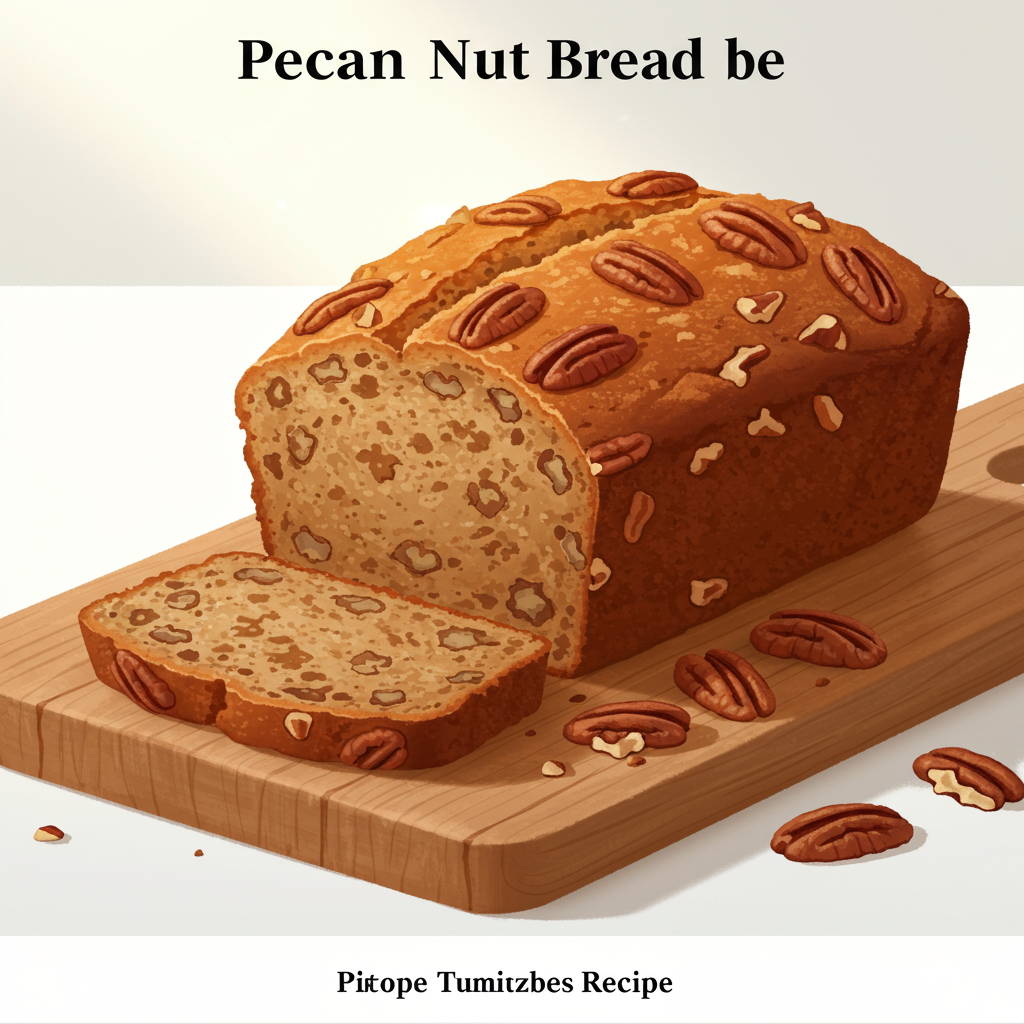
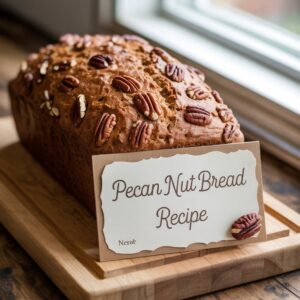
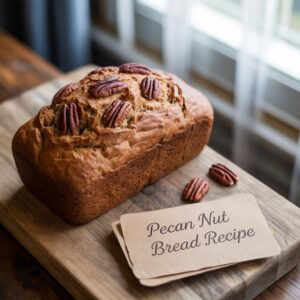
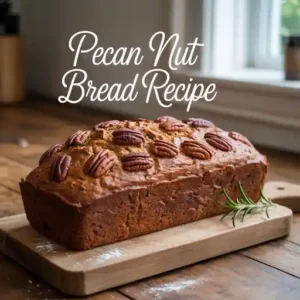
Welcome, fellow baking enthusiasts and kitchen novices! Are you ready to fill your home with the irresistible aroma of freshly baked bread? Today, we’re diving into one of the most comforting and satisfying easy baking recipes out there: our delightful Pecan Nut Bread Recipe. This isn’t just any bread; it’s a moist, flavorful quick bread packed with crunchy pecans, perfect for breakfast, a snack, or even dessert. If you’ve ever felt intimidated by baking, fear not!
This guide is specifically designed with baking tips for beginners in mind, breaking down every step so you can achieve bakery-quality results right in your own kitchen. Get ready to impress yourself and everyone lucky enough to try a slice of this homemade goodness!
Ingredients You’ll Need
Gathering your ingredients is the first step to baking success. Make sure everything is measured accurately for the best results!
| Ingredient | Quantity | Unit |
|---|---|---|
| All-Purpose Flour | 2 | cups |
| Granulated Sugar | 1 | cup |
| Baking Powder | 2 | teaspoons |
| Salt | 1/2 | teaspoon |
| Ground Cinnamon (optional) | 1/2 | teaspoon |
| Large Eggs | 2 | |
| Whole Milk | 1/2 | cup |
| Unsalted Butter, melted | 1/2 | cup (1 stick) |
| Vanilla Extract | 1 | teaspoon |
| Chopped Pecans | 1 | cup |
Step-by-Step Instructions for Your Perfect Pecan Nut Bread
Follow these detailed steps, and you’ll be enjoying warm, homemade pecan nut bread in no time!
-
Preheat and Prep Your Pan:
Preheat your oven to 350°F (175°C). This is crucial for even baking. While the oven heats up, lightly grease and flour a 9×5-inch loaf pan. You can also line it with parchment paper, leaving an overhang on the long sides, which makes it super easy to lift the bread out once it’s baked. This step prevents your bread from sticking, a common beginner’s frustration!
-
Combine Dry Ingredients:
In a large mixing bowl, whisk together the all-purpose flour, granulated sugar, baking powder, salt, and ground cinnamon (if using). Whisking ensures all ingredients are evenly distributed, preventing pockets of unmixed flour or baking powder. This is important for a consistent texture in your finished bread. Beginner Tip: When measuring flour, spoon it into your measuring cup and then level it off with a straight edge (like a knife). Don’t pack it down or scoop directly, as this can add too much flour and result in a dry bread.
-
Mix Wet Ingredients:
In a separate medium bowl, lightly beat the two large eggs. Then, add the whole milk, melted unsalted butter, and vanilla extract. Whisk these wet ingredients together until they are well combined. Make sure your butter isn’t too hot when adding to the eggs, or it might cook them slightly!
-
Combine Wet and Dry Mixtures:
Pour the wet ingredients into the dry ingredients. Using a spatula or a wooden spoon, gently mix them together until *just* combined. This is a critical step for beginners: Do not overmix! Overmixing develops the gluten in the flour too much, leading to a tough, dense bread instead of a tender, moist one. A few lumps are perfectly fine and will disappear during baking. Stop mixing as soon as you no longer see streaks of dry flour.
-
Fold in the Pecans:
Once your batter is mostly combined, gently fold in the chopped pecans. Again, avoid overmixing. Just enough to distribute the pecans throughout the batter. Alternative: If you don’t have pecans, walnuts or a mix of nuts would also be delicious! You could also add 1/2 cup of dried cranberries or chocolate chips for an extra twist.
-
Fill the Loaf Pan:
Pour the batter into your prepared 9×5-inch loaf pan. Use your spatula to spread it evenly. If you like, sprinkle a few extra chopped pecans on top for a beautiful presentation.
-
Bake to Golden Perfection:
Bake for 50-65 minutes, or until a wooden skewer or toothpick inserted into the center of the bread comes out clean. Baking times can vary depending on your oven, so start checking around the 50-minute mark. If the top starts to brown too quickly before the inside is cooked, you can loosely tent it with aluminum foil. Common Mistake: Pulling the bread out too early results in a gooey center. Always check for doneness!
-
Cool and Enjoy:
Once baked, remove the loaf pan from the oven and let it cool in the pan for about 10-15 minutes. This allows the bread to set and firm up, making it easier to remove without breaking. After 10-15 minutes, carefully run a knife around the edges (if not using parchment paper) and then lift the bread out onto a wire rack to cool completely. Slicing it while still warm is tempting (and delicious!), but it will slice cleaner once fully cooled. Enjoy your homemade Pecan Nut Bread!
Tips & Tricks for Baking Success
Baking is a science, but with a few simple tricks, you can master it! First, always ensure your ingredients are at room temperature (especially eggs and milk). This helps them combine more smoothly and creates a better emulsion, leading to a lighter, more evenly textured bread. Second, invest in a good kitchen scale for precise measurements, especially for flour, as volume measurements can be inconsistent. Third, **do not overmix your batter!** This is the golden rule for quick breads; overmixing develops gluten, which leads to a tough, chewy texture instead of a tender one. Mix only until the ingredients are just combined. Fourth, know your oven! Ovens can vary wildly in temperature, so a simple oven thermometer can be a game-changer. Finally, don’t be afraid to experiment! If you love a bit of spice, add a pinch of nutmeg or allspice. Want more texture? Toast your pecans lightly before adding them to the batter to enhance their flavor. Happy baking!
Essential Baking Tools
Having the right tools makes baking much easier and more enjoyable, especially for beginners!
- Mixing Bowl
- Whisk
- Baking Pan (9×5 inch loaf pan)
- Measuring Cups
- Measuring Spoons
- Spatula
- Wire Cooling Rack
Nutrition Information (Estimated Per Serving)
Please note: These are estimated values and can vary based on specific ingredients and serving size.
| Nutrient | Amount (Per Slice, assuming 12 slices) |
|---|---|
| Calories | 280-320 kcal |
| Carbohydrates | 35-40g |
| Protein | 4-5g |
| Fat | 15-20g |
| Fiber | 1-2g |
| Sugar | 18-22g |
Frequently Asked Questions (FAQs) for Beginner Bakers
Got questions? We’ve got answers to help you troubleshoot and succeed!
Q: Can I substitute different nuts or add other ingredients?
A: Absolutely! Walnuts are a fantastic substitute for pecans. You can also add 1/2 cup of chocolate chips, dried cranberries, or shredded coconut for extra flavor and texture. Feel free to get creative!
Q: How do I know when my Pecan Nut Bread is fully baked?
A: The best way is to insert a wooden skewer or toothpick into the center of the loaf. If it comes out clean with no wet batter attached, your bread is done. If it’s still gooey, bake for another 5-10 minutes and test again.
Q: My bread turned out dry and crumbly. What went wrong?
A: The most common culprits for dry bread are too much flour (often from scooping directly into the measuring cup instead of spooning and leveling) or overmixing the batter. Overmixing develops the gluten, making the bread tough and dry. Remember to mix *just* until combined.
Q: How should I store leftover Pecan Nut Bread?
A: Once completely cooled, wrap the bread tightly in plastic wrap or aluminum foil. It will stay fresh at room temperature for 3-4 days. For longer storage, you can freeze it (whole or sliced) for up to 3 months. Thaw at room temperature when ready to enjoy.
Q: Do I really need to use room temperature ingredients?
A: While not strictly mandatory, using room temperature eggs and milk helps them emulsify better with the melted butter, creating a smoother, more uniform batter. This leads to a finer crumb and a more tender, moist bread. It’s a small step that makes a big difference!
Ready to Bake Your Masterpiece?
There you have it – a comprehensive, beginner-friendly guide to baking the most delicious Pecan Nut Bread! We hope this detailed recipe, complete with baking tips for beginners, empowers you to step into the kitchen with confidence. Don’t be afraid to get your hands a little messy, follow the steps, and most importantly, have fun! There’s nothing quite like the satisfaction of pulling a warm, golden loaf out of the oven, especially one you made yourself. So grab your apron, preheat that oven, and get ready to enjoy a slice of pure comfort. Happy baking, and don’t forget to share your creations with us!