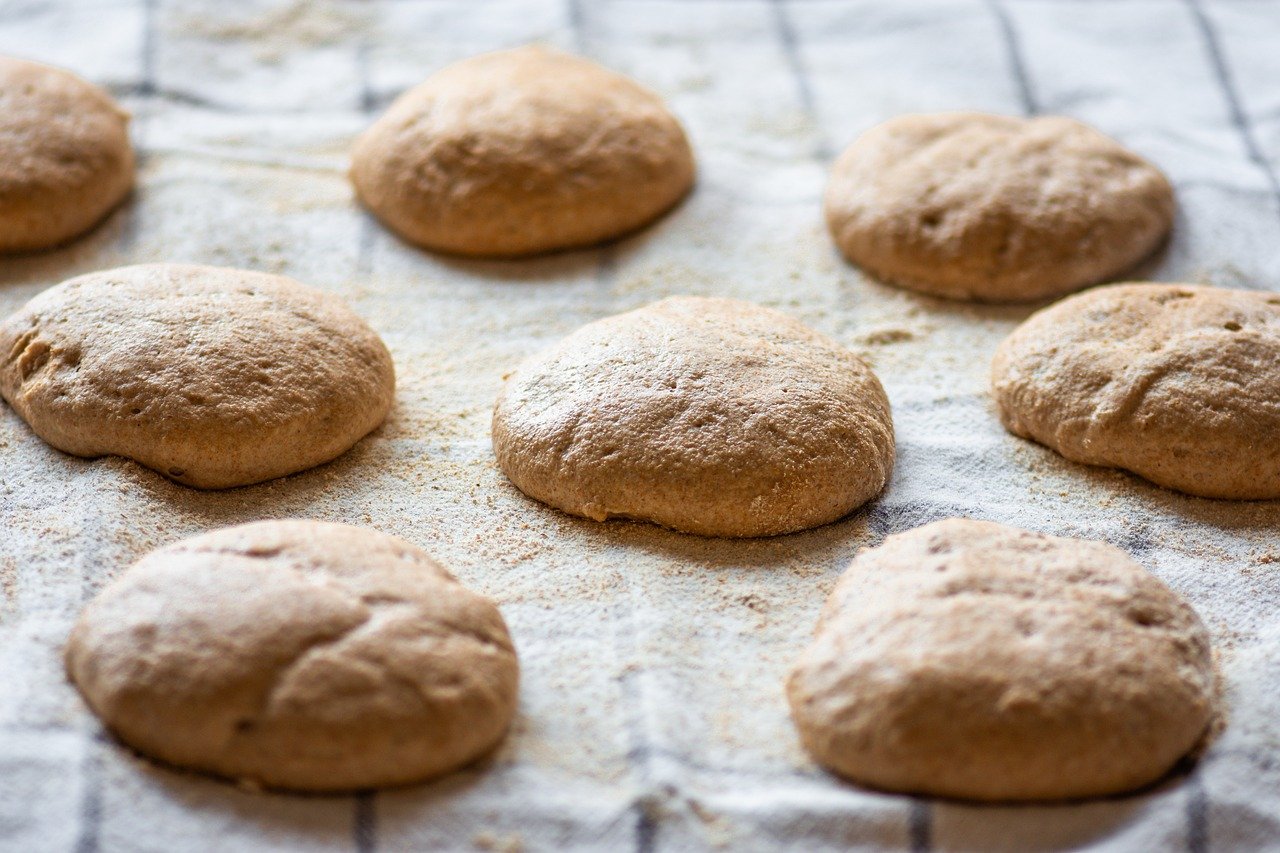
There’s nothing quite like the aroma of freshly baked bread filling your kitchen, and this Polish Rye Bread Recipe is a true testament to that joy. Often perceived as a complex bake, rye bread can actually be one of the most rewarding and surprisingly accessible easy baking recipes, even for complete novices.
This guide is packed with practical baking tips for beginners, ensuring you achieve a beautifully crusted, wonderfully chewy loaf with a rich, earthy flavor. Forget those store-bought versions – once you taste your homemade rye, you’ll never look back! Get ready to impress your family and friends with this comforting staple that’s perfect for sandwiches, toast, or simply slathered with butter.
Ingredients List
Gather your ingredients before you start – it makes the process much smoother!
| Ingredient | Quantity |
|---|---|
| Warm Water (105-115°F / 40-46°C) | 1 ½ cups |
| Active Dry Yeast | 2 ¼ teaspoons (1 standard packet) |
| Granulated Sugar (or Honey/Molasses) | 1 tablespoon |
| Salt | 1 ½ teaspoons |
| Dark Rye Flour | 2 cups |
| All-Purpose Flour (or Bread Flour) | 2 to 2 ½ cups, divided |
| Vegetable Oil (or melted butter) | 2 tablespoons |
| Cornmeal (for dusting) | 1-2 tablespoons (optional) |
Step-by-Step Instructions for Beginners
Follow these detailed steps carefully, and you’ll be enjoying your homemade rye bread in no time!
Step 1: Activate the Yeast (The “Proof” of Concept!)
- In a large mixing bowl, combine the warm water (make sure it’s between 105-115°F / 40-46°C – too hot will kill the yeast, too cold won’t activate it) and the granulated sugar (or honey/molasses). The sugar is food for the yeast!
- Sprinkle the active dry yeast over the water. Give it a gentle stir.
- Let it sit for 5-10 minutes. You should see a foamy, bubbly layer form on the surface. This is a good sign! It means your yeast is active and ready to work. If it doesn’t foam, your yeast might be old or the water temperature was off. It’s best to start over with fresh yeast and check your water temperature.
Step 2: Mix the Dough (Getting Your Hands Dirty!)
- Once your yeast is bubbly, add the salt and vegetable oil to the bowl.
- Gradually add the dark rye flour to the wet mixture, stirring with a sturdy spoon or a dough whisk until well combined. Rye flour is a bit stickier than wheat flour, so don’t be alarmed by the consistency.
- Now, start adding the all-purpose flour (or bread flour), about 1 cup at a time. Mix with your spoon until the dough becomes too stiff to stir.
- Turn the dough out onto a lightly floured surface (use some of your remaining all-purpose flour). Your hands might get a little sticky – that’s perfectly normal for bread baking!
Step 3: Knead the Dough (Building Strength & Structure)
- Begin kneading the dough. This process develops the gluten, which gives your bread its structure and chewiness. Push the dough away from you with the heels of your hands, fold it back over, rotate it a quarter turn, and repeat.
- Knead for 8-10 minutes if doing it by hand. If using a stand mixer with a dough hook, knead for 6-8 minutes on medium-low speed.
- As you knead, the dough will become less sticky and more elastic. You might need to add a tiny bit more all-purpose flour, a tablespoon at a time, if it’s too sticky to handle, but avoid adding too much flour, as this can make your bread dry and dense. The goal is a dough that is still slightly tacky but smooth and elastic.
- A good test for doneness: the “windowpane test.” Pinch off a small piece of dough and gently stretch it. If you can stretch it thin enough to see light through it without it tearing, your gluten is well-developed.
Step 4: First Rise (Bulk Fermentation – The Magic Happens!)
- Lightly grease a large clean bowl with a little vegetable oil.
- Place your kneaded dough into the greased bowl, turning it once to coat the top with oil (this prevents it from drying out).
- Cover the bowl tightly with plastic wrap or a clean kitchen towel.
- Place the bowl in a warm, draft-free place. A slightly warm oven (turned off, with just the light on) is often a perfect spot.
- Let the dough rise for 1 to 1 ½ hours, or until it has roughly doubled in size. Don’t rush this step! Proper proofing is crucial for a light, airy texture. If your kitchen is cool, it might take longer.
Step 5: Shape the Loaf (Giving it Form)
- Once the dough has doubled, gently punch it down to release the air. This is called “degassing.”
- Turn the dough out onto a lightly floured surface.
- For a simple loaf: gently flatten the dough into a rectangle. Fold the two long sides towards the center, then roll it up tightly from one end to the other, pinching the seam closed. This creates tension that helps the bread hold its shape.
- Prepare a 9×5-inch loaf pan by lightly greasing it or lining it with parchment paper. If you like a rustic crust, you can sprinkle a tablespoon of cornmeal on the bottom of the pan first.
- Place the shaped dough seam-side down into the prepared loaf pan.
Step 6: Second Rise (Proofing for Perfection)
- Cover the loaf pan loosely with plastic wrap or a kitchen towel.
- Return the pan to your warm, draft-free spot for the second rise.
- Let it rise for another 45-60 minutes, or until the dough has nearly doubled in size again and looks puffy. You can gently press a floured finger into the dough; if the indentation springs back slowly, it’s ready. If it springs back immediately, it needs more time. If it collapses, it’s over-proofed.
Step 7: Bake the Bread (The Grand Finale!)
- About 20 minutes before the second rise is complete, preheat your oven to 375°F (190°C).
- (Optional for a crispier crust): Place a shallow oven-safe pan on the bottom rack of your oven while it preheats. Just before putting the bread in, carefully pour about ½ cup of hot water into this pan to create steam. Be careful not to burn yourself!
- Once preheated and the bread is proofed, gently place the loaf pan into the oven.
- Bake for 35-45 minutes, or until the crust is deep golden brown and the internal temperature reaches 200-210°F (93-99°C) when measured with an instant-read thermometer. If you don’t have a thermometer, tap the bottom of the loaf – it should sound hollow.
- If the crust is browning too quickly, you can loosely tent it with aluminum foil for the last 10-15 minutes of baking.
Step 8: Cool the Bread (Patience is a Virtue!)
- Once baked, immediately remove the bread from the loaf pan and place it on a wire cooling rack.
- Allow the bread to cool completely for at least 1-2 hours before slicing. This step is crucial! Slicing warm bread can result in a gummy texture, as the internal cooking process continues as it cools.
- Enjoy your homemade Polish Rye Bread!
Tips & Tricks for Perfect Rye Bread
- Measure Accurately: Baking is a science! Use proper measuring cups and spoons, and for best results with flour, use a kitchen scale to measure by weight (1 cup all-purpose flour is typically 120-125g, 1 cup rye flour is about 100-110g).
- Yeast Freshness: Always check the expiration date on your yeast. If your yeast doesn’t foam during activation, it’s likely dead, and your bread won’t rise.
- Don’t Over-Flour: Rye dough can be stickier than white bread dough. Resist the urge to add too much extra flour during kneading or shaping, as this will lead to a dense, dry loaf. A slightly tacky dough is ideal.
- Warm Proofing Environment: Yeast loves warmth! A warm, draft-free spot is essential for proper rising. If your kitchen is cold, try the oven-with-light-on trick, or place the covered bowl near a sunny window.
- The Steam Secret: Adding steam to your oven during the first 10-15 minutes of baking helps create a beautiful, crispy crust and allows the bread to expand fully before the crust hardens.
- Cool Completely: This cannot be stressed enough. Slicing warm bread traps moisture and can make the crumb gummy. Allow the bread to cool fully for the best texture and flavor.
- Storage: Once cooled, store your rye bread in an airtight container or a bread bag at room temperature for up to 3-4 days. For longer storage, slice and freeze.
Essential Baking Tools
Having the right tools makes all the difference. Here are some essentials:
- Mixing Bowl
- Whisk
- Baking Pan (9×5 inch loaf pan)
- Measuring Cups
- Measuring Spoons
- Spatula / Dough Scraper
- Kitchen Scale (highly recommended for accuracy)
- Instant-Read Thermometer
- Wire Cooling Rack
Nutrition Info (Estimated per slice, 12 slices per loaf)
Please note: These are approximate values and can vary based on exact ingredients and slice size.
| Nutrient | Amount |
|---|---|
| Calories | 150-180 kcal |
| Carbohydrates | 30-35 g |
| Protein | 5-7 g |
| Fat | 1.5-3 g |
| Fiber | 3-5 g |
| Sugar | 1-3 g |
Frequently Asked Questions (FAQs)
Q1: Can I use instant yeast instead of active dry yeast?
A: Yes! If using instant yeast, you don’t need to activate it in warm water with sugar. You can simply add it directly to your dry ingredients and proceed with the recipe. However, many beginners still like to activate it to ensure it’s alive and well. If you do activate it, just ensure your water is warm.
Q2: My dough isn’t rising. What went wrong?
A: The most common culprits are dead yeast (check the expiration date!), water that was too hot (killed the yeast) or too cold (didn’t activate it), or a proofing environment that’s too cold. Ensure your yeast is fresh and your water temperature is correct (105-115°F).
Q3: Why is my rye bread dense and heavy?
A: This can happen for a few reasons: not enough kneading (gluten didn’t develop), too much flour added during kneading, or most commonly, under-proofing. Ensure your dough doubles in size during both rises and feels airy before baking. Also, remember rye flour itself produces a denser crumb than all-wheat bread, but it shouldn’t be brick-like!
Q4: How do I know when the bread is fully baked?
A: The best way is to use an instant-read thermometer. The internal temperature should be between 200-210°F (93-99°C). If you don’t have one, tap the bottom of the loaf – it should sound hollow. The crust should also be a deep golden brown.
Q5: Can I make this recipe in a bread machine?
A: While this recipe is for traditional oven baking, you can adapt it for a bread machine using the “dough” cycle. Add liquids first, then dry ingredients, with yeast last. Once the dough cycle is complete, remove the dough, shape it, let it proof for the second rise, and then bake it in your oven as directed.
Conclusion
Congratulations! You’ve just embarked on a truly rewarding baking journey with this Polish Rye Bread Recipe. There’s immense satisfaction in pulling a warm, fragrant loaf from your own oven. Don’t be discouraged if your first loaf isn’t picture-perfect; baking is a skill that improves with practice. Each attempt brings you closer to mastering the craft. We hope these detailed instructions and baking tips for beginners empower you to bake with confidence. So go ahead, slice into that beautiful loaf, and savor the rich, authentic taste of homemade Polish Rye Bread. Happy baking, and we can’t wait to hear about your creations!