Get ready to discover a dessert that’s so incredibly moist, rich, and utterly irresistible, it earned its famous name for a reason. If you’re searching for an easy baking recipe that delivers maximum flavor with minimal fuss, look no further than this incredible Pumpkin Better Than Sex Cake Recipe.
This isn’t just any pumpkin cake; it’s a moist, tender pumpkin cake infused with sweetened condensed milk and luscious caramel, topped with fluffy whipped cream and crunchy toffee bits. It’s the perfect treat for fall gatherings, holiday feasts, or simply an indulgent evening at home. Even if you’re a complete novice in the kitchen, our detailed **baking tips for beginners** will guide you every step of the way, ensuring your cake turns out perfectly moist and delicious. Prepare for rave reviews and a new favorite dessert!
Ingredients List
Gather your ingredients! Having everything measured and ready before you start baking (this is called “mise en place”) makes the process much smoother, especially for beginners.
| Ingredient | Quantity | Unit |
|---|---|---|
| Yellow Cake Mix (plus ingredients called for on box for “water, oil, eggs” if different) | 1 | box (approx. 15.25 oz) |
| Canned Pumpkin Puree (not pumpkin pie filling!) | 15 | oz can |
| Large Eggs | 3 | |
| Vegetable Oil | 1/2 | cup |
| Water | 1/2 | cup |
| Pumpkin Pie Spice (optional, but highly recommended) | 1 | teaspoon |
| Sweetened Condensed Milk | 14 | oz can |
| Caramel Topping/Sauce (like Smucker’s or Hershey’s) | 12 | oz jar/bottle |
| Frozen Whipped Topping (Cool Whip), thawed | 16 | oz (2 tubs of 8oz each) |
| Toffee Bits (like Heath Bar bits) | 1 | cup |
| Chopped Pecans (optional, for extra crunch) | 1/2 | cup |
Step-by-Step Instructions: Bake Your Way to Bliss!
Follow these detailed steps carefully, and you’ll have a show-stopping dessert that tastes even better than it sounds. Don’t worry, we’ve got plenty of baking tips for beginners built in!
Step 1: Preheat and Prepare Your Pan
- First things first, preheat your oven to **350°F (175°C)**. It’s crucial for even baking.
- Next, grab a **9×13 inch baking pan**. Lightly grease the bottom and sides with butter, shortening, or non-stick cooking spray. This prevents your cake from sticking and ensures a clean release. For beginners, a little extra grease is better than not enough!
Step 2: Mix the Pumpkin Cake Batter
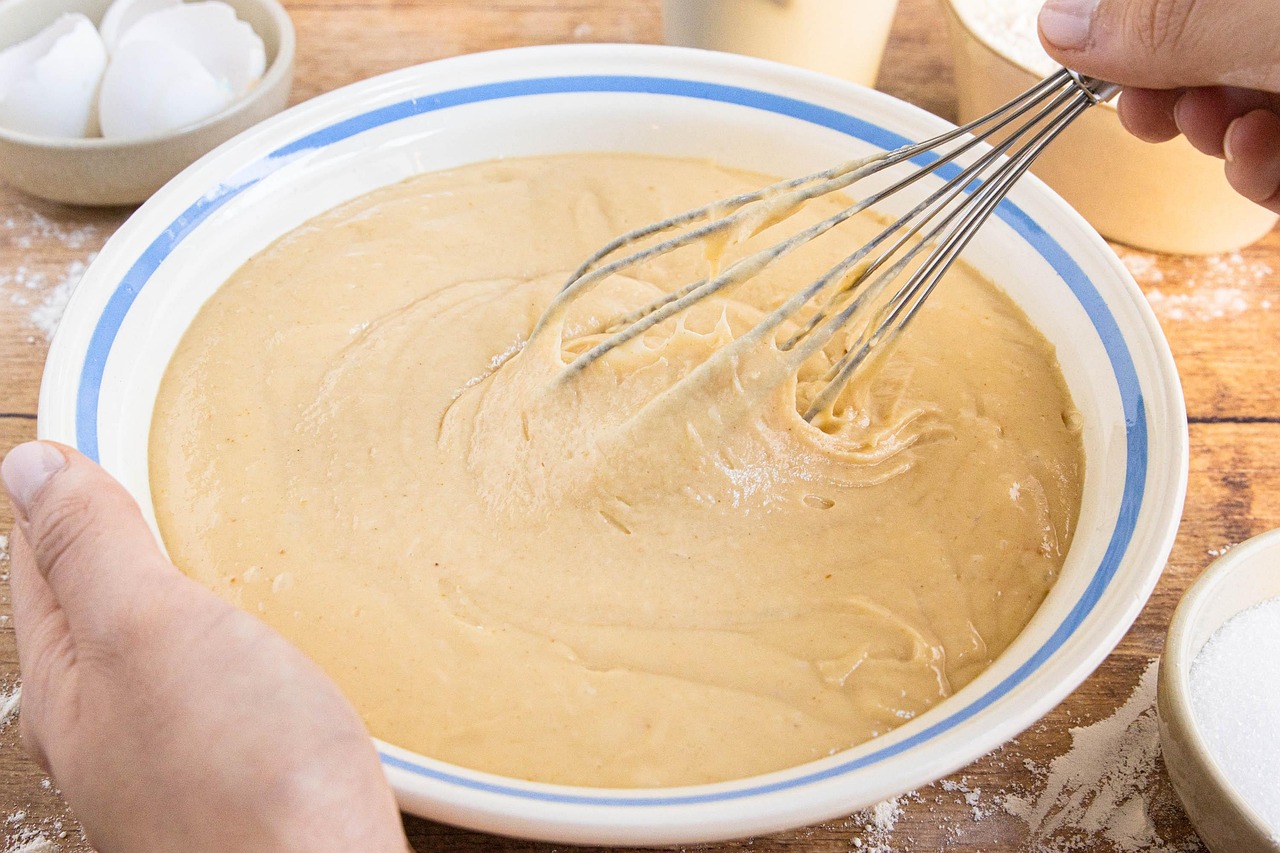
- In a large mixing bowl, combine the entire box of **yellow cake mix**, the **15 oz can of pumpkin puree** (make sure it’s puree, not pie filling!), **3 large eggs**, **1/2 cup vegetable oil**, **1/2 cup water**, and the optional **1 teaspoon of pumpkin pie spice**.
- Using an electric mixer (handheld or stand mixer) on medium speed, mix the ingredients for about 2 minutes. Scrape down the sides of the bowl with a spatula to ensure everything is well combined.
- **Beginner Tip:** Be careful not to **overmix**! Overmixing develops the gluten in the flour too much, which can lead to a tough, dry cake. Mix just until no dry streaks of cake mix remain.
Step 3: Bake the Cake
- Pour the prepared cake batter evenly into your greased 9×13 inch baking pan.
- Carefully place the pan into your preheated oven.
- Bake for 28-32 minutes. Baking times can vary slightly depending on your oven, so keep an eye on it.
- How to tell if it’s done (the “toothpick test”): Insert a wooden toothpick or a thin knife into the center of the cake. If it comes out clean (without wet batter attached), your cake is done! If it comes out with wet crumbs, bake for another 2-3 minutes and test again.
- Once baked, remove the cake from the oven and place it on a wire rack to cool for 10-15 minutes. It needs to be warm, but not piping hot, for the next step.
Step 4: Poke, Pour, and Infuse
- While the cake is still warm (but not too hot), grab the handle of a wooden spoon or a large fork. Gently poke holes all over the top of the cake. Aim for about 1-inch intervals. These holes are essential for allowing the delicious liquids to seep in and make the cake incredibly moist. Don’t go all the way to the bottom of the pan, just about two-thirds of the way down.
- Carefully and evenly pour the entire 14 oz can of sweetened condensed milk over the top of the warm, poked cake. Make sure it drips into all those lovely holes. This is the secret to its unbelievable moisture and sweetness!
- Next, pour the entire 12 oz jar of caramel topping/sauce over the condensed milk layer, spreading it evenly across the cake.
- Beginner Tip: Don’t rush this step! Allow the liquids a few minutes to soak in. You’ll literally see the cake absorbing all that goodness.
- Once poured, place the cake in the refrigerator for at least 30 minutes to 1 hour. This allows the condensed milk and caramel to fully set and penetrate the cake, making it easier to top and slice later. If you skip this, your topping might just slide right off!
Step 5: Add the Topping and Final Touches
- Once your cake is sufficiently chilled and the caramel layer has set, remove it from the refrigerator.
- Spread the two tubs (16 oz total) of thawed frozen whipped topping evenly over the caramel layer. A spatula works best for this.
- Generously sprinkle the 1 cup of toffee bits over the whipped topping. If using, also sprinkle the 1/2 cup of chopped pecans.
- Return the cake to the refrigerator for another 30 minutes to allow the whipped topping to set slightly and everything to firm up. This also makes for cleaner slices.
Step 6: Serve and Enjoy!
- When you’re ready to serve, simply slice the cake into squares.
- Prepare for a chorus of “oohs” and “aahs”! This cake is best served chilled.
- Alternative Idea: If you want an even richer experience, warm individual slices slightly in the microwave for 10-15 seconds before serving. The caramel will become wonderfully gooey!
Tips & Tricks for Baking Success
Even seasoned bakers benefit from a few extra pointers, and for beginners, these tips can make all the difference!
- Room Temperature Ingredients: While this recipe uses a cake mix, for future baking, remember that eggs and other dairy at room temperature mix more evenly and create a smoother batter. For the pumpkin puree, it’s fine straight from the can.
- Don’t Overmix: We can’t stress this enough! Overmixing develops gluten, leading to a tough cake. Mix only until ingredients are just combined. A few small lumps in the batter are okay.
- Grease Your Pan Properly: A well-greased pan is your best friend. Ensure every corner and side is coated to prevent sticking. You can also lightly flour the greased pan for extra non-stick insurance.
- The Toothpick Test is Your Guide: Ovens vary! Don’t rely solely on the suggested baking time. The toothpick test is the most accurate way to check for doneness.
- Cooling is Crucial: Allow the cake to cool for the recommended time before poking and pouring. If it’s too hot, the cake might crumble when poked, or the liquids might just sit on top instead of soaking in. The refrigeration steps are also vital for the layers to set properly.
- Get Creative with Toppings: While toffee bits are classic for this cake, feel free to experiment! Crushed candy bars, chocolate shavings, a drizzle of chocolate syrup, or even a sprinkle of sea salt flakes over the caramel layer would be delicious.
- Storage: Always store this cake in the refrigerator due to the whipped topping and dairy-rich layers. Cover it loosely with plastic wrap. It tastes best within 3-4 days.
Essential Baking Tools
Having the right tools makes baking a joy! Here are a few essentials you’ll need for this recipe, and they’re great staples for any kitchen:
- Mixing Bowl
- Whisk (or electric mixer)
- 9×13 Inch Baking Pan
- Measuring Cups
- Spatula
- Wooden spoon (for poking holes)
- Wire cooling rack
Nutrition Information (Estimated Per Serving)
Please note, these are estimated nutritional values based on typical ingredients and a serving size of 1/12th of the cake. Actual values may vary depending on specific brands and portion sizes.
| Nutrient | Amount |
|---|---|
| Calories | 480-550 kcal |
| Carbohydrates | 65-75 g |
| Protein | 5-7 g |
| Fat | 22-28 g |
| Fiber | 1-2 g |
| Sugar | 45-55 g |
Frequently Asked Questions (FAQs) for Beginners
Q1: Can I use pumpkin pie filling instead of pumpkin puree?
A: No, absolutely not! Pumpkin puree is just cooked, mashed pumpkin. Pumpkin pie filling, on the other hand, contains added sugars and spices, and often has a thinner consistency. Using it would significantly alter the taste, texture, and sweetness of your cake, and it likely wouldn’t bake correctly. Always double-check the can label!
Q2: How do I know when my cake is truly done baking?
A: The best way is the **toothpick test**. Insert a wooden toothpick or a thin knife into the very center of the cake. If it comes out clean (without any wet batter clinging to it), your cake is done. If there are still wet crumbs or batter, continue baking for a few more minutes and test again. Don’t open the oven door too frequently during baking, especially in the first 20 minutes, as this can cause the cake to sink.
Q3: Can I make this Pumpkin Better Than Sex Cake ahead of time?
A: Yes, this cake is actually better when made ahead! Making it the day before allows all the flavors to meld beautifully and the liquid layers to fully absorb and set, resulting in an incredibly moist and flavorful cake. Just be sure to keep it covered in the refrigerator.
Q4: What if I don’t have a wooden spoon handle to poke holes?
A: No problem! You can use the tines of a large fork, a skewer, or even the blunt end of a chopstick. The goal is just to create enough openings for the condensed milk and caramel to seep into the cake, so any similar tool will work. Just make sure the holes are wide enough to allow for good absorption.
Q5: My cake turned out dry. What went wrong?
A: There are a few common culprits for a dry cake. The most likely cause is **overbaking**. Make sure to rely on the toothpick test rather than just the clock. Another reason could be **overmixing** the batter, which develops too much gluten and leads to a tougher, drier texture. Lastly, ensure you used the correct amounts of liquid (oil, water, pumpkin puree) as specified in the recipe.
Q6: Can I use homemade whipped cream instead of frozen whipped topping?
A: You certainly can! Homemade whipped cream (heavy cream whipped with a little sugar and vanilla) would be a delicious, fresh alternative. However, be aware that homemade whipped cream is less stable than frozen whipped topping and might not hold its shape as long, especially if the cake sits for an extended period. If using homemade, add it closer to serving time for the best results.
Ready to Indulge?
There you have it! The ultimate guide to making the most incredible Pumpkin Better Than Sex Cake Recipe. This dessert is a true crowd-pleaser, delivering on its promise of rich, moist, and unforgettable flavor. Don’t be intimidated by its fancy name; with our detailed instructions and baking tips for beginners, you’re set for success.
Whether you’re celebrating a holiday, hosting a dinner party, or simply craving a comforting fall treat, this cake is guaranteed to impress. So go ahead, gather your ingredients, and get ready to bake something truly magical. We promise, your taste buds (and your guests!) will thank you. Happy baking!