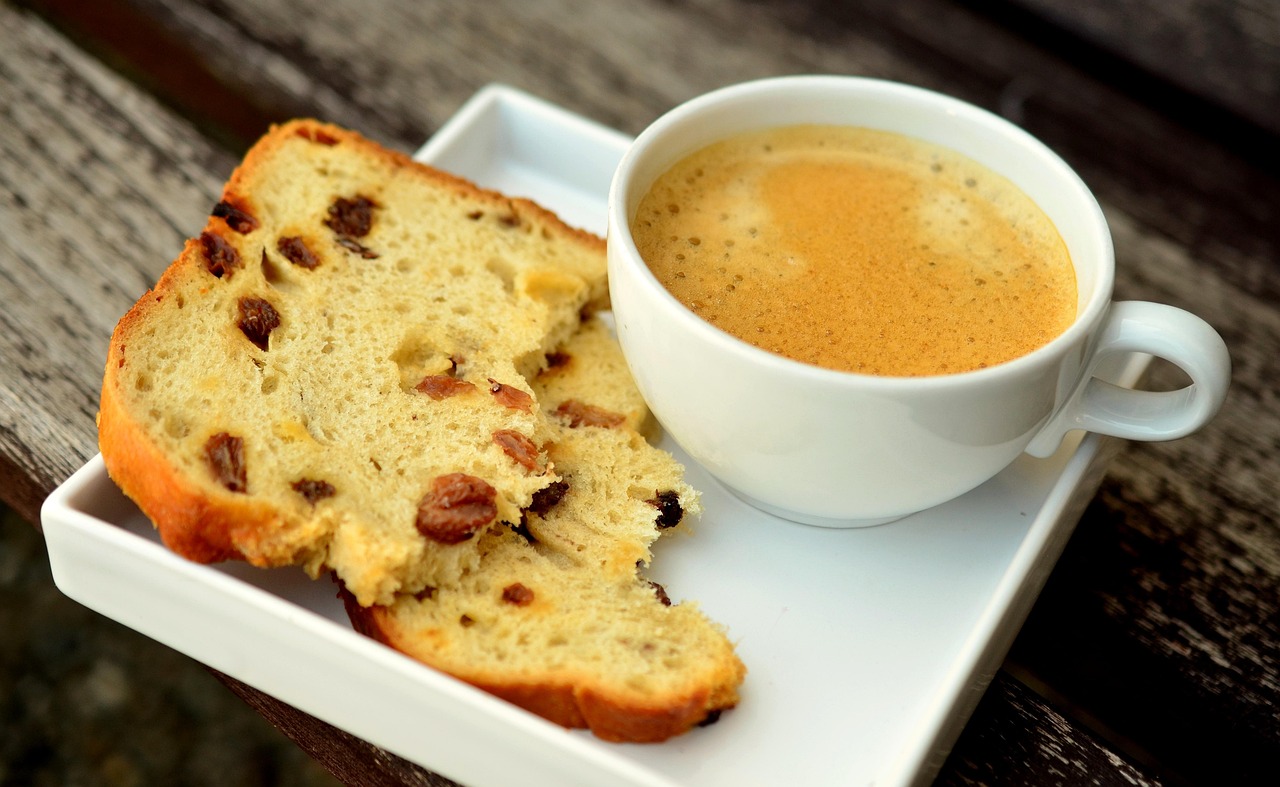

Using a breadmaker takes all the guesswork out of kneading and rising, letting you enjoy the therapeutic process without the heavy lifting. This sweet, tender raisin bread is perfect for breakfast toast, a delightful snack, or even a unique side dish. Get ready to impress yourself and your loved ones with this foolproof recipe!
Gather Your Ingredients: What You’ll Need
Precision is key in baking, so make sure to measure your ingredients carefully. We’ve laid them out in an easy-to-read table for your convenience.
Ingredients List (for a 1.5 lb loaf)
| Ingredient | Quantity | Unit |
|---|---|---|
| Warm Water (105-115°F / 40-46°C) | 1 | cup (240ml) |
| Unsalted Butter, melted | 2 | tablespoons |
| Granulated Sugar | 3 | tablespoons |
| Salt | 1 | teaspoon |
| Bread Flour | 3 | cups |
| Dry Milk Powder (optional, for softer crumb) | 2 | tablespoons |
| Active Dry Yeast or Instant Yeast | 2 | teaspoons |
| Raisins | ½ to ¾ | cup |
Beginner Tip: Ensure your water is warm, but not too hot, to activate the yeast without killing it. If it’s too cold, your bread won’t rise. Too hot, and the yeast dies!
Step-by-Step Instructions: Your Path to Perfect Raisin Bread
Follow these detailed steps to create a delicious loaf of raisin bread with your breadmaker. We’ve included plenty of advice for beginners to help you every step of the way!
Preparation is Key
- Prepare Your Breadmaker Pan: First things first, make sure your breadmaker pan is clean and dry. Remove the kneading paddle(s) from your breadmaker and ensure they are properly attached to the shaft at the bottom of the pan. This is crucial for proper kneading!
- Measure Your Liquids: Carefully measure your warm water. It should feel warm to the touch, like a baby’s bath, but not hot. Pour the measured water directly into the breadmaker pan. Next, melt your butter and add it to the water.
- Add Dry Ingredients (The Layering Method): This is important for breadmakers to prevent the yeast from prematurely activating or being killed by salt.
- Add the granulated sugar and salt on top of the liquid ingredients. Try to keep them separate from where the yeast will go.
- Next, spoon in your bread flour. Gently level it out to form a mound over the liquids. If you’re using dry milk powder, sprinkle it over the flour now. Do not stir!
- Create a small indentation (a “well”) in the center of the flour mound with your finger.
- Add the Yeast: Carefully measure your yeast and sprinkle it directly into the well you created in the flour. It’s essential that the yeast doesn’t come into direct contact with the water, salt, or sugar at this stage, as this can negatively impact its rising power.
- Add the Raisins: For most breadmaker models, it’s best to add the raisins at a specific time during the kneading cycle. Your breadmaker will typically beep to signal when it’s time for “add-ins.” If your breadmaker has an automatic dispenser, simply load the raisins into it. If not, wait for the beep (usually about 5-10 minutes into the first kneading cycle) and then add the raisins directly to the dough. Adding them too early can crush them and stain the dough, while adding them too late might not incorporate them evenly.
Setting Up Your Breadmaker
- Select the Right Cycle: Place the breadmaker pan back into the machine, ensuring it’s securely locked in place. Close the lid. Now, choose your breadmaker’s setting. For raisin bread, the “Sweet Bread” or “Sweet Dough” cycle is ideal, as it often has a longer rising time and sometimes a slightly different baking temperature suited for enriched doughs. If your machine doesn’t have a “Sweet Bread” setting, the “Basic” or “White Bread” setting will also work well.
- Choose Your Crust Color: Most breadmakers offer options for light, medium, or dark crust. For raisin bread, a “Medium” crust is usually perfect, providing a golden-brown finish without over-browning the raisins.
- Start the Machine: Press the “Start” button. Your breadmaker will now take over, mixing, kneading, rising, and baking your bread.
During the Process (and What to Look For)
- Monitor the Dough (Optional but Recommended for Beginners): During the first kneading cycle (usually within the first 10-15 minutes), you can carefully lift the lid to peek at the dough’s consistency.
- If the dough looks too dry and crumbly: Add water, one teaspoon at a time, until the dough forms a smooth, soft ball.
- If the dough looks too wet and sticky: Add bread flour, one teaspoon at a time, until it forms a smooth, soft ball that pulls away cleanly from the sides of the pan.
Beginner Warning: Avoid opening the lid once the rising cycles begin, as this can cause the dough to deflate and result in a dense loaf.
After Baking
- Remove the Loaf: Once the breadmaker beeps to signal the end of the baking cycle, carefully unplug the machine. Using oven mitts, remove the hot bread pan from the breadmaker.
- Cool on a Wire Rack: Immediately invert the bread pan onto a wire cooling rack. The loaf should slide out easily. If the kneading paddle(s) are stuck in the bottom of the bread, gently remove them with a non-scratch utensil once the bread has cooled slightly. Allowing the bread to cool completely on a wire rack for at least 1-2 hours (or longer!) is crucial. Slicing hot bread can make it gummy and dense. The cooling process allows the internal structure to set and the moisture to redistribute evenly.
- Slice and Enjoy: Once fully cooled, use a serrated bread knife to slice your homemade raisin bread. Enjoy it plain, toasted with butter, or with your favorite spread!
Tips & Tricks for Breadmaker Success
Elevate your breadmaking game with these handy tips and tricks, perfect for anyone venturing into the world of homemade bread.
- Always Check Your Yeast: Yeast is a living organism! If your bread doesn’t rise, old or inactive yeast is often the culprit. Before starting, you can proof your yeast by dissolving 1 teaspoon of sugar in ¼ cup of warm water (from your recipe’s total liquid). Sprinkle 2 teaspoons of yeast on top and let it sit for 5-10 minutes. If it becomes foamy, it’s active and ready to use!
- Measure Accurately: Especially with flour, avoid scooping directly from the bag with your measuring cup, as this compacts the flour. Instead, spoon flour into your measuring cup and level it off with a straight edge (like the back of a knife). Even better, measure by weight using a kitchen scale for ultimate precision.
- Room Temperature Ingredients: While breadmakers are more forgiving, using room temperature ingredients (especially liquids) can help the yeast activate more consistently and lead to a better rise and texture.
- Don’t Overload: Stick to the recommended quantities for your breadmaker’s capacity (1.5 lb or 2 lb loaf). Overloading can lead to a messy overflow and an underbaked loaf.
- Clean Your Machine: After each use, clean the bread pan and kneading paddle(s) thoroughly. Avoid abrasive cleaners that can damage the non-stick coating. A damp cloth is usually sufficient for the interior of the machine.
- Experiment with Add-ins: Once you master the basic recipe, try adding a teaspoon of cinnamon for Cinnamon Raisin Bread, a pinch of nutmeg, or even some chopped walnuts or pecans along with the raisins for extra texture and flavor. Just remember to add them at the “add-in” beep!
- Proper Storage: Store your cooled raisin bread in an airtight container or a bread bag at room temperature for up to 3-4 days. For longer storage, slice the bread and freeze it in a freezer-safe bag for up to 3 months. Toast slices directly from frozen for convenience.
Essential Baking Tools
While your breadmaker does most of the heavy lifting, a few basic tools will make your baking experience even smoother. Here are some essentials:
- Mixing Bowl (for preparing ingredients or proofing yeast)
- Whisk (for light mixing)
- Baking Pan (not strictly needed for breadmaker, but good for other baking projects)
- Measuring Cups & Measuring Spoons (for accurate ingredient measurement)
- Spatula (for scraping down bowls or removing paddle)
- A Kitchen Scale (highly recommended for precise flour measurement)
- Wire Cooling Rack (essential for cooling bread evenly)
- Serrated Bread Knife (for clean slices)
Nutrition Information (Estimated per slice, 1/16 of a 1.5 lb loaf)
Please note that these are approximate values and can vary based on specific ingredient brands and exact measurements.
| Nutrient | Amount |
|---|---|
| Calories | ~180 kcal |
| Carbohydrates | ~35g |
| Protein | ~6g |
| Fat | ~4g |
| Fiber | ~2g |
| Sugar | ~14g |
Frequently Asked Questions (FAQs)
Got questions? We’ve got answers, especially for new bakers!
-
My bread didn’t rise. What went wrong?
- This is a common issue for beginners! The most likely culprits are inactive yeast (check the expiration date or try proofing it), water that was too hot or too cold, or not enough sugar to feed the yeast. Ensure your yeast is fresh and your water temperature is just right (105-115°F / 40-46°C).
-
Can I use all-purpose flour instead of bread flour?
- While bread flour is recommended for its higher protein content, which gives bread a better structure and chew, you can use all-purpose flour. However, you might need to slightly adjust the liquid (usually a tablespoon or two less water) as all-purpose flour absorbs less liquid. The resulting texture might be a little less chewy and more tender.
-
What if my dough is too sticky or too dry during kneading?
- This is where monitoring during the first kneading cycle helps! If the dough is too sticky and doesn’t form a ball, add flour one teaspoon at a time until it’s pliable. If it’s too dry and crumbly, add water one teaspoon at a time until it comes together into a smooth ball. Make adjustments slowly!
-
Can I add other fruits or nuts?
- Absolutely! Feel free to experiment. Chopped dried cranberries, apricots, walnuts, or pecans are great additions. Just like the raisins, add them at the “add-in” beep or during the last 5-10 minutes of the first kneading cycle to ensure they are evenly distributed without being crushed.
-
My breadmaker doesn’t have a “Sweet Bread” setting. Which one should I use?
- If a “Sweet Bread” or “Sweet Dough” setting isn’t available, the “Basic” or “White Bread” cycle will work perfectly. These cycles are standard on all breadmakers and provide the necessary kneading, rising, and baking times for a delicious loaf.
-
How long does homemade raisin bread last?
- Homemade bread, without preservatives, generally lasts about 3-4 days at room temperature when stored in an airtight container or bread bag. For longer storage, slice and freeze the bread in a freezer-safe bag for up to 3 months. You can toast slices directly from frozen.
Your Homemade Raisin Bread Awaits!
Congratulations, future bread baker! You now have all the knowledge and detailed instructions to make a truly delightful loaf of raisin bread right in your breadmaker. This Raisin Bread Breadmaker Recipe isn’t just about baking; it’s about the joy of creating something wonderful with your own hands, filling your home with incredible aromas, and savoring every warm, sweet slice.
Don’t be afraid to dive in! Even if your first loaf isn’t perfect, every attempt is a step towards mastery. With these easy baking recipes and baking tips for beginners, you’re well on your way to becoming a confident home baker. So, grab your ingredients, fire up that breadmaker, and prepare for a truly rewarding baking experience. We can’t wait to hear about your delicious results!