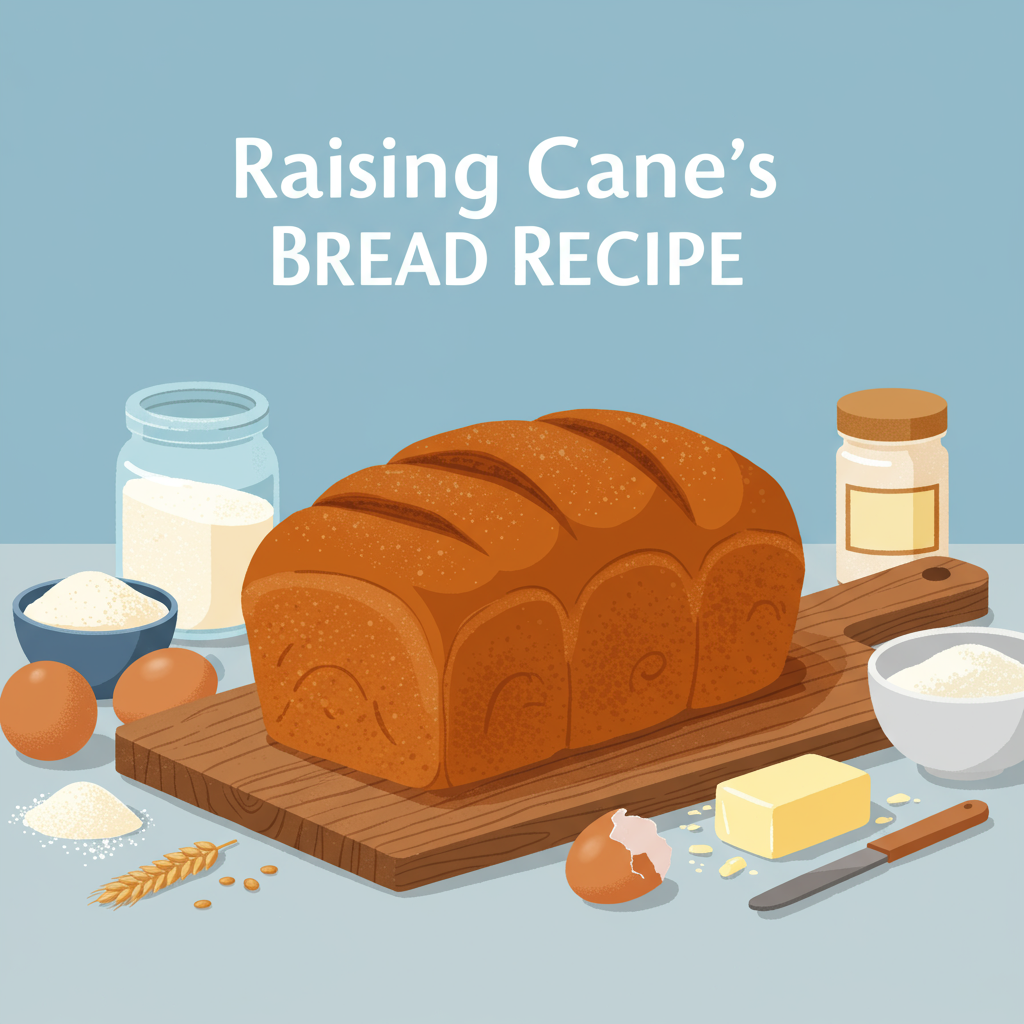
Ingredients List
Gather your simple ingredients, and let’s get ready to bake! For best results, use fresh ingredients.
| Ingredient | Quantity | Unit |
|---|---|---|
| All-Purpose Flour | 3.5 – 4 | cups |
| Active Dry Yeast | 2.25 | tsp |
| Granulated Sugar | 2 | tbsp |
| Salt | 1 | tsp |
| Warm Water (105-115°F / 40-46°C) | 1 | cup |
| Unsalted Butter (melted & cooled) | 3 | tbsp |
Step-by-Step Instructions: Your Beginner’s Guide to Homemade Bread
Follow these detailed steps carefully, and don’t be afraid to get a little flour on your hands!
1. Activate Your Yeast – The Foundation of Great Bread
- In a large mixing bowl, combine the warm water (around 105-115°F / 40-46°C – think warm bath water, not hot!) and granulated sugar.
- Sprinkle the active dry yeast evenly over the surface. Do not stir it in immediately.
- Let it sit undisturbed for 5-10 minutes. You should see a foamy, bubbly layer form on top, which indicates your yeast is alive and active. This is crucial! If it doesn’t foam, your water might have been too hot or too cold, or your yeast might be old. Start over with fresh yeast and correctly tempered water.
2. Combine the Dry Ingredients
- In a separate, medium-sized bowl, whisk together 3.5 cups of the all-purpose flour and the salt. Set aside.
- Beginner Tip: Whisking ensures the salt is evenly distributed, preventing pockets of overly salty bread.
3. Mix the Dough – Getting Your Hands Dirty (or Using a Mixer!)
- Once your yeast is frothy, add the melted and cooled unsalted butter to the yeast mixture. Stir gently.
- Gradually add the dry flour mixture to the wet ingredients, about a cup at a time, mixing with a wooden spoon or a sturdy spatula.
- Once it becomes too stiff to stir, turn the dough out onto a lightly floured surface.
- Alternative (Stand Mixer): If using a stand mixer, attach the dough hook. Add the flour mixture gradually on low speed until a shaggy dough forms.
4. Knead the Dough – Building Strength and Structure
- By Hand: Knead the dough for 8-10 minutes. Push the dough away from you with the heels of your hands, fold it back, rotate, and repeat. It might be sticky at first, but resist the urge to add too much extra flour. A little bit of stickiness is normal. As you knead, the dough will become smoother, more elastic, and less sticky.
- How to tell it’s ready: The dough should be smooth, pliable, and pass the “windowpane test.” To do this, gently stretch a small piece of dough. If you can stretch it thin enough to see light through it without tearing, your gluten is well-developed!
- With a Stand Mixer: Knead on medium-low speed for 6-8 minutes, or until the dough is smooth, elastic, and pulls away from the sides of the bowl. Perform the windowpane test. If it tears easily, knead for another minute or two.
5. First Rise (Bulk Fermentation) – Patience is a Virtue
- Lightly grease a large clean bowl with a little oil.
- Place the kneaded dough into the bowl, turning it once to coat the entire surface with oil. This prevents it from drying out.
- Cover the bowl tightly with plastic wrap or a clean kitchen towel.
- Place the bowl in a warm, draft-free spot. An oven with just the light on (not heated!) is a great option, or a microwave with a cup of hot water next to it.
- Let the dough rise for 1 to 1.5 hours, or until it has doubled in size. This process is called bulk fermentation, and it allows the yeast to produce gases, giving the bread its airy texture.
6. Shape Your Loaf – The Art of Presentation
- Once doubled, gently punch down the dough to release the air. This helps create a finer, more even crumb.
- Turn the dough out onto a lightly floured surface.
- Gently flatten the dough into a rectangle, roughly the length of your loaf pan.
- Starting from one of the longer sides, roll the dough tightly into a log.
- Pinch the seam closed along the bottom and tuck the ends under to create a neat loaf shape.
- Lightly grease your 9×5 inch loaf pan.
- Carefully place the shaped loaf, seam-side down, into the prepared pan.
7. Second Rise (Proofing) – The Final Ascent
- Cover the loaf pan loosely with plastic wrap or a clean kitchen towel.
- Return the pan to your warm, draft-free spot for another 30-45 minutes, or until the dough has risen about 1 inch above the rim of the pan. Be careful not to over-proof, as this can cause the bread to collapse in the oven. It should look puffy and feel light.
- Preheat your oven to 375°F (190°C) during the last 15 minutes of this rise.
8. Bake to Golden Perfection
- Once your oven is preheated and your loaf has risen beautifully, carefully place the loaf pan into the center of the preheated oven.
- Bake for 30-35 minutes.
- About halfway through baking (around 15-20 minutes), if the top is browning too quickly, you can loosely tent the loaf with aluminum foil to prevent over-browning.
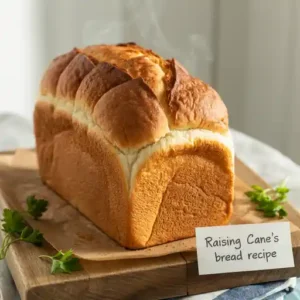
- The bread is done when it’s a beautiful golden brown on top and, when tapped on the bottom, sounds hollow. For absolute certainty, an instant-read thermometer inserted into the center of the loaf should read between 200-210°F (93-99°C).
9. Cool and Enjoy – The Hardest Part is Waiting!
- Remove the loaf pan from the oven.
- Immediately turn the bread out of the pan onto a wire cooling rack. This is crucial to prevent the bottom from becoming soggy.
- Allow the bread to cool completely for at least 1-2 hours before slicing. Slicing hot bread can result in a gummy texture.
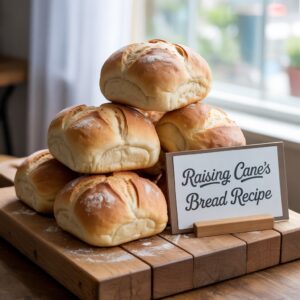
- Once cool, slice and enjoy your homemade Raising Cane’S Bread Recipe! It’s perfect for sandwiches, toast, or, of course, turning into authentic Texas Toast.
Tips & Tricks for Beginner Bakers
Mastering bread takes practice, but these pointers will set you up for success with your easy baking recipes:
- Yeast Check: Always check your yeast’s expiration date. If in doubt, proof it first with warm water and a pinch of sugar. If it doesn’t foam, it’s dead, and your bread won’t rise.
- Measure Flour Correctly: Don’t scoop flour directly from the bag. Instead, spoon flour into your measuring cup until overflowing, then level it off with a straight edge. This prevents adding too much flour, which leads to dry, dense bread.
- Creating a Warm Rising Environment: If your kitchen is cool, place your covered dough in an oven (turned off!) with just the light on, or in a microwave with a cup of hot water. Both create a cozy, warm spot for yeast to thrive.
- Don’t Rush the Rise: Rising times are estimates. Always go by how the dough looks (doubled in size) rather than strictly by the clock. A slow rise often leads to better flavor and texture.
- Know When It’s Done: An internal temperature of 200-210°F (93-99°C) is the most accurate indicator that your bread is fully baked, in addition to a golden crust and hollow sound when tapped.
- Storage: Store cooled homemade bread at room temperature in an airtight container or bread bag for 3-4 days. For longer storage, slice the bread and freeze it in a freezer-safe bag for up to 3 months.
- Transform into Texas Toast: To get that authentic Raising Cane’s experience, slice your cooled bread thickly. Spread generously with a mixture of softened butter, garlic powder, and a pinch of salt. Grill in a pan or toast until golden brown and crispy on the edges, soft in the middle.
Essential Baking Tools
Having the right tools makes all the difference, especially when you’re starting your baking journey. Here are a few essentials:
- Mixing Bowl
- Whisk
- Baking Pan (9×5 inch loaf pan)
- Measuring Cups & Spoons
- Spatula (or wooden spoon)
- Wire Cooling Rack
- Instant-Read Thermometer (optional, but recommended for accuracy)
Nutrition Information (Estimated)
Here’s an estimated nutritional breakdown per slice (assuming 12 slices per loaf). Please note these are approximate values and can vary based on specific ingredient brands and preparation.
| Nutrient | Amount (per slice) |
|---|---|
| Calories | 140 kcal |
| Carbohydrates | 25 g |
| Protein | 4 g |
| Fat | 3 g |
| Fiber | 1 g |
| Sugar | 2 g |
Frequently Asked Questions (FAQs)
Baking can sometimes throw curveballs, especially for beginners. Here are answers to some common questions:
- Q: My yeast didn’t foam, what happened?
- A: Your water might have been too hot (killing the yeast) or too cold (not activating it). Or, your yeast might be old and no longer active. Always check the water temperature (105-115°F is ideal) and ensure your yeast is fresh.
- Q: Why is my dough so sticky/dry?
- A: Dough consistency can vary slightly due to humidity or how you measured your flour. If too sticky, add a tablespoon of flour at a time until manageable. If too dry and stiff, add a teaspoon of warm water until it comes together. Avoid adding too much of either, as it can drastically change the final texture.
- Q: How do I know if my bread is fully baked?
- A: The top should be golden brown, and when you tap the bottom of the loaf, it should sound hollow. For the most accurate reading, an instant-read thermometer inserted into the center of the loaf should read between 200-210°F (93-99°C).
- Q: Can I use different types of flour, like whole wheat?
- A: While you can substitute flours, it’s not recommended for this beginner recipe. Whole wheat flour absorbs more liquid and has less gluten, which will significantly change the dough’s texture and rising time. Stick to all-purpose flour for consistent, beginner-friendly results.
- Q: My bread didn’t rise much. What went wrong?
- A: This is usually due to inactive yeast (see FAQ 1) or a too-cold environment. Ensure your rising spot is warm and draft-free. Sometimes, dough can also be over-proofed, causing it to rise then collapse.
- Q: How can I make my bread extra soft?
- A: For a softer crumb, ensure you knead thoroughly to develop gluten, which creates a light texture. Also, covering the bread immediately after removing it from the oven with a clean kitchen towel for the first 10-15 minutes of cooling can trap steam and soften the crust.
Conclusion: Your Homemade Bread Journey Begins!
There you have it – your very own homemade Raising Cane’S Bread Recipe! From activating yeast to achieving that perfect golden crust, you’ve now mastered the art of baking a delicious, comforting loaf. This isn’t just bread; it’s a testament to your newfound baking skills. Slice it thick, slather it with garlic butter for that authentic Texas Toast experience, or simply enjoy it with your favorite meal. Don’t be afraid to experiment and make this recipe your own. We’re confident that with these easy baking recipes and baking tips for beginners, you’ll be baking like a pro in no time. Happy baking, and we can’t wait to hear about your successful loaves in the comments below!
“`