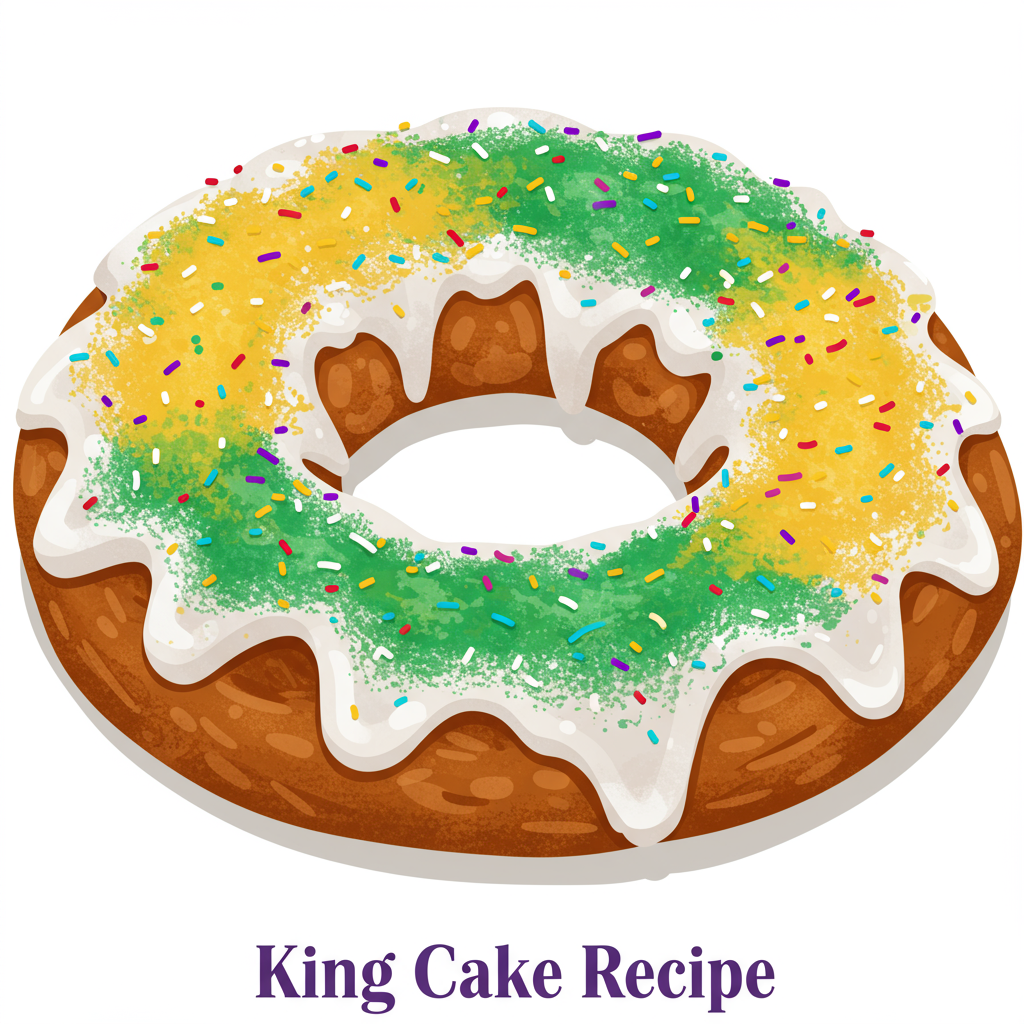
There’s something truly magical about Mardi Gras, and at the heart of its culinary traditions lies the magnificent King Cake. While many famous bakeries have their own legendary versions, few are as revered as Randazzo’s. Today,
we’re going to dive into recreating a delightful version of the iconic Randazzo’S King Cake Recipe right in your own kitchen! Don’t let the idea of baking yeast dough intimidate you; this guide is packed with baking tips for beginners and designed to be one of the most easy baking recipes you’ll ever tackle. We’ll walk you through every step, ensuring your first foray into King Cake baking is a resounding success. Get ready to impress your friends and family with this vibrant, sweet, and utterly delicious Mardi Gras staple. Let’s get baking!
Randazzo’s King Cake Recipe
Ingredients List
| Ingredient | Quantity | Unit |
|---|---|---|
| For the Dough: | ||
| All-purpose flour | 4 | cups (plus more for dusting) |
| Granulated sugar | 1/2 | cup |
| Active dry yeast | 2 1/4 | teaspoons (one packet) |
| Salt | 1 | teaspoon |
| Warm whole milk (105-115°F / 40-46°C) | 1 | cup |
| Large eggs, at room temperature | 2 | |
| Unsalted butter, melted and cooled slightly | 1/2 | cup (1 stick) |
| Vanilla extract | 1 | teaspoon |
| For the Cinnamon Sugar Filling: | ||
| Light brown sugar, packed | 1/2 | cup |
| Ground cinnamon | 2 | teaspoons |
| Unsalted butter, melted | 4 | tablespoons (1/4 cup) |
| For the Icing & Decoration: | ||
| Powdered sugar | 2 | cups |
| Milk or heavy cream | 3-4 | tablespoons |
| Vanilla extract | 1/2 | teaspoon |
| Food coloring (Purple, Green, Gold/Yellow) | (gel food coloring recommended) | |
| Optional: | ||
| Small plastic baby (clean and food-safe) | 1 | |
Step-by-Step Instructions: Your Beginner’s Guide to King Cake
Baking a King Cake might seem daunting, but with these detailed, beginner-friendly steps, you’ll be a pro in no time! Read through everything once before you start.
Step 1: Activate Your Yeast – The Magic Starter
- In a large mixing bowl (or the bowl of your stand mixer), combine the warm whole milk (ensure it’s between 105-115°F, like warm bathwater, not hot coffee!), 1 tablespoon of the granulated sugar, and the active dry yeast.
- Beginner Tip: If the milk is too hot, it will kill the yeast; too cold, it won’t activate. Use a kitchen thermometer if you’re unsure.
- Stir gently and let it sit for 5-10 minutes. You should see a foamy layer form on top – this means your yeast is active and ready to work! If it doesn’t foam, your yeast might be old or the water temperature was off. Start over with fresh yeast.
Step 2: Prepare the Dough – Kneading to Perfection
- Once your yeast is foamy, add the remaining **granulated sugar**, **salt**, **eggs**, **melted and cooled butter**, and **vanilla extract** to the bowl. Whisk everything together until well combined.
- Gradually add the **all-purpose flour**, one cup at a time, mixing until a shaggy dough forms.
- **If using a stand mixer:** Attach the dough hook. Knead on low speed for 8-10 minutes. The dough will be sticky at first, but it should pull away from the sides of the bowl and become smooth and elastic.
- **If kneading by hand:** Turn the dough out onto a lightly floured surface. Knead for 10-15 minutes. Push the dough away from you with the heels of your hands, then fold it back over, turn, and repeat. Continue until the dough is smooth, elastic, and springs back when gently poked. Avoid adding too much extra flour, as this can make your cake dry.
- Lightly grease a clean large bowl with a little oil or non-stick spray. Place the dough in the bowl, turning it once to coat the top.
Step 3: First Rise – Let the Dough Work its Magic
- Cover the bowl tightly with plastic wrap or a clean kitchen towel.
- Place the bowl in a warm, draft-free spot. This could be a slightly warm oven (turned off!), near a sunny window, or on top of your refrigerator.
- Let the dough rise for 1 to 1.5 hours, or until it has **doubled in size**.
- **Beginner Tip:** Patience is key here! Don’t try to rush the rising process. A slow, steady rise creates a better texture and flavor.
Step 4: Prepare the Cinnamon Sugar Filling
- While the dough is rising, prepare your filling. In a small bowl, combine the **melted butter**, **brown sugar**, and **ground cinnamon**. Stir until it forms a thick paste. Set aside.
Step 5: Assemble Your King Cake – The Oval Shape
- Once the dough has doubled, gently punch it down to release the air.
- Lightly flour your work surface. Turn the dough out and roll it into a large rectangle, approximately 18×12 inches.
- Spread the **cinnamon sugar filling** evenly over the entire surface of the dough, leaving a small border (about 1/2 inch) along one long edge.
- Starting from the long edge opposite the border, carefully roll the dough into a tight log.
- **Beginner Tip:** Take your time when rolling the log to ensure it’s tight and even. This helps prevent the filling from escaping during baking.
- Carefully bring the ends of the log together to form an oval or ring shape, pinching the ends firmly to seal them.
- Transfer the shaped dough to a large baking sheet lined with parchment paper.
- **Optional: Hiding the Baby!** Traditionally, the small plastic baby is inserted into the cake. For food safety, we recommend inserting the baby into the cake from the underside *after* it has baked and cooled slightly, but before icing. If you prefer the traditional way, carefully push the baby into the underside of the dough at this stage, ensuring it’s fully enclosed.
Step 6: Second Rise – A Final Puff
- Cover the King Cake loosely with plastic wrap or a clean kitchen towel.
- Let it rise again in a warm, draft-free place for another 30-45 minutes, or until noticeably puffy. It won’t quite double in size again, but it should look light and airy.
- Preheat your oven to 350°F (175°C) towards the end of the second rise.
Step 7: Bake to Golden Perfection
- Bake the King Cake in your preheated oven for 25-35 minutes, or until it’s golden brown on top and cooked through.
- **Beginner Tip:** If the top starts to brown too quickly, you can loosely tent it with aluminum foil. To check for doneness, you can insert a wooden skewer into the thickest part; it should come out clean.
- Remove the cake from the oven and let it cool completely on the baking sheet set on a wire rack. **This is crucial!** Icing a warm cake will cause the icing to melt and run off.
Step 8: Mix Up the Icing
- In a medium bowl, whisk together the **powdered sugar**, **3 tablespoons of milk/cream**, and **vanilla extract** until smooth.
- Add more milk/cream, 1 teaspoon at a time, until you reach a thick but pourable consistency. You want it to be thick enough to hold its shape a bit, but still able to drizzle.
- Divide the icing into three small bowls. Add a few drops of purple food coloring to one, green to another, and gold/yellow to the third. Mix each color thoroughly.
Step 9: Decorate Your Masterpiece!
- Once the King Cake is completely cool, drizzle the white (uncolored) icing generously over the entire cake. Let it set for a few minutes.
- Then, using a spoon or a piping bag with a small hole cut in the tip, drizzle alternating stripes of purple, green, and gold icing over the white base. Get creative with your patterns!
- Allow the icing to set for at least 30 minutes before serving.
- **Beginner Tip:** If your icing gets too stiff while decorating, add a tiny drop of milk and stir. If it’s too thin, add a little more powdered sugar.
Tips & Tricks for King Cake Success
- Mind the Temperature: When working with yeast, temperature is your best friend (or worst enemy!). Ensure your milk is warm (105-115°F) but never hot. Room temperature ingredients for the dough (eggs, butter if not melted) also help ensure even mixing and a tender crumb.
- Don’t Over-Flour: When kneading or rolling, resist the urge to add excessive flour. Too much flour will result in a dry, tough King Cake. Add just enough to prevent sticking.
- Patience is a Virtue: Dough rising takes time. Don’t try to rush it by placing it in an overly hot spot. A slow, steady rise yields the best texture and flavor. If your kitchen is cold, warm your oven to its lowest setting for a few minutes, then turn it off and let the dough rise inside.
- Invest in an Oven Thermometer: Oven temperatures can vary greatly. An inexpensive oven thermometer will ensure your oven is truly at the temperature you set, preventing over or under-baking.
- Cool Completely: This cannot be stressed enough! Icing a warm cake will cause the beautiful colors to melt and run, creating a messy rather than festive look. Give it ample time to cool.
- Storage Savvy: Store leftover King Cake in an airtight container at room temperature for 1-2 days, or in the refrigerator for up to 5 days. It’s best enjoyed fresh!
- Even Rolling: For an evenly baked and beautiful cake, use a ruler to help you roll your dough into a consistent rectangle before spreading the filling.
Essential Baking Tools
Having the right tools makes all the difference, especially for beginners!
- Mixing Bowl (large for dough, smaller for filling/icing)
- Whisk (for yeast and icing)
- Baking Sheet (for baking the cake)
- Measuring Cups & Measuring Spoons (for accurate ingredient amounts)
- Spatula (for spreading filling and scraping bowls)
- Rolling Pin
- Kitchen Thermometer (for milk temperature)
- Parchment Paper
Nutrition Information (Estimated per serving, 1/12th of cake)
Please note: These are estimated values and can vary based on specific ingredients and preparation methods.
| Nutrient | Amount |
|---|---|
| Calories | ~380 kcal |
| Carbohydrates | ~65g |
| Protein | ~7g |
| Fat | ~18g |
| Fiber | ~1g |
| Sugar | ~35g |
Frequently Asked Questions (FAQs)
Q1: My dough isn’t rising, what went wrong?
The most common reasons for dough not rising are inactive yeast or incorrect liquid temperature. Ensure your yeast is fresh (check the expiration date!) and your milk is between 105-115°F (warm bathwater, not hot coffee). Also, make sure your rising spot is warm and draft-free. Patience is key; sometimes it just needs a little more time!
Q2: Can I make this King Cake ahead of time?
Yes! You can prepare the dough up to the first rise. After the first rise, punch it down, shape it into the log, but instead of the second rise, cover it tightly with plastic wrap and refrigerate overnight (up to 24 hours). The next day, let it come to room temperature (about 1-2 hours) before proceeding with the second rise and baking. You can also bake the cake a day ahead and store it un-iced, then ice it just before serving.
Q3: What if I don’t have a stand mixer?
No problem! This recipe can absolutely be made by hand. Just be prepared for a good arm workout! After combining ingredients, turn the dough out onto a lightly floured surface and knead for 10-15 minutes until it’s smooth and elastic. It’s a very satisfying process!
Q4: How do I hide the baby in the King Cake?
For food safety, we recommend inserting the clean plastic baby into the underside of the cake *after* it has baked and cooled slightly, but before you apply the icing. Simply push it into the soft dough from the bottom. Traditionally, it’s placed before the second rise, but inserting it after baking ensures it’s not exposed to high heat.
Q5: Can I use a different filling for my King Cake?
Absolutely! While cinnamon sugar is classic, you can get creative. Popular alternatives include cream cheese filling (softened cream cheese, powdered sugar, vanilla), pecan praline, or even fruit fillings. Just ensure any wet fillings are thick enough not to make the dough soggy.
Q6: How do I store leftover King Cake?
Store any leftover King Cake in an airtight container at room temperature for up to 1-2 days. If you need to keep it longer, refrigerate it for up to 5 days. For best freshness, warm refrigerated slices slightly before serving.
Conclusion: Celebrate with Your Homemade King Cake!
Congratulations, baker! You’ve just created a stunning, festive, and utterly delicious King Cake, reminiscent of the legendary Randazzo’s. This **easy baking recipe** has hopefully demystified yeast baking and shown you that with a little patience and these **baking tips for beginners**, you can achieve incredible results. There’s immense joy in sharing something you’ve made with your own hands, and this King Cake is sure to bring smiles and good cheer to any Mardi Gras celebration (or just a regular Tuesday!). Don’t forget to share your creations with us, and happy baking!
“`