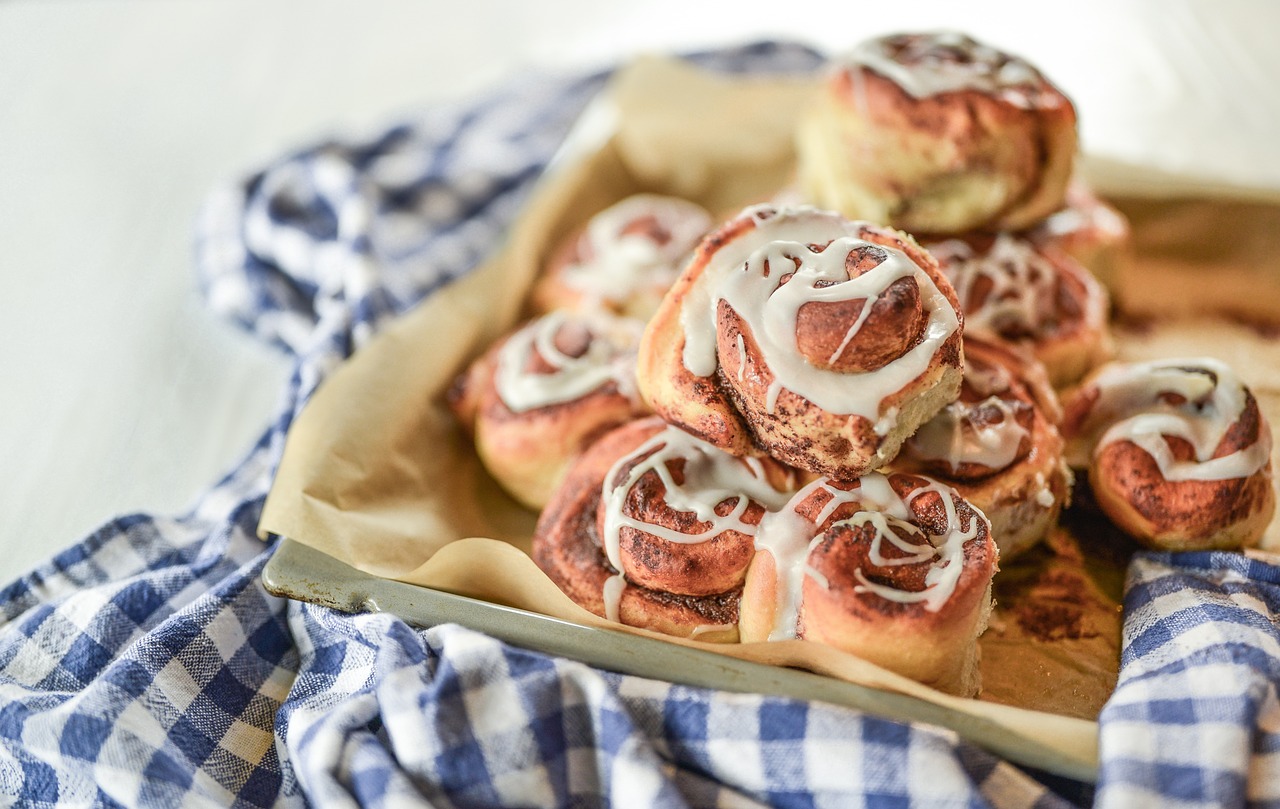
There’s nothing quite like the aroma of freshly baked cinnamon rolls wafting through your home on a lazy weekend morning. The soft, pillowy dough, the gooey cinnamon sugar filling, and that luscious cream cheese frosting… pure bliss! If the thought of baking from scratch has always felt a little intimidating, fear not! This incredible Recipe Bread Machine Cinnamon Rolls guide is designed to make your baking dreams a delicious reality. We’re going to leverage the magic of your bread machine to handle all the hard work of kneading and rising, making this one of the most easy baking recipes you’ll ever try.

Perfect for beginners and seasoned bakers alike, we’ll walk you through every step with plenty of baking tips for beginners to ensure your success. Get ready to impress your family and friends with these irresistible treats, straight from your own kitchen!
Ingredients You’ll Need
Gather your ingredients, ideally at room temperature, for the best results. This makes them easier to incorporate and helps the dough rise beautifully.
For the Dough:
| Quantity | Unit | Ingredient |
|---|---|---|
| 1 | cup | Warm Milk (105-115°F / 40-46°C) |
| 1/4 | cup | Granulated Sugar |
| 1/4 | cup | Unsalted Butter, melted |
| 1 | large | Egg, lightly beaten |
| 1/2 | teaspoon | Salt |
| 3 | cups | All-Purpose Flour |
| 2 1/4 | teaspoons | Active Dry Yeast (or 1 packet) |
For the Cinnamon Filling:
| Quantity | Unit | Ingredient |
|---|---|---|
| 1/2 | cup | Unsalted Butter, softened |
| 1/2 | cup | Packed Light Brown Sugar |
| 1 1/2 | tablespoons | Ground Cinnamon |
For the Cream Cheese Glaze:
| Quantity | Unit | Ingredient |
|---|---|---|
| 4 | ounces | Cream Cheese, softened |
| 1/4 | cup | Unsalted Butter, softened |
| 1 1/2 | cups | Powdered Sugar (Confectioners’ Sugar) |
| 1/2 | teaspoon | Vanilla Extract |
| 1-2 | tablespoons | Milk (or Cream), as needed for consistency |
Step-by-Step Instructions: Your Path to Cinnamon Roll Perfection
Follow these detailed steps, and you’ll be enjoying warm, gooey cinnamon rolls in no time! Remember, baking is an art, but it’s also a science – so try to be as precise as possible, especially with measurements.
Step 1: Making the Dough in Your Bread Machine
- Add Liquids First: Begin by pouring the warm milk (ensure it’s not too hot, or it will kill the yeast!) into your bread machine pan. Follow with the melted butter and the lightly beaten egg.
- Add Dry Ingredients (Except Yeast): Next, add the granulated sugar, salt, and all-purpose flour. Create a small well in the center of the flour, but don’t let it touch the liquids yet.
- Add the Yeast: Carefully place the active dry yeast into the well. This separation prevents the yeast from activating too early or coming into direct contact with the salt, which can inhibit its activity.
- Set Your Bread Machine: Place the pan into your bread machine. Select the “Dough” or “Dough Cycle” setting. This cycle typically lasts around 1.5 to 2 hours, which includes kneading and the first rise.
- Monitor the Dough (Beginner Tip!): About 5-10 minutes into the kneading cycle, check the dough. It should form a smooth, elastic ball. If it’s too sticky (clinging to the sides), add a tablespoon of flour at a time until it cleans the sides of the pan. If it looks too dry and crumbly, add a teaspoon of warm milk until it comes together. This quick adjustment can make a huge difference!
- Let it Finish: Allow the bread machine to complete its cycle. The dough should have doubled in size, feeling soft and puffy.
Step 2: Preparing the Cinnamon Filling
- Soften Butter: In a small bowl, combine the softened unsalted butter, packed light brown sugar, and ground cinnamon.
- Mix Thoroughly: Use a fork or a small spatula to mix until all ingredients are well combined and form a smooth, spreadable paste. Set aside.
Step 3: Shaping Your Cinnamon Rolls
- Prepare Your Workspace: Lightly flour a clean countertop or a large pastry mat. This prevents the dough from sticking.
- Remove and Roll Dough: Gently punch down the risen dough to release the air. Transfer it from the bread machine pan to your floured surface. Using a rolling pin, roll the dough into a large rectangle, approximately 18×12 inches (45×30 cm). Aim for an even thickness across the entire rectangle.
- Spread the Filling: Evenly spread the cinnamon filling mixture over the entire surface of the dough, leaving about a 1/2-inch border along one of the long edges clean. This clean edge will help seal the roll.
- Roll it Up: Starting from one of the long edges (the one *with* the filling all the way to the edge), carefully and tightly roll the dough into a log. The tighter you roll, the better your spirals will look and hold together.
- Seal the Seam: Once rolled, pinch the seam along the clean edge to seal the log securely. Place the log seam-side down.
- Slice the Rolls (Beginner Tip!): For perfectly shaped rolls, use a piece of unflavored dental floss! Slide a piece of floss (about 18 inches long) under the log. Cross the ends over the top and pull to slice through the dough. This creates clean cuts without squishing the dough. Alternatively, a sharp, un-serrated knife works well if you slice with a gentle, sawing motion. Cut the log into 12 equal pieces, about 1.5 inches thick each.
Step 4: The Second Rise
- Prepare Baking Pan: Lightly grease a 9×13 inch baking pan (or a similar sized round pan).
- Arrange Rolls: Place the sliced cinnamon rolls into the prepared baking pan, leaving a little space between each roll as they will expand.
- Second Rise (Proofing): Cover the pan loosely with plastic wrap or a clean kitchen towel. Place it in a warm, draft-free spot for 30-60 minutes, or until the rolls have visibly puffed up and are touching each other. A slightly warm (turned off) oven is an excellent spot for this!
Step 5: Baking Your Cinnamon Rolls
- Preheat Oven: While the rolls are completing their second rise, preheat your oven to 375°F (190°C).
- Bake: Once the rolls have risen, remove the cover and place the pan in the preheated oven. Bake for 20-25 minutes, or until the tops are golden brown and the rolls are cooked through. If they start browning too quickly, you can loosely tent them with aluminum foil.
- Cool Slightly: Remove the pan from the oven and let the rolls cool in the pan for about 5-10 minutes while you prepare the glaze. This slightly cooling period helps them set but keeps them warm for absorbing the glaze.
Step 6: Making and Applying the Cream Cheese Glaze
- Combine Glaze Ingredients: In a medium bowl, combine the softened cream cheese, softened butter, powdered sugar, and vanilla extract.
- Mix Until Smooth: Using an electric mixer (or a whisk and some elbow grease), beat the ingredients together until smooth and creamy.
- Adjust Consistency: If the glaze is too thick, add milk or cream one tablespoon at a time until it reaches your desired pourable, yet thick, consistency. If it’s too thin, add a little more powdered sugar.
- Glaze the Warm Rolls: Generously spread or drizzle the cream cheese glaze over the warm (but not piping hot) cinnamon rolls. The warmth of the rolls will allow the glaze to melt slightly and seep into all the nooks and crannies.
- Serve Immediately: Serve your homemade cinnamon rolls warm and enjoy every heavenly bite!
Tips & Tricks for Beginner Bakers
Mastering yeast baking can seem daunting, but these simple tips will set you up for success with your **Recipe Bread Machine Cinnamon Rolls**:
- Yeast is Alive! Ensure your milk is the correct temperature (105-115°F / 40-46°C). Too cold, and the yeast won’t activate; too hot, and it will die. This is crucial for a good rise.
- Accurate Flour Measurement: Don’t scoop flour directly from the bag with your measuring cup. Instead, spoon flour into your measuring cup and then level it off with a straight edge. This prevents compacting and using too much flour, which can lead to dry, dense rolls.
- Room Temperature Ingredients: For the best dough and glaze consistency, bring your butter, egg, and cream cheese to room temperature before you begin. This helps them incorporate smoothly.
- Don’t Overbake: Overbaking is the enemy of soft cinnamon rolls. Keep an eye on them; they should be golden brown, not dark brown. A slight jiggle in the center is okay, as they will continue to cook slightly after removal from the oven.
- Warm Place for Rising: Yeast loves warmth! If your kitchen is cool, try placing your covered rolls in a slightly warm (turned off) oven with the light on, or near a sunny window.
- Even Slicing Matters: Uniformly sized rolls will bake more evenly. Take your time during the slicing step to ensure consistent thickness.
Essential Baking Tools
Having the right tools makes any baking project smoother and more enjoyable. Here are a few essentials for making these delightful cinnamon rolls:
- Mixing Bowl (for the filling and glaze)
- Whisk (for the glaze)
- Baking Pan (9×13 inch or similar)
- Measuring Cups & Spoons (for precise ingredient amounts)
- Spatula (for spreading filling and mixing glaze)
- Rolling Pin (for shaping the dough)
- Bread Machine (the star of this recipe!)
Nutrition Information (Estimated per Roll)
Please note: These are estimated nutritional values and can vary based on specific ingredient brands and preparation methods. This calculation assumes 12 rolls per recipe.
| Nutrient | Amount |
|---|---|
| Calories | ~380 kcal |
| Carbohydrates | ~55g |
| Protein | ~7g |
| Fat | ~17g |
| Fiber | ~2g |
| Sugar | ~30g |
Frequently Asked Questions for Beginners
Q: Can I prepare these cinnamon rolls ahead of time?
A: Absolutely! After placing the sliced rolls in the baking pan (Step 4), cover them tightly with plastic wrap and refrigerate overnight (up to 12 hours). In the morning, take them out of the fridge and let them come to room temperature and rise in a warm spot for about 1-1.5 hours before baking as directed. This is a fantastic trick for fresh morning treats!
Q: Why didn’t my dough rise in the bread machine?
A: The most common culprits are either expired yeast, milk that was too hot (killing the yeast), or milk that was too cold (not activating the yeast). Ensure your yeast is fresh, and check the milk temperature with a thermometer. Also, make sure your bread machine’s “Dough” cycle actually includes a rise time.
Q: My rolls turned out dry and tough. What went wrong?
A: This usually happens due to too much flour or overbaking. Ensure you’re measuring your flour correctly (spoon and level method), and keep an eye on the rolls in the oven. They should be golden brown, not dark brown. A soft interior indicates they are perfectly baked.
Q: Can I use different types of milk?
A: Yes, whole milk typically yields the richest, softest rolls, but 2% or even non-dairy milks like almond or soy milk can work. Just be aware that the texture might vary slightly. Avoid skim milk if possible, as the fat content contributes to tenderness.
Q: How do I store leftover cinnamon rolls?
A: Store leftover cinnamon rolls in an airtight container at room temperature for up to 2-3 days, or in the refrigerator for up to 5 days. You can gently reheat them in the microwave for 15-30 seconds, or in a preheated oven at 300°F (150°C) for 5-10 minutes, to bring back that fresh-baked warmth and gooeyness.
Your Sweet Success Awaits!
Congratulations, future master baker! You’ve just unlocked the secret to creating incredible, homemade cinnamon rolls with the help of your trusty bread machine. This Recipe Bread Machine Cinnamon Rolls is more than just a recipe; it’s a gateway to joyful baking, proving that even the most decadent treats can be accessible to everyone, including beginners. Don’t be afraid to experiment a little, and most importantly, enjoy the process! The smell alone is half the reward. So go ahead, whip up a batch, share them with loved ones, and savor the sweet satisfaction of baking success. We can’t wait to hear about your delicious creations!