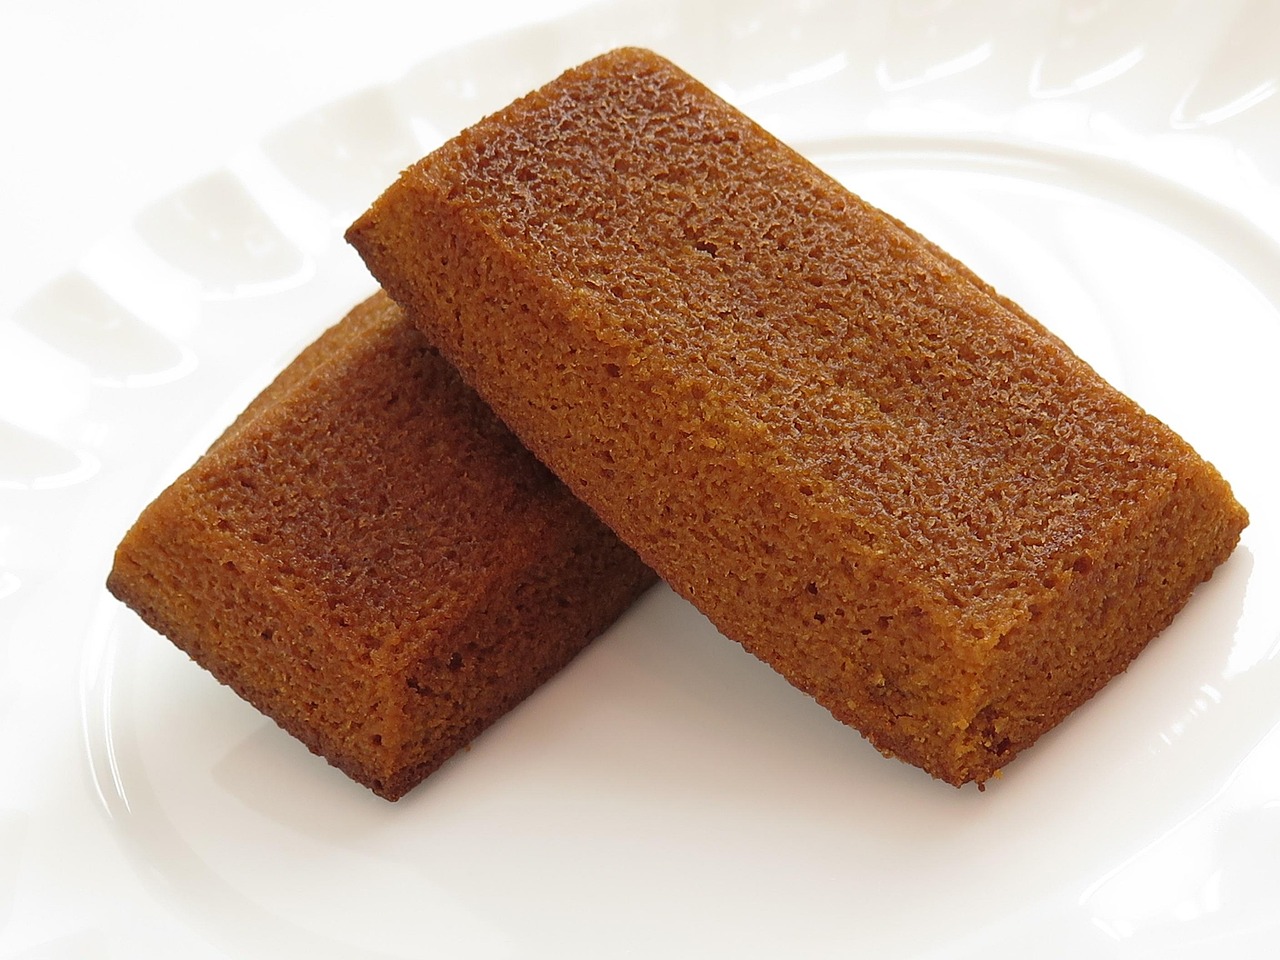
Welcome, fellow baking enthusiasts (and nervous first-timers)! If you’ve been searching for an easy baking recipe that delivers incredible flavor with minimal fuss, you’ve just struck gold. This Recipe For Almond Butter Cake is a game-changer – it’s moist, tender, bursting with nutty almond goodness, and surprisingly simple to master, even if your baking experience is limited to toasting bread.
We’re going to walk through every single step, offering all the best baking tips for beginners to ensure your first (or hundredth!) almond butter cake turns out perfectly. Get ready to impress yourself and everyone lucky enough to get a slice of this delightful creation!
Why You’ll Love This Almond Butter Cake
- Incredibly Moist: The almond butter adds a richness and moisture that makes this cake irresistible.
- Simple Ingredients: You likely have most of these staples in your pantry already.
- Beginner-Friendly: Detailed instructions mean no guesswork, just delicious results.
- Versatile: Perfect for a casual dessert, a special occasion, or a delightful afternoon treat.
Ingredients: What You’ll Need
Gathering all your ingredients before you start (this is called “mise en place” by pros!) is one of the best **baking tips for beginners**. It makes the process smoother and prevents last-minute scrambling.
| Ingredient | Quantity | Unit |
|---|---|---|
| All-purpose flour | 1 ½ | cups |
| Granulated sugar | 1 | cup |
| Baking powder | 1 ½ | teaspoons |
| Salt | ½ | teaspoon |
| Unsalted butter, softened | ½ (1 stick) | cup |
| Creamy almond butter | ½ | cup |
| Large eggs | 2 | large |
| Whole milk | ½ | cup |
| Vanilla extract | 1 | teaspoon |
| For the Simple Glaze (Optional) | ||
| Powdered sugar (confectioners’ sugar) | 1 | cup |
| Milk (any kind) | 2-3 | tablespoons |
Step-by-Step Instructions: Let’s Bake!
Follow these detailed steps carefully, and you’ll have a gorgeous **Almond Butter Cake** in no time. Remember, baking is a science, so precision helps, but don’t be afraid to have fun!
Step 1: Get Prepped and Preheat Your Oven
First things first, let’s get ready! Preheat your oven to 350°F (175°C). While it’s heating, prepare your baking pan. You’ll need an 8×8 inch square pan or a 9-inch round cake pan. Lightly grease the inside of the pan with butter or cooking spray. For extra assurance against sticking, you can also dust the greased pan with a tablespoon of flour, tapping it around to coat all surfaces, then tapping out the excess. This creates a non-stick layer, making it much easier to remove your beautiful cake later.
Beginner Tip: Always preheat your oven fully before putting in your cake. If the oven isn’t at the correct temperature, your cake might not rise properly or bake evenly.
Step 2: Whisk Together Your Dry Ingredients
In a medium-sized mixing bowl, combine the 1 ½ cups all-purpose flour, 1 ½ teaspoons baking powder, and ½ teaspoon salt. Use a whisk to thoroughly mix these ingredients together. This step isn’t just about combining them; it also helps to aerate the flour, which contributes to a lighter cake texture, and ensures the baking powder is evenly distributed so your cake rises uniformly.
Common Mistake & Fix: Don’t just dump the ingredients in. Whisking dry ingredients together is crucial for even distribution of leavening agents. If you skip this, you might end up with dense spots or uneven rising.
Step 3: Cream the Butter, Sugar, and Almond Butter
In a large mixing bowl, using an electric mixer (either a stand mixer with the paddle attachment or a hand mixer), beat together the ½ cup softened unsalted butter, 1 cup granulated sugar, and ½ cup creamy almond butter** on medium speed. Beat until the mixture is light, fluffy, and pale in color. This usually takes about 3-5 minutes. This process, called “creaming,” incorporates air into the butter and sugar, which is essential for a tender cake texture.
Beginner Tip: Softened butter is key here! If your butter is too cold, it won’t cream properly and can result in a dense cake. It should yield slightly when pressed with a finger, but not be greasy or melted. If it’s too warm, pop it in the fridge for 5-10 minutes. If it’s too cold, microwave it for 10-15 seconds, checking frequently.
Alternative: If you don’t have an electric mixer, you can do this with a sturdy whisk and a lot of arm strength! It will take longer, but it’s definitely doable.
Step 4: Add the Eggs and Vanilla
Crack your 2 large eggs into a separate small bowl first (this helps catch any shell pieces!). Add the eggs to the creamed butter mixture one at a time, beating well after each addition until fully incorporated. Scrape down the sides of the bowl with a spatula after each egg to ensure everything is mixing evenly. Finally, stir in the 1 teaspoon vanilla extract until just combined. The mixture might look a little curdled after adding the eggs; this is normal, especially if your butter was on the cooler side of “softened.” Keep mixing until it mostly smooths out.
Common Mistake & Fix: Don’t add all the eggs at once. Adding them one at a time allows them to emulsify properly with the butter mixture, creating a stable batter. If added all at once, the mixture might separate.
Step 5: Alternate Adding Dry and Wet Ingredients
Now it’s time to bring everything together! Add about one-third of your dry ingredient mixture to the wet ingredients. Mix on low speed until just combined – you don’t want to overmix. Then, pour in half of the ½ cup whole milk and mix until just incorporated. Repeat this process: add another third of the dry ingredients, mix, then the remaining milk, mix, and finally, add the last of the dry ingredients and mix until *just* combined and no streaks of flour remain. Stop mixing as soon as the flour disappears!
Beginner Tip: The golden rule of cake baking: DO NOT OVERMIX! Overmixing develops the gluten in the flour too much, leading to a tough, dry, and chewy cake instead of a light and tender one. A few lumps of flour are better than an overmixed batter.
Alternative: For dairy-free, you can substitute whole milk with almond milk or soy milk.
Step 6: Pour into Pan and Bake
Gently scrape the cake batter into your prepared baking pan, using your spatula to spread it evenly. Give the pan a gentle tap on the counter a couple of times to release any large air bubbles. Place the pan in your preheated 350°F (175°C) oven and bake for 30-35 minutes. The baking time can vary slightly depending on your oven, so keep an eye on it.
Beginner Tip: Avoid opening the oven door too frequently, especially during the first 20 minutes of baking. A sudden drop in temperature can cause your cake to sink in the middle.
Step 7: Check for Doneness and Cool
Your cake is done when a wooden skewer or toothpick inserted into the center comes out clean or with just a few moist crumbs attached. The top should be golden brown and spring back when lightly touched. Once done, remove the cake from the oven and let it cool in the pan on a wire rack for about 10-15 minutes. This allows the cake to set and prevents it from breaking when you remove it. After this initial cooling, carefully invert the cake onto the wire rack to cool completely. Cooling completely is crucial before glazing or frosting.
Common Mistake & Fix: Trying to remove the cake from the pan too soon can cause it to break apart. Be patient! If the cake sticks, run a thin knife around the edges before inverting.
Step 8: Make the Simple Glaze (Optional)
While the cake cools, you can whip up a quick glaze. In a small bowl, whisk together the 1 cup powdered sugar and 2 tablespoons milk. Start with 2 tablespoons of milk, and add the third tablespoon only if needed to reach a pourable, but still thick, consistency. If it’s too thick, add a tiny bit more milk (¼ teaspoon at a time). If it’s too thin, add a little more powdered sugar. Once your cake is completely cool, drizzle the glaze evenly over the top. Let the glaze set for a few minutes before slicing.
Beginner Tip: Always glaze a completely cooled cake. If the cake is warm, the glaze will melt and run off, making a mess.
Tips & Tricks for Baking Success
Baking is a skill that improves with practice, but these baking tips for beginners will give you a head start on your Almond Butter Cake journey:
- Room Temperature Ingredients are Gold: This is one of the most important tips! Butter, eggs, and milk at room temperature emulsify better, creating a smoother batter and a more uniform, tender crumb. Plan ahead and take them out of the fridge about 30-60 minutes before you start.
- Measure Flour Correctly: Don’t scoop flour directly from the bag with your measuring cup! This compacts it and you’ll end up with too much flour, leading to a dry cake. Instead, use a spoon to lightly fluff the flour, then spoon it into your measuring cup until it overflows, and level it off with the back of a knife.
- Don’t Overmix: We can’t stress this enough! As soon as the dry ingredients are just incorporated into the wet, stop mixing. Overmixing develops gluten, which makes cakes tough.
- Know Your Oven: Ovens can vary in temperature. If your cakes often bake unevenly or faster/slower than recipes suggest, consider investing in an oven thermometer to ensure accuracy.
- Test for Doneness: The toothpick test is reliable. If it comes out clean, your cake is done. If it has wet batter, it needs more time. A few moist crumbs are okay for a tender cake.
- Cool Completely: Patience is key! Cooling the cake fully on a wire rack allows it to finish setting and prevents it from becoming soggy or breaking when removed from the pan or when glazed.
- Storage: Store your cooled and glazed Almond Butter Cake at room temperature, covered tightly, for up to 3 days. If you live in a warm climate or want it to last longer, it can be refrigerated for up to 5 days, though refrigeration can sometimes dry out cakes slightly.
Essential Baking Tools
Having the right tools makes baking much easier and more enjoyable. Here are a few essentials for this Recipe For Almond Butter Cake:
- Mixing Bowls (various sizes)
- Whisk (for dry ingredients and glaze)
- Baking Pan (8×8 inch square or 9-inch round)
- Measuring Cups
- Measuring Spoons
- Rubber Spatula (for scraping bowls)
- Electric Hand Mixer or Stand Mixer (highly recommended for creaming butter)
- Wire Rack (for cooling)
Nutrition Information (Estimated)
Here’s an estimated nutritional breakdown for one serving (approximately 1/12th of the cake). Please note that these are estimates and can vary based on specific ingredient brands and preparation methods.
| Nutrient | Per serving (1/12th cake) |
|---|---|
| Calories | ~320 kcal |
| Total Fat | ~18g |
| Saturated Fat | ~8g |
| Cholesterol | ~45mg |
| Sodium | ~190mg |
| Total Carbohydrates | ~35g |
| Dietary Fiber | ~2g |
| Total Sugars | ~25g |
| Protein | ~5g |
Frequently Asked Questions (FAQs)
Q1: Can I use crunchy almond butter instead of creamy?
A: While creamy almond butter is recommended for a smoother cake texture, you can absolutely use crunchy almond butter if that’s what you have or prefer! Just be aware that the cake will have small bits of almond throughout, adding a delightful textural contrast. The baking process remains the same.
Q2: My cake sank in the middle! What went wrong?
A: A sunken cake is a common baking dilemma! It’s usually due to one of a few reasons: opening the oven door too early (causing a sudden temperature drop), overmixing the batter (which develops too much gluten and creates air pockets that collapse), or an oven that’s not at the correct temperature (either too hot or too cool). Ensure your oven is preheated, don’t peek too much, and mix just until combined.
Q3: How do I know if my butter is softened enough?
A: Perfectly softened butter should be cool to the touch but yield slightly when you press it with your finger, leaving a slight indentation. It should NOT be greasy, shiny, or melted. If it’s too cold, microwave it for 10-15 seconds; if it’s too warm, pop it in the fridge for 5-10 minutes.
Q4: Can I make this cake dairy-free?
A: Yes, you can! To make this cake dairy-free, substitute the unsalted butter with a good quality dairy-free butter stick (like Miyoko’s Kitchen or Earth Balance sticks) and use a dairy-free milk alternative (such as almond milk, soy milk, or oat milk) for both the cake and the glaze. Ensure your almond butter is also dairy-free (most are, but always check the label).
Q5: How long does this Almond Butter Cake stay fresh?
A: This cake will stay fresh and moist at room temperature, covered tightly, for up to 3 days. If you prefer to extend its freshness, you can store it in an airtight container in the refrigerator for up to 5 days. Just bring it back to room temperature before serving for the best flavor and texture.
Enjoy Your Homemade Almond Butter Cake!
And there you have it! A truly delicious and surprisingly simple Recipe For Almond Butter Cake that’s perfect for any occasion. Whether you’re a seasoned baker or just starting your journey into easy baking recipes, this cake is designed to bring you joy and confidence in the kitchen. Don’t be afraid to experiment, and most importantly, have fun with the process!
We hope these baking tips for beginners help you create a masterpiece. Take a bite, savor the rich almond flavor, and congratulate yourself on a job well done. Happy baking!