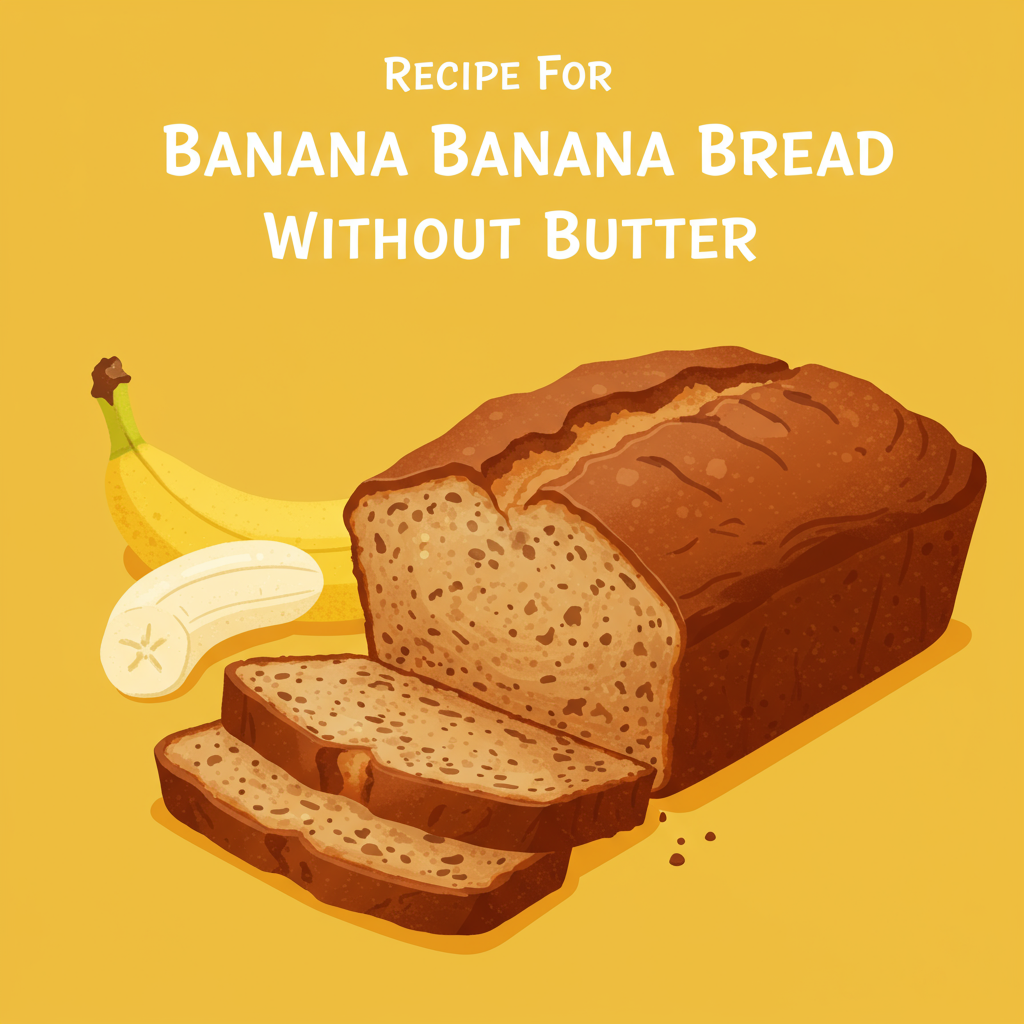
Are you ready to transform those overly ripe bananas on your counter into a moist, delicious masterpiece? You’ve come to the right place! This Recipe For Banana Bread Without Butter is specifically designed for home bakers of all skill levels, especially those just starting out. We believe that easy baking recipes should be accessible and fun, and this banana bread proves just that. Forget complicated techniques or a long list of fancy ingredients; we’re keeping it simple, straightforward, and incredibly tasty.
This recipe focuses on simple swaps that deliver incredible flavor and texture without needing butter. It’s perfect for a weekend treat, a thoughtful gift, or just a delightful way to use up those spotty bananas. We’ll walk you through every step with detailed baking tips for beginners, ensuring your first (or fiftieth!) loaf of banana bread is a resounding success. Get ready to fill your home with the irresistible aroma of freshly baked banana bread!
Gather Your Ingredients: What You’ll Need
Before you begin, make sure you have all your ingredients measured and ready. This is a crucial step in baking, often called “mise en place,” and it helps ensure a smooth and stress-free baking process.
| Ingredient | Quantity |
|---|---|
| Overripe Bananas, mashed | 3 large (about 1 ½ cups) |
| Granulated Sugar | ½ cup |
| Brown Sugar (packed) | ¼ cup |
| Vegetable Oil (or Canola/Coconut Oil) | ½ cup |
| Large Egg | 1 |
| Vanilla Extract | 1 teaspoon |
| All-Purpose Flour | 1 ½ cups |
| Baking Soda | 1 teaspoon |
| Salt | ½ teaspoon |
| Ground Cinnamon (optional) | ½ teaspoon |
| Chocolate Chips or Chopped Nuts (optional) | ½ cup |
Step-by-Step Instructions: Your Easy Banana Bread Guide
Follow these detailed steps carefully, and you’ll have a beautiful loaf of banana bread in no time. Don’t rush, and remember that baking should be an enjoyable experience!
Step 1: Preheat & Prepare Your Pan
Begin by preheating your oven to 350°F (175°C). This is important because you want the oven to be at the correct temperature when your batter goes in, ensuring even baking from the start. Next, take a 9×5-inch loaf pan. You can either grease it thoroughly with a little extra oil or cooking spray, or for easier removal, line it with parchment paper, leaving an overhang on the sides. This “sling” of parchment paper makes lifting the baked loaf out a breeze. If you don’t have parchment, a good greasing and a light dusting of flour will do the trick – just tap out any excess flour!
Step 2: Mash Your Bananas
In a large mixing bowl, peel your overripe bananas. The darker and spottier they are, the sweeter and more flavorful your banana bread will be. Use a fork or a potato masher to mash them until they are mostly smooth with a few small lumps remaining. Some small lumps are actually great for texture! Beginner Tip: Don’t try to use firm, yellow bananas; they won’t provide the necessary sweetness or moisture. Patience is key for perfectly ripe bananas!
Step 3: Wet Ingredients Go First
To your mashed bananas, add the granulated sugar, brown sugar, and vegetable oil (or your chosen oil like canola or melted coconut oil). The oil is our fantastic butter substitute, providing all the necessary moisture without the need for creaming. Crack in the large egg and pour in the vanilla extract. Use a whisk or a sturdy spoon to mix these ingredients together until they are well combined. It’s okay if there are still some banana lumps, but make sure the sugar is mostly dissolved and everything looks uniform. Common Mistake: Overmixing at this stage isn’t a huge deal, but once flour is added, overmixing can lead to a tough bread.
Step 4: Combine the Dry Ingredients
In a separate, medium-sized bowl, measure out your all-purpose flour. Add the baking soda, salt, and the optional ground cinnamon. Whisk these dry ingredients together for about 30 seconds. This step, often overlooked by beginners, is crucial! It ensures that the leavening agent (baking soda) and salt are evenly distributed throughout the flour, which means your banana bread will rise uniformly and have consistent flavor. Nobody wants a salty bite or a dense corner!
Step 5: Marry Wet and Dry
Now, gently pour the dry ingredients into the bowl with your wet banana mixture. Using a spatula or a wooden spoon, mix until just combined. This is where you need to be careful not to overmix! Overmixing develops the gluten in the flour, which can make your banana bread tough and chewy instead of tender and moist. Stop mixing as soon as you no longer see streaks of dry flour. A few small lumps of flour are perfectly fine and will disappear during baking. Beginner Tip: If you’re adding chocolate chips or nuts, fold them in now, just until evenly distributed.
Step 6: Bake Your Loaf
Pour your banana bread batter into your prepared loaf pan. Use your spatula to spread it evenly. Place the pan into your preheated oven. Bake for approximately 55-65 minutes. Baking times can vary slightly depending on your oven, so keep an eye on it. The banana bread is done when a wooden skewer or toothpick inserted into the center comes out clean or with just a few moist crumbs attached. If it’s browning too quickly on top, you can loosely tent it with aluminum foil for the last 15-20 minutes of baking. Common Mistake: Opening the oven door too early can cause the bread to sink. Try to avoid opening it before the 45-minute mark.
Step 7: Cool and Enjoy!
Once baked, carefully remove the loaf pan from the oven. Let the banana bread cool in the pan for about 10-15 minutes. This allows the bread to set and makes it easier to remove. After 10-15 minutes, use the parchment paper overhang (if you used it) or a knife around the edges to carefully lift the loaf out of the pan and transfer it to a wire rack to cool completely. Slicing it while it’s still hot can make it crumble, so patience here will reward you with perfect slices. Once cooled, slice and serve! This banana bread is delicious on its own, with a smear of cream cheese, or a drizzle of honey.
Tips & Tricks for Banana Bread Success
Even though this is an easy recipe, a few extra pointers can elevate your banana bread from good to truly great!
- Embrace the Brown Spots: The browner your bananas, the sweeter and more flavorful your bread will be. Don’t be afraid of very dark, almost black, skins!
- Don’t Overmix: This is the golden rule of quick breads. Mix until just combined to keep your banana bread tender and moist, not tough.
- Room Temperature Egg: A room temperature egg incorporates more evenly into the batter. If your egg is cold, place it in a bowl of warm water for 5-10 minutes.
- Spice It Up: Feel free to experiment with spices! Nutmeg, allspice, or even a pinch of ginger can add wonderful depth to your banana bread.
- Add-In Options: Beyond chocolate chips and nuts, consider shredded coconut, dried cranberries, or a swirl of cream cheese in the middle for a different twist.
- Storage: Store your banana bread tightly wrapped in plastic wrap or in an airtight container at room temperature for up to 3-4 days. For longer storage, freeze individual slices for up to 3 months.
- Test for Doneness: Always use the toothpick test. If it comes out with wet batter, it needs more time. If it’s clean, it’s ready!
Essential Baking Tools for Beginners
Having the right tools makes baking much easier and more enjoyable. Here are a few essentials for this recipe:
- Mixing Bowl (You’ll need at least two: one large for wet, one medium for dry)
- Whisk (Great for combining dry ingredients and light mixing of wet ones)
- 9×5-inch Loaf Pan (The star of the show for this recipe!)
- Measuring Cups (For accurate ingredient quantities)
- Measuring Spoons (Equally important for smaller quantities like baking soda and salt)
- Rubber Spatula (Perfect for folding ingredients and scraping down bowls)
- Potato Masher or Fork (For mashing those lovely ripe bananas)
- Wire Rack (For cooling your baked goods evenly)
Nutrition Information (Per Serving – estimated for 12 slices)
Here’s an estimated nutritional breakdown for a single slice of this delicious banana bread. Please note these are approximate values and can vary based on specific ingredient brands and quantities.
| Nutrient | Amount |
|---|---|
| Calories | ~260 kcal |
| Carbohydrates | ~45g |
| Protein | ~3g |
| Fat | ~10g |
| Fiber | ~2g |
| Sugar | ~25g |
Frequently Asked Questions (FAQs)
Q1: Can I use less sugar in this recipe?
A: Yes, you can! If your bananas are very ripe and sweet, you can reduce the total sugar by ¼ cup. However, sugar also contributes to moisture and browning, so don’t reduce it too drastically, especially on your first try, or the texture might be affected.
Q2: What if I don’t have very ripe bananas?
A: If you’re in a pinch, you can ripen bananas quickly! Place them on a baking sheet and bake at 300°F (150°C) for 15-30 minutes until the skins are completely black. Let them cool before mashing. This concentrates their sweetness.
Q3: Can I make this banana bread gluten-free?
A: While not tested with this specific recipe, you can often substitute all-purpose flour with a 1:1 gluten-free baking blend that contains xanthan gum. The texture might be slightly different, but it should still yield a delicious loaf.
Q4: How do I know if my baking soda is still good?
A: To test baking soda, mix a teaspoon of it with a few tablespoons of vinegar in a small bowl. If it fizzes vigorously, it’s still active. If not, it’s time for a new box!
Q5: My banana bread sank in the middle! What went wrong?
A: This is a common issue! It can happen if the oven door was opened too early during baking, if the bread was underbaked, or if there was too much leavening agent. Ensure your oven temperature is accurate and try not to open the oven until at least 45-50 minutes into baking.
Q6: Can I add other fruits or nuts to this recipe?
A: Absolutely! This recipe is very versatile. Feel free to add ½ cup of chopped walnuts, pecans, shredded coconut, or even dried cranberries along with your chocolate chips. Just gently fold them in at the very end when combining wet and dry ingredients.
Time to Enjoy Your Homemade Banana Bread!
And there you have it! A wonderfully moist, flavorful loaf of banana bread made without a single pat of butter. We hope this detailed guide has made your baking journey enjoyable and successful. Don’t be afraid to get your hands a little messy, trust the process, and most importantly, have fun with it! Baking is a fantastic way to create something delicious from scratch and share it with loved ones.
So go ahead, slice into your warm, fragrant banana bread, and savor every bite. You did it! Keep experimenting, keep baking, and keep creating those wonderful kitchen memories. Happy baking!
“`