Welcome, fellow food enthusiasts and aspiring bakers! Are you ready to embark on a delicious journey to the heart of Central American comfort food? Today, we’re diving into the incredibly satisfying world of Recipe For Belizean Johnny Cakes. These delightful, slightly sweet, and wonderfully dense baked goods are a staple in Belizean cuisine, often enjoyed for breakfast, a snack, or alongside a hearty meal. If you’re new to the kitchen or looking for easy baking recipes that deliver impressive results, you’ve come to the right place. This guide is packed with baking tips for beginners, ensuring your first batch of Johnny Cakes turns out perfectly golden and utterly irresistible. Get ready to fill your home with the inviting aroma of freshly baked goodness!
Ingredients You’ll Need
Gathering your ingredients beforehand, known as “mise en place,” is a fantastic habit for any baker. It makes the process smoother and ensures you don’t miss a thing!
| Item | Quantity | Unit |
|---|---|---|
| All-Purpose Flour | 3 | cups |
| Granulated Sugar | 1/4 | cup |
| Baking Powder | 1 | tablespoon |
| Salt | 1/2 | teaspoon |
| Unsalted Butter (cold) or Vegetable Shortening | 1/2 | cup (1 stick) |
| Milk (whole milk or full-fat coconut milk for authentic flavor) | 1 | cup |
| Egg (large) | 1 |
How to Bake Perfect Belizean Johnny Cakes (Step-by-Step)
Follow these detailed instructions carefully, and you’ll be enjoying warm, fluffy Johnny Cakes in no time. Don’t rush, and remember, baking is a science – precision helps!
-
Prepare Your Workspace & Oven:
Start by **preheating your oven to 375°F (190°C)**. This is crucial for even baking. While the oven heats up, lightly grease a baking sheet or line it with parchment paper. This prevents your Johnny Cakes from sticking and ensures a beautiful golden-brown bottom. A non-stick spray works wonders here, or you can use a small amount of butter or shortening wiped with a paper towel.
-
Combine Dry Ingredients:
In a large mixing bowl, combine the 3 cups of all-purpose flour, 1/4 cup granulated sugar, 1 tablespoon baking powder, and 1/2 teaspoon salt. Whisk these dry ingredients together thoroughly. This step is vital to ensure the baking powder and salt are evenly distributed throughout the flour, which will lead to a consistent rise and flavor in every Johnny Cake. Don’t just stir; a good whisking for 30-60 seconds makes a big difference!
-
Cut in the Fat:
Now, it’s time to incorporate the cold butter or vegetable shortening. If using butter, make sure it’s straight from the fridge and very cold. You can cut it into small cubes (about 1/2 inch) to make this step easier. Add the butter/shortening to your dry ingredients. Using your fingertips, a pastry blender, or two knives, “cut” the fat into the flour mixture until it resembles coarse crumbs, with some pea-sized pieces of butter remaining. The goal here is to coat the flour particles with fat, which prevents gluten development and results in a tender, flaky texture. **Beginner Tip:** Avoid overworking the dough here; warm hands can melt the butter too quickly. Work swiftly!
-
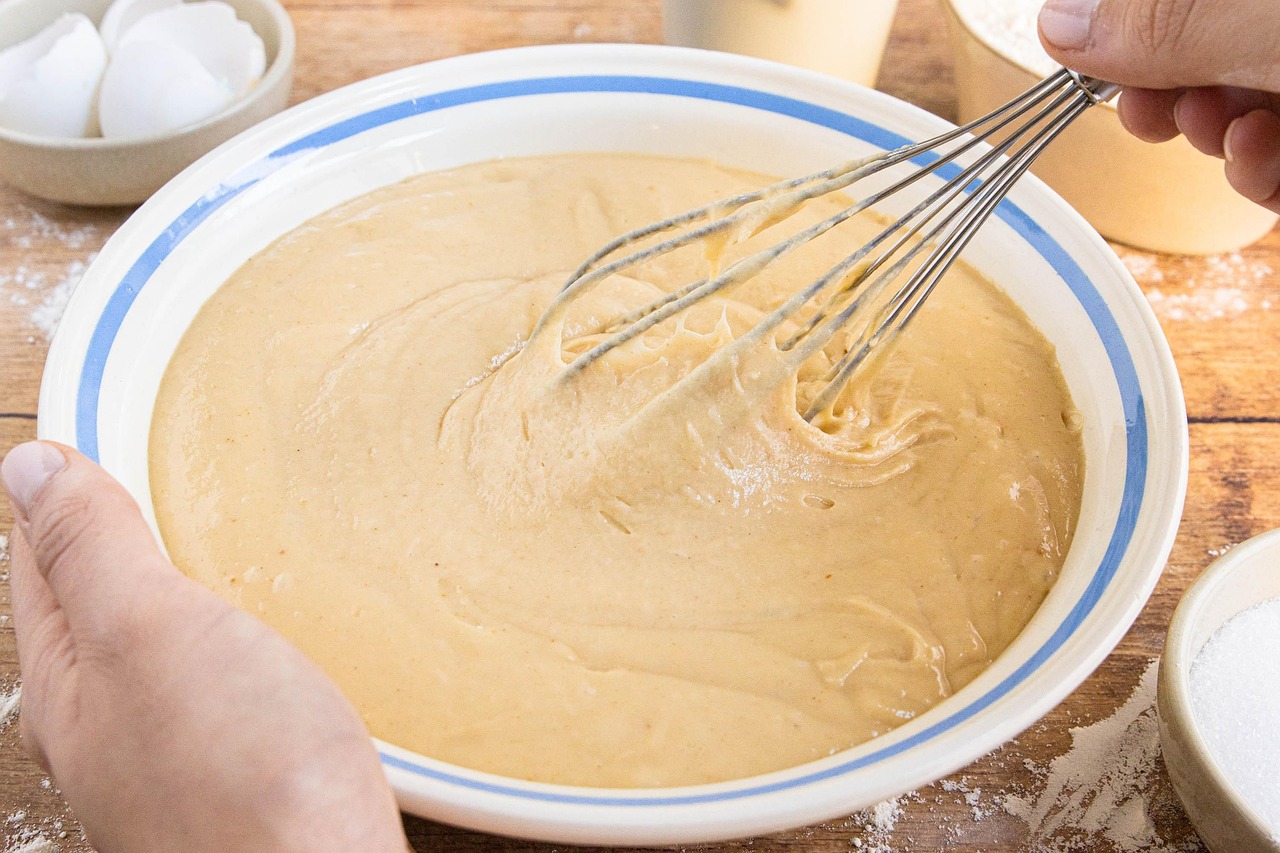
Whisk Wet Ingredients:
In a separate, smaller bowl, **whisk together the 1 cup of milk (whole milk or coconut milk) and the 1 large egg** until well combined. Using full-fat coconut milk will give your Johnny Cakes a wonderfully authentic Belizean flavor and a richer texture. If you don’t have coconut milk, regular whole milk works perfectly fine.
-
Combine Wet and Dry Mixtures:
Pour the wet ingredients into the dry ingredients. Now, using a spatula or a wooden spoon, mix gently until just combined. The key word here is “gently.” A common mistake for beginners is overmixing the dough. Overmixing develops the gluten in the flour, leading to tough, dense Johnny Cakes instead of light and tender ones. It’s okay if there are still a few lumps; they will disappear during baking. Stop mixing as soon as no dry streaks of flour are visible.
-
Knead Lightly (Optional, but Recommended):
Lightly flour a clean work surface. Turn the dough out onto the floured surface. Knead the dough very lightly for about 30 seconds to 1 minute. The goal is just to bring the dough together and ensure it’s cohesive, not to develop gluten. This gentle kneading helps create a smoother texture. If your dough feels too sticky, add a tiny bit more flour, but be sparing.
-
Shape the Johnny Cakes:
Divide the dough into 12-16 equal portions. The size can vary based on your preference; smaller cakes cook faster. Roll each portion into a smooth ball, then gently flatten it into a disc about 1/2 to 3/4 inch thick. You can use your hands or a rolling pin. Place the shaped Johnny Cakes onto your prepared baking sheet, leaving about 1 inch between each one to allow for expansion.
-
Bake to Golden Perfection:
Transfer the baking sheet to your preheated oven. Bake for 15-20 minutes, or until the Johnny Cakes are beautifully golden brown on top and bottom, and feel firm to the touch. The baking time can vary slightly depending on your oven and the thickness of your cakes. Keep an eye on them starting around the 15-minute mark. **Beginner Tip:** If they’re browning too quickly on top, you can loosely tent them with aluminum foil for the last few minutes.
-
Cool and Serve:
Once baked, carefully remove the Johnny Cakes from the oven. Let them cool on the baking sheet for a few minutes before transferring them to a wire rack to cool completely. While they are delicious warm, cooling them slightly allows them to set and makes them easier to handle. Serve them warm with butter, jam, honey, or even alongside savory dishes like stewed chicken or beans.
Pro Tips & Tricks for Johnny Cake Success
Elevate your Johnny Cake game with these expert suggestions, perfect for ensuring consistent, delicious results every time you bake!
- Accurate Measuring is Key: Baking is a science! Always use proper measuring cups and spoons. For flour, spoon it into your measuring cup and then level it off with a straight edge, rather than scooping directly from the bag, which can compact the flour and lead to too much flour.
- Cold Fat for Flakiness: Ensure your butter or shortening is **very cold**. This creates pockets of steam during baking, resulting in that wonderfully tender and slightly flaky texture. If your kitchen is warm, you can even pop the butter back in the fridge if it starts to soften too much while you’re working.
- Don’t Overmix the Dough: This cannot be stressed enough! Overmixing develops gluten, making your Johnny Cakes tough and chewy. Mix only until the ingredients are just combined and no dry streaks of flour remain. A few lumps are perfectly fine.
- Experiment with Liquids: While whole milk is great, using full-fat coconut milk will give your Johnny Cakes a rich, authentic Belizean flavor profile. For a slightly richer taste, you could even try half milk, half heavy cream.
- Rest the Dough (Optional): If you have time, allowing the dough to rest in the refrigerator for 20-30 minutes after mixing can help relax the gluten, potentially leading to an even more tender crumb.
- Storage: Store leftover Johnny Cakes in an airtight container at room temperature for up to 2-3 days. They can also be frozen for up to 2 months. Reheat gently in a microwave, oven, or toaster oven.
Essential Baking Tools for Your Kitchen
Having the right tools makes baking a breeze! Here are some essentials to get you started:
- Mixing Bowl
- Whisk
- Baking Pan
- Measuring Cups
- Spatula
- Pastry Blender (highly recommended for cutting in butter/shortening)
Nutritional Information (Per Serving – estimated for 1 of 12 Johnny Cakes)
Please note: These are estimated values and can vary based on exact ingredients and portion size.
| Nutrient | Amount |
|---|---|
| Calories | 250 kcal |
| Carbohydrates | 35 g |
| Protein | 5 g |
| Fat | 10 g |
| Fiber | 1 g |
| Sugar | 8 g |
Frequently Asked Questions
Can I use water instead of milk for Johnny Cakes?
While you can use water in a pinch, it’s not recommended if you want the best flavor and texture. Milk (especially whole milk or coconut milk) adds richness, moisture, and helps create a more tender crumb. Water will result in a drier, less flavorful Johnny Cake. For the authentic experience, stick to milk!
Why are my Johnny Cakes tough or dense?
The most common culprit for tough or dense Johnny Cakes is overmixing the dough. When you overmix, you develop the gluten in the flour too much, leading to a chewy texture. Mix only until the ingredients are just combined and no dry streaks of flour remain. Also, ensure your butter is cold when you cut it into the flour.
Can I make Johnny Cakes savory instead of sweet?
Absolutely! While this recipe has a touch of sweetness, you can easily adapt it. Reduce the sugar to just 1-2 tablespoons (or omit it entirely) and consider adding savory elements like grated cheese, finely chopped scallions, or a pinch of black pepper to the dry ingredients. They are delicious both ways!
How do I store leftover Johnny Cakes?
Store cooled Johnny Cakes in an airtight container at room temperature for up to 2-3 days. For longer storage, you can freeze them for up to 2 months. Wrap individual cakes tightly in plastic wrap, then place them in a freezer-safe bag. Thaw at room temperature and reheat gently.
Can I fry Johnny Cakes instead of baking them?
Traditionally, Johnny Cakes are baked, giving them a softer, bread-like interior. However, some variations are fried, resulting in a crispier exterior and a denser interior, similar to a dumpling. If you want to fry them, flatten them thinner (about 1/4 inch) and fry in about 1 inch of hot oil until golden brown on both sides.
Ready to Bake Your Own Belizean Delights?
There you have it – your complete, beginner-friendly guide to making magnificent Belizean Johnny Cakes right in your own kitchen! These versatile, comforting treats are more than just a recipe; they’re a taste of culture and a wonderful way to bring warmth and joy to your home. Don’t be intimidated if you’re new to baking; this recipe is designed for success. Follow these steps, embrace the process, and most importantly, have fun! We can’t wait to hear how your Johnny Cakes turn out. Share your creations in the comments below and let us know your favorite way to enjoy them. Happy baking!