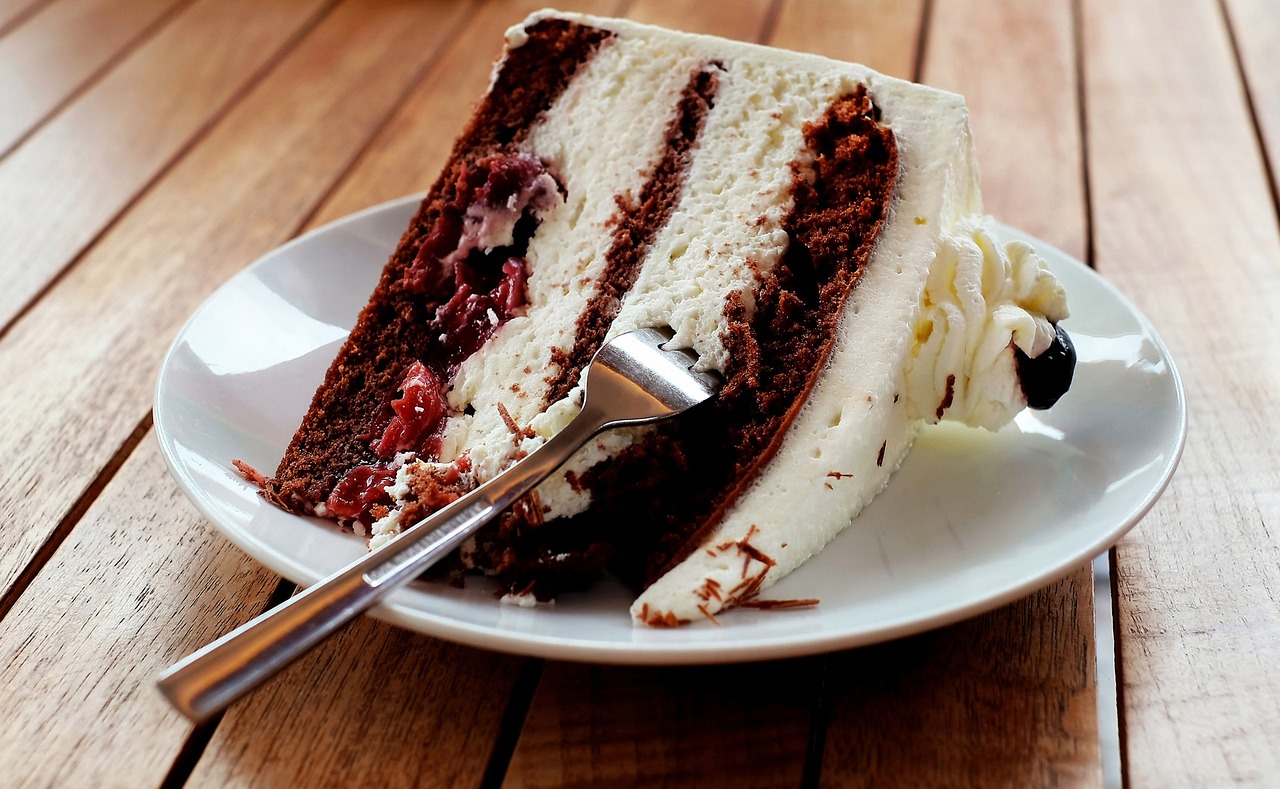
Get ready to experience a dessert that lives up to its name and then some! If you’ve been searching for a show-stopping, yet incredibly simple, autumn treat, look no further. This Recipe For Better Than Sex Pumpkin Cake is a legendary dessert known for its irresistible layers of moist pumpkin cake, creamy condensed milk, fluffy whipped topping, and decadent caramel. And the best part? It’s one of those truly easy baking recipes that even absolute beginners can master .Forget complicated techniques and endless ingredient lists. We’re breaking down every step, offering clear baking tips for beginners, and ensuring your first (or fiftieth!) attempt at this heavenly cake is nothing short of perfection. So grab your apron, preheat your oven, and prepare to impress everyone (including yourself!) with this utterly divine pumpkin creation. Let’s bake some magic!
Ingredients You’ll Need
Gathering your ingredients beforehand, also known as “mise en place,” is a fantastic baking tip for beginners to keep your baking process smooth and stress-free!
For the Pumpkin Cake:
| Quantity | Unit | Ingredient |
|---|---|---|
| 1 | (15.25 oz) box | Spice Cake Mix (or Yellow Cake Mix + 1 tsp cinnamon, 1/2 tsp nutmeg, 1/4 tsp ginger) |
| 1 | (15 oz) can | 100% Pure Pumpkin Puree (NOT pumpkin pie filling) |
| 1/2 | cup | Vegetable Oil (or other neutral oil like canola) |
| 3 | large | Eggs |
| 1/2 | cup | Water (or milk for a richer cake) |
For the Topping Layers:
| Quantity | Unit | Ingredient |
|---|---|---|
| 1 | (14 oz) can | Sweetened Condensed Milk |
| 1 | (8 oz) container | Frozen Whipped Topping, thawed (like Cool Whip) |
| 1/2 | cup | Caramel Ice Cream Topping (or homemade caramel sauce) |
| Optional: 1/4 | cup | Toffee bits, chopped pecans, or a sprinkle of cinnamon for garnish |
Step-by-Step Instructions: Your Path to Pumpkin Perfection
Follow these detailed steps carefully, and you’ll have a show-stopping cake in no time. We’ve added extra notes to help beginners avoid common pitfalls!
Step 1: Get Ready to Bake (Prep Work is Key!)
- Preheat Your Oven: Adjust your oven rack to the middle position and preheat to 350°F (175°C). Preheating is crucial because it ensures your cake starts baking immediately at the correct temperature, leading to an even rise and texture.
- Prepare Your Baking Pan: Lightly grease and flour a 9×13 inch baking pan. You can also spray it with non-stick baking spray that contains flour. For an extra layer of non-stick insurance and easier removal, you can line the bottom with parchment paper after greasing, then grease the parchment paper too. This step prevents your delicious cake from sticking to the pan!
Step 2: Mix the Cake Batter (Easy Peasy!)
- Combine Wet and Dry: In a large mixing bowl, empty the contents of your spice cake mix. Add the 100% pure pumpkin puree, vegetable oil, large eggs, and water (or milk).
- Beginner Tip: Ensure you’re using 100% pure pumpkin puree, not pumpkin pie filling! Pumpkin pie filling has added sugar and spices that will alter the flavor and texture of your cake.
- Alternative: If using a yellow cake mix, add the cinnamon, nutmeg, and ginger now.
- Mix Until Just Combined: Using an electric mixer (or a sturdy whisk and some arm power), mix on low speed for about 30 seconds, then increase to medium speed and beat for another 2 minutes. Scrape down the sides of the bowl with a spatula to ensure everything is incorporated.
- Common Mistake & Tip: DO NOT OVERMIX! Overmixing develops the gluten in the flour, which can lead to a tough, dry cake. Mix just until no streaks of dry mix are visible. A few small lumps are okay.
Step 3: Bake Your Pumpkin Cake
- Pour and Bake: Pour the cake batter evenly into your prepared 9×13 inch baking pan. Smooth the top with your spatula.
- Bake Time: Bake in the preheated oven for approximately 28-35 minutes.
- How to Check for Doneness: The cake is done when a wooden toothpick inserted into the center comes out clean or with a few moist crumbs attached (not wet batter). The top should spring back lightly when gently pressed.
- Beginner Tip: Ovens can vary! Start checking around 28 minutes. If your cake looks like it’s browning too quickly on top, you can loosely tent it with aluminum foil for the last few minutes of baking.
- Cool Slightly: Once baked, remove the cake from the oven and place it on a wire rack. Let it cool in the pan for about 5-10 minutes. It needs to be warm, but not piping hot, for the next step.
Step 4: The Magic Poke!
- Poke Holes: While the cake is still warm (but not straight out of the oven), use the handle of a wooden spoon or a fork to poke holes all over the top of the cake. Make sure the holes go deep enough to almost reach the bottom, but don’t poke all the way through! Aim for about 1 inch apart.
- Why This Step is Crucial: These holes are essential! They allow the luscious sweetened condensed milk to seep down into the cake, creating that incredibly moist, rich, and “better than sex” texture.
Step 5: Drench with Sweetness
- Pour Condensed Milk: Evenly pour the entire can of sweetened condensed milk over the warm, poked cake. Take your time and make sure it covers the whole surface, allowing it to soak into all those wonderful holes.
- Beginner Tip: Don’t rush this! Let the milk slowly absorb. You might need to gently tilt the pan to help it distribute.
- Cool Completely: Now, this is a very important step for the integrity of your cake! Let the cake cool completely to room temperature on the wire rack. This can take 1-2 hours.
- Common Mistake & Tip: DO NOT RUSH THIS COOLING PROCESS! If you apply the whipped topping to a warm cake, it will melt, making a messy rather than fluffy topping. Patience is a virtue in baking!
Step 6: Top It Off (The Fluffy Layer!)
- Spread Whipped Topping: Once the cake is completely cooled, gently spread the thawed whipped topping evenly over the entire surface of the cake. Use a spatula or the back of a spoon to create nice swirls or a smooth finish.
- Beginner Tip: Thaw your whipped topping in the refrigerator overnight or for a few hours before you plan to use it. It should be soft but still cold.
Step 7: Drizzle and Garnish
- Caramel Drizzle: Drizzle the caramel ice cream topping generously over the whipped topping. You can use a spoon, a squeeze bottle, or even snip the corner off a small Ziploc bag filled with caramel for a finer drizzle.
- Optional Garnish: If desired, sprinkle with toffee bits, chopped pecans, or a light dusting of cinnamon for extra flavor and visual appeal.
Step 8: Chill and Serve!
- Chill Time: Cover the cake loosely with plastic wrap or foil and refrigerate for at least 2-4 hours before serving. Chilling allows the flavors to meld beautifully and sets the whipped topping, making it easier to slice.
- Beginner Tip: This cake tastes even better the next day, so it’s a fantastic make-ahead dessert!
- Serve and Enjoy: Slice into generous squares and prepare for rave reviews!
Expert Baking Tips & Tricks for Beginners
Baking can seem daunting, but with a few simple tricks, you’ll be baking like a pro in no time!
- Read the Entire Recipe First: Before you even touch an ingredient, read through the whole recipe. This helps you understand the process, anticipate steps, and ensure you have everything you need.
- Accurate Measuring: Baking is a science! Use proper measuring cups and spoons. For dry ingredients like flour or cake mix, spoon it into the measuring cup and level off with a straight edge (like the back of a knife). For liquids, use a liquid measuring cup and check at eye level.
- Room Temperature Ingredients: While this recipe uses a cake mix which is more forgiving, for future baking, remember that eggs and dairy at room temperature emulsify better, leading to a smoother, more evenly mixed batter and a better final texture.
- Don’t Peek Too Much: Resist the urge to open the oven door frequently, especially during the first 2/3 of the baking time. Fluctuations in temperature can cause your cake to sink in the middle.
- Patience with Cooling: As mentioned in the steps, cooling the cake completely before adding the whipped topping is non-negotiable for the best results. Don’t rush it!
- Clean as You Go: Wipe down counters and wash dishes as you work. This makes cleanup less overwhelming at the end and keeps your workspace tidy.
- Invest in a Good Spatula: A flexible rubber or silicone spatula is invaluable for scraping down bowls, folding ingredients, and spreading toppings smoothly.
Essential Baking Tools
Having the right tools makes all the difference for a smooth and enjoyable baking experience. Here are some basics we recommend:
- Mixing Bowl – A set of various sizes is ideal.
- Whisk – Both balloon whisks and flat whisks are useful.
- Baking Pan – A sturdy 9×13 inch pan is perfect for this recipe.
- Measuring Cups – Both dry and liquid measuring cups.
- Measuring Spoons – For precise smaller quantities.
- Spatula – A good rubber or silicone spatula is indispensable.
- Electric Mixer – Handheld or stand mixer, helpful for quick mixing.
- Wire Cooling Rack – Essential for even cooling.
- Wooden Spoon or Fork – For poking holes!
Nutrition Information (Estimated per Serving)
Please note: This is an estimated nutritional breakdown per slice (assuming 12 slices for the whole cake) and can vary based on specific brands and exact quantities used.
| Nutrient | Amount |
|---|---|
| Calories | Approx. 450-500 kcal |
| Carbohydrates | Approx. 60-70 g |
| Protein | Approx. 4-6 g |
| Fat | Approx. 20-25 g |
| Fiber | Approx. 1-2 g |
| Sugar | Approx. 45-55 g |
Frequently Asked Questions (FAQs)
Q1: Can I use homemade whipped cream instead of frozen whipped topping?
A: Yes, absolutely! Homemade whipped cream (heavy cream whipped with a little sugar and vanilla) will give your cake an even fresher, lighter taste. However, be aware that homemade whipped cream is less stable than frozen whipped topping and may deflate faster. It’s best added closer to serving time and the cake should be kept well chilled.
Q2: My cake sunk in the middle, what went wrong?
A: Common reasons for a cake sinking include opening the oven door too early, overmixing the batter, using too much leavening agent (not a concern with a box mix, but good to know for scratch baking), or baking at too low of a temperature. Ensure your oven is properly preheated and try not to open the oven door during the initial baking phase.
Q3: How should I store leftover Better Than Sex Pumpkin Cake?
A: This cake must be stored in the refrigerator due to the dairy-based whipped topping and sweetened condensed milk. Cover it tightly with plastic wrap or in an airtight container. It will stay fresh for 3-5 days. It’s also suitable for freezing for up to 1-2 months (without the caramel drizzle, which can become watery upon thawing).
Q4: Can I make this cake ahead of time for a party?
A: Yes, this cake is an excellent make-ahead dessert! In fact, many people find it tastes even better the next day as the flavors have more time to meld and the condensed milk fully absorbs. You can prepare the entire cake, chill it overnight, and then add the caramel drizzle and any garnishes just before serving for the freshest look.
Q5: What if I don’t have all the recommended spices for the cake mix alternative?
A: If you’re using a yellow cake mix and don’t have all the individual spices (cinnamon, nutmeg, ginger), you can often substitute with a general “pumpkin pie spice” blend. Use about 1.5 to 2 teaspoons of pumpkin pie spice in place of the individual spices for a similar warm, autumnal flavor profile.
Q6: Can I use a different type of cake mix?
A: While spice cake mix or yellow cake mix works best with the pumpkin and fall flavors, you could experiment with a white cake mix for a milder base, or even a chocolate cake mix for a unique “chocolate pumpkin” twist! Just be mindful that the flavor profile will change significantly.
Your Sweetest Autumn Awaits!
You’ve done it! You’ve successfully navigated the delightful journey of baking the Recipe For Better Than Sex Pumpkin Cake. We hope you found these easy baking recipes and baking tips for beginners helpful and empowering. This cake isn’t just a dessert; it’s an experience, a celebration of fall flavors, and a testament to how simple ingredients can create something truly extraordinary. Don’t be shy about sharing your creation! Snap a photo, tell your friends, and most importantly, savor every single bite. Happy baking, and enjoy your incredibly delicious, better-than-sex pumpkin cake!