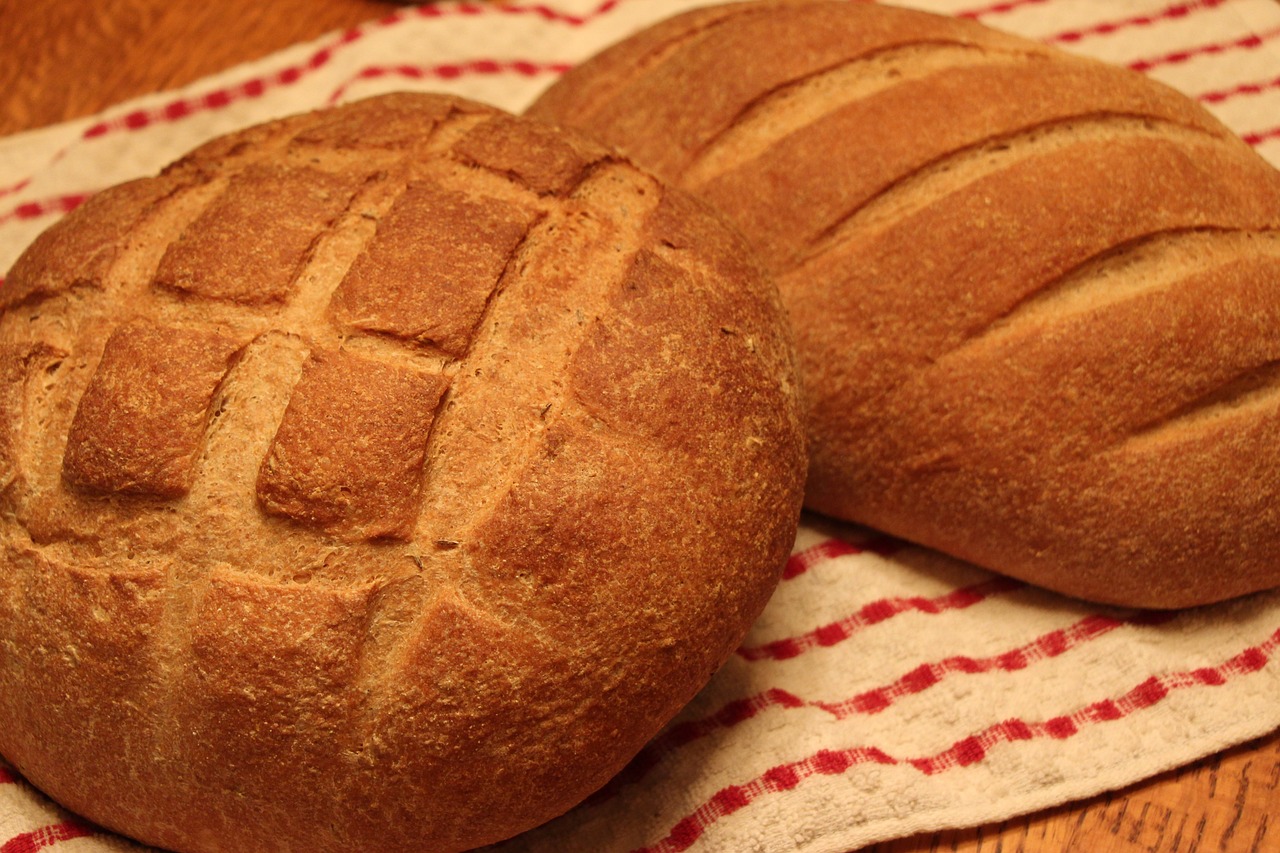
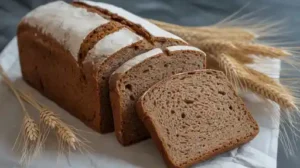
Hey there, aspiring bakers and seasoned pros alike! Are you ready to fill your kitchen with the irresistible aroma of fresh-baked goodness? Today, we’re diving into one of the most delightful and easy baking recipes you’ll ever try: our incredible Recipe For Blackberry Bread. This isn’t just any bread; it’s a moist, tender loaf bursting with juicy, sweet-tart blackberries, making it perfect for breakfast, brunch, or an afternoon treat with your coffee.
If you’re new to baking, don’t fret! This recipe is specifically designed to be super beginner-friendly, guiding you through each step with clear instructions and helpful baking tips for beginners. We’ll cover everything from precise measurements to avoiding common pitfalls, ensuring your first (or fiftieth!) loaf is a resounding success. Get ready to impress yourself and your loved ones with this simple yet spectacular blackberry bread!
Gather Your Ingredients: What You’ll Need
Before we begin, make sure you have all your ingredients measured out and ready. This practice, known as “mise en place,” makes the baking process much smoother and more enjoyable!
| Ingredient | Quantity | Unit |
|---|---|---|
| All-Purpose Flour | 1 ½ | cups |
| Granulated Sugar | ¾ | cup |
| Baking Powder | 2 | teaspoons |
| Salt | ½ | teaspoon |
| Large Eggs | 2 | |
| Whole Milk | ½ | cup |
| Vegetable Oil (or melted unsalted butter) | ¼ | cup |
| Vanilla Extract | 1 | teaspoon |
| Fresh Blackberries (or frozen, not thawed) | 1 | cup |
| Optional: Lemon Zest | 1 | teaspoon |
| Optional: Flour (for dusting berries) | 1 | tablespoon |
Step-by-Step Instructions: Baking Your Blackberry Bread
Follow these detailed steps carefully, and you’ll have a gorgeous loaf of blackberry bread in no time!
Step 1: Preheat and Prepare Your Loaf Pan
- Preheat your oven to 350°F (175°C). Getting the oven to the correct temperature before your batter is ready ensures even baking from the start.
- Grease a 9×5 inch loaf pan generously with butter or non-stick cooking spray. For extra insurance against sticking, you can also lightly flour the greased pan, tapping out any excess. This creates a non-stick barrier, making it much easier to remove your beautiful bread later.
Step 2: Combine the Dry Ingredients
- In a large mixing bowl, whisk together the all-purpose flour, granulated sugar, baking powder, and salt.
- Beginner Tip: Whisking these dry ingredients thoroughly ensures that the leavening agent (baking powder) and salt are evenly distributed throughout the flour. This prevents pockets of unmixed ingredients and helps your bread rise uniformly. If you have a sieve, sifting your flour can also make your bread even lighter and fluffier!
Step 3: Whisk the Wet Ingredients
- In a separate medium-sized bowl, lightly beat the two large eggs.
- Add the whole milk, vegetable oil (or melted butter), and vanilla extract to the beaten eggs. If you’re using lemon zest, add it now for an extra bright flavor.
- Whisk these wet ingredients together until they are well combined.
- Beginner Tip: Using room temperature eggs and milk helps them emulsify (mix) more easily with the fats, creating a smoother batter and a more tender final product. If your eggs and milk are cold, let them sit out on the counter for 30 minutes before you start.
Step 4: Combine Wet and Dry Mixtures
- Pour the wet ingredient mixture into the bowl with your dry ingredients.
- Using a spatula or a wooden spoon, gently mix the ingredients together just until they are combined.
- Crucial Beginner Tip: Do NOT overmix! Overmixing develops the gluten in the flour too much, which can result in a tough, dense, and chewy bread instead of a soft, tender one. A few lumps in the batter are perfectly fine – embrace them! Stop mixing as soon as you no longer see streaks of dry flour.
Step 5: Prepare and Fold in the Blackberries
- If you’re using fresh blackberries, gently rinse them and pat them very dry with a paper towel. If using frozen, do not thaw them.
- In a small bowl, gently toss the blackberries with 1 tablespoon of flour (this is your optional but highly recommended step!).
- Beginner Tip: Dusting the berries with a bit of flour helps prevent them from sinking to the bottom of your loaf during baking. The flour creates a barrier that allows the berries to suspend more evenly throughout the batter.
- Carefully fold the floured blackberries into the batter using your spatula. Be gentle to avoid crushing the berries too much.
Step 6: Bake Your Blackberry Bread
- Pour the blackberry bread batter into your prepared 9×5 inch loaf pan. Use your spatula to spread it evenly.
- Place the loaf pan in the preheated oven.
- Bake for 50-60 minutes, or until a wooden skewer or toothpick inserted into the center of the loaf comes out clean (a few moist crumbs are okay, but no wet batter).
- Beginner Tip: Avoid opening the oven door too frequently, especially during the first 30-40 minutes, as this can cause your bread to sink in the middle due to sudden temperature changes.
Step 7: Cool and Serve
- Once baked, remove the loaf pan from the oven and let the bread cool in the pan for about 10-15 minutes. This allows the bread to set and firm up, making it easier to remove without breaking.
- After 10-15 minutes, carefully invert the loaf onto a wire cooling rack.
- Allow the bread to cool completely on the wire rack before slicing.
- Beginner Tip: While it’s tempting to cut into warm bread, waiting for it to cool fully allows the internal structure to stabilize and prevents a gummy texture. Plus, the flavors develop more as it cools!
- Slice, serve, and enjoy your delicious homemade blackberry bread!
Tips & Tricks for the Perfect Blackberry Bread
Here are some extra nuggets of wisdom to help you master this recipe and elevate your baking game:
- Measure Flour Correctly: The most common mistake in baking is measuring flour incorrectly. Don’t scoop flour directly from the bag with your measuring cup, as this compacts it. Instead, spoon the flour into your measuring cup until it’s overflowing, then level it off with a straight edge (like the back of a knife). This ensures you’re not adding too much flour, which can lead to dry, dense bread.
- Room Temperature Ingredients are Key: As mentioned, eggs and milk at room temperature blend more easily and create a smoother, more uniform batter, contributing to a lighter texture in your final product.
- Don’t Overmix! Seriously: This cannot be stressed enough for quick breads. Mix only until the dry ingredients are just incorporated. Lumps are okay! Overmixing develops gluten, resulting in a tough, chewy bread.
- Prevent Berry Sinkage: Tossing your blackberries (fresh or frozen) with a tablespoon of flour before adding them to the batter is a game-changer. It helps them suspend evenly throughout the loaf instead of all sinking to the bottom.
- Customize Your Loaf: Feel free to experiment! Add 1/2 cup of chopped walnuts or pecans for a nutty crunch, or a sprinkle of cinnamon for warmth. A simple glaze made from powdered sugar and lemon juice can also add an extra touch of sweetness and tang.
- Storage: Store your blackberry bread at room temperature in an airtight container for up to 3-4 days. For longer storage, you can wrap slices tightly in plastic wrap and aluminum foil and freeze for up to 3 months. Thaw at room temperature or gently warm in the microwave.
Essential Baking Tools for Success
Having the right tools makes all the difference! Here are some basics you’ll want to have on hand:
- Mixing Bowls (various sizes)
- Whisk
- 9×5 Inch Loaf Pan
- Measuring Cups
- Measuring Spoons
- Rubber Spatula
- Wire Cooling Rack
Nutrition Information (Estimated Per Serving)
Here’s an approximate nutritional breakdown per slice (assuming 12 slices per loaf). Please note these are estimates and can vary based on specific ingredients and portion sizes.
| Nutrient | Per Serving (approx. 1 slice) |
|---|---|
| Calories | 280 kcal |
| Total Fat | 10 g |
| Saturated Fat | 2 g |
| Cholesterol | 35 mg |
| Sodium | 200 mg |
| Total Carbohydrates | 45 g |
| Dietary Fiber | 3 g |
| Total Sugars | 25 g |
| Protein | 5 g |
Frequently Asked Questions (FAQs)
Q1: Can I use frozen blackberries instead of fresh?
A: Absolutely! Frozen blackberries work perfectly in this recipe. The key is to add them to the batter directly from the freezer, without thawing. Tossing them with a tablespoon of flour (as described in Step 5) is even more crucial here, as frozen berries release more moisture and are more prone to sinking.
Q2: How do I know for sure if my blackberry bread is fully baked?
A: The most reliable method is the toothpick test. Insert a wooden skewer or toothpick into the very center of the loaf. If it comes out clean or with a few moist crumbs attached, your bread is done. If it comes out with wet batter, it needs more time. Also, the top should be golden brown and the edges should start to pull away slightly from the pan.
Q3: My bread turned out tough and dense. What went wrong?
A: This is almost always due to overmixing the batter. When you mix flour too much, you develop the gluten, which creates a chewy, tough texture. Remember to mix only until the dry ingredients are just incorporated, and a few lumps are perfectly acceptable!
Q4: Can I turn this recipe into muffins instead of a loaf?
A: Yes, you can! This batter makes excellent muffins. Simply divide the batter among 12 greased muffin cups (or use paper liners). Bake at 375°F (190°C) for about 20-25 minutes, or until a toothpick inserted into the center of a muffin comes out clean. Keep an eye on them, as baking times will vary.
Q5: How long will this blackberry bread stay fresh?
A: Stored in an airtight container at room temperature, your blackberry bread will stay fresh and delicious for about 3-4 days. If you want to keep it longer, you can refrigerate it for up to a week, or freeze individual slices (wrapped tightly) for up to 3 months. Thaw at room temperature or warm gently before serving.
Time to Bake!
And there you have it! Your complete guide to baking a mouthwatering Recipe For Blackberry Bread that’s sure to become a cherished favorite. We hope these detailed instructions and helpful tips empower you to confidently create this delightful treat. There’s truly nothing quite like the satisfaction of pulling a warm, fragrant loaf from your own oven.
So, gather your ingredients, put on your apron, and get ready to experience the joy of baking. Don’t be afraid to experiment and make this recipe your own. We can’t wait to hear about your baking success! Happy baking!