Imagine the aroma filling your kitchen sweet, fruity, and utterly inviting. This recipe takes advantage of those perfectly ripe, spotty bananas on your counter and combines them with juicy blueberries for a moist, flavorful loaf that’s perfect for breakfast, a snack, or even dessert. Get ready to impress yourself and everyone around you with your newfound baking skills!
Ingredients You’ll Need
Before we begin, let’s gather all our ingredients. Accuracy in measuring is one of the most important **baking tips for beginners**, so make sure you have everything ready!
| Ingredient | Quantity | Unit |
|---|---|---|
| All-purpose flour | 1 1/2 | cups |
| Granulated sugar | 1/2 | cup |
| Light brown sugar (packed) | 1/4 | cup |
| Baking soda | 1 | teaspoon |
| Salt | 1/2 | teaspoon |
| Very ripe bananas (mashed) | 3 | medium |
| Large egg | 1 | |
| Unsalted butter (melted) | 1/4 | cup |
| Vanilla extract | 1 | teaspoon |
| Fresh or frozen blueberries | 1 | cup |
Step-by-Step Instructions: Your Guide to Perfect Blueberry Banana Bread
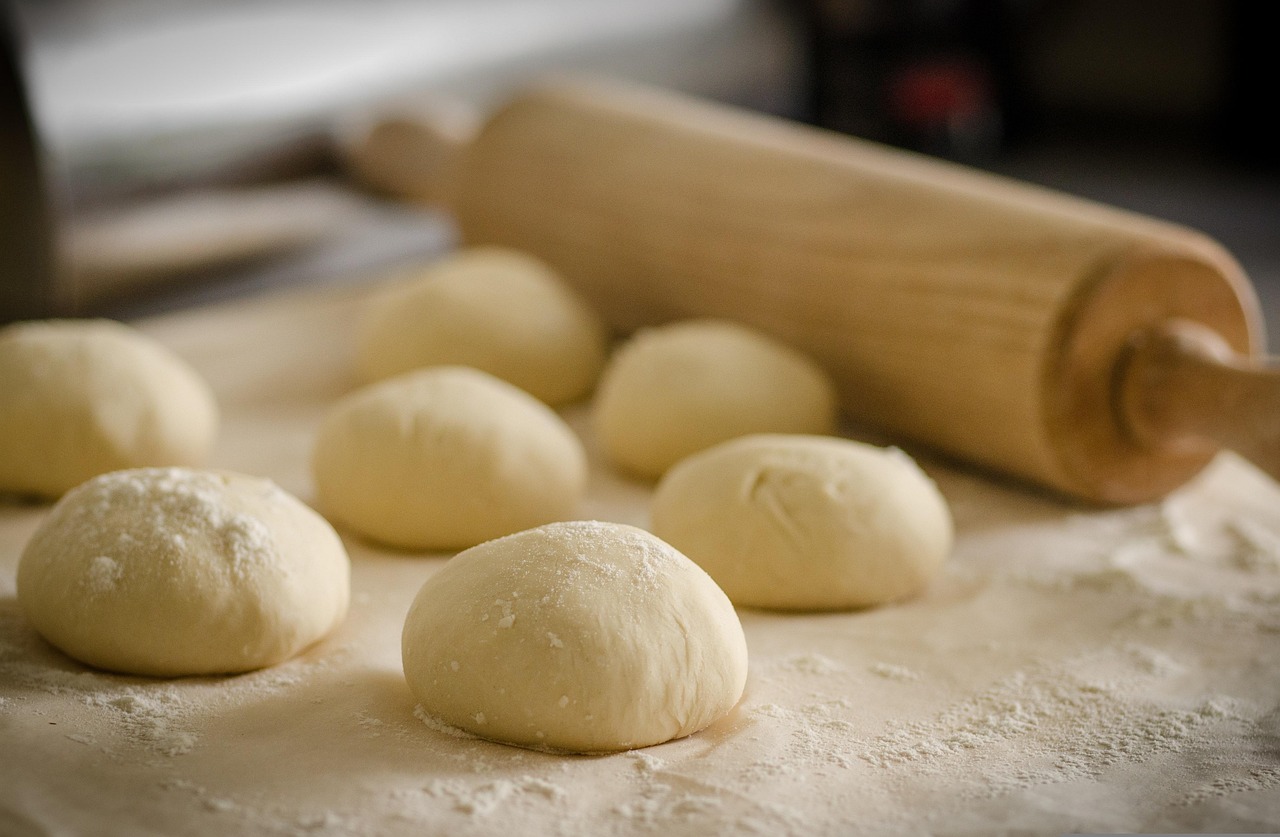
Follow these detailed steps, and you’ll be enjoying warm, homemade blueberry banana bread in no time. Remember, baking is a science, but it’s also a lot of fun!
Step 1: Get Ready! Preheat and Prepare Your Pan
- Preheat your oven: Set your oven to 350°F (175°C). This ensures the oven is at the correct temperature when your batter is ready, allowing for even baking.
- Prepare your loaf pan: Lightly grease a 9×5 inch loaf pan with butter or baking spray. You can also line it with parchment paper, leaving an overhang on the longer sides. This creates “handles” that make it super easy to lift the bread out once it’s baked and cooled.
Step 2: Whisk the Dry Ingredients
- Combine dry ingredients: In a large mixing bowl, whisk together the all-purpose flour, granulated sugar, light brown sugar, baking soda, and salt. Whisking ensures all ingredients are evenly distributed, so you don’t end up with pockets of salt or baking soda in your bread.
- Beginner Tip: Use a whisk for this step, not just a spoon. It really makes a difference in aerating the flour and distributing the leavening agents evenly.
Step 3: Prepare the Wet Ingredients
- Mash the bananas: In a separate medium bowl, mash the very ripe bananas with a fork until mostly smooth. A few small lumps are perfectly fine and add great texture!
- Beginner Tip: The riper your bananas are (think brown spots all over!), the sweeter and more flavorful your bread will be. They’ll also be easier to mash.
- Mix wet ingredients: To the mashed bananas, add the large egg (lightly beaten), melted unsalted butter, and vanilla extract. Stir until well combined.
- Beginner Tip: Ensure your melted butter isn’t scorching hot, as this can cook the egg slightly. Let it cool for a minute or two after melting.
Step 4: Combine Wet and Dry (The Gentle Way!)
- Gently combine: Pour the wet banana mixture into the bowl with the dry ingredients. Using a spatula or wooden spoon, mix until just combined.
- CRUCIAL Beginner Tip: DO NOT OVERMIX! This is perhaps the most important rule for moist, tender banana bread. Overmixing develops the gluten in the flour too much, leading to a tough, dense, and chewy bread instead of a light and fluffy one. Stop mixing as soon as you no longer see streaks of dry flour. A few lumps are okay!
Step 5: Fold in the Blueberries
- Prepare blueberries: If using fresh blueberries, simply add them to the batter. If using frozen blueberries, you can add them directly, but for best results (to prevent them from sinking to the bottom and bleeding color too much), lightly toss them with about 1 tablespoon of the flour from your dry ingredients *before* adding them to the batter.
- Gently fold: Add the blueberries to the batter and gently fold them in with your spatula, just until they are evenly distributed. Again, avoid overmixing!
Step 6: Bake Your Bread
- Pour into pan: Pour the batter into your prepared loaf pan and spread it evenly.
- Bake: Place the pan in the preheated oven and bake for 55-70 minutes. Baking times can vary depending on your oven, so keep an eye on it.
- Check for doneness: To check if your bread is ready, insert a wooden skewer or toothpick into the center of the loaf. If it comes out clean or with a few moist crumbs attached (but no wet batter), your bread is done! If it comes out with wet batter, continue baking for another 5-10 minutes and test again.
- Beginner Tip: If the top of your bread starts to brown too quickly before the inside is cooked, you can loosely tent it with aluminum foil for the remaining baking time.
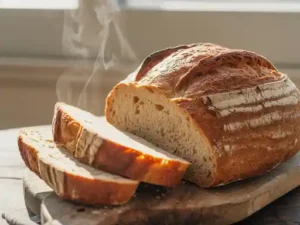
Step 7: Cool and Enjoy!
- Cool in pan: Once baked, remove the loaf pan from the oven and let the bread cool in the pan for about 10-15 minutes. This allows the bread to set and makes it easier to remove without breaking.
- Transfer to wire rack: After 10-15 minutes, carefully lift the bread out of the pan (using those parchment paper handles if you used them!) and transfer it to a wire cooling rack to cool completely.
- Beginner Tip: Cooling on a wire rack allows air to circulate around the entire loaf, preventing the bottom from becoming soggy.
- Slice and serve: Once cooled, slice and enjoy your delicious homemade **Recipe For Blueberry Banana Bread**! It’s fantastic on its own, with a pat of butter, or even a dollop of cream cheese.
Tips & Tricks for Baking Success
Mastering baking is all about learning a few key techniques. Here are some extra **baking tips for beginners** to make your Blueberry Banana Bread perfect every time:
- The Spottier, The Better: Don’t throw away those overly ripe, brown-spotted bananas! They are the secret to the best banana bread. Their sugars have fully developed, giving your bread incredible sweetness and moisture.
- Don’t Overmix (Seriously!): We can’t stress this enough. Mix just until the dry ingredients are incorporated. A few lumps of flour are far better than a tough loaf.
- Prevent Blueberries from Sinking: Lightly tossing your blueberries (especially frozen ones) with a tablespoon of flour before adding them to the batter helps them suspend evenly throughout the loaf instead of sinking to the bottom.
- Room Temperature Ingredients: While not strictly necessary for this recipe, having your egg at room temperature generally helps it incorporate more smoothly into the batter, creating a more uniform texture.
- Customization is Key: Feel free to add other mix-ins! A handful of chopped walnuts or pecans (about 1/2 cup) would be delicious. You could also swirl in some cream cheese or a sprinkle of cinnamon sugar on top before baking.
- Storage Savvy: Store leftover banana bread tightly wrapped in plastic wrap or in an airtight container at room temperature for up to 3 days, or in the refrigerator for up to a week. For longer storage, slice the cooled bread, wrap individual slices in plastic wrap, and freeze them in a freezer-safe bag for up to 3 months.
Essential Baking Tools
Having the right tools makes all the difference! Here are some basic baking tools that will help you with this recipe and many more to come:
- Mixing Bowl
- Whisk
- Baking Pan (9×5 inch loaf pan)
- Measuring Cups
- Spatula
- Measuring Spoons
- Wire Cooling Rack
Nutrition Information (Estimated per slice)
Here’s a general estimate of the nutritional value for a single slice of this delicious bread, assuming the loaf is cut into 12 slices. Please remember these are estimates and actual values may vary based on specific ingredients and preparation.
| Nutrient | Amount |
|---|---|
| Calories | ~280 kcal |
| Carbohydrates | ~45 g |
| Protein | ~4 g |
| Fat | ~10 g |
| Fiber | ~2 g |
| Sugar | ~25 g |
*These are approximate values and can vary based on specific brands and ingredient quantities.
Frequently Asked Questions (FAQs)
Q1: My banana bread turned out dry and dense. What went wrong?
A: The most common culprits for dry and dense banana bread are **overmixing the batter** and **using too much flour**. Remember to mix just until the dry ingredients are combined. Also, make sure you’re measuring your flour correctly – spoon it into your measuring cup and then level it off, rather than scooping directly from the bag (which can compact the flour).
Q2: Can I use frozen bananas for this recipe?
A: Absolutely! Frozen ripe bananas are excellent for banana bread. Just be sure to thaw them completely before mashing. They will release a lot of liquid when thawed; drain off any excess liquid before adding them to your batter to prevent your bread from becoming too wet.
Q3: How do I prevent the blueberries from sinking to the bottom?
A: A simple trick is to toss your blueberries (fresh or frozen) with about a tablespoon of the all-purpose flour from your measured amount before folding them into the batter. This light coating helps them “stick” to the batter and prevents them from sinking.
Q4: How long does homemade banana bread last?
A: Stored at room temperature in an airtight container or tightly wrapped in plastic wrap, your banana bread will stay fresh for about 2-3 days. If you keep it in the refrigerator, it can last for up to a week. For longer storage, slice and freeze individual portions for up to 3 months.
Q5: What if I don’t have very ripe bananas? Can I still make this recipe?
A: You can, but the flavor won’t be as intense or sweet. A quick trick is to ripen them in the oven: place unpeeled bananas on a baking sheet and bake at 300°F (150°C) for 15-30 minutes, or until the peels are shiny and black. Let them cool, then peel and mash.
Ready to Bake Your Own Batch?
Congratulations! You’ve just learned how to make a truly delightful Recipe For Blueberry Banana Bread. This isn’t just a recipe; it’s a gateway to the joy of baking, a perfect example of how easy baking recipes can bring so much warmth and happiness into your home. Each step was designed with baking tips for beginners in mind, empowering you to create something wonderful.
Don’t be afraid to experiment and make it your own. The best part about baking is the personal touch you add. So go ahead, preheat that oven, gather your ingredients, and get ready to fill your kitchen with the irresistible aroma of homemade goodness. We’re confident you’ll love the results!