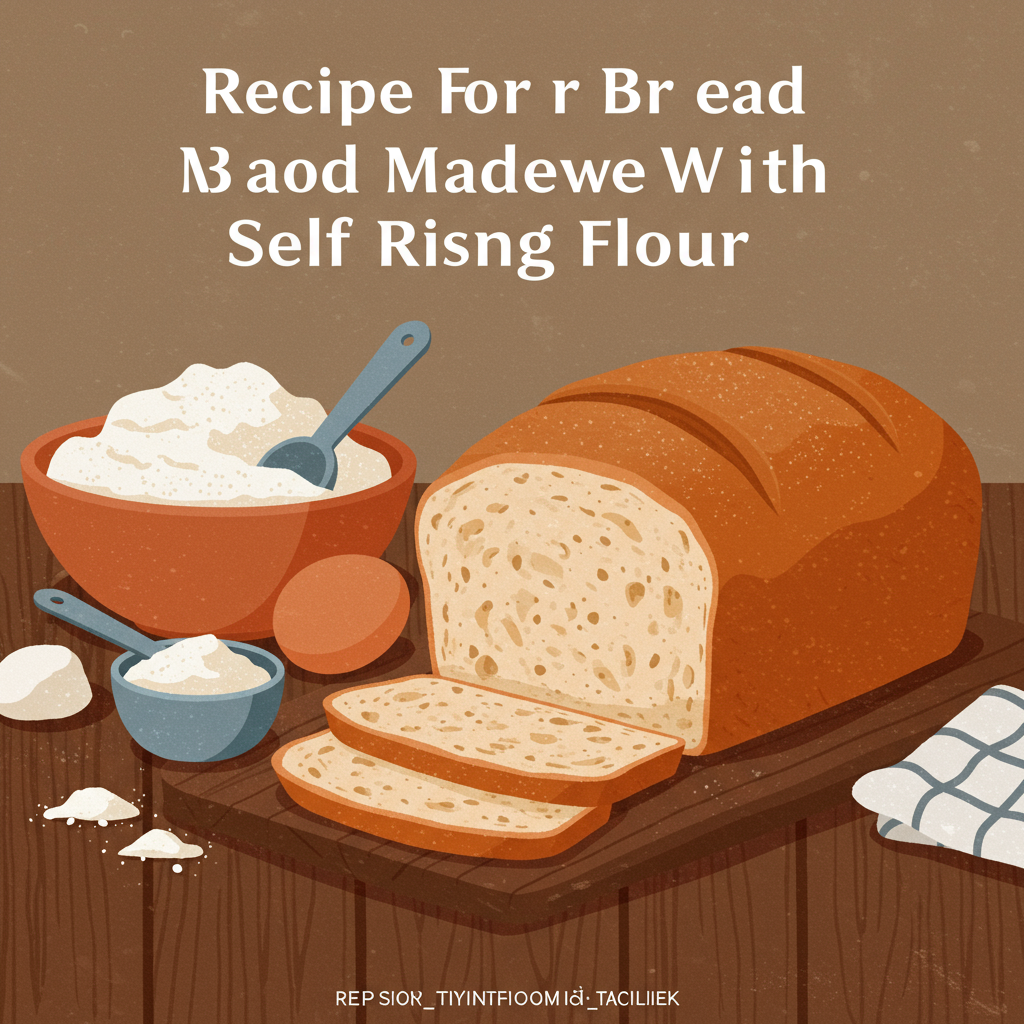
The Easiest Homemade Bread Ever: Your Go-To Recipe For Bread Made With Self Rising Flour!
Welcome, aspiring bakers! Are you dreaming of warm, homemade bread but feel intimidated by yeast, kneading, and proofing? You’re in the right place! This **Recipe For Bread Made With Self Rising Flour** is your golden ticket to delicious, crusty-on-the-outside, soft-on-the-inside bread without any fuss. Forget complicated techniques; we’re talking about one of the most **easy baking recipes** you’ll ever encounter. Perfect for absolute beginners, this recipe uses simple ingredients and straightforward steps to deliver a fantastic loaf every time. We’ll walk you through everything, providing essential **baking tips for beginners** along the way to ensure your success. Get ready to impress yourself and your loved ones with your newfound baking prowess!
Ingredients You’ll Need
Gather these simple ingredients from your pantry and fridge. Accuracy in measuring is key, especially for baking!
| Ingredient | Quantity | Unit |
|---|---|---|
| Self-Rising Flour | 3 | cups |
| Whole Milk (or buttermilk for tang) | 1.5 | cups |
| Granulated Sugar (optional, for a hint of sweetness) | 1 | tablespoon |
| Melted Unsalted Butter (for brushing top, optional) | 1 | tablespoon |
| Salt (if using plain milk and want a bit more flavor) | 1/2 | teaspoon |
Step-by-Step Instructions: Bake Your First Loaf!
Follow these detailed steps carefully, and you’ll have a beautiful loaf of bread in no time. Don’t rush, and enjoy the process!
-
Prepare Your Baking Pan and Preheat Oven:
Preheat your oven to 375°F (190°C). This is crucial! Baking items need to go into a hot oven to rise properly. While the oven heats, lightly grease and flour a 9×5 inch loaf pan. You can use butter, cooking spray, or even line it with parchment paper for easy removal. Make sure to get into all the corners. Beginner Tip: If using parchment paper, let the ends hang over the sides like handles – it makes lifting the baked bread out a breeze!
-
Combine Dry Ingredients:
In a large mixing bowl, add the 3 cups of self-rising flour. If you’re opting for a slightly sweeter bread, stir in the 1 tablespoon of granulated sugar now. If you’re using plain whole milk and want to enhance the flavor, add 1/2 teaspoon of salt. Use a whisk to gently combine these ingredients. This ensures the leavening agents in the self-rising flour are evenly distributed. Common Mistake: Don’t just dump ingredients; a quick whisk helps create a uniform texture later on.
-
Add Wet Ingredients:
Pour the 1.5 cups of whole milk into the dry ingredients. If you’re using buttermilk, that’s an excellent choice for a slightly tangier flavor and often a more tender crumb. Beginner Tip: Ensure your milk is at room temperature if possible. Cold ingredients can sometimes make the batter stiffer and impact the final texture. If it’s cold, just let it sit out for 15-20 minutes beforehand.
-
Mix Until Just Combined:
Using a spatula or a wooden spoon, gently mix the wet and dry ingredients together. Start from the center and work your way out, scraping the sides of the bowl. The key here is to mix until *just* combined. You’re looking for a thick, shaggy batter – it’s okay if there are still a few small lumps of flour. Critical Beginner Tip: Do NOT overmix! Overmixing develops the gluten in the flour too much, leading to a tough, dense, and chewy bread rather than a soft, tender one. Once you don’t see any large pockets of dry flour, stop mixing.
-
Transfer to Loaf Pan:
Spoon the bread batter into your prepared 9×5 inch loaf pan. Use your spatula to spread the batter evenly, making sure it reaches all corners. You can gently tap the pan on your counter a couple of times to release any large air bubbles and help the batter settle. For a nicer top crust, you can smooth out the top with the back of your spoon or spatula.
-
Optional: Brush with Melted Butter:
If you like a beautiful, golden-brown crust with a hint of buttery flavor, now is the time to brush the top of your loaf with the 1 tablespoon of melted unsalted butter. This step is entirely optional but highly recommended for that classic bakery look and taste.
-
Bake Your Bread:
Place the loaf pan in your preheated 375°F (190°C) oven. Bake for approximately 40-50 minutes. Beginner Tip: Baking times can vary depending on your oven, so it’s essential to watch your bread and use visual cues. The bread should be golden brown on top, and a wooden skewer or toothpick inserted into the center should come out clean. If the top is browning too quickly, you can loosely tent it with aluminum foil for the last 10-15 minutes of baking.
-
Cooling Process:
Once baked, remove the loaf pan from the oven. Let the bread cool in the pan for about 10-15 minutes. This allows the bread to set and firm up, making it easier to remove without breaking. After this initial cooling, carefully invert the pan to remove the bread and place it on a wire cooling rack to cool completely. Important Beginner Tip: Resist the urge to slice into it immediately! Slicing hot bread can make it gummy and dense. Cooling completely on a wire rack allows steam to escape, preventing sogginess and ensuring the best texture. Plus, it continues to ‘cook’ slightly as it cools.
-
Slice and Enjoy!
Once your bread is completely cool (or at least lukewarm), grab a serrated knife and slice into thick, generous pieces. Enjoy your homemade bread with butter, jam, or alongside your favorite meal. You did it!
Tips & Tricks for Baking Success
Becoming a great baker is all about understanding a few core principles. Here are some extra pointers to make your bread-making journey even smoother:
- Measure Accurately: Baking is a science! Use proper measuring cups and spoons. For flour, spoon it into your measuring cup and level it off with a straight edge (like the back of a knife) rather than scooping directly from the bag, which can compact the flour and result in using too much.
- Room Temperature Ingredients: Whenever a recipe calls for dairy or eggs, having them at room temperature often helps them incorporate better into the batter, leading to a smoother texture and better rise.
- Don’t Overmix: We can’t stress this enough! For quick breads (like this one), mixing until just combined is crucial. Lumps are okay!
- Know Your Oven: Every oven is a little different. Invest in an oven thermometer to ensure your oven is truly at the temperature you set it to. This can significantly impact baking times and results.
- Patience with Cooling: As tempting as it is, letting your bread cool completely on a wire rack is essential. It allows the internal structure to set and prevents a gummy texture.
- Experiment with Add-ins: Once you’ve mastered the basic recipe, feel free to get creative! Try adding dried herbs (like rosemary or thyme) for a savory loaf, or dried fruit (like cranberries or raisins) and a sprinkle of cinnamon for a sweeter version. Just don’t add too much (start with about 1/2 cup) so you don’t overwhelm the batter.
Essential Baking Tools for Your Kitchen
Having the right tools makes all the difference! Here are some basics that will serve you well in this recipe and many others:
- Mixing Bowl: A good set of various sizes is invaluable.
- Whisk: For blending dry ingredients smoothly.
- Baking Pan: A standard 9×5 inch loaf pan is perfect for this recipe.
- Measuring Cups: Both dry and liquid measuring cups are important.
- Spatula: For mixing, scraping bowls, and spreading batter.
- Wire Cooling Rack: Essential for proper cooling and preventing soggy bottoms.
- Oven Mitts: Always protect your hands!
Nutrition Information (Estimated Per Serving)
Based on approximately 12 servings per loaf.
| Nutrient | Per Serving |
|---|---|
| Calories | 180-200 kcal |
| Carbohydrates | 35-40 g |
| Protein | 5-6 g |
| Fat | 3-4 g |
| Fiber | 1-2 g |
| Sugar | 2-5 g |
*Estimates are approximate and can vary based on specific ingredients and brands used.
Frequently Asked Questions (FAQs)
Can I use water instead of milk?
While you can use water, milk (especially whole milk or buttermilk) adds richness, flavor, and a more tender crumb to the bread. Water will result in a drier, less flavorful loaf with a coarser texture. For best results, stick with milk!
What if I don’t have self-rising flour?
No problem! You can make your own self-rising flour. For every 1 cup of all-purpose flour, whisk in 1.5 teaspoons of baking powder and 1/4 teaspoon of salt. So for this recipe, you would need 3 cups all-purpose flour, 4.5 teaspoons baking powder, and 3/4 teaspoon salt.
Why is my bread dense and heavy?
The most common culprit for dense bread in quick bread recipes is overmixing the batter. Remember to mix only until the dry ingredients are just incorporated. Another reason could be that your self-rising flour is old and its leavening agents (baking powder and salt) have lost their potency.
How do I store this homemade bread?
Once completely cooled, store your bread in an airtight container or a large zip-top bag at room temperature for up to 3-4 days. You can also freeze slices for longer storage; just wrap them individually in plastic wrap and then place them in a freezer bag.
Can I add cheese and herbs to make it savory?
Absolutely! This recipe is a fantastic base for savory additions. Try folding in 1/2 to 3/4 cup of shredded cheddar cheese and 1-2 tablespoons of finely chopped fresh herbs like rosemary, chives, or thyme into the batter before transferring it to the loaf pan. Delicious!
My bread top is cracking; is that normal?
Yes, a crack on the top of quick breads is very common and completely normal! It’s a sign that the bread is rising nicely in the oven. It adds to the rustic charm of homemade bread.
Conclusion: Your Baking Journey Begins!
Congratulations, you’ve just unlocked the secret to effortless homemade bread! This **Recipe For Bread Made With Self Rising Flour** is more than just a recipe; it’s a confidence booster for anyone new to baking. We hope you feel empowered to continue exploring the wonderful world of baking. Don’t be afraid to experiment, and remember that every bake is a learning experience. Enjoy the incredible aroma filling your kitchen and the satisfaction of biting into your very own, freshly baked loaf. Happy baking!
“`