
This classic treat is a true crowd-pleaser, perfect for cozy evenings, holiday brunches, or simply satisfying that sweet craving. Even if you consider yourself a novice in the kitchen, don’t fret! This is one of those wonderfully easy baking recipes that promises delicious results without the stress. We’ll walk you through every step, packed with essential baking tips for beginners to ensure your bread pudding turns out perfectly golden, custardy, and bursting with apple flavor.
Ingredients You’ll Need
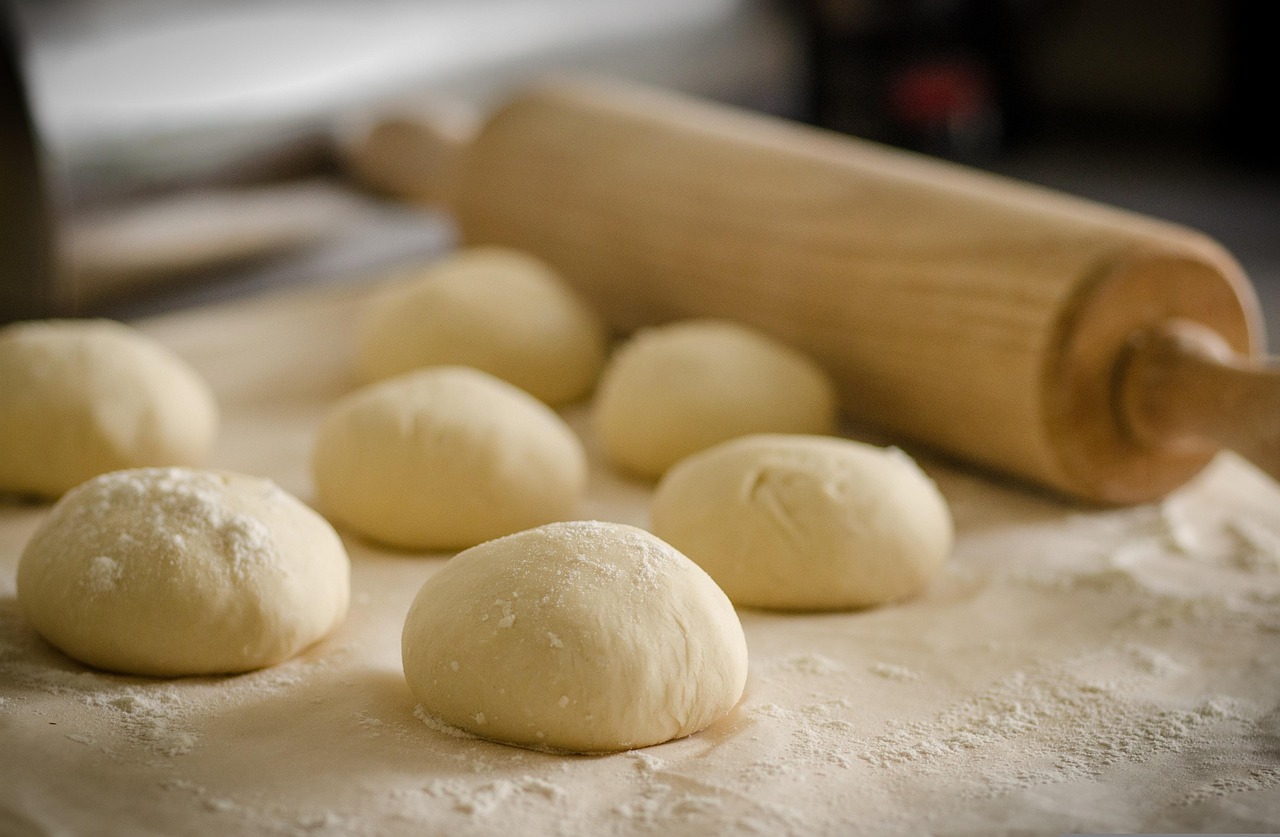
Gather your ingredients, and let’s get ready to create some magic!
| Ingredient | Quantity | Unit |
|---|---|---|
| Stale Challah, Brioche, or French Bread (cubed into 1-inch pieces) | 16 | ounces (approx. 8-10 cups) |
| Granny Smith or Honeycrisp Apples (peeled, cored, and diced) | 2 | medium |
| Unsalted Butter | 3 | tablespoons |
| Large Eggs | 4 | |
| Whole Milk | 2 | cups |
| Heavy Cream | 1 | cup |
| Granulated Sugar | ¾ | cup |
| Packed Light Brown Sugar | ¼ | cup |
| Pure Vanilla Extract | 1 | teaspoon |
| Ground Cinnamon | 1 | teaspoon |
| Ground Nutmeg | ½ | teaspoon |
| Salt | ¼ | teaspoon |
Step-by-Step Instructions: Your Path to Perfect Bread Pudding
Follow these detailed steps, and you’ll be a bread pudding pro in no time!
Step 1: Prepare Your Bread and Oven
- Preheat your oven: Set your oven to 350°F (175°C). This ensures the oven is at the correct temperature when your pudding is ready to bake, leading to even cooking.
- Grease your baking dish: Lightly grease a 9×13 inch (or similar 3-quart) baking dish with 1 tablespoon of butter or non-stick cooking spray. This prevents the pudding from sticking and makes cleanup easier.
- Cube your bread: If your bread isn’t already cubed, tear or cut it into roughly 1-inch pieces. Beginner Tip: Using stale bread is crucial! Fresh bread will absorb too much liquid and result in a soggy pudding. If your bread isn’t stale, you can dry it out by spreading the cubes on a baking sheet and baking at 300°F (150°C) for 10-15 minutes until lightly toasted.
- Arrange the bread: Spread the cubed bread evenly in your prepared baking dish.
Step 2: Sauté the Apples
- Melt butter: In a medium skillet over medium heat, melt 2 tablespoons of unsalted butter.
- Add apples and sugar: Add the diced apples and 2 tablespoons of the granulated sugar (from the ¾ cup total) to the skillet. Cook, stirring occasionally, for 5-7 minutes, or until the apples begin to soften but still hold their shape. This step caramelizes the apples slightly, enhancing their flavor and ensuring they are tender in the finished pudding. Beginner Tip: Don’t overcook them; they will continue to cook in the oven.
- Spread over bread: Evenly distribute the sautéed apples over the bread cubes in the baking dish.
Step 3: Whisk Together the Custard
- Combine wet ingredients: In a large mixing bowl, crack the 4 large eggs. Add the whole milk, heavy cream, remaining granulated sugar, light brown sugar, vanilla extract, ground cinnamon, ground nutmeg, and salt.
- Whisk thoroughly: Whisk all these ingredients together until they are well combined and the sugars have dissolved. You want a smooth, uniform custard mixture. Beginner Tip: Don’t just stir; whisk vigorously for a minute or two. This incorporates air and ensures a consistent texture. However, don’t over-whisk to the point of creating a lot of foam, as this can lead to a less dense pudding.
Step 4: Soak the Bread
- Pour custard over bread: Carefully pour the custard mixture evenly over the bread and apples in the baking dish.
- Press down: Gently press down on the bread with a spatula or the back of a spoon to ensure all the bread cubes are submerged and soak up the custard. This is a critical step for a moist pudding. Common Mistake: Not pressing the bread down can leave some pieces dry and unappetizing.
- Let it soak: Let the dish sit on the counter for at least 20-30 minutes, or even up to an hour, to allow the bread to fully absorb the custard. For best results, you can even cover it with plastic wrap and refrigerate for a few hours or overnight (see Tips & Tricks).
Step 5: Bake Your Bread Pudding
- Prepare for baking: Place the baking dish on a baking sheet (this catches any potential spills and makes it easier to transfer).
- Bake: Transfer the baking sheet with the dish to your preheated oven. Bake for 45-60 minutes.
- Check for doneness: The bread pudding is ready when it’s golden brown on top, the edges are set, and the center has a slight jiggle when gently shaken (like a firm custard). An inserted knife or toothpick into the center should come out mostly clean. Beginner Tip: An internal temperature of 170°F (77°C) indicates doneness. If the top starts browning too quickly, you can loosely tent it with aluminum foil.
Step 6: Cool and Serve
- Cool: Once baked, remove the bread pudding from the oven and let it cool on a wire rack for at least 15-20 minutes before serving. This allows the custard to fully set and makes for easier serving.
- Serve: Serve warm, perhaps with a dollop of whipped cream, a scoop of vanilla ice cream, or a drizzle of caramel sauce for an extra special treat!
Tips & Tricks for Bread Pudding Perfection
Elevate your bread pudding game with these actionable tips, perfect for beginners and seasoned bakers alike:
- The Stale Bread Secret: Seriously, don’t skip this! Stale bread is essential because its dried-out cells are like sponges, ready to soak up all that delicious custard without falling apart or becoming mushy. If your bread isn’t stale, a quick toast in the oven at a low temperature will do the trick.
- Choose Your Apples Wisely: Opt for apples that hold their shape well when cooked, such as Granny Smith, Honeycrisp, Fuji, or Braeburn. They provide a lovely textural contrast to the soft bread and custard. A mix of sweet and tart apples can create a more complex flavor profile.
- Don’t Skimp on Soaking Time: The longer the bread soaks in the custard mixture (up to overnight in the fridge), the more flavorful and uniform your pudding will be. This ensures every piece of bread is infused with that rich, sweet goodness.
- Prevent a Dry Pudding: Overbaking is the enemy of a moist bread pudding. Keep an eye on it during the last 10-15 minutes of baking. The center should still have a slight jiggle, not be completely firm. Remember, it will continue to set as it cools.
- Make Ahead Magic: You can assemble the entire bread pudding (steps 1-4) the night before, cover it tightly with plastic wrap, and refrigerate. In the morning, simply remove it from the fridge while your oven preheats, and bake as directed, adding an extra 5-10 minutes to the baking time if it’s straight from the fridge.
- Customize Your Spices: Feel free to adjust the cinnamon and nutmeg to your liking. A pinch of ground ginger or cloves can also add a wonderful warmth, especially in colder months.
- Serving Suggestions: While delicious on its own, bread pudding truly shines with accompaniments. Think a scoop of vanilla bean ice cream, a dollop of freshly whipped cream, a drizzle of warm caramel sauce, or a sprinkle of powdered sugar.
Essential Baking Tools
Having the right tools makes baking much more enjoyable and efficient. Here are some essentials for this recipe:
Nutrition Information (Estimated per serving)
(Based on approximately 10 servings for the entire recipe. Values may vary based on exact ingredients and portion sizes.)
| Nutrient | Amount |
|---|---|
| Calories | 410 kcal |
| Carbohydrates | 55g |
| Protein | 9g |
| Fat | 18g |
| Fiber | 3g |
| Sugar | 35g |
Frequently Asked Questions (FAQs)
Q1: Can I use fresh bread instead of stale bread?
A1: While technically possible, it’s highly recommended to use stale bread. Fresh bread has a higher moisture content and will absorb too much of the custard, resulting in a soggy, mushy texture. If you only have fresh bread, you can cut it into cubes and bake it at 300°F (150°C) for 10-15 minutes until lightly dry and toasted.
Q2: How do I know when my bread pudding is fully cooked?
A2: Your bread pudding is done when it’s golden brown on top, the edges are set, and the center has a slight jiggle when gently shaken. An inserted knife or toothpick into the center should come out mostly clean, with perhaps a few moist crumbs. The internal temperature should register around 170°F (77°C).
Q3: Can I prepare this recipe ahead of time?
A3: Absolutely! You can assemble the entire bread pudding, cover it tightly with plastic wrap, and refrigerate it for up to 24 hours before baking. This allows the flavors to meld beautifully. Just remember to add an extra 5-10 minutes to the baking time if baking straight from the fridge.
Q4: What kind of apples are best for bread pudding?
A4: For this recipe, it’s best to use apples that hold their shape well during baking and offer a good balance of sweetness and tartness. Great choices include Granny Smith (tart), Honeycrisp (sweet-tart), Fuji, Braeburn, or Gala. Using softer apples might result in them breaking down too much.
Q5: How should I store leftover bread pudding?
A5: Store any leftover bread pudding in an airtight container in the refrigerator for up to 3-4 days. To reheat, you can gently warm individual portions in the microwave or cover the dish with foil and reheat in a 300°F (150°C) oven until warmed through.
Conclusion: Your Delicious Journey Awaits!
And there you have it! A comprehensive, beginner-friendly guide to making a truly delicious Recipe For Bread Pudding With Apples. We hope these detailed instructions and helpful tips empower you to create a dessert that will impress everyone, including yourself. Don’t be afraid to experiment and make it your own – baking is all about having fun and enjoying the process. So, tie on your apron, gather your ingredients, and get ready to fill your home with the irresistible aroma of homemade bread pudding. Happy baking, and enjoy every comforting bite!