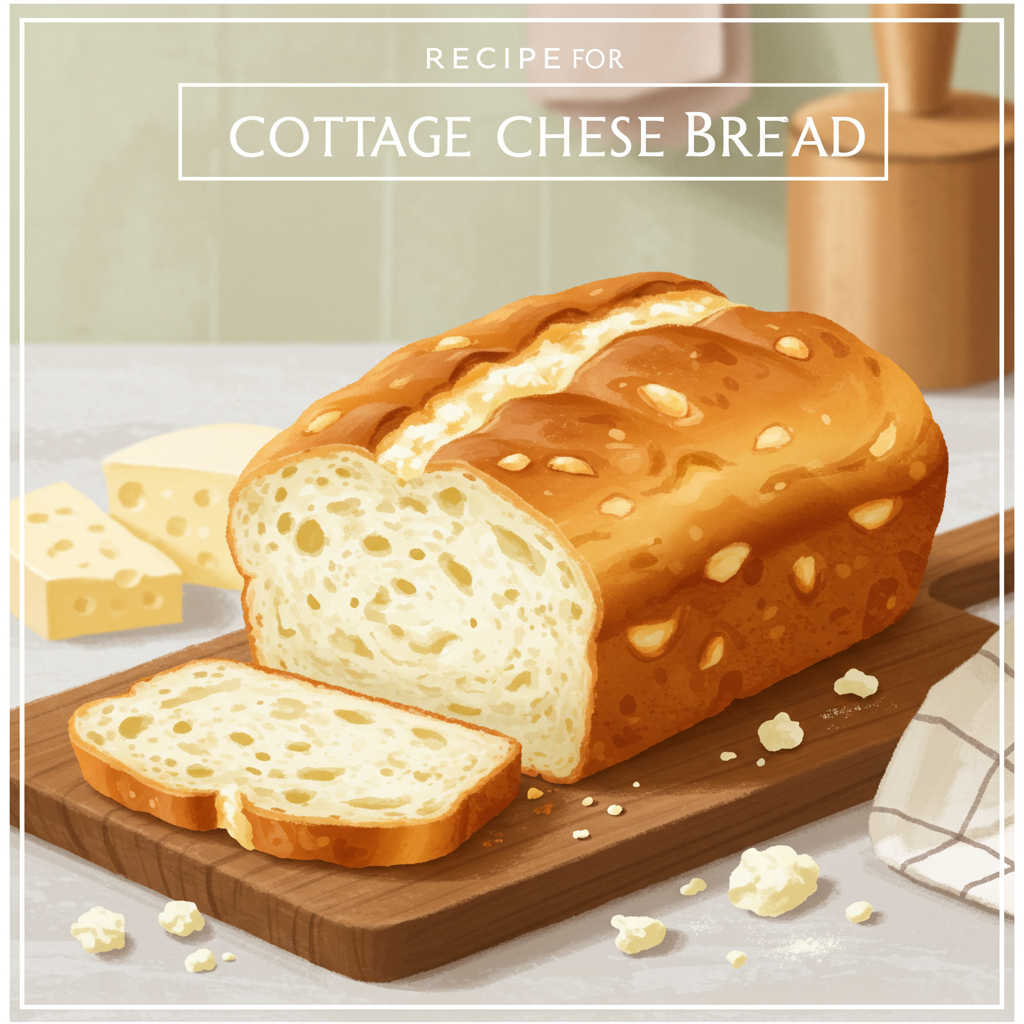
Welcome, fellow food lovers and aspiring bakers! Have you ever dreamt of pulling a warm, fragrant loaf of bread from your oven, but felt completely overwhelmed by the thought of it? You’re not alone! Many people find bread making intimidating, but I’m here to tell you it doesn’t have to be. Today, we’re diving into one of the most comforting and forgiving easy baking recipes out there: our incredible Recipe For Cottage Cheese Bread This isn’t just any bread;
it’s a wonderfully moist, tender, and subtly tangy loaf that’s perfect for sandwiches, toast, or simply enjoyed with a pat of butter. The cottage cheese works magic, keeping the crumb incredibly soft and adding a lovely depth of flavor without being overpowering. Whether you’re a complete novice or just looking for new **baking tips for beginners**, this comprehensive guide will walk you through every step, ensuring your first (or fiftieth!) loaf is a resounding success. Get ready to impress yourself!
Ingredients for Cottage Cheese Bread
Gathering your ingredients before you start is a crucial step for any baking adventure. It ensures you have everything on hand and makes the process much smoother. Here’s what you’ll need for this delightful cottage cheese bread:
| Ingredient | Quantity | Unit |
|---|---|---|
| Warm Water (105-115°F / 40-46°C) | 1/2 | cup |
| Active Dry Yeast | 2 1/4 | teaspoons (or 1 standard packet) |
| Granulated Sugar | 2 | tablespoons (plus 1 teaspoon for yeast) |
| Warm Milk (105-115°F / 40-46°C) | 1/2 | cup |
| Unsalted Butter, melted | 1/4 | cup (4 tablespoons) |
| Large Egg | 1 | |
| Full-Fat Cottage Cheese | 1 | cup (small curd preferred) |
| All-Purpose Flour | 3 1/2 to 4 | cups |
| Salt | 1 1/2 | teaspoons |
| Egg Wash (1 egg yolk + 1 tablespoon water, optional) |
Step-by-Step Instructions: Baking Your Perfect Loaf
Baking bread is a journey, not a race. Take your time with each step, and don’t be afraid to get your hands a little floury! We’ll guide you through it.
Step 1: Activate the Yeast (The Life of Your Bread!)
In a large mixing bowl, combine the warm water (make sure it’s not too hot or cold – think bathwater warm, 105-115°F / 40-46°C is ideal), 1 teaspoon of granulated sugar, and the active dry yeast. Stir gently and let it sit for about 5-10 minutes. What you’re looking for is a frothy, foamy layer on top. This is a sign that your yeast is alive and ready to make your bread rise! If it doesn’t foam, your yeast might be old or the water temperature was off, and you’ll need to start this step again.
Step 2: Combine the Wet Ingredients
Once your yeast is active, add the warm milk, melted butter, the remaining 2 tablespoons of granulated sugar, and the large egg to the yeast mixture. Whisk everything together until well combined. The mixture should be smooth and uniform. Now, gently fold in the cottage cheese. Don’t worry if it looks lumpy; these curds will melt into the dough, leaving pockets of moisture and flavor.
Beginner Tip: Ensure your milk and butter aren’t piping hot, as this can kill the active yeast you just worked so hard to activate!
Step 3: Mix in the Dry Ingredients
In a separate, medium-sized bowl, whisk together 3 1/2 cups of all-purpose flour and the salt. This ensures the salt is evenly distributed throughout the flour, preventing salty spots in your bread.
Common Mistake: Adding all the flour at once can make the dough too stiff. We’ll add it gradually.
Step 4: Bring the Dough Together
Gradually add the dry flour mixture to the wet ingredients, mixing with a sturdy spoon or a dough hook on a stand mixer (if using) on low speed. Start with about half the flour, mix until just combined, then add the rest. The dough will be sticky at first. If it’s too sticky to handle, add the remaining 1/2 cup of flour, one tablespoon at a time, until the dough comes together and starts to pull away from the sides of the bowl. It should still be soft and slightly tacky, but not overly sticky.
Step 5: Knead the Dough (The Workout!)
Turn the dough out onto a lightly floured surface. Now comes the kneading! If using a stand mixer, knead with the dough hook for 6-8 minutes on medium-low speed until the dough is smooth and elastic. If kneading by hand, this will take about 8-10 minutes.
How to Knead by Hand: Push the dough away from you with the heels of your hands, fold it back over itself, give it a quarter turn, and repeat. You’ll know it’s done when it’s smooth, elastic, and springs back when you gently poke it with your finger. It should also be less sticky.
Beginner Tip: Don’t add too much extra flour during kneading. A little stickiness is okay, but too much flour will make your bread dry and dense. Resist the urge to keep adding more flour.
Step 6: First Rise (Proofing for Flavor)
Lightly grease a clean large bowl with a little oil. Place the kneaded dough in the bowl, turning it once to coat the top with oil (this prevents a dry crust from forming). Cover the bowl tightly with plastic wrap or a clean kitchen towel. Place it in a warm, draft-free spot for 1 to 1.5 hours, or until the dough has **doubled in size**. A slightly warm oven (turned off, with the light on) or a sunny spot on your counter works perfectly. This rise is crucial for developing flavor and texture.
Step 7: Shape the Loaf
Once the dough has doubled, gently punch it down to release the air. Turn the dough out onto a lightly floured surface. Gently shape it into a rectangular loaf. The easiest way is to flatten it into a rectangle, then roll it up tightly from one of the longer sides, pinching the seam closed at the bottom. Tuck the ends under slightly to create a neat loaf shape.
Beginner Tip: Be gentle when punching down and shaping. You want to deflate the air, but not brutally flatten it. Excessive handling can lead to a tougher bread.
Step 8: Second Rise (Final Proof)
Lightly grease a 9×5 inch loaf pan. Carefully place the shaped dough into the prepared pan. Cover the pan loosely with plastic wrap or a clean kitchen towel and return it to a warm, draft-free spot for another 30-45 minutes, or until the dough has risen significantly and is almost doubled in size again. It should dome nicely over the top of the pan.
Step 9: Preheat and Prepare for Baking
While your bread is on its second rise, preheat your oven to 375°F (190°C). If you’re using an egg wash for a golden, shiny crust, whisk together 1 egg yolk and 1 tablespoon of water in a small bowl. Gently brush the top of the risen dough with this mixture.
Step 10: Bake Your Bread!
Place the loaf pan in the preheated oven. Bake for 35-45 minutes, or until the crust is golden brown and the internal temperature of the bread reaches 200-210°F (93-99°C). If you don’t have a thermometer, you can also tap the bottom of the loaf – it should sound hollow. If the top is browning too quickly, you can loosely tent it with aluminum foil for the last 10-15 minutes of baking.
Step 11: Cool Completely (The Hardest Part!)
Once baked, immediately remove the bread from the loaf pan and transfer it to a wire rack. This is crucial for preventing a soggy bottom! Let the bread cool completely for at least 1-2 hours before slicing. Slicing warm bread can compress the crumb and make it gummy. Patience is a virtue here, and it will be worth it for that perfect slice.
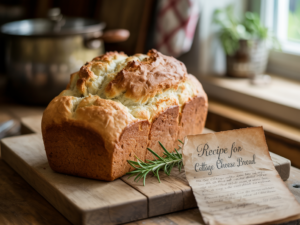
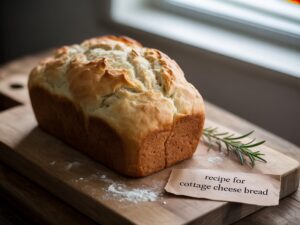
And there you have it! A beautiful, homemade loaf of Cottage Cheese Bread. Enjoy the fruits of your labor!
Tips & Tricks for Beginner Bread Bakers
Baking bread is a rewarding process, and these little nuggets of advice can make all the difference, especially when you’re just starting out.
- Check Your Yeast: Always ensure your yeast is fresh. If it doesn’t foam in step 1, it’s dead, and your bread won’t rise. A quick frothy test saves a lot of wasted ingredients.
- Accurate Measuring: For flour, spoon and level is best. Spoon flour into your measuring cup, then level off the top with a straight edge. Don’t scoop directly from the bag, as this can compact the flour and lead to too much flour, resulting in dense bread.
- Water Temperature is Key: Yeast is sensitive! Too hot (above 120°F/49°C) will kill it; too cold (below 100°F/38°C) won’t activate it properly. Use a kitchen thermometer for precision.
- Kneading for Success: Don’t skimp on kneading! It develops the gluten, which gives bread its structure and chew. Under-kneaded dough leads to dense, crumbly bread, while over-kneading is rare by hand but can make the dough tough.
- Warm Place for Rising: A warm, draft-free environment is essential for yeast to do its job. A slightly warmed (then turned off) oven, a sunny windowsill, or even placing the bowl near a warm appliance can help.
- Patience with Rising: Don’t rush the rising process. The time stated is an estimate; rise until doubled, not just for a specific time. Factors like room temperature can affect this.
- Don’t Peek Too Often: Resist the urge to open the oven door frequently while baking. This lets out heat and can cause your bread to fall.
- Cool Completely: As tempting as it is, letting the bread cool completely on a wire rack is vital. It allows the internal structure to set and prevents a gummy texture.
Essential Baking Tools
Having the right tools can make your baking experience much more enjoyable and efficient. Here are a few essentials for this recipe:
- Mixing Bowl
- Whisk
- Baking Pan (specifically a 9×5 inch loaf pan)
- Measuring Cups and Measuring Spoons
- Spatula (or sturdy spoon for mixing)
- Kitchen thermometer (for water temp and internal bread temp)
- Wire cooling rack
Nutrition Information (per slice, estimated)
Here’s an estimated nutritional breakdown for a single slice of Cottage Cheese Bread, assuming 12-16 slices per loaf. Please note that these are approximations and can vary based on specific ingredients and serving sizes.
| Nutrient | Amount |
|---|---|
| Calories | ~170-200 kcal |
| Carbohydrates | ~28-32 g |
| Protein | ~7-9 g |
| Fat | ~4-6 g |
| Fiber | ~1-2 g |
| Sugar | ~3-5 g |
Frequently Asked Questions (FAQs)
Q1: Why is my cottage cheese bread dense and not fluffy?
A dense loaf can be due to several factors. Most commonly, it’s either because your yeast wasn’t active (check for froth in step 1), you didn’t knead the dough enough to develop the gluten, or you added too much flour, making the dough too stiff. Ensure your water temperature for yeast is correct and don’t be afraid to knead until the dough is truly smooth and elastic.
Q2: Can I use low-fat or fat-free cottage cheese?
While you can use low-fat or fat-free cottage cheese, we highly recommend using full-fat cottage cheese for the best results. The fat content contributes significantly to the bread’s moistness and tender texture. Using lower-fat versions might result in a slightly drier or less rich loaf.
Q3: How do I know if my yeast is still good?
To test if your active dry yeast is still good, combine it with 1/2 cup warm water (105-115°F / 40-46°C) and 1 teaspoon of sugar. Let it sit for 5-10 minutes. If it becomes frothy and bubbly, your yeast is active and ready to use. If nothing happens, your yeast is likely dead, and you’ll need a new packet.
Q4: Can I make this bread without a stand mixer?
Absolutely! This recipe can be made entirely by hand. The kneading process will simply take a little longer (around 8-10 minutes) and require more elbow grease. It’s a great workout and a very satisfying way to connect with your dough!
Q5: How long does cottage cheese bread last and how should I store it?
Once cooled, store your cottage cheese bread in an airtight container or a bread bag at room temperature for 3-4 days. For longer storage, you can slice the cooled loaf and freeze the slices in a freezer-safe bag for up to 2-3 months. Just pop a slice in the toaster when you’re ready for a quick treat!
Q6: My dough isn’t rising, what went wrong?
The most common culprits for dough not rising are dead yeast (see Q3), water that was too hot or too cold when activating the yeast, or the environment being too cold for proofing. Ensure your ingredients are fresh, your temperatures are correct, and your rising spot is genuinely warm and draft-free.
Conclusion
Congratulations, baker! You’ve just created a delicious, homemade loaf of Cottage Cheese Bread. From activating yeast to kneading, rising, and finally baking, you’ve mastered the art of bread-making, proving that it’s not nearly as daunting as it seems. This recipe is truly one of the most forgiving and rewarding easy baking recipes you can tackle.

The aroma filling your kitchen, the golden crust, and the incredibly soft interior are all testaments to your hard work. Don’t be afraid to experiment, tweak, and make this recipe your own. Share your beautiful bread with family and friends, and most importantly, savor every single slice. Happy baking!
“`