Welcome, fellow baking enthusiasts! Are you ready to dive into the wonderful world of ancient grains? Today, we’re going on a delightful journey to bake a truly special loaf: our Recipe For Einkorn Bread. If you’ve been looking for easy baking recipes that introduce you to new flavors and textures, or are simply searching for reliable baking tips for beginners, you’ve come to the right place.
Einkorn, an ancient variety of wheat, offers a unique, slightly sweet, and nutty flavor profile that’s simply irresistible. Plus, it’s often easier for some people to digest compared to modern wheat. Don’t be intimidated; with our detailed, step-by-step guide, you’ll be pulling a warm, golden loaf from your oven in no time!
Ingredients
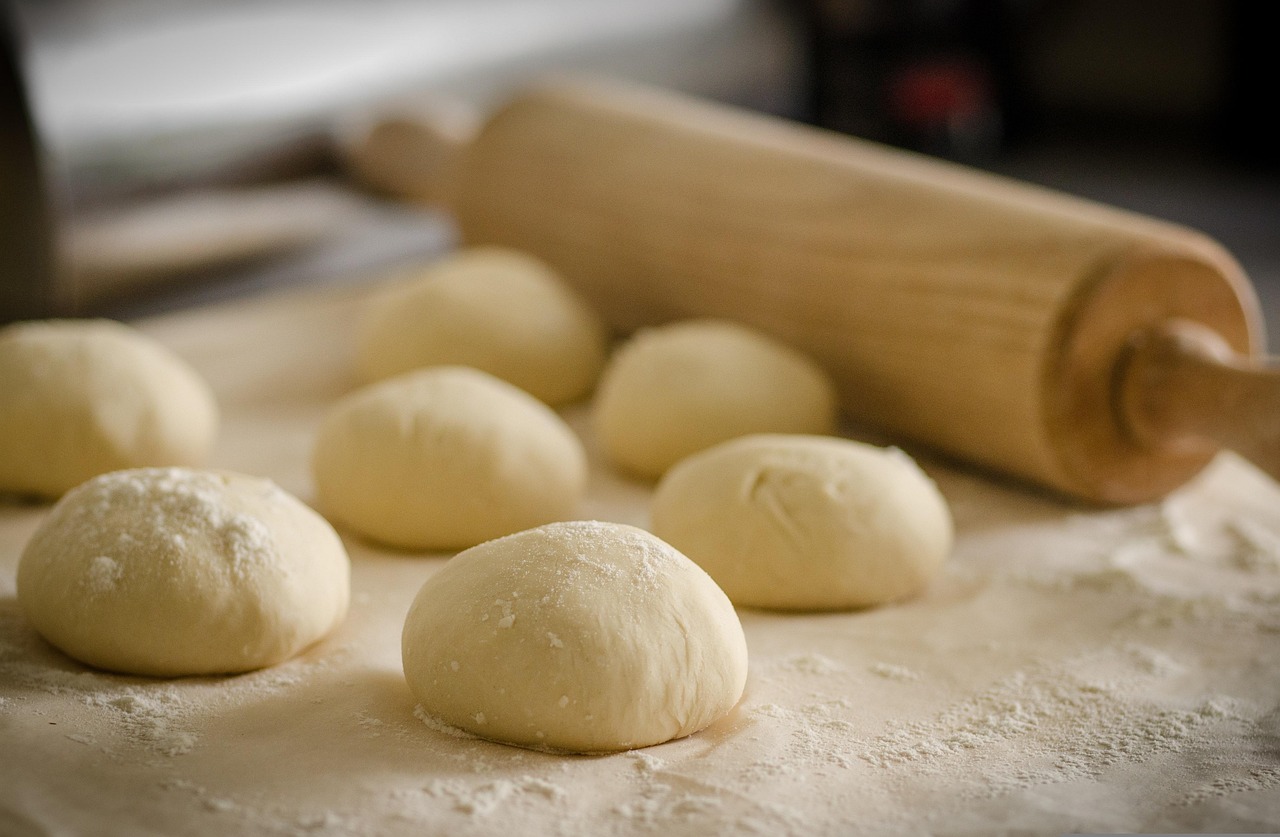
Gather your simple ingredients. Quality matters, especially with flour!
| Ingredient | Quantity | Unit |
|---|---|---|
| Warm Water (105-115°F / 40-46°C) | 1 ½ | cups |
| Instant Yeast | 2 ¼ | teaspoons |
| Honey or Maple Syrup (optional, for flavor) | 1 | tablespoon |
| Fine Sea Salt | 1 ½ | teaspoons |
| All-Purpose Einkorn Flour (or Whole Grain) | 3 ½ – 4 | cups |
| Olive Oil (for bowl) | 1 | tablespoon |
Instructions
Follow these steps carefully, and you’ll be a bread-baking pro in no time! Remember, baking is a science, but it also requires a little patience and love.
1. Activate the Yeast
- Warm Water Check: Pour 1 ½ cups of warm water (between 105-115°F or 40-46°C) into a large mixing bowl. The temperature is crucial – too hot will kill the yeast, too cold won’t activate it. If you don’t have a thermometer, it should feel comfortably warm, like a warm bath, not hot.
- Add Sweetener (Optional): Stir in 1 tablespoon of honey or maple syrup. This isn’t strictly necessary for the yeast to activate, but it adds a lovely subtle sweetness to the bread and gives the yeast a little “food” to get started.
- Sprinkle Yeast: Sprinkle 2 ¼ teaspoons of instant yeast over the water. Do not stir it in immediately.
- Wait for the Bloom: Let it sit undisturbed for 5-10 minutes. You should see a foamy, bubbly layer form on the surface. This is your yeast waking up and telling you it’s active and ready to work! If you don’t see foam, your yeast might be old or the water temperature was off. It’s best to start over with fresh yeast.
2. Mix the Dough
- Add Salt: Once your yeast is active, add 1 ½ teaspoons of fine sea salt to the bowl.
- Begin Adding Flour: Add 3 ½ cups of einkorn flour to the wet ingredients. Start with 3 ½ cups, as einkorn can be a bit tricky with hydration.
- Mix Until Combined: Using a sturdy spoon or a dough whisk, mix everything together. At first, it will look shaggy and dry. Keep mixing until all the flour is incorporated and you have a rough, somewhat sticky dough.
- Adjust Consistency (if needed): Einkorn dough is generally softer and stickier than dough made with modern wheat. If your dough feels too wet and soupy, add the remaining ½ cup of flour, one tablespoon at a time, until it comes together but is still soft and manageable. Avoid adding too much flour, as this can lead to a dry, dense loaf.
- Knead Briefly: Turn the dough out onto a lightly floured surface (use einkorn flour if possible). Knead for about 5-7 minutes. Einkorn develops gluten differently than modern wheat, so it doesn’t require extensive kneading. Over-kneading can actually make it tough. You’re looking for a relatively smooth dough that holds its shape. It will still feel softer and a bit stickier than other bread doughs – this is normal for einkorn!
3. First Rise (Bulk Fermentation)
- Prepare the Bowl: Lightly grease a clean large bowl with 1 tablespoon of olive oil. This prevents the dough from sticking.
- Place Dough: Place your kneaded dough into the oiled bowl, turning it once to coat all sides with oil.
- Cover and Rise: Cover the bowl tightly with plastic wrap or a clean kitchen towel.
- Warm Spot: Place the bowl in a warm, draft-free spot for 1 to 1 ½ hours, or until the dough has roughly doubled in size. A good warm spot could be in a turned-off oven with the light on, or near a sunny window (but not in direct, hot sun). Patience is key here – don’t rush the rise!
4. Shape the Loaf
- Gentle Deflation: Once doubled, gently punch down the dough to release the air. Turn it out onto a lightly floured surface.
- Shape into a Loaf: For a simple loaf, flatten the dough into a rectangle. Fold the top third down towards the center, then fold the bottom third up over the top. Pinch the seam closed. Turn the dough over and gently cup your hands around it, rotating it to create surface tension and form a tight, smooth loaf. This helps with a good oven spring.
- Prepare Baking Pan: Lightly grease a 9×5 inch loaf pan, or line it with parchment paper for easy removal.
- Place in Pan: Carefully transfer your shaped loaf into the prepared loaf pan, seam-side down.
5. Second Rise (Proofing)
- Cover Again: Loosely cover the loaf pan with plastic wrap or a clean kitchen towel.
- Second Rise: Let the dough rise again in a warm, draft-free spot for another 45-60 minutes, or until it has increased by about 50-75% in size and looks puffy. It won’t necessarily double again like the first rise.
- Poke Test: To check if it’s ready, gently poke the dough with a floured finger. If the indentation springs back slowly, it’s ready. If it springs back immediately, it needs more time. If it collapses, it’s over-proofed (don’t worry, it will still bake, just might be a bit flatter).
6. Bake the Bread
- Preheat Oven: About 15-20 minutes before the end of the second rise, preheat your oven to 375°F (190°C).
- Optional Scoring: If you wish, you can lightly score the top of your loaf with a very sharp knife or a bread lame. This helps control where the bread expands in the oven. A simple slash down the middle is perfect.
- Bake: Place the loaf pan in the preheated oven. Bake for 30-35 minutes, or until the crust is golden brown and the internal temperature reaches 200-210°F (93-99°C) when measured with an instant-read thermometer. If the crust is browning too quickly, you can loosely tent it with aluminum foil.
- Steam Trick (Optional): For a crisper crust, you can place a shallow pan of water on the bottom rack of your oven during preheating and baking. The steam helps the crust develop nicely.
7. Cool the Bread
- Remove from Pan: Once baked, immediately remove the bread from the loaf pan and transfer it to a wire cooling rack.
- Cool Completely: This is a crucial step! Allow the bread to cool completely for at least 1-2 hours before slicing. Slicing warm bread can make it gummy and affect its texture. The internal cooking process continues even after it’s out of the oven.
- Enjoy!: Once cooled, slice and enjoy your homemade Einkorn Bread! It’s delicious with butter, jam, or as a base for your favorite sandwich.
Tips & Tricks for Perfect Einkorn Bread
Baking bread is a journey, not a race! Here are some key **baking tips for beginners** to ensure your einkorn loaf is a success:
- Measure Accurately: Especially with flour, use a kitchen scale for the most accurate results (1 cup of einkorn flour is roughly 120-130 grams). If using measuring cups, spoon the flour into the cup and level it off with a straight edge, rather than scooping directly from the bag.
- Don’t Over-Knead Einkorn: Einkorn flour has a weaker gluten structure compared to modern wheat. It doesn’t require extensive kneading. Over-kneading can actually break down the delicate gluten and result in a dense loaf. A gentle, brief knead is all it needs.
- Embrace Stickiness: Einkorn dough will naturally be stickier and softer than traditional wheat dough. Don’t be tempted to add too much extra flour during kneading or shaping, as this will dry out your final bread. A light dusting is usually sufficient.
- Patience with Proofing: The rising times are estimates. The actual time depends on the ambient temperature of your kitchen. Look for the visual cues (doubled in size, puffy) rather than strictly adhering to the clock.
- Cool Completely: This cannot be stressed enough! Slicing warm bread traps moisture and can make the inside gummy. Let it cool on a wire rack for at least an hour, preferably two, for the best texture.
- Know Your Oven: Ovens can vary wildly in temperature. Consider using an oven thermometer to ensure your oven is truly at the temperature you set it to.
- Storage: Store your cooled einkorn bread at room temperature in an airtight container or bread bag for 2-3 days. For longer storage, slice and freeze it, then toast slices as needed.
Essential Baking Tools
Having the right tools makes all the difference in your baking journey!
- Large Mixing Bowl
- Whisk (or Dough Whisk)
- 9×5 inch Loaf Pan
- Measuring Cups and Spoons
- Rubber Spatula or Dough Scraper
- Kitchen Scale (highly recommended for accuracy)
- Instant-Read Thermometer (for water temperature and bread doneness)
- Wire Cooling Rack
Nutrition Information (per serving)
(Estimated per slice, based on 12 slices per loaf)
| Nutrient | Amount |
|---|---|
| Calories | 160 kcal |
| Carbohydrates | 30 g |
| Protein | 6 g |
| Fat | 1.5 g |
| Fiber | 3 g |
| Sugar | 2 g |
Frequently Asked Questions (FAQs)
Q: Can I use active dry yeast instead of instant yeast?
A: Yes, you can! If using active dry yeast, you’ll want to “proof” it first. Combine the warm water (105-115°F), honey/syrup, and active dry yeast in your mixing bowl. Let it sit for 5-10 minutes until foamy. Then proceed with the recipe as written. You might also want to increase the amount slightly, to about 2 ½ teaspoons, as instant yeast is generally more potent.
Q: My dough isn’t rising! What went wrong?
A: The most common culprits are inactive yeast (check the expiration date!), water that was too hot or too cold, or a kitchen that’s too chilly. Ensure your water is in the sweet spot (105-115°F), your yeast is fresh, and your dough is in a warm, draft-free spot for its rise. Patience is also key – sometimes it just needs more time!
Q: Why is my einkorn dough so sticky?
A: This is completely normal for einkorn! It has a different gluten structure than modern wheat, making its dough naturally softer and stickier. Resist the urge to add excessive amounts of flour, as this will lead to a dry, dense loaf. A light dusting of flour on your hands and work surface is usually enough to manage it.
Q: Can I use whole grain einkorn flour instead of all-purpose?
A: Absolutely! Whole grain einkorn will give you a denser, nuttier bread with even more fiber. You might need to add a tablespoon or two more water to achieve the right dough consistency, as whole grain flours absorb more liquid. The rising times might also be slightly longer.
Q: How do I know when the bread is fully baked?
A: The best way is to use an instant-read thermometer. Insert it into the center of the loaf; it should read between 200-210°F (93-99°C). Visually, the crust should be a deep golden brown, and when you tap the bottom of the loaf, it should sound hollow.
Q: Can I make this bread ahead of time?
A: Yes! You can prepare the dough up to the first rise, then punch it down, shape it, and place it in the loaf pan. Cover it tightly with plastic wrap and refrigerate overnight (8-12 hours). The next morning, take it out of the fridge and let it come to room temperature and complete its second rise (this might take 1-2 hours) before baking as usual.
Conclusion
Congratulations, you’ve just baked your very own loaf of delicious, wholesome Einkorn Bread! There’s truly nothing quite like the smell of fresh bread filling your home, and the satisfaction of creating something so wonderful with your own hands. Don’t worry if your first loaf isn’t “perfect” – every bake is a learning experience. With each attempt, you’ll gain confidence and intuition. So go ahead, slice into that warm, nutty loaf, slather it with butter, and savor the taste of ancient grain goodness. We encourage you to share your baking journey with us, and happy baking!