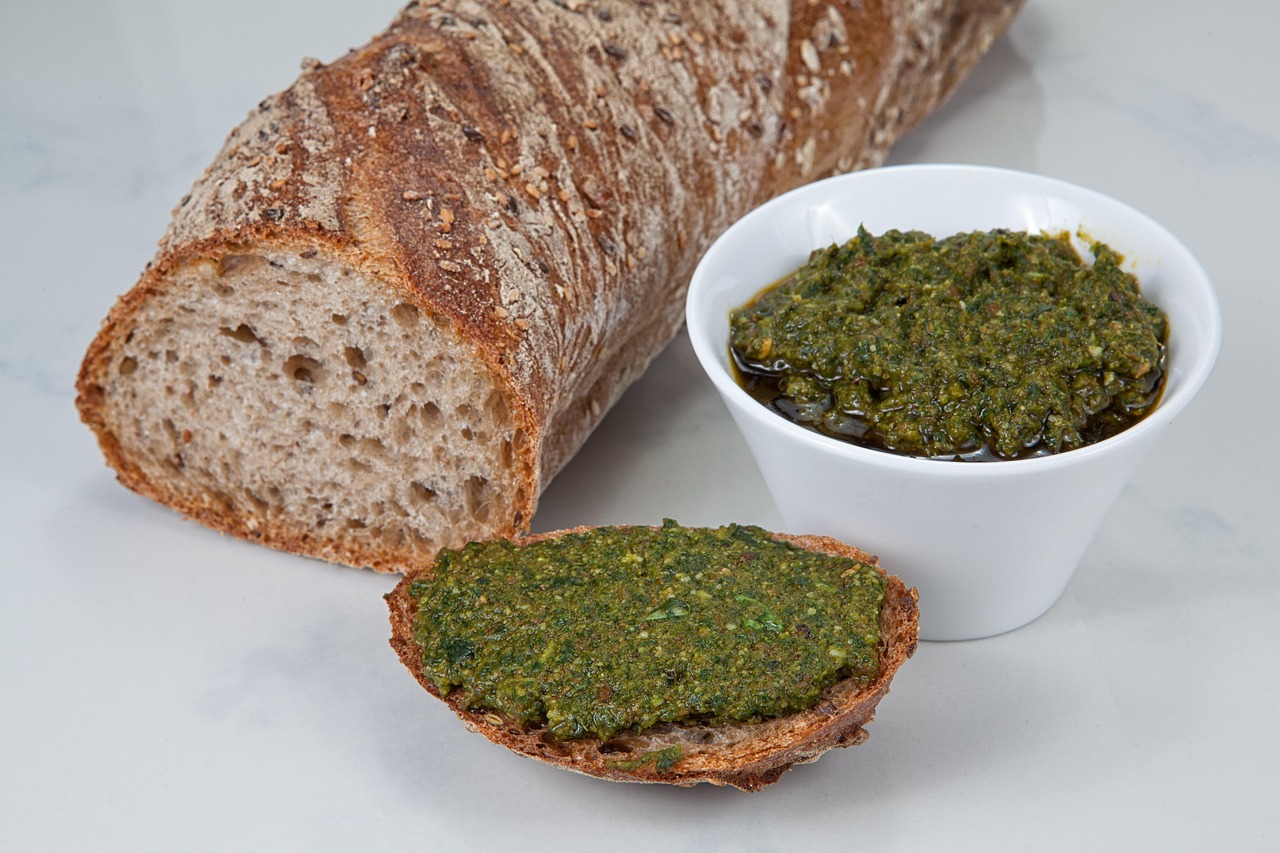
Are you ready to elevate your garlic bread game from good to absolutely legendary? If you’ve ever dreamt of serving up restaurant-quality garlic bread right from your own kitchen, you’re in the right place! Today, we’re diving into the incredibly simple yet utterly delicious Recipe For Garlic Bread Spread.

This isn’t just any spread; it’s a game-changer for anyone looking for easy baking recipes that deliver big on flavor. Perfect for beginners, this recipe comes packed with all the essential baking tips for beginners you’ll need to create a rich, aromatic, and perfectly golden garlic bread every single time. Get ready to impress your family and friends with minimal effort!
Ingredients You’ll Need
Gathering your ingredients is the first step to any successful baking adventure. For this garlic bread spread, you’ll find most items are likely already in your pantry or easily found at any grocery store. Quality ingredients make a difference, so opt for good butter and fresh garlic if possible!
| Ingredient | Quantity | Unit |
|---|---|---|
| Unsalted Butter, softened | 1 | cup (2 sticks) |
| Fresh Garlic, minced | 4-6 | cloves |
| Fresh Parsley, finely chopped | 2 | tablespoons |
| Grated Parmesan Cheese (optional) | 2 | tablespoons |
| Salt | 1/2 | teaspoon |
| Black Pepper, freshly ground | 1/4 | teaspoon |
| Red Pepper Flakes (optional, for a kick) | 1/4 | teaspoon |
Step-by-Step Instructions: Crafting Your Perfect Garlic Bread Spread
This recipe is designed with beginners in mind, so we’ll go through each step carefully. Take your time, and don’t be afraid to experiment a little!
-
Prepare Your Butter: The Foundation of Flavor
Start with softened unsalted butter. This is crucial! If your butter is too cold, it won’t mix smoothly with the other ingredients, leading to lumps. If it’s melted, your spread will be too oily and thin. The ideal consistency is soft enough to easily indent with your finger, but not greasy. If you forgot to take it out, you can cut the butter into smaller pieces and let it sit for 15-30 minutes, or microwave it on 10% power for 10-15 second intervals, flipping each time, until just softened. Place the softened butter into a Mixing Bowl.
-
Mince Your Garlic: The Heart of the Spread
Peel and finely mince your fresh garlic cloves. For a truly potent garlic flavor, you can use a garlic press. If you prefer a milder taste, you can roast your garlic beforehand (wrap whole cloves in foil with a drizzle of olive oil, bake at 400°F/200°C for 20-30 minutes until soft, then mash). For beginners, mincing by hand with a sharp knife is perfectly fine. Aim for very small, uniform pieces so the flavor distributes evenly. Add the minced garlic to the softened butter in the bowl.
-
Chop Your Herbs: Freshness Matters
Finely chop your fresh parsley. Fresh herbs always provide a brighter, more vibrant flavor than dried ones in a spread like this. If you absolutely only have dried parsley, use about 1 teaspoon, but fresh is highly recommended. Add the chopped parsley to the butter and garlic mixture. You can also experiment with other herbs like chives or oregano if you like!
-
Add the Cheese and Seasonings: Bringing it All Together
Now, add the optional grated Parmesan cheese, salt, freshly ground black pepper, and red pepper flakes (if using). The Parmesan adds a lovely salty, umami depth, while the red pepper flakes give a subtle warmth without being overtly spicy. Taste as you go! This is a key tip for beginners. You can always add more salt or pepper, but you can’t take it away.
-
Mix Until Perfectly Combined: Uniformity is Key
Using a Spatula or a sturdy Whisk, mix all the ingredients thoroughly. You want to ensure the garlic, herbs, cheese, and seasonings are evenly distributed throughout the butter. Scrape down the sides of the bowl to ensure everything is incorporated. Keep mixing until the spread looks uniform in color and texture. There should be no streaks of plain butter.
-
Chill and Store (or Use Immediately!): The Final Touch
Your garlic bread spread is now ready to use! If you’re not using it immediately, transfer it to an airtight container and refrigerate. Chilling it for at least 30 minutes can actually help the flavors meld even further, resulting in a more intense taste when baked. When ready to use, simply spread a generous amount onto your favorite bread (baguette, Italian loaf, sourdough) and bake until golden brown and fragrant. Enjoy your incredible homemade garlic bread!
Tips & Tricks for the Best Garlic Bread Spread
Mastering this spread is simple, but a few pro tips can take it from great to absolutely unforgettable. Here’s how to ensure your garlic bread always steals the show:
- Quality Butter Makes a Difference: Since butter is the main ingredient, opt for a good quality unsalted butter. European-style butters often have a higher fat content, which can make your spread even richer and more flavorful.
- Roast Your Garlic for Milder Flavor: If raw garlic is too pungent for your taste, try roasting the garlic cloves first. This sweetens them and creates a much milder, almost caramelized flavor that is incredibly delicious.
- Fresh Herbs are Best: While dried herbs can work in a pinch, fresh parsley (or a mix of parsley, chives, and oregano) will give your spread a vibrant color and a much fresher, more aromatic taste.
- Don’t Be Shy with the Spread: For truly flavorful garlic bread, be generous when applying the spread to your bread. A thick layer ensures every bite is packed with garlic-buttery goodness.
- Adjust Seasoning to Taste: Always taste your spread before applying it to the bread. This allows you to adjust the salt, pepper, or even add a bit more garlic if you feel it needs it. Remember, you can always add more, but you can’t take it away!
- Make Ahead and Freeze: This spread freezes beautifully! Make a large batch and store it in an airtight container or roll it into a log wrapped in plastic wrap. When you’re ready for garlic bread, simply slice off what you need and let it soften slightly before spreading. It’s a fantastic meal prep hack!
- Experiment with Add-ins: Feel free to customize your spread! A pinch of onion powder, a dash of dried oregano, or even a tiny squeeze of lemon juice can add interesting layers of flavor.
Essential Baking Tools for This Recipe
You don’t need a lot of fancy equipment for this recipe, but having these basics will make your life much easier:
- Mixing Bowl
- Whisk (or a sturdy spoon/spatula)
- Baking Pan (for baking the garlic bread)
- Measuring Cups
- Spatula (for scraping the bowl and spreading)
- Garlic Press or Sharp Knife (for mincing garlic)
Nutrition Information (Per serving, approximate)
Please note that these values are estimates and can vary based on specific ingredients and portion sizes. A “serving” here is roughly 1 tablespoon of spread.
| Nutrient | Amount |
|---|---|
| Calories | 100 kcal |
| Carbohydrates | 1 g |
| Protein | 0.5 g |
| Total Fat | 11 g |
| Fiber | 0 g |
| Sugar | 0 g |
Frequently Asked Questions (FAQs)
Got questions? We’ve got answers, especially for our beginner bakers!
Q1: Can I make this garlic bread spread ahead of time?
A1: Absolutely! In fact, making it a day or two in advance allows the flavors to meld beautifully. Store it in an airtight container in the refrigerator.
Q2: How long does the garlic bread spread last in the fridge?
A2: When stored properly in an airtight container, your homemade garlic bread spread will last for up to 1-2 weeks in the refrigerator.
Q3: Can I use margarine instead of butter?
A3: While you technically can, we highly recommend using real butter. Butter provides a superior flavor and texture that margarine simply can’t replicate, making your garlic bread truly special.
Q4: What kind of bread is best for garlic bread with this spread?
A4: A crusty baguette or an Italian loaf are classic choices. Sourdough or even a sturdy sandwich bread can work too! The key is a bread that can hold up to the spread and get nice and crispy on the outside.
Q5: Can I freeze this garlic bread spread?
A5: Yes, this spread freezes wonderfully! Store it in an airtight container or roll it into a log, wrap tightly in plastic wrap, and then foil. It will last for up to 3-4 months in the freezer. Thaw in the refrigerator overnight before using.
Q6: How do I get perfectly golden and crispy garlic bread?
A6: After spreading the butter, bake the bread in a preheated oven (around 375-400°F / 190-200°C) for about 8-12 minutes, or until the edges are golden brown and the spread is bubbly. For extra crispiness, you can broil it for the last 1-2 minutes, but watch it very closely to prevent burning!
Conclusion: Your Garlic Bread Journey Begins!
And there you have it! Your very own, incredibly delicious, and super easy Recipe For Garlic Bread Spread. We hope this detailed guide, packed with baking tips for beginners, empowers you to create the most amazing garlic bread your taste buds have ever encountered. No more store-bought versions once you’ve tried this homemade magic! So go ahead, gather your ingredients, get spreading, and enjoy the wonderful aromas that will soon fill your kitchen. Don’t forget to share your creations with us – happy baking!