Are you ready to dive into the wonderful world of baking with a recipe that’s as comforting as it is delicious? If you’re searching for an easy baking recipe that delivers a light, airy, and utterly delightful cake, then you’ve come to the right place. This Recipe For Guyanese Sponge Cake is perfect for novices and seasoned bakers alike,
promising a soft crumb and a hint of vanilla that will transport you straight to the Caribbean. Forget complicated techniques; we’re focusing on simple steps and essential baking tips for beginners to ensure your first (or fiftieth!) sponge cake is a resounding success. Let’s get baking!
Ingredients You’ll Need
Gathering all your ingredients before you start is a key baking tip for beginners – it makes the whole process smoother and more enjoyable!
| Ingredient | Quantity | Unit |
|---|---|---|
| All-Purpose Flour | 2 | cups |
| Granulated Sugar | 1 ½ | cups |
| Large Eggs | 4 | |
| Unsalted Butter (softened) | ½ | cup (1 stick) |
| Whole Milk | 1 | cup |
| Baking Powder | 2 | teaspoons |
| Vanilla Extract | 2 | teaspoons |
| Salt | ½ | teaspoon |
| Confectioners’ Sugar (for dusting, optional) |
Step-by-Step Instructions: Baking Your Perfect Sponge Cake
Follow these detailed steps carefully, and you’ll have a beautiful, golden sponge cake in no time!
Step 1: Prep Your Workspace and Oven
- Preheat Oven: Set your oven to 350°F (175°C). Getting the oven to the correct temperature *before* your cake goes in is crucial for even baking and proper rising.
- Prepare Your Pan: Grease and flour a 9-inch round baking pan (or an 8×8 inch square pan). To do this, rub a thin layer of butter or shortening all over the inside of the pan. Then, add a spoonful of flour, tilt and tap the pan until the flour coats all the greased surfaces, and dump out any excess. This creates a non-stick barrier. Beginner Tip: You can also line the bottom with parchment paper for extra insurance against sticking!
- Gather Ingredients: Measure out all your ingredients. Ensure your butter and eggs are at room temperature. This helps them combine more smoothly with other ingredients, creating a more uniform batter and a finer crumb. If you forgot to take them out, place eggs in warm water for 5-10 minutes, and microwave butter for 10-15 seconds until slightly softened but not melted.
Step 2: Dry Ingredients First
- Whisk Dry Ingredients: In a medium bowl, whisk together the all-purpose flour, baking powder, and salt. Whisking ensures these ingredients are evenly distributed, so you don’t get pockets of baking powder in your cake. Set this bowl aside.
Step 3: Creaming Butter and Sugar
- Cream Butter and Sugar: In a large mixing bowl (or the bowl of a stand mixer fitted with the paddle attachment), beat the softened unsalted butter and granulated sugar together on medium speed. Beat for 3-5 minutes, or until the mixture is light, fluffy, and pale yellow. This process incorporates air, which is essential for a light and airy sponge cake. Scrape down the sides of the bowl occasionally to ensure everything is well combined.
- Add Eggs One at a Time: Crack your large eggs into a separate small bowl first (this helps catch any shell pieces!). Add them to the butter and sugar mixture, one at a time. Beat well after each addition, allowing each egg to fully incorporate before adding the next. This prevents the mixture from curdling and ensures a smooth batter.
- Stir in Vanilla: Once all eggs are incorporated, mix in the vanilla extract until just combined.
Step 4: Alternating Dry and Wet Ingredients
This step is crucial for developing the cake’s structure. We alternate between adding dry ingredients and milk.
- Add Dry Ingredients in Batches: Add about one-third of the dry ingredient mixture to the wet mixture. Mix on low speed until *just* combined. Beginner Mistake Alert: Do not overmix! Overmixing develops the gluten in the flour too much, leading to a tough, dense cake instead of a light, fluffy sponge.
- Add Half the Milk: Pour in half of the whole milk. Mix on low speed until just combined.
- Repeat: Add another third of the dry ingredients, mix until just combined. Then add the remaining milk, mix until just combined.
- Final Dry Ingredients: Add the last third of the dry ingredients. Mix on low speed until *just* combined and no streaks of flour remain. As soon as it’s incorporated, stop mixing! A few small lumps are okay, but visible flour streaks are not.
Step 5: Baking Your Sponge Cake
- Pour into Pan: Pour the cake batter into your prepared 9-inch round baking pan. Use a spatula to gently spread the batter evenly.
- Bake: Place the pan in the preheated oven. Bake for 30-35 minutes. Beginner Tip: Avoid opening the oven door during the first 20 minutes of baking, as sudden temperature changes can cause the cake to sink.
- Check for Doneness: The cake is done when a wooden skewer or toothpick inserted into the center comes out clean. The top should be golden brown and spring back when lightly touched. If it’s browning too quickly, you can loosely tent it with aluminum foil.
Step 6: Cooling and Serving
- Cool in Pan: Once baked, remove the cake from the oven and let it cool in the pan on a wire rack for 10-15 minutes. This allows the cake to firm up slightly, making it easier to remove without breaking.
- Invert and Cool Completely: After 10-15 minutes, carefully invert the cake onto the wire rack. Remove the pan and peel off any parchment paper if used. Allow the cake to cool completely before slicing. Slicing a warm cake can make it crumbly.
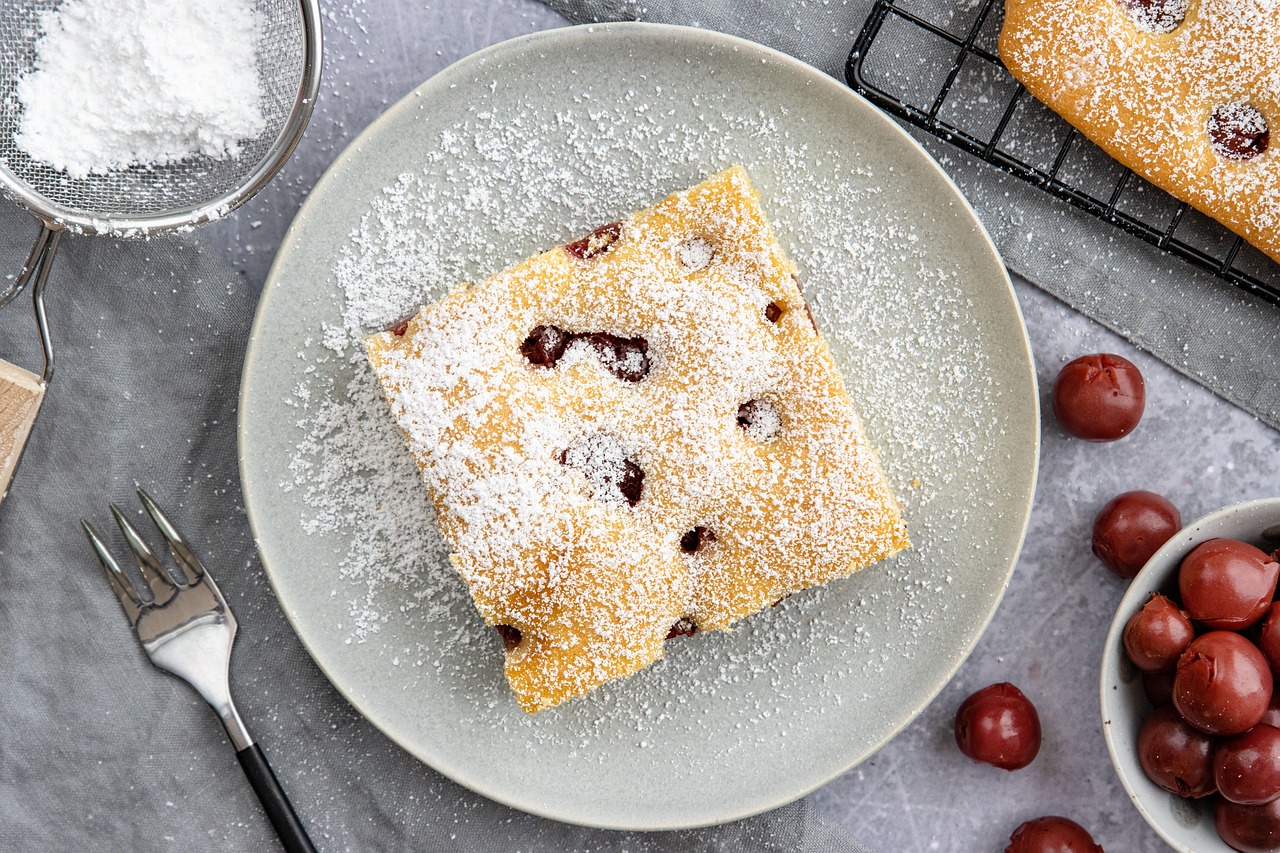
- Serve: Once cool, dust with confectioners’ sugar if desired, or serve plain with a cup of tea or coffee. Enjoy your homemade Guyanese Sponge Cake!
Baking Tips & Tricks for Sponge Cake Success
Even with an easy baking recipe like this, a few extra tips can elevate your results from good to absolutely fantastic!
- Room Temperature Ingredients are Key: We mentioned it in the instructions, but it bears repeating! Cold ingredients don’t emulsify (mix smoothly) as well as room temperature ones, leading to a less uniform batter and potentially a denser cake. Plan ahead!
- Measure Accurately: Baking is a science, so precision matters. Use proper measuring cups and spoons. For flour, spoon it into your measuring cup and then level it off with a straight edge (like the back of a knife) – don’t scoop directly from the bag, as this can compact the flour and lead to using too much.
- Do NOT Overmix: This is the golden rule for sponge cakes! Once you add flour, mix only until *just* combined. Overmixing develops gluten, making your cake tough and chewy instead of light and tender.
- Know Your Oven: Oven temperatures can vary significantly. If you find your cakes are consistently under or over-baked, consider getting an inexpensive oven thermometer to check your oven’s accuracy.
- Cool Completely: Patience is a virtue, especially when cooling. A warm cake is more fragile and prone to crumbling when sliced. Resist the urge to cut into it until it’s fully cool.
- Storage: Store your sponge cake at room temperature, covered tightly, for up to 3-4 days. It can also be frozen, well-wrapped, for up to 2-3 months.
Essential Baking Tools for Your Sponge Cake Journey
Having the right tools makes all the difference, especially when you’re just starting out! Here are a few basics we recommend:
- Mixing Bowl (preferably a set of different sizes)
- Whisk (for dry ingredients and lighter mixing)
- Baking Pan (9-inch round is ideal for this recipe)
- Measuring Cups and Measuring Spoons (accurate measurements are critical!)
- Spatula (rubber or silicone for scraping bowls and folding)
- Electric Mixer (Handheld or Stand Mixer) (optional, but highly recommended for creaming butter and sugar)
- Wire Cooling Rack
Nutrition Information (Per Serving)
Disclaimer: Nutritional values are approximate and may vary based on specific ingredients and preparation methods. This is for one slice of an 8-slice cake.
| Nutrient | Amount |
|---|---|
| Calories | 320 kcal |
| Carbohydrates | 50 g |
| Protein | 5 g |
| Fat | 12 g |
| Fiber | 1 g |
| Sugar | 32 g |
Frequently Asked Questions (FAQs)
- Q: Why did my sponge cake sink in the middle?
- A: This is a common issue! It can be caused by several factors: opening the oven door too early (before the cake has set), incorrect oven temperature (too low or fluctuating), overmixing the batter (which creates too much air that then collapses), or using too much leavening agent (baking powder).
- Q: Can I make this cake ahead of time?
- A: Absolutely! Sponge cake keeps very well. You can bake it a day or two in advance. Store it at room temperature, wrapped tightly in plastic wrap, or in an airtight container. It will remain fresh and delicious.
- Q: How do I know when the cake is perfectly done?
- A: The best way is the toothpick test! Insert a wooden skewer or toothpick into the very center of the cake. If it comes out clean with no wet batter attached, your cake is ready. The top should also be golden brown and spring back when gently pressed.
- Q: Can I add other flavorings or spices to this Guyanese Sponge Cake?
- A: While the traditional Guyanese Sponge Cake is often simple with vanilla, you can definitely experiment! A pinch of nutmeg or cinnamon, or a teaspoon of almond extract instead of some vanilla, can add a lovely twist. Just be mindful not to add too much liquid or dry ingredients that could alter the cake’s delicate balance.
- Q: My cake stuck to the pan, what went wrong?
- A: This usually means the pan wasn’t adequately greased and floured. Make sure you cover all surfaces thoroughly, or use parchment paper on the bottom for an extra layer of protection. Also, sometimes letting it cool too long in the pan can make it stick more firmly.
Bake, Share, and Enjoy!
Congratulations, you’ve just created a delightful Guyanese Sponge Cake! Whether you’re a seasoned pro or just starting your baking adventure, this easy baking recipe proves that delicious results are within everyone’s reach. The light, airy texture and subtle sweetness make it perfect for any occasion, from an afternoon tea to a simple dessert after dinner. Don’t be afraid to experiment, and most importantly, have fun in the kitchen! We hope these baking tips for beginners have empowered you. Share your beautiful creations with us – happy baking!