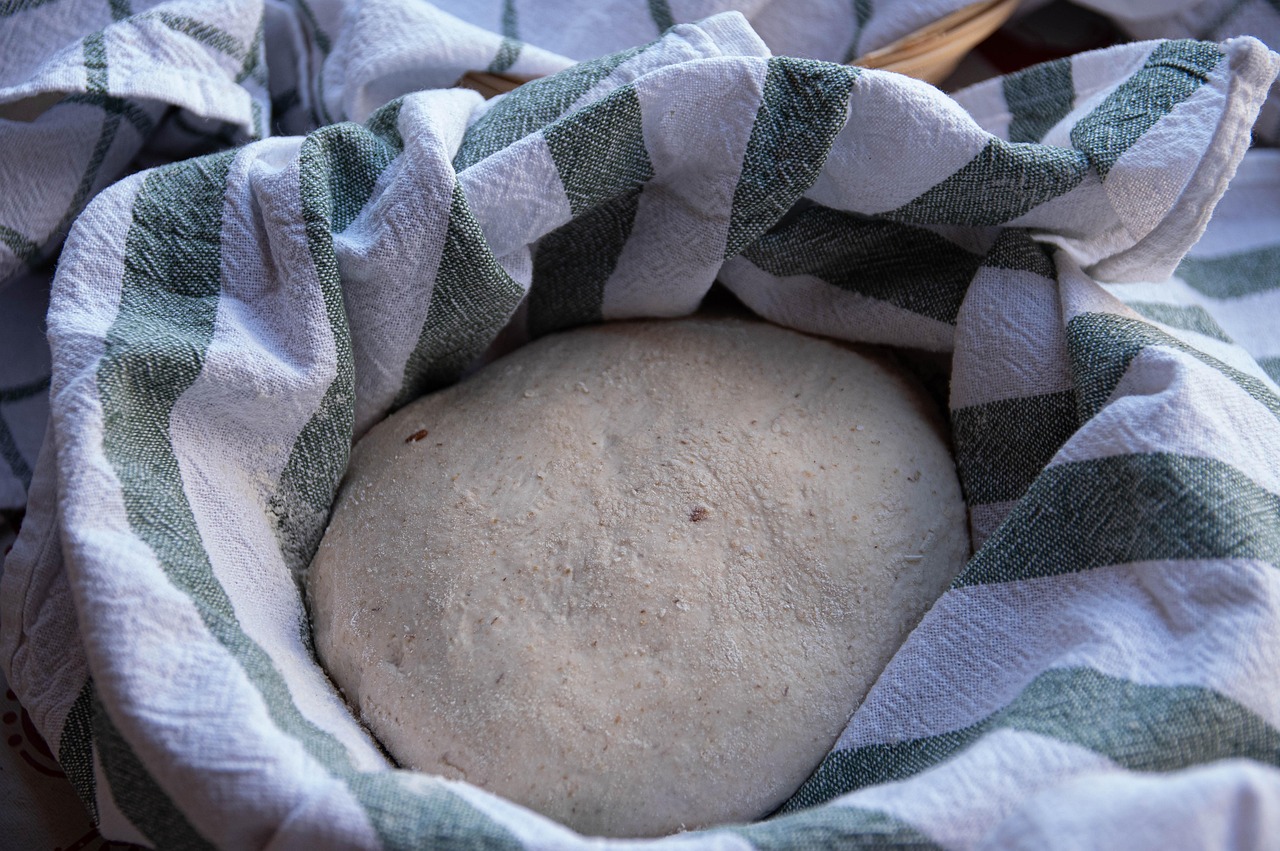
Are you ready to fill your kitchen with the irresistible aroma of a tropical paradise? Look no further! This Recipe For Pineapple Bread is not just incredibly delicious, but it’s also one of the most easy baking recipes you’ll ever try. Perfect for breakfast, a delightful snack, or even a light dessert, this bread is moist, flavorful, and incredibly simple to make. Whether you’re a seasoned baker or just starting your culinary journey,
this guide is packed with all the baking tips for beginners you’ll need to create a perfect loaf every single time. Get ready to impress yourself and your loved ones with this sweet, tangy, and wonderfully soft pineapple bread!
Ingredients You’ll Need
Gathering your ingredients before you start is a great habit for beginners. It ensures you have everything on hand and makes the baking process smooth and enjoyable!
| Ingredient | Quantity | Unit |
|---|---|---|
| All-Purpose Flour | 2 | cups |
| Granulated Sugar | 1 | cup |
| Baking Powder | 2 | teaspoons |
| Salt | 1/2 | teaspoon |
| Large Eggs | 2 | |
| Whole Milk | 1/2 | cup |
| Vegetable Oil (or melted unsalted butter) | 1/2 | cup |
| Vanilla Extract | 1 | teaspoon |
| Canned Crushed Pineapple (drained very well) | 1 (20 oz) | can |
| Optional: Shredded Coconut | 1/2 | cup |
Step-by-Step Instructions for Perfect Pineapple Bread
Follow these detailed steps carefully, and don’t be afraid to take your time. Baking is a science, and precision leads to delicious results!
-
Prepare Your Pan and Oven:
Preheat your oven to 350°F (175°C). This is crucial for even baking! While the oven preheats, grease and flour a 9×5-inch loaf pan. You can also line it with parchment paper, leaving an overhang on the long sides to easily lift the bread out later. This prevents sticking and makes cleanup a breeze.
-
Drain the Pineapple:
This is a critical step for moist (not soggy!) bread. Open your can of crushed pineapple and pour it into a fine-mesh sieve set over a bowl. Press down firmly on the pineapple with the back of a spoon or spatula to extract as much liquid as possible. You want the pineapple to be as dry as you can get it. Set aside.
-
Combine Dry Ingredients:
In a large mixing bowl, whisk together the all-purpose flour, granulated sugar, baking powder, and salt. Whisk for about 30 seconds to ensure everything is evenly distributed. This step is important because it incorporates air and helps the leavening agents (like baking powder) work effectively.
-
Mix Wet Ingredients:
In a separate medium bowl, whisk together the eggs, milk, vegetable oil (or melted butter), and vanilla extract until well combined and smooth. Ensure the eggs are fully incorporated. Using room temperature eggs and milk can help them combine more easily with other ingredients, creating a smoother batter.
-
Combine Wet and Dry (Carefully!):
Pour the wet ingredients into the bowl with the dry ingredients. Using a spatula or a wooden spoon, mix gently until just combined. A common beginner mistake is overmixing, which develops the gluten in the flour too much, leading to a tough, dry bread. A few lumps are perfectly fine – they will bake out!
-
Fold in the Pineapple (and Optional Coconut):
Add the well-drained crushed pineapple (and shredded coconut, if using) to the batter. Gently fold it in until evenly distributed. Again, avoid overmixing. The goal is to incorporate the pineapple without deflating the batter.
-
Pour and Bake:
Pour the batter into your prepared loaf pan, spreading it evenly with your spatula. Place the pan in the preheated oven. Bake for 50-60 minutes, or until a wooden skewer or toothpick inserted into the center of the loaf comes out clean. If the top starts to brown too quickly, you can loosely tent it with aluminum foil for the last 15-20 minutes of baking.
-
Cooling Process:
Once baked, remove the loaf pan from the oven and let it cool in the pan on a wire rack for about 10-15 minutes. This allows the bread to set and prevents it from crumbling when you remove it. After 10-15 minutes, carefully lift the bread out of the pan (using the parchment paper overhang if you used it) and transfer it directly to the wire rack to cool completely. Allowing it to cool completely before slicing is important for the texture and makes it easier to cut.
-
Slice and Enjoy:
Once fully cooled, slice your delicious pineapple bread with a serrated knife and serve! It’s wonderful on its own, or you can serve it with a light glaze, a dollop of whipped cream, or a smear of cream cheese.
Tips & Tricks for Baking Success
Even with an easy recipe, a few extra pointers can elevate your baking from good to absolutely fantastic!
- Measure Accurately: Baking is a science! Use proper measuring cups and spoons. For flour, spoon it into your measuring cup and then level it off with a straight edge (like the back of a knife) rather than scooping directly from the bag, which can compact the flour and lead to too much.
- Don’t Overmix: We can’t stress this enough! Overmixing develops gluten, leading to a tough, dense bread. Mix only until the wet and dry ingredients are *just* combined. Lumps are okay!
- Room Temperature Ingredients: Eggs and milk at room temperature emulsify better with other ingredients, creating a smoother, more uniform batter and a finer crumb in your finished bread.
- Preheat Your Oven: Always preheat your oven for at least 15-20 minutes before baking. Ovens fluctuate in temperature, and a fully preheated oven ensures even heat distribution from the start, which is vital for proper rising.
- Test for Doneness: The toothpick test is your best friend. If it comes out clean or with a few moist crumbs attached (not wet batter), your bread is done. If it comes out with wet batter, give it a few more minutes.
- Storage: Store your pineapple bread in an airtight container at room temperature for up to 3-4 days. For longer storage, you can wrap it tightly in plastic wrap and then foil, and freeze for up to 2-3 months. Thaw at room temperature.
- Customize It: Feel free to add 1/2 cup of chopped walnuts or pecans for extra crunch, or a touch of cinnamon or nutmeg for a warming spice note.
Essential Baking Tools
Having the right tools makes all the difference, especially when you’re just starting out. Here are a few basics that will serve you well for this recipe and many others!
- Mixing Bowl – You’ll need at least two: one large for dry ingredients and one medium for wet.
- Whisk – Essential for thoroughly combining dry ingredients and making sure wet ingredients are well emulsified.
- Baking Pan – A standard 9×5 inch loaf pan is perfect for this recipe.
- Measuring Cups – Both dry (for flour, sugar) and liquid (for milk, oil) measuring cups are important for accuracy.
- Spatula – Great for mixing, scraping down bowls, and gently folding in ingredients.
- Wire Rack – For cooling your bread evenly and preventing a soggy bottom.
- Fine-Mesh Sieve – Crucial for draining the crushed pineapple thoroughly.
Nutrition Information (Estimated per slice)
Please note: This is an estimated nutritional breakdown for one slice (assuming 12 slices per loaf) and can vary based on exact ingredient brands and quantities used.
| Nutrient | Amount |
|---|---|
| Calories | 320 kcal |
| Carbohydrates | 50 g |
| Protein | 4 g |
| Fat | 12 g |
| Fiber | 1 g |
| Sugar | 28 g |
Frequently Asked Questions (FAQs)
Can I use fresh pineapple instead of canned?
While you *can* use fresh pineapple, it’s generally not recommended for this quick bread recipe. Canned crushed pineapple is softer, sweeter, and releases its juices more easily during baking. If you insist on fresh, make sure to finely mince it and drain it even more thoroughly than canned pineapple, as it contains more moisture.
Why is it so important to drain the pineapple well?
Crushed pineapple holds a lot of liquid. If you don’t drain it thoroughly, all that extra moisture will make your bread soggy and dense, preventing it from baking through properly and giving it an unappealing texture. Squeeze out every drop!
My bread came out dry. What went wrong?
A dry bread is usually due to one of two common mistakes: either you overbaked it, or you used too much flour. Always use the spoon-and-level method for measuring flour, and start checking for doneness with the toothpick test a few minutes before the recipe’s minimum bake time.
Can I add other fruits or nuts to this recipe?
Absolutely! This recipe is very forgiving. You can certainly add 1/2 cup of shredded coconut (as mentioned in the recipe), chopped walnuts, pecans, or even a handful of dried cranberries for extra flavor and texture. Just be sure not to overload the batter, as too many additions can affect the bread’s structure.
How do I know when my pineapple bread is fully baked?
The most reliable method is the toothpick test. Insert a wooden skewer or toothpick into the very center of the loaf. If it comes out clean, or with a few moist crumbs attached (no wet batter), your bread is done. If it comes out wet, continue baking in 5-minute increments until it passes the test.
Your Delicious Pineapple Bread Awaits!
And there you have it! A comprehensive, beginner-friendly guide to baking the most delightful Recipe For Pineapple Bread. We hope these detailed instructions and helpful tips empower you to step into the kitchen with confidence and create something truly special. There’s immense satisfaction in pulling a warm, fragrant loaf from your oven, especially one that tastes as good as this tropical treat. So go ahead, gather your ingredients, follow the steps, and get ready to enjoy a taste of sunshine. Don’t forget to share your baking journey with us in the comments – we’d love to hear how your pineapple bread turned out!