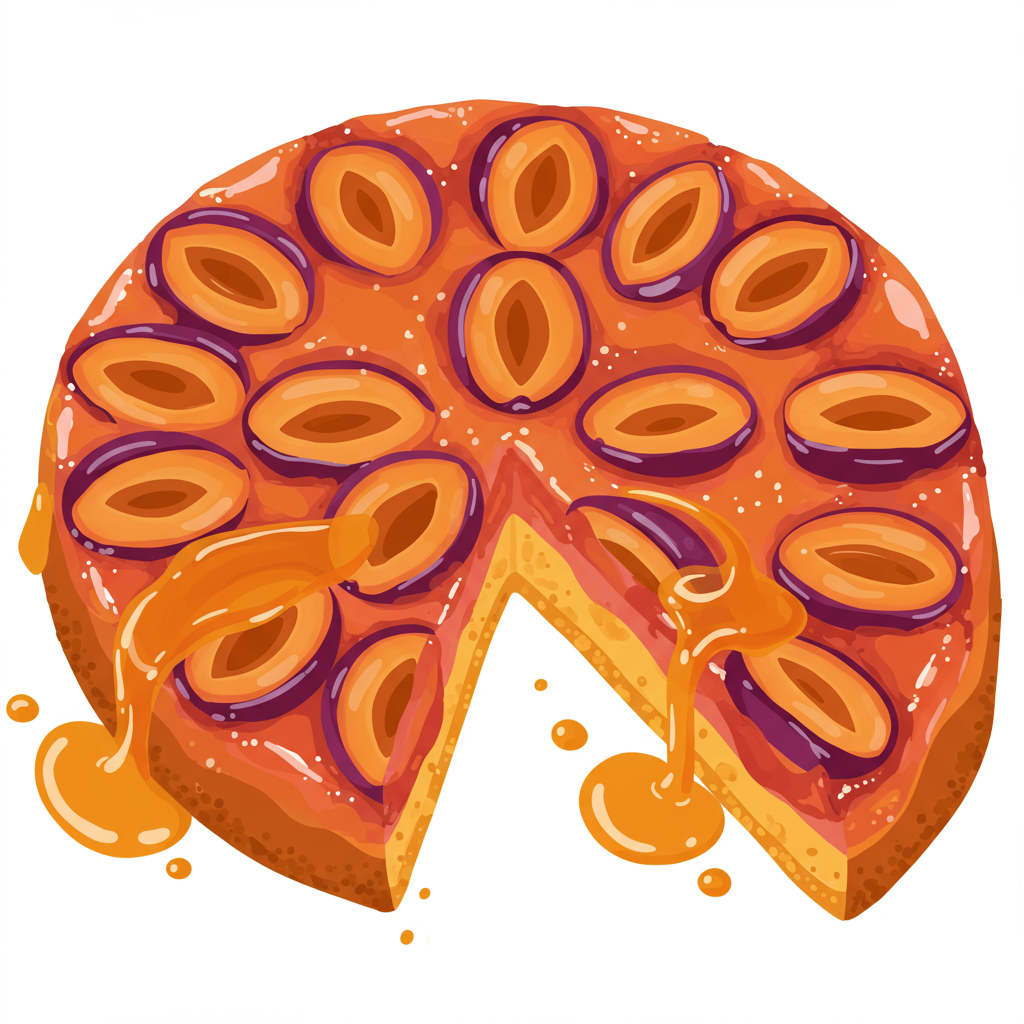
Welcome, fellow home bakers! Are you ready to create a show-stopping dessert that looks incredibly impressive but is surprisingly simple to make? Get ready to fall in love with our Recipe For Plum Upside Down Cake! This cake is a true celebration of late summer and autumn,
featuring beautifully caramelized plums nestled atop a tender, buttery cake. If you’re new to the kitchen or looking for easy baking recipes that yield fantastic results, you’ve come to the right place. We’ve packed this post with all the baking tips for beginners you’ll need to succeed, ensuring your first (or fiftieth!) upside-down cake is absolutely perfect. So grab your apron, and let’s turn some simple ingredients into pure magic!
Ingredients You’ll Need
Gathering all your ingredients before you start (this is called “mise en place”) makes the baking process much smoother and less stressful. Make sure your butter, eggs, and milk are at room temperature for the best results!
For the Plum Topping:
| Ingredient | Quantity | Unit |
|---|---|---|
| Unsalted Butter | 1/4 cup (1/2 stick) | (56g) |
| Light Brown Sugar, packed | 1/2 cup | (100g) |
| Fresh Plums, firm-ripe | 1.5 lbs (approx. 6-8 medium) | pitted and sliced 1/2 inch thick |
For the Cake Batter:
| Ingredient | Quantity | Unit |
|---|---|---|
| All-Purpose Flour | 1 1/2 cups | (180g) |
| Baking Powder | 1 1/2 teaspoons | |
| Salt | 1/2 teaspoon | |
| Unsalted Butter, softened | 1/2 cup (1 stick) | (113g) |
| Granulated Sugar | 1 cup | (200g) |
| Large Eggs, room temperature | 2 | |
| Vanilla Extract | 1 teaspoon | |
| Whole Milk, room temperature | 1/2 cup | (120ml) |
Step-by-Step Baking Instructions
Follow these detailed steps carefully, and you’ll have a stunning Plum Upside Down Cake in no time!
-
Prepare Your Pan and Preheat Oven:
Preheat your oven to 350°F (175°C). It’s important for the oven to be fully preheated before your cake goes in, as this helps it rise properly. Grease a 9-inch round baking pan (one with at least 2-inch high sides works best) generously with butter or baking spray. If you have a springform pan, make sure to line the bottom with parchment paper to prevent any leaks from the caramel topping. Otherwise, a standard round cake pan is perfect.
-
Make the Caramelized Plum Topping:
In a small, microwave-safe bowl or a small saucepan, melt the 1/4 cup (56g) unsalted butter. Pour the melted butter evenly into the bottom of your prepared 9-inch baking pan. Sprinkle the 1/2 cup (100g) packed light brown sugar evenly over the melted butter. Now, arrange your pitted and sliced plums in a decorative pattern over the brown sugar. You can do concentric circles, overlapping slices, or just neatly place them. The prettier you arrange them now, the prettier your cake will look when flipped! Set the pan aside.
-
Whisk Dry Ingredients:
In a medium bowl, whisk together the 1 1/2 cups (180g) all-purpose flour, 1 1/2 teaspoons baking powder, and 1/2 teaspoon salt. Whisking ensures these ingredients are evenly distributed and helps to aerate the flour, which contributes to a lighter cake. Set this bowl aside.
-
Cream Butter and Sugar:
In a large bowl, using an electric mixer (handheld or stand mixer with paddle attachment), beat the 1/2 cup (113g) softened unsalted butter and 1 cup (200g) granulated sugar on medium-high speed until the mixture is light, fluffy, and pale yellow. This usually takes about 3-5 minutes. This “creaming” process incorporates air into the batter, which is crucial for a tender cake texture. Beginner Tip: Make sure your butter is truly softened (press your finger into it, and it should leave an indentation easily). If it’s too cold, it won’t cream properly; if it’s melted, your cake will be dense.
-
Add Eggs and Vanilla:
Add the 2 large room temperature eggs one at a time, beating well after each addition until fully incorporated. Scrape down the sides of the bowl with a spatula after each egg to ensure everything is mixed evenly. Beat in the 1 teaspoon vanilla extract until just combined.
-
Combine Wet and Dry Ingredients:
With the mixer on low speed, gradually add the dry ingredients to the wet ingredients in three additions, alternating with the 1/2 cup (120ml) room temperature whole milk, beginning and ending with the dry ingredients. So, it’s: 1/3 dry, 1/2 milk, 1/3 dry, 1/2 milk, 1/3 dry. Mix just until combined after each addition. Important: Do not overmix! Overmixing develops the gluten in the flour, leading to a tough, dry cake. A few small lumps are perfectly fine.
-
Assemble the Cake:
Carefully spoon the cake batter over the plums in the prepared pan. Use an offset spatula or the back of a spoon to gently spread the batter evenly to the edges of the pan, being careful not to disturb the plum arrangement too much. Give the pan a gentle tap on the counter a couple of times to release any large air bubbles.
-
Bake the Cake:
Place the pan in your preheated oven. Bake for 40-50 minutes, or until a wooden skewer or toothpick inserted into the center of the cake (not into the plum layer) comes out clean. Baking times can vary, so start checking around the 40-minute mark. Beginner Tip: Avoid opening the oven door too early, especially in the first 30 minutes, as this can cause the cake to sink.
-
Cool and Invert:
Once baked, remove the cake from the oven and place it on a wire rack. Let it cool in the pan for 10-15 minutes. This step is crucial! If you try to invert it immediately, the hot caramel might spill everywhere, and the cake could break apart. If you wait too long, the caramel will harden and stick to the pan. After 10-15 minutes, carefully run a thin knife around the edge of the cake to loosen it from the pan. Place a serving plate (one with a slight rim is good in case of any runny caramel) upside down over the cake pan. With oven mitts, hold the pan and plate firmly together and quickly, but confidently, flip them over. Lift the pan slowly. If any plums stick to the pan, gently peel them off and place them back on the cake. If you used parchment paper, peel it off carefully.
-
Serve and Enjoy:
Allow the cake to cool for another 15-20 minutes before slicing, or serve it slightly warm. This cake is absolutely delicious on its own, or you can serve it with a dollop of whipped cream or a scoop of vanilla ice cream. Enjoy your beautiful homemade Plum Upside Down Cake!
Tips & Tricks for Baking Success
Even seasoned bakers have little secrets. Here are some actionable tips to ensure your Plum Upside Down Cake turns out perfectly every time, especially if you’re just starting out!
- Room Temperature Ingredients are Key: This isn’t just a suggestion! Softened butter creams better with sugar, incorporating more air for a lighter cake. Room temperature eggs and milk emulsify more smoothly, preventing a curdled batter and ensuring a uniform texture. Take them out of the fridge at least 30-60 minutes before you start.
- Measure Flour Correctly: Don’t scoop flour directly from the bag with your measuring cup. This compacts it and you’ll end up with too much, leading to a dry, dense cake. Instead, spoon the flour into your measuring cup and then level it off with the back of a knife. This method ensures you have the correct amount of flour every time.
- Don’t Overmix the Batter: Once you add the dry ingredients, mix *just* until combined. Overmixing develops the gluten in the flour, making your cake tough and chewy instead of tender and moist. A few small lumps are perfectly fine and will disappear during baking.
- Invest in an Oven Thermometer: Oven temperatures can be notoriously inaccurate. An inexpensive oven thermometer ensures your oven is actually at the temperature you set, preventing under or over-baking and giving you consistent results.
- Patience with the Flip: That moment of inverting the cake can be nerve-wracking, but don’t rush it. Letting it cool for 10-15 minutes allows the caramelized topping to set slightly, making it less likely to stick and more likely to hold its beautiful shape.
- Choose the Right Plums: Firm-ripe plums work best. They hold their shape during baking and offer a lovely tart counterpoint to the sweet cake. Italian prune plums, Santa Rosa, or even Black Plums are great choices. Avoid overly soft or mushy plums.
- Scrape Down Your Bowl: During the creaming process and when adding eggs, frequently scrape down the sides and bottom of your mixing bowl with a spatula. This ensures all ingredients are fully incorporated and prevents unmixed pockets of butter or sugar.
Essential Baking Tools for This Recipe
Having the right tools makes baking easier and more enjoyable. Here are some essentials for your Plum Upside Down Cake:
- Mixing Bowl (You’ll want at least two: one large for the batter, one medium for dry ingredients)
- Whisk (For dry ingredients and hand-mixing small additions)
- 9-inch Round Baking Pan (A sturdy, light-colored metal pan for even baking)
- Measuring Cups and Measuring Spoons (For accurate ingredient measurements)
- Rubber Spatula (Essential for scraping bowls and folding batter)
- Electric Mixer (Handheld or Stand Mixer)
- Cutting Board and Sharp Knife (For preparing plums)
- Wire Cooling Rack
Nutrition Information (Estimated per 1/8 of cake)
Please note that these are approximate values and can vary based on specific ingredients and portion sizes.
| Nutrient | Amount |
|---|---|
| Calories | ~410 kcal |
| Carbohydrates | ~62g |
| Protein | ~5g |
| Fat | ~17g |
| Fiber | ~3g |
| Sugar | ~40g |
Frequently Asked Questions (FAQs)
1. Can I use frozen plums?
While fresh plums are highly recommended for their texture and flavor, you *can* use frozen plums in a pinch. If you do, make sure to thaw them completely and drain any excess liquid thoroughly. Pat them dry with paper towels before arranging them in the pan to prevent the cake from becoming watery.
2. My cake stuck to the pan when I flipped it! What went wrong?
This is a common beginner frustration! It usually happens for a few reasons: the pan wasn’t buttered and sugared generously enough, or you waited too long to invert the cake. The caramel topping can solidify and act like glue if left to cool completely in the pan. Make sure to flip it within that 10-15 minute window after removing it from the oven.
3. Why is my cake dry or dense?
Several factors can lead to a dry or dense cake. The most common culprits are overmixing the batter (which develops gluten, making it tough), using too much flour (always spoon and level!), or baking at too high a temperature or for too long. Ensure your oven temperature is accurate with a thermometer and check for doneness with a toothpick.
4. Can I make this cake ahead of time?
Absolutely! This cake actually tastes wonderful the next day as the flavors meld and the plums truly infuse the cake. Store it covered loosely at room temperature for up to 2 days, or in the refrigerator for up to 4 days. Bring it to room temperature or gently warm a slice before serving for the best experience.
5. What if I don’t have a 9-inch round pan?
You can use an 8-inch round pan, but you may need to increase the baking time slightly (start checking around 50-55 minutes). Keep an eye on it and test for doneness with a toothpick. A 9×9 inch square pan could also work, but the presentation will be different, and you might need to adjust baking time slightly as well.
6. Do I need to peel the plums before baking?
No, there’s no need to peel the plums! The plum skins soften beautifully during baking and add a lovely deep color and a touch of appealing tartness to the cake. Plus, it saves you an extra step!
Enjoy Your Delicious Creation!
And there you have it! A beautiful, delicious, and surprisingly easy-to-make Plum Upside Down Cake. This recipe is a fantastic way to impress your friends and family, or simply treat yourself to a slice of homemade heaven. Don’t be intimidated by the “upside-down” part – with these detailed instructions and beginner-friendly tips, you’re set for success. Happy baking, and don’t forget to share your plum-tastic creations with us!
“`