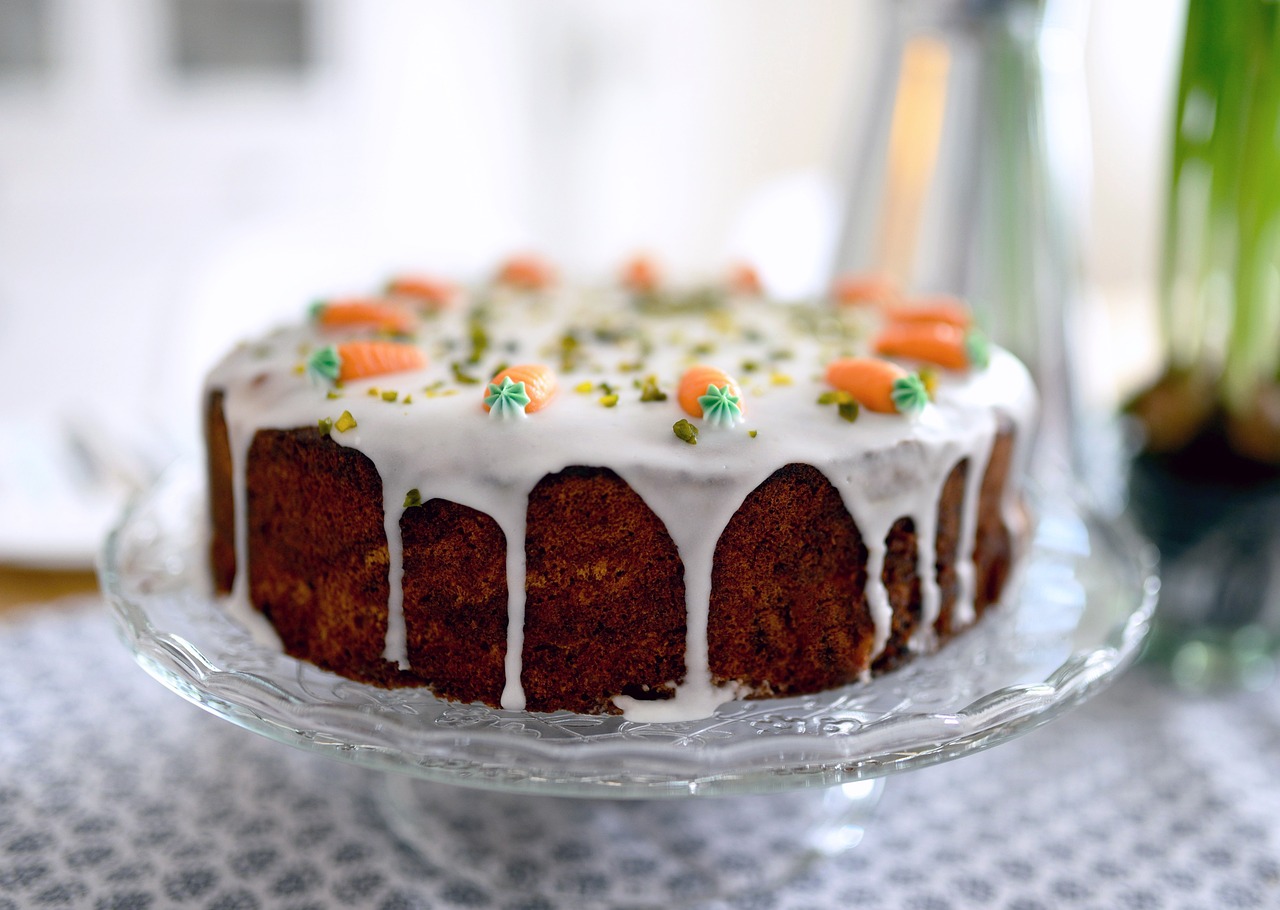
Welcome, aspiring bakers and dessert enthusiasts! Are you ready to dive into the delightful world of homemade baking? If you’ve ever craved that comforting, moist, and utterly delicious banana cake that reminds you of a classic treat, you’ve come to the right place. Today, we’re sharing our ultimate Recipe For Sara Lee Banana Cake, designed to be incredibly easy baking recipes for anyone, especially those just starting their culinary journey. Forget complicated steps and intimidating techniques; this guide is packed with practical baking tips for beginners to ensure your success. Get ready to fill your kitchen with the irresistible aroma of freshly baked banana cake – a true crowd-pleaser that’s perfect for any occasion!
Ingredients List
Gathering your ingredients is the first step to baking success. Make sure everything is measured accurately before you begin!
| Ingredient | Quantity | Unit |
|---|---|---|
| All-purpose flour | 2 | cups |
| Baking soda | 1 | teaspoon |
| Salt | ½ | teaspoon |
| Unsalted butter (room temperature) | ½ | cup (1 stick) |
| Granulated sugar | 1 | cup |
| Large eggs (room temperature) | 2 | |
| Vanilla extract | 1 | teaspoon |
| Ripe bananas (mashed) | 3-4 | medium |
| Buttermilk (room temperature) | ½ | cup |
| For the Cream Cheese Frosting: | ||
| Cream cheese (softened) | 8 | ounces |
| Unsalted butter (softened) | ½ | cup (1 stick) |
| Powdered sugar (confectioners’ sugar) | 3-4 | cups |
| Vanilla extract | ½ | teaspoon |
| Milk or cream (optional, for consistency) | 1-2 | tablespoons |
Step-by-Step Instructions: Baking Your Perfect Banana Cake
Follow these detailed steps carefully, and you’ll be enjoying a delicious homemade banana cake in no time!
1. Prepare Your Workspace and Oven
- Preheat your oven: Set your oven to 350°F (175°C). It’s crucial for the oven to be fully preheated before your cake goes in, as this helps it rise properly from the start. Give it at least 15-20 minutes to reach temperature.
- Prepare your baking pan: Take a 9×13 inch baking pan (or two 8 or 9-inch round cake pans for a layer cake). Grease the inside generously with butter or cooking spray. Then, flour the pan by sprinkling a tablespoon or two of all-purpose flour into the greased pan, tilting and tapping it around until the entire surface is coated. Invert the pan and tap out any excess flour. This creates a non-stick barrier, ensuring your cake releases easily after baking.
- Gather ingredients: Lay out all your ingredients. Make sure your butter, eggs, and buttermilk are at room temperature. This helps them emulsify better, creating a smoother batter and a finer-textured cake. If you forgot to take them out, place eggs in a bowl of warm water for 10 minutes, and microwave butter in short 10-second bursts until softened but not melted.
2. Combine Dry Ingredients
- Sift together: In a medium bowl, combine your 2 cups of all-purpose flour, 1 teaspoon of baking soda, and ½ teaspoon of salt.
- Why sift? Sifting isn’t just for fancy bakers! It breaks up any lumps in the flour and evenly distributes the baking soda and salt, which are essential for the cake’s rise and flavor. This leads to a lighter, more uniform cake texture. Whisk them together thoroughly for about 30 seconds. Set this bowl aside.
3. Cream Butter and Sugar
- Cream the butter: In a large mixing bowl (preferably using an electric mixer, but a hand mixer works too), add your ½ cup (1 stick) of softened unsalted butter. Beat the butter on medium speed for about 1-2 minutes until it’s light and creamy.
- Add the sugar: Gradually add 1 cup of granulated sugar to the butter while continuing to beat. Increase the speed to medium-high and cream the butter and sugar together for 3-5 minutes. This step is crucial! You want the mixture to become pale yellow, light, and fluffy. The sugar crystals cut into the butter, creating tiny air pockets that contribute to the cake’s airy texture. Scrape down the sides of the bowl often with a spatula.
4. Incorporate Eggs and Vanilla
- Add eggs one at a time: Crack your 2 large eggs into a separate small bowl first (this ensures no shell bits get into your batter). Add one egg to the creamed butter and sugar mixture, beating well until it’s fully incorporated before adding the next.
- Why one at a time? Adding eggs gradually helps the mixture stay emulsified and prevents it from curdling. Beat each egg in for about 30-60 seconds.
- Stir in vanilla: Once both eggs are mixed in, add 1 teaspoon of vanilla extract. Beat for another 30 seconds until just combined. Don’t overmix at this stage.
5. Mash Bananas and Prepare Buttermilk
- Mash bananas: In a separate small bowl, take your 3-4 ripe bananas and mash them thoroughly with a fork until they are mostly smooth with a few small lumps. The riper the bananas (brown spots are good!), the sweeter and more flavorful your cake will be.
- Combine with buttermilk: Gently fold the mashed bananas into your ½ cup of room temperature buttermilk. This makes it easier to incorporate into the batter evenly.
- No buttermilk? No problem! If you don’t have buttermilk, you can easily make your own. Add 1 tablespoon of white vinegar or lemon juice to a liquid measuring cup, then fill the rest of the way to ½ cup with regular milk. Let it sit for 5-10 minutes until it slightly curdles.
6. Combine Wet and Dry Ingredients (The Alternating Method)
- This is a key step for texture! With your mixer on low speed (or by hand with a whisk/spatula), add about one-third of the dry ingredient mixture to the wet butter mixture. Mix just until barely combined.
- Add half the banana-buttermilk mixture: Pour in half of the mashed banana and buttermilk mixture. Mix just until barely combined.
- Repeat: Add another third of the dry ingredients, mix. Then the remaining banana-buttermilk mixture, mix.
- Finish with dry: Add the final third of the dry ingredients.
- The golden rule: Mix only until just combined! As soon as you see no more streaks of flour, stop mixing. Overmixing develops the gluten in the flour, which can lead to a tough, dense cake. We want light and tender! Use a spatula to give it a final gentle fold to ensure everything is incorporated from the bottom of the bowl.
7. Bake the Cake
- Pour into pan: Gently pour the batter into your prepared 9×13 inch (or round) baking pan. Use your spatula to spread it evenly.
- Bake: Place the pan in the center of your preheated oven.
- Baking time: Bake for 30-35 minutes for a 9×13 inch pan, or 25-30 minutes for two 8 or 9-inch round pans.
- Check for doneness: The cake is done when a wooden skewer or toothpick inserted into the center comes out clean or with just a few moist crumbs attached. The top should be golden brown and spring back when lightly touched. If it feels jiggly or wet, give it a few more minutes.
8. Cool the Cake
- Cool in pan: Once baked, remove the cake from the oven and place it on a wire rack. Let it cool in the pan for about 10-15 minutes. This allows the cake to firm up slightly, making it less likely to break when you remove it.
- Remove from pan: After 10-15 minutes, carefully invert the cake onto the wire rack to finish cooling completely. If you used round pans, you might need to place a second rack on top and flip both over.
- Patience is key: Do not frost a warm cake! The frosting will melt and slide right off. Allow the cake to cool completely, usually about 1-2 hours, before applying frosting.
9. Prepare the Cream Cheese Frosting (Optional, but Highly Recommended!)
This classic pairing elevates the banana cake to another level.
- Beat cream cheese and butter: In a large mixing bowl, combine 8 ounces softened cream cheese and ½ cup (1 stick) softened unsalted butter. Beat on medium speed until smooth and creamy, about 2-3 minutes. Make sure there are no lumps of cream cheese.
- Add powdered sugar: Gradually add 3-4 cups of powdered sugar, one cup at a time, mixing on low speed until combined, then increasing to medium-high. Scrape down the sides of the bowl as needed.
- Add vanilla: Stir in ½ teaspoon of vanilla extract.
- Adjust consistency: If the frosting is too thick, add 1-2 tablespoons of milk or cream, one tablespoon at a time, until it reaches your desired spreading consistency. If it’s too thin, add a little more powdered sugar.
10. Frost and Serve!
- Once the cake is completely cool, use an offset spatula or knife to spread the cream cheese frosting evenly over the top (and sides, if desired, especially for a layer cake).
- Slice and serve! Enjoy your incredible homemade banana cake!
Tips & Tricks for Beginner Bakers
Baking is a science, but it doesn’t have to be intimidating! Here are some essential baking tips for beginners to help you achieve perfect results every time:
- Use Ripe Bananas: The browner and spottier your bananas, the better! They are sweeter and more flavorful, providing a natural moisture and richness to your cake. Green or yellow bananas won’t give you the same depth of flavor.
- Room Temperature Ingredients: This is crucial for a smooth batter and even bake. Room temperature butter creams better with sugar, creating air pockets, and room temperature eggs and buttermilk incorporate more smoothly into the batter, preventing curdling.
- Measure Accurately: Baking requires precision. Use proper measuring cups for dry ingredients (levelled off with a straight edge) and liquid measuring cups for wet ingredients (read at eye level). Don’t pack down flour unless specified.
- Do NOT Overmix: Once you add the flour, mix only until the ingredients are just combined. Overmixing develops gluten, leading to a tough, dense cake instead of a light and fluffy one. A few small lumps are perfectly fine!
- Preheat Your Oven Properly: Always preheat your oven for at least 15-20 minutes before baking. An oven thermometer can help you verify your oven’s true temperature, as many ovens can be off by 25-50 degrees.
- Cool Completely: Resist the urge to frost a warm cake! It will melt the frosting and create a mess. Patience is key for a beautifully frosted cake.
- Grease and Flour Your Pan: Don’t skip this step! It’s your best defense against a cake sticking to the pan. For extra assurance, you can line the bottom with parchment paper after greasing.
Essential Baking Tools
Having the right tools makes all the difference, especially when you’re just starting out. Here are some basics you’ll want in your kitchen:
- Mixing Bowl (various sizes)
- Whisk (for dry ingredients and light mixing)
- Baking Pan (9×13 inch or 8/9 inch rounds)
- Measuring Cups (dry and liquid)
- Measuring Spoons
- Spatula (rubber for scraping, offset for frosting)
- Electric Mixer (handheld or stand mixer)
- Wire Rack (for cooling)
- Parchment Paper (optional, but very helpful for non-stick)
- Oven Thermometer (highly recommended for accuracy)
Nutrition Information (Per Serving, Estimated)
Please note that these values are estimates and can vary based on specific ingredients and portion sizes. This estimate is for one slice of banana cake with cream cheese frosting, assuming 12 servings from a 9×13 inch cake.
| Nutrient | Amount |
|---|---|
| Calories | 420 kcal |
| Carbohydrates | 60 g |
| Protein | 4 g |
| Fat | 20 g |
| Saturated Fat | 12 g |
| Fiber | 1 g |
| Sugar | 45 g |
Frequently Asked Questions (FAQs)
Q1: My cake sank in the middle! What went wrong?
This is a common issue for beginners! It can happen for several reasons: opening the oven door too early (before the cake has set), an oven temperature that’s too low (or fluctuating), not enough leavening agent (baking soda), or overmixing the batter (which creates too many air bubbles that then collapse). Ensure your oven is preheated properly, avoid opening the door, and mix the batter just until combined.
Q2: Can I use less ripe bananas?
While you *can* use less ripe bananas, your cake won’t have the same intense banana flavor or natural sweetness. Ripe (even overripe with brown spots!) bananas are key for the best taste and moisture. If your bananas aren’t quite ready, you can bake them in their peels on a baking sheet at 300°F (150°C) for 15-20 minutes until they turn black and soft. Let them cool before mashing.
Q3: How should I store leftover banana cake?
Because of the cream cheese frosting, this cake should be stored in an airtight container in the refrigerator for up to 3-4 days. You can also freeze individual slices (without frosting, or with very firm frosting) for longer storage (up to 2-3 months). Thaw in the refrigerator before serving.
Q4: Can I add nuts or chocolate chips to this recipe?
Absolutely! This recipe is very adaptable. You can fold in ½ to 1 cup of chopped walnuts or pecans, or chocolate chips, with the dry ingredients before incorporating them into the wet batter. This helps prevent them from sinking to the bottom of the cake.
Q5: What if I don’t have buttermilk?
No problem! You can easily make a substitute. For every ½ cup of buttermilk, measure out ½ cup of regular milk (dairy or non-dairy) and stir in 1 tablespoon of white vinegar or lemon juice. Let it sit for 5-10 minutes until it slightly curdles. This acidity reacts with the baking soda to give your cake a great rise and tender texture.
Q6: Why is room temperature butter so important?
Room temperature butter is crucial because it creams much better with sugar. When butter is cold, it won’t incorporate as much air, leading to a denser cake. If it’s too warm or melted, it won’t create those crucial air pockets either. Room temperature means it’s soft enough to indent with your finger but still holds its shape.
Conclusion
And there you have it – your very own Recipe For Sara Lee Banana Cake! We hope this detailed, beginner-friendly guide has demystified the baking process and inspired you to create something truly delicious. Remember, every great baker started somewhere, and with patience and these helpful baking tips for beginners, you’ll be whipping up amazing treats in no time. Don’t be afraid to experiment, have fun, and most importantly, enjoy the sweet rewards of your hard work. Happy baking, and we can’t wait to hear how your banana cake turns out!
“`